


$2 DIY Halloween Skull Napkin Rings
You know we like to go ALL OUT for Halloween around here. Today’s Halloween DIY idea is no different. Join us as we share how you can create these Dollar Tree DIY Napkin Rings for just $2!
(TO SEE MORE DETAILS ABOUT THIS DIY PLEASE VISIT OUR ORIGINAL POST HERE.)
We found these mini skull buckets from the Dollar Tree. Each pack has 4 buckets. We purchased 2 packs for a total of 8.
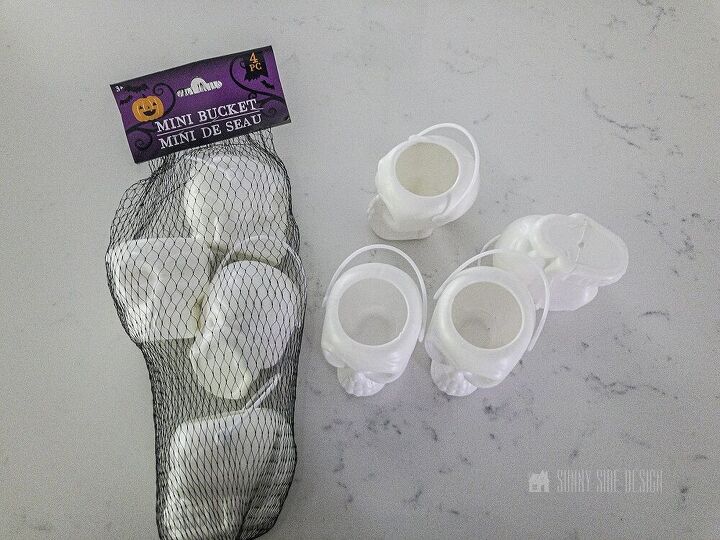
The top of the bucket has a decent sized hole while the bottom is closed.
Using a 3/4″ wood bit, drill holes in the bottom of each bucket.
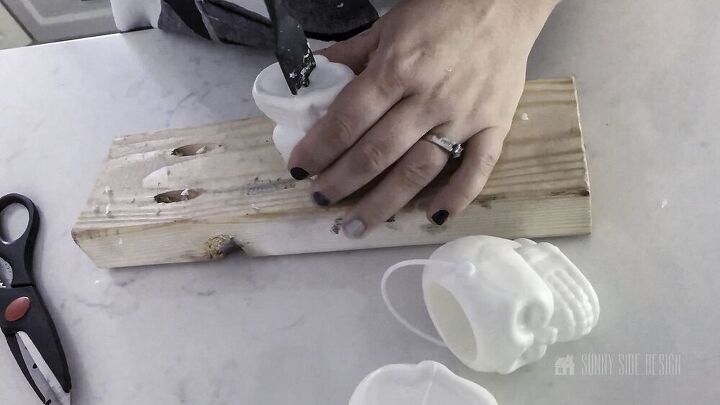
Next, remove the handle by pulling each end out of the bucket.
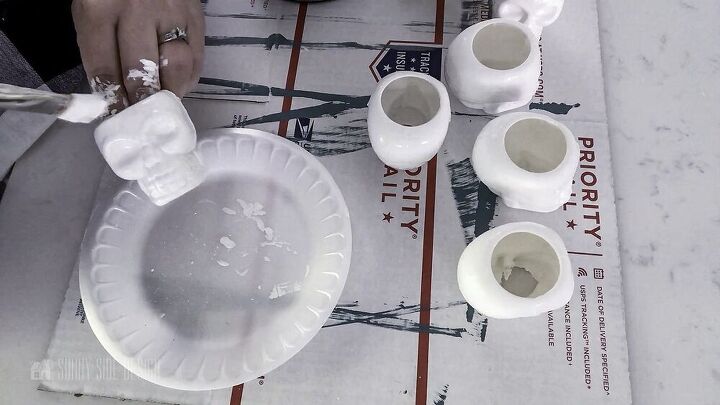
Then apply 2 coats of white chalk paint to each skull. Allow to dry completely.
The chalk paint will give a nice base layer for these napkin rings.
(You can use chalk spray paint as well, just be sure to use chalk paint as it will adhere to plastic.)
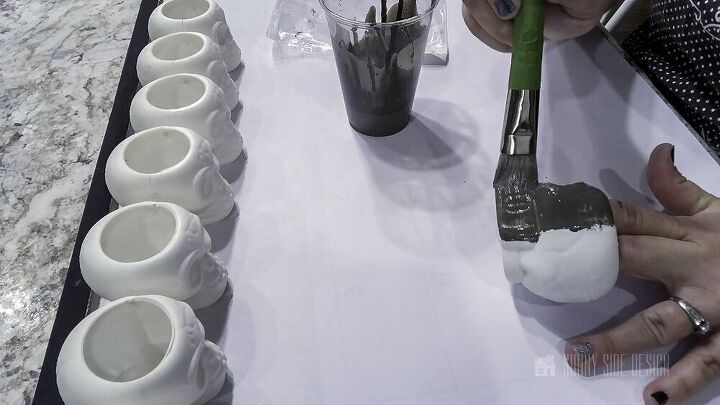
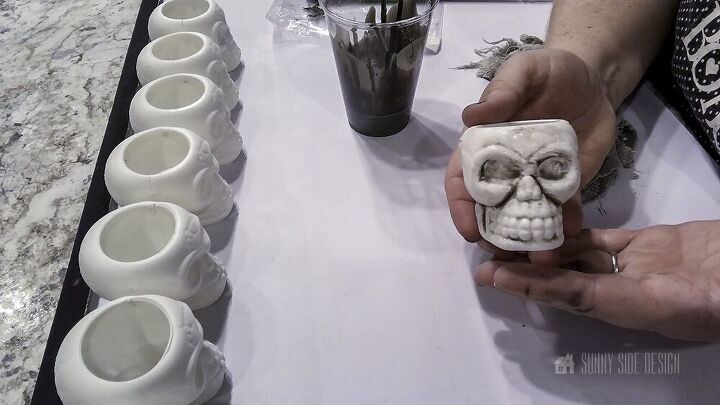
To distress the skull napkin rings, mix a small amount of dark grey paint with quite a bit of water to thin the paint.
The paint will be pretty runny, this is just how you’ll want it.
Apply this dark layer of paint to the entire skull.
Then using a wet washcloth, wipe away the excess paint.
The dark paint will remain in all of the deep grooves and detailed areas of the skulls.
The grooves in some areas of the skulls weren’t as deep as the others. In these areas, I added a little more dark grey paint and dabbed off the excess with the wet washcloth.
Distress the skulls to your hearts content to create the appearance of these eerie and aged skulls.
What do you think?
They are pretty simple and easy to make. And at only $2 for 8 napkin rings, you can’t beat that!
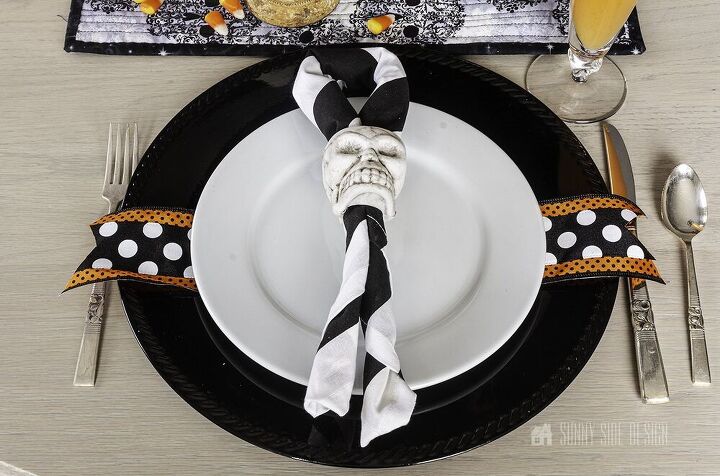
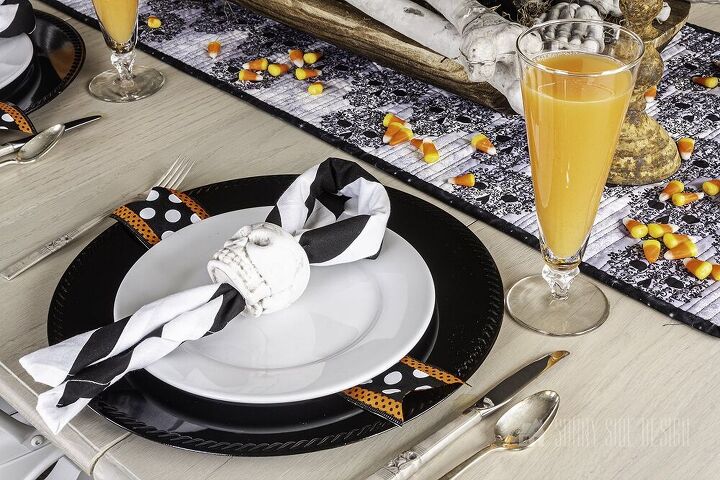
These DIY Dollar Tree Halloween Napkin Rings add just the right touch to this festive table setting.
To take a closer look at the skeleton centerpiece, you can see how we styled it in our Halloween Decorating Ideas With Skeletons.
We hope you've been inspired by this CHEAP & EASY DIY!
Be sure to follow us on Pinterest for even more home decor and DIY ideas.
To see what we are working on before it’s on our blog, follow us on Instagram.
You can also find our video tutorials on our YouTube channel.
And as always here at Sunny Side Design
WE HOPE TO BRING YOUR HOME TO THE SUNNY SIDE OF THE STREET!


Comments
Join the conversation
-
Love this! Thank you for sharing
-
Delightfully spooky🍁


Frequently asked questions
Have a question about this project?
Will the paint harden the skulls? If not can yiu recommend something to make them harder. I don’t want the skulls to chip or crack since they are so thin.