


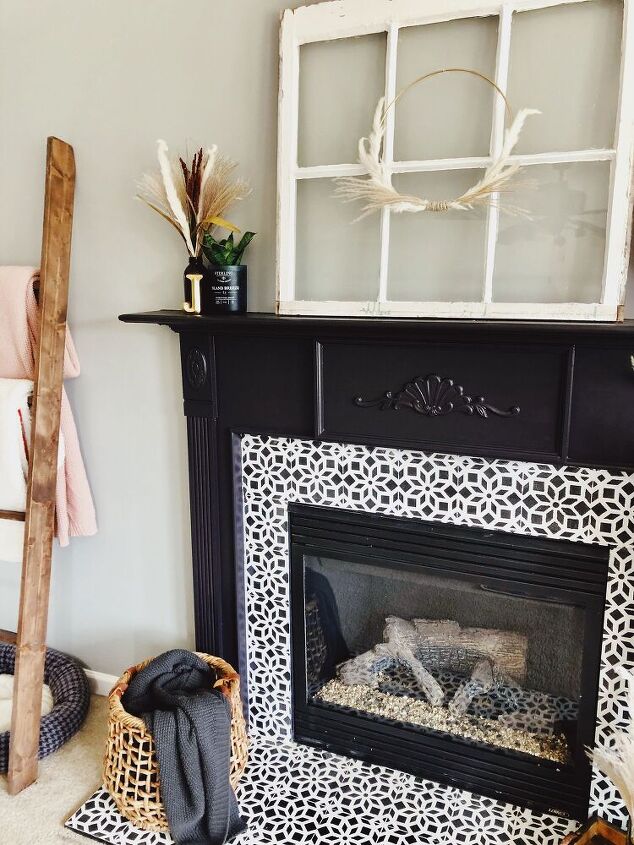
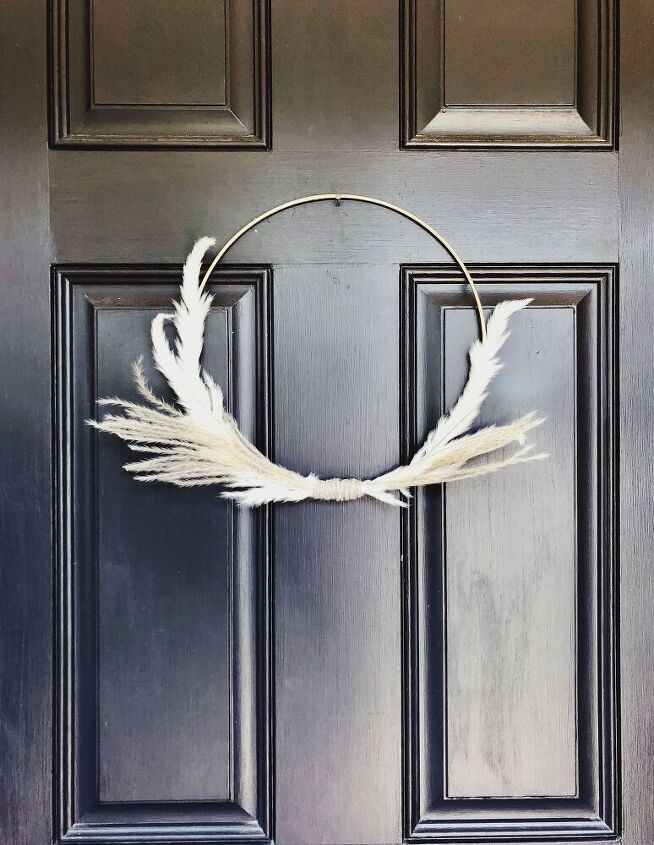
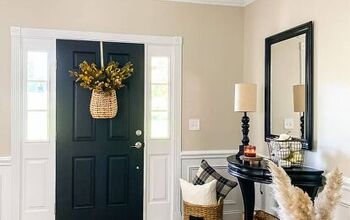
Simple Dried Pampas Grass Wreath

Add this cute, simple wreath to any door to add a cozy, fall feel to your house.
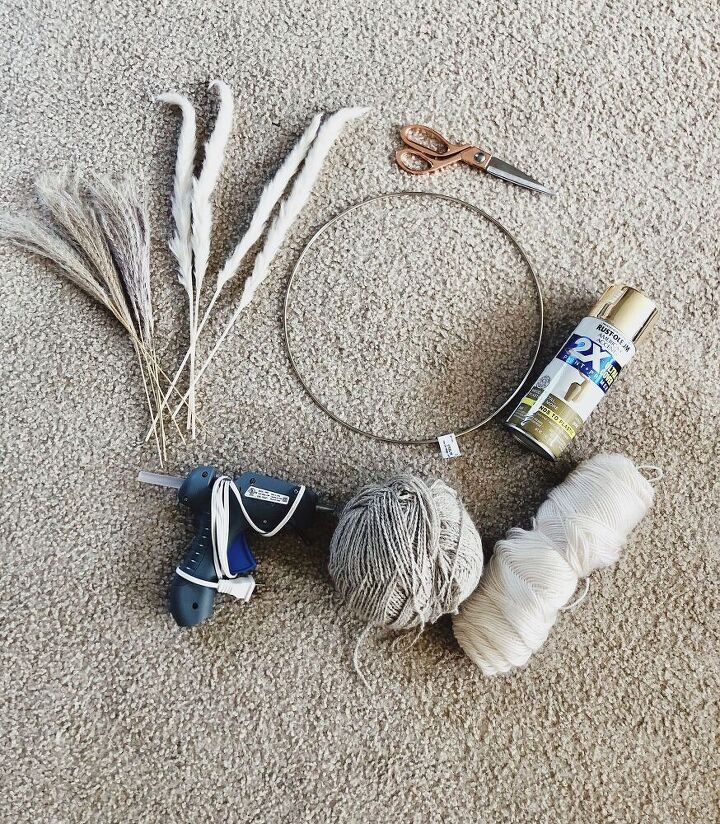
Materials Needed - Minus the hot glue gun, I used zip ties instead.
Links for dried grass -
https://www.amazon.com/gp/product/B088FDQ2G2/ref=ppx_yo_dt_b_asin_title_o06_s00?ie=UTF8&psc=1
https://www.amazon.com/gp/product/B0827J77KV/ref=ppx_yo_dt_b_asin_title_o06_s00?ie=UTF8&psc=1
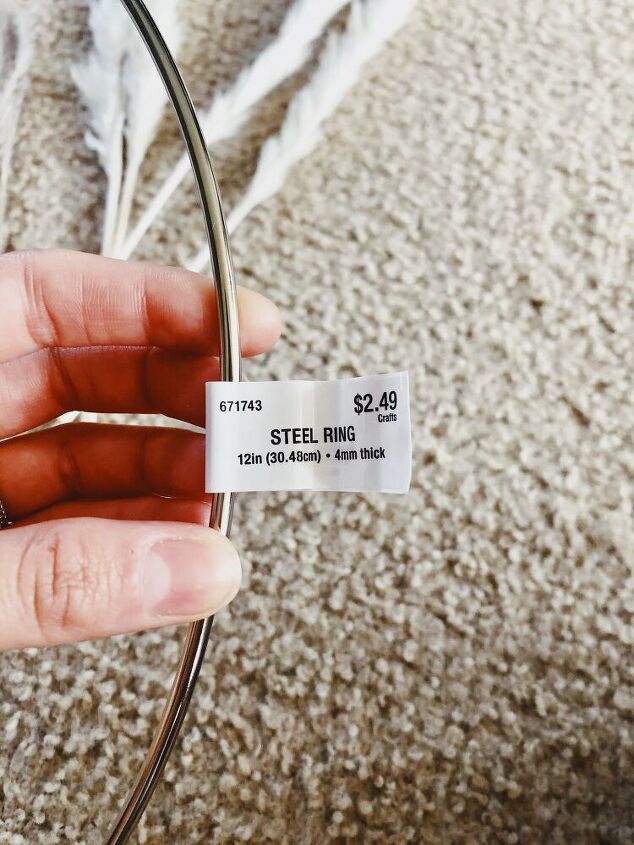
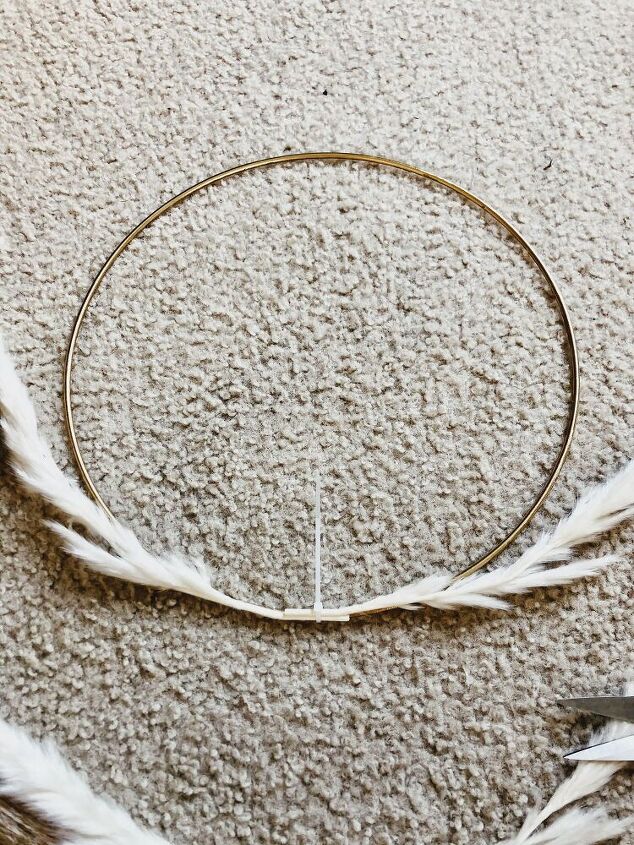
The steel ring is from Hobby Lobby. They have a variety of different sizes.
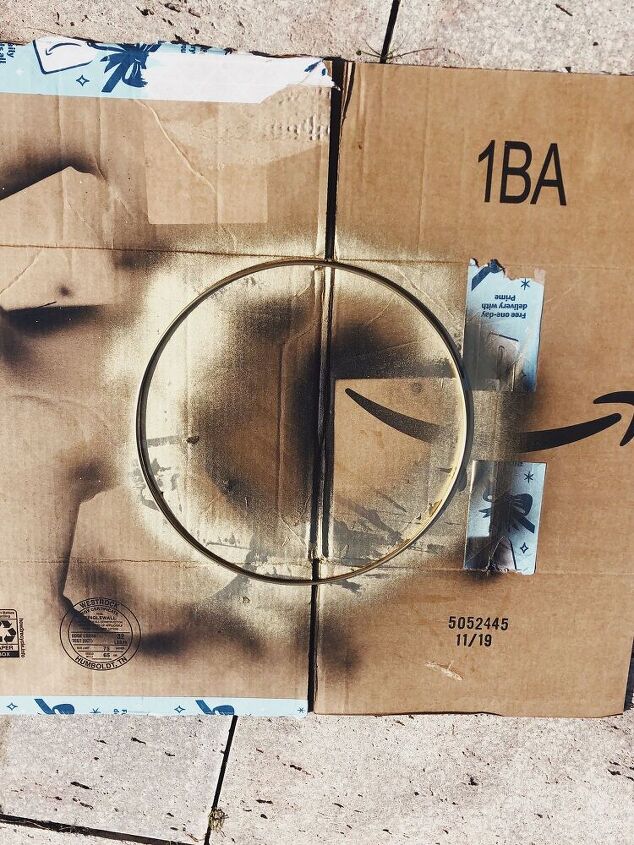
This step is optional. I wanted a gold ring instead of silver so I painted it with spray paint I had on hand. If you want it silver skip this step or paint it whatever color you'd like.
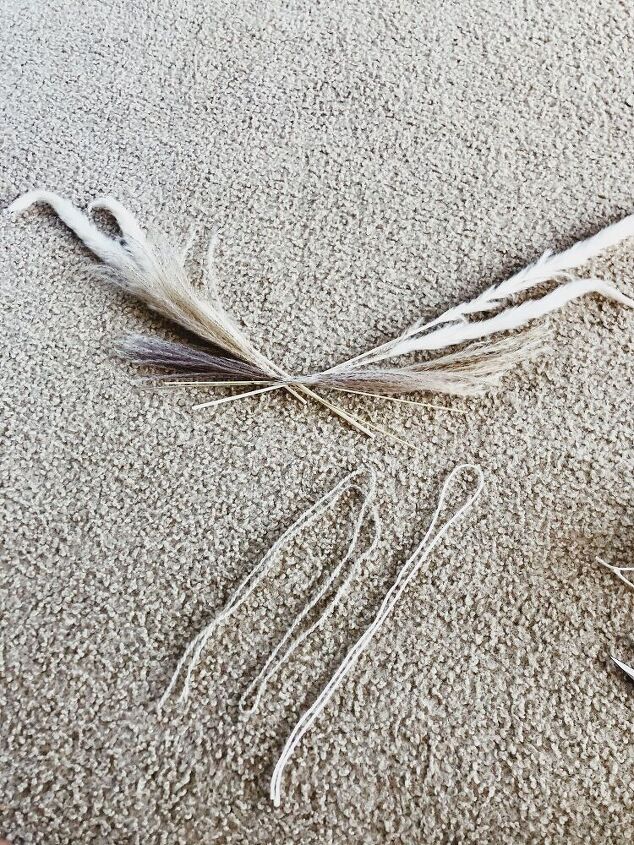
Before starting I laid out the pieces I was going to use. In total I used four of each stem of dried grass so 8 total stems.
Note - This is why this project is priced at a low total cost because I only accounted for the pieces I actually used not what the total cost to purchase the full 20 or 50 pieces of dried grass.
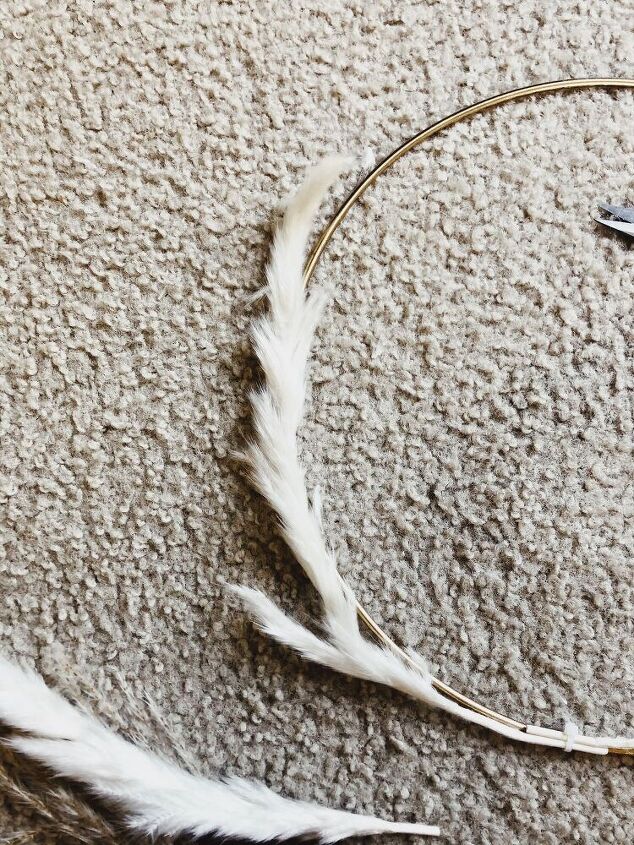
I cut down the stems and started to zip tie the stems onto the ring. I was originally going to use hot glue gun but opted to use zip ties instead. By doing this I'm making the wreath less permanent so if I want to change things up in the future I can do that and use pieces elsewhere.
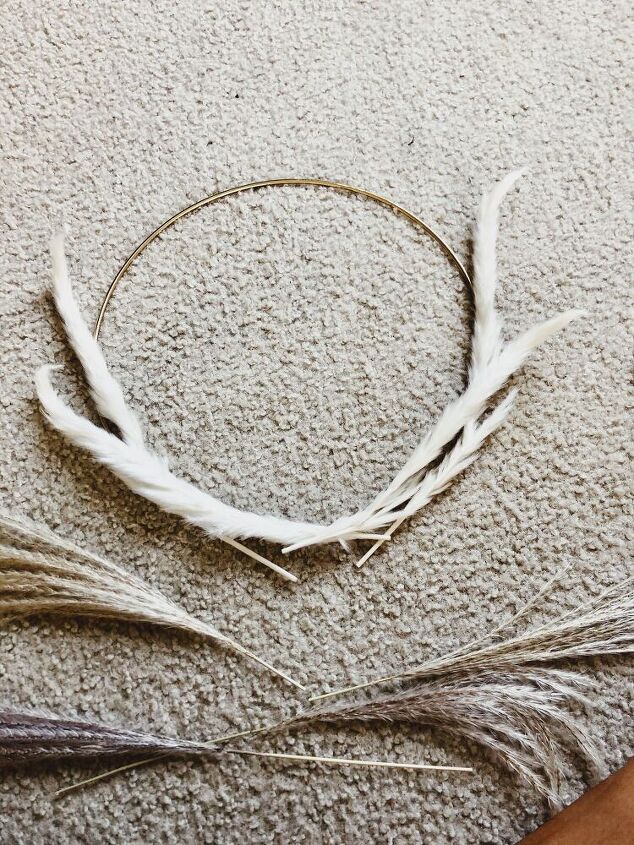
Add the other two stems of the white grass. I zip tied these in the middle.
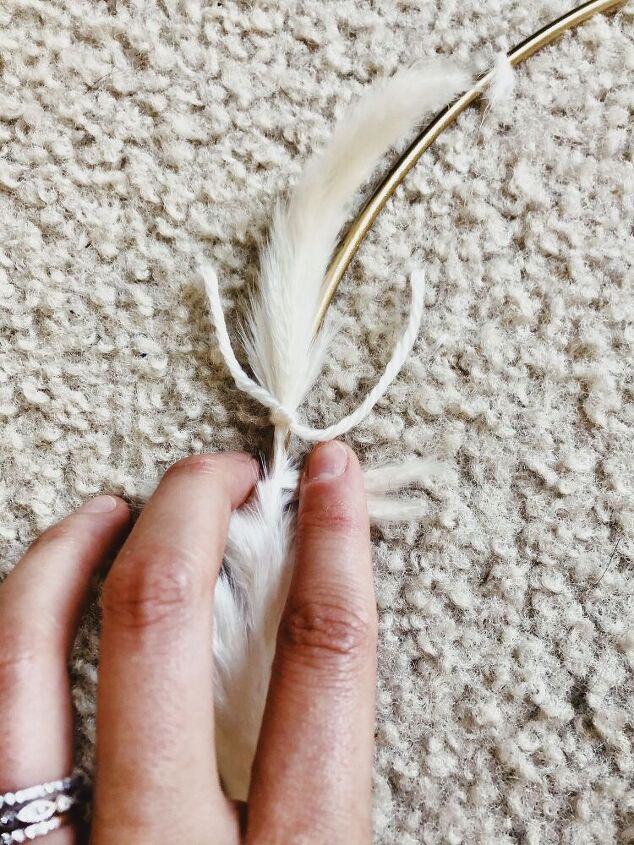
I took some yarn in the same color as the grass and tied it to the ring further up so it would round up with the ring. I pulled the grass down a bit and then tied the yarn so you wouldn't be able to see the yarn.
You can't even see where I used the yarn to tie it!
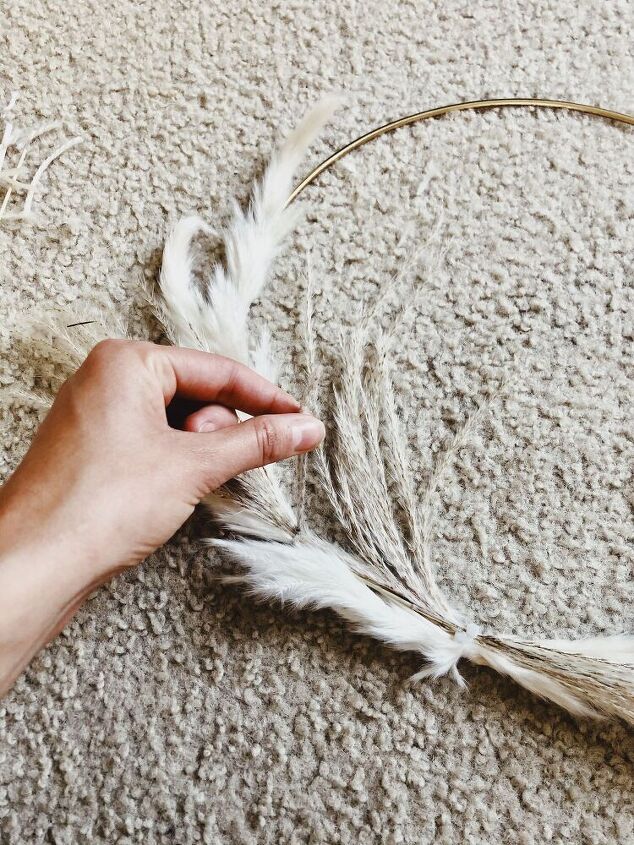
I used yarn to tie this kind of grass on. I used the same color yarn for this as well so it was less noticeable.
I strung a long piece of yarn around the middle to cover the zip ties and tied it. I love how simple this is!


Frequently asked questions
Have a question about this project?