


IKEA Inspired Book Ledge

When I went to IKEA, these book ledges were on my shopping list (along with 1000 other things). Of course they were out of stock, but hey, that saved me a couple dollars because they were just as easy to make at home too!
Supplies for this project:
- 1"x2"x8' lumber
- 1"x3"x8' lumber
- Paint or stain
- Screws to hang to the wall
Tools:
- Mitre saw or skill saw
- Brad nailer
- Level
- Sander
- Power drill
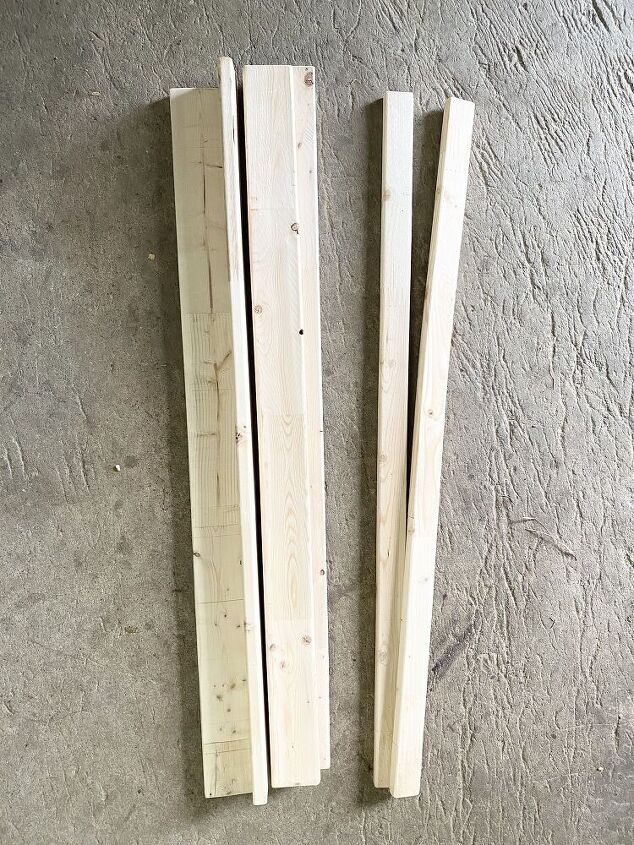
Cut 2 pieces of 1x3 and 1 1x2 to the desired length of your shelf. I'm making 2 shelves and they are 35" long.
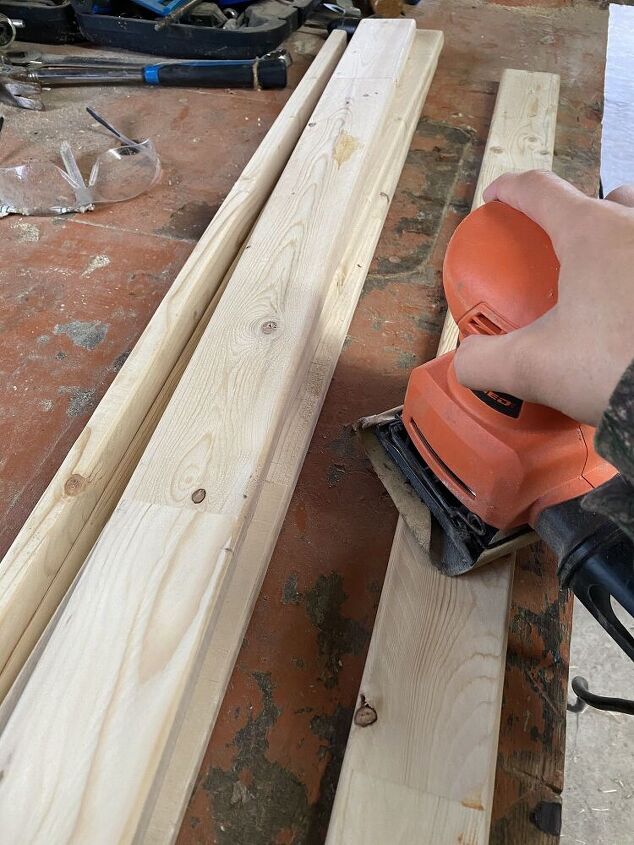
Sand the cut pieces of wood.
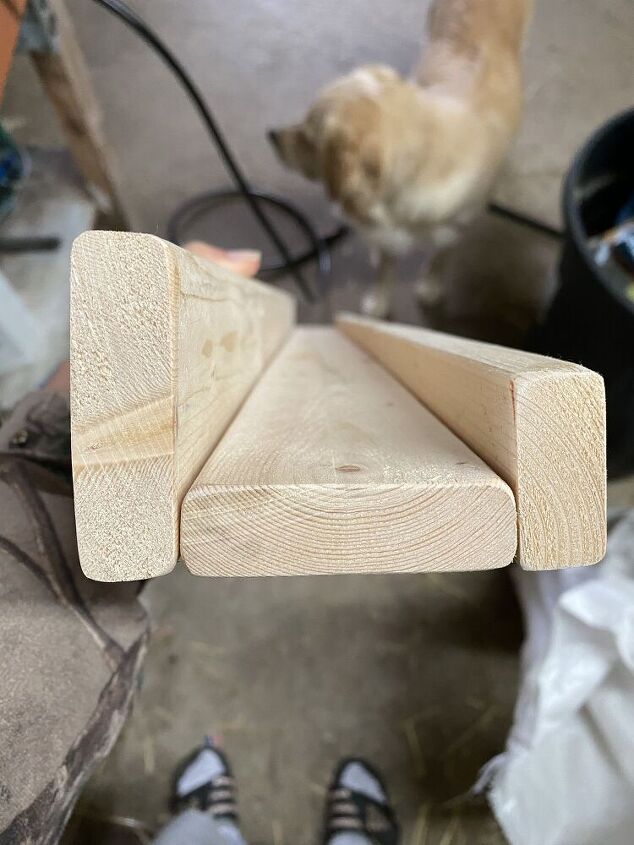
This is how the pieces are going to be put together. You can use a bit of wood glue here before nailing it together if you'd like.
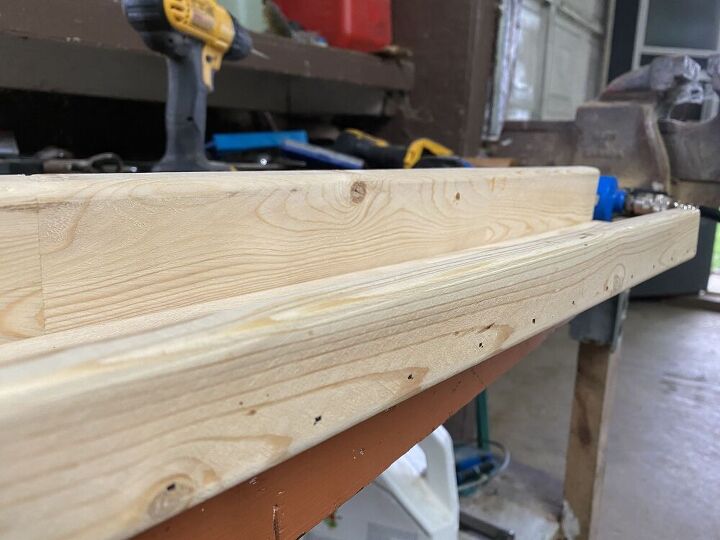
I used our brad nailer and went along the front and back to assemble. I don't know if this many nails were necessary, but better more than not enough!
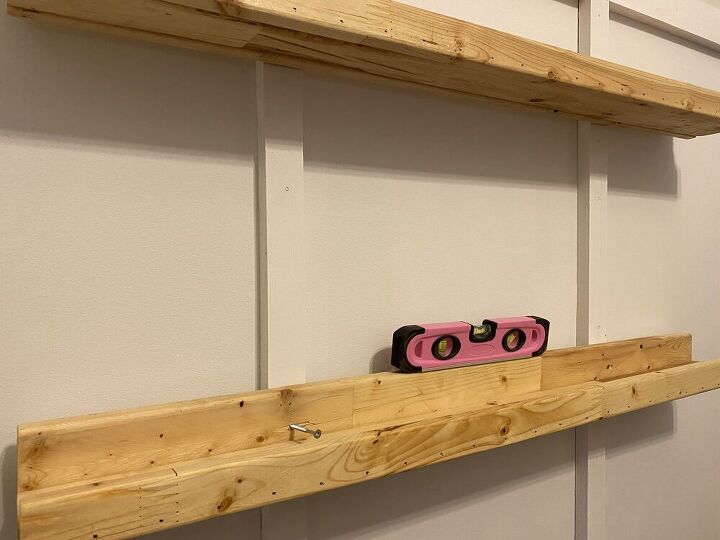
These were stained using Minwax's "Natural". Drill 2 holes where you will be putting in the screws. These are going into the boards of our board & batten wall. Level and screw into the wall.
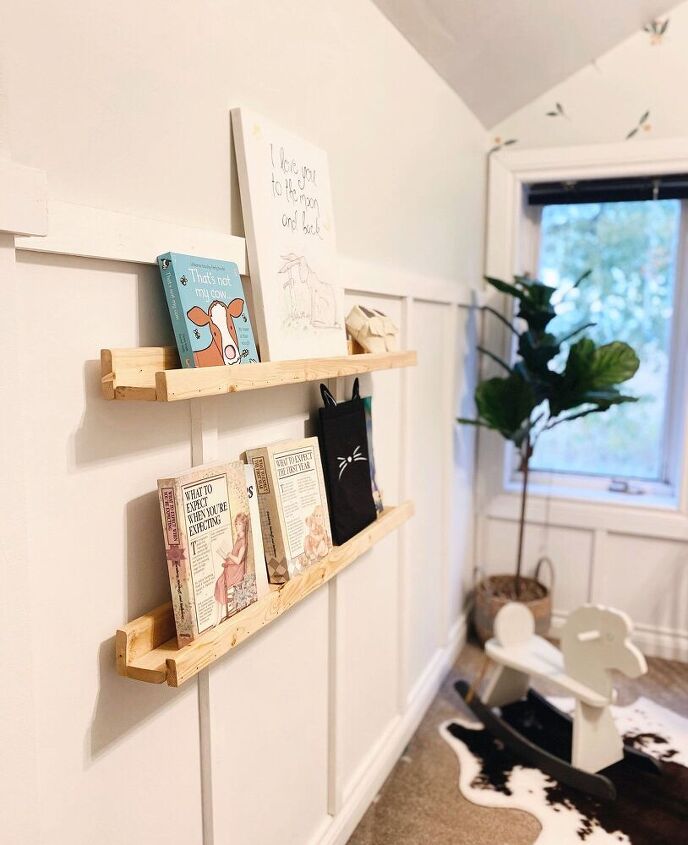
Looks like I need to get a few more books to fill these up...
For more ideas and ongoing projects, follow along on Instagram and Facebook!
Insta: @farmhouse.ongunnshill
Facebook: Lauren Ann Design
~Lauren 
Resources for this project:
See all materials


Comments
Join the conversation
-
I love these ...I need to make me a few of them ...thanks for sharing ...Great Job


Frequently asked questions
Have a question about this project?
I don't see why you bothered to sand that middle board? You can't really see it and if it's got a sharp edge it will fit more tightly to the others once glued.
Very well done, you pay the moon for these at Pottery Barn! Yours are every bit as nice and customizable to your wall!