


Quick & Easy Upgrade: Nest Hello Smart Doorbell Installation!
After a few too many doorbell chimes waking up sleeping babies, I decided to upgrade our doorbell to a Nest Hello smart doorbell, and OH MY GOODNESS it was so worth it.

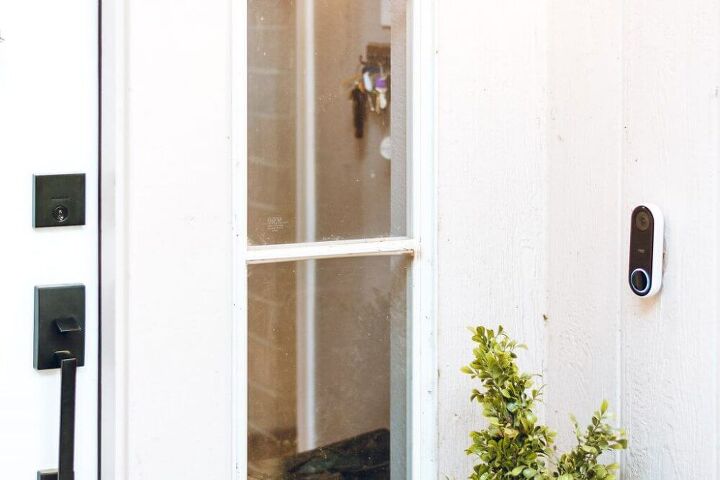
This is what we were working with before - nothing really wrong with it, just a standard doorbell, but it certainly wasn't helping us keep the kids to sleep.
The main feature I wanted from this project was the ability to turn off the chime at will - the nest app lets you do that!
But before you can silence your chime at will, you'll need to prepare the area. Turn off the power to the doorbell at your breaker panel (ours had a light behind the button, so it was easy to tell when it was off), and clean the area.
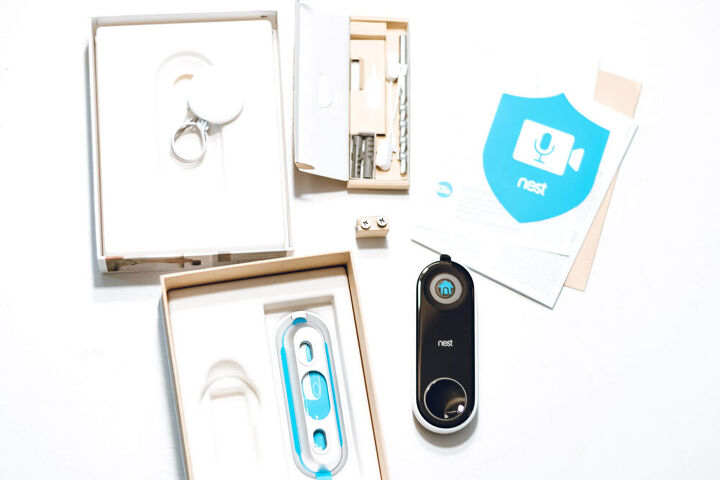
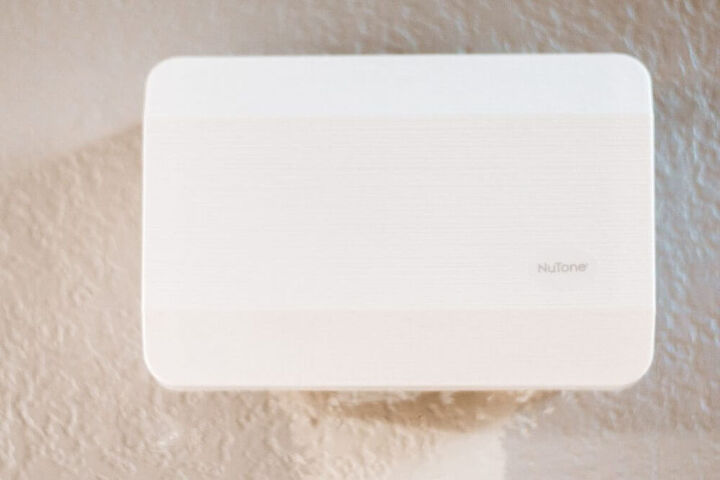
Next, you'll want to gather everything you'll need. I used a Nest Hello smart doorbell and an inexpensive chime box (keep reading to see that!).
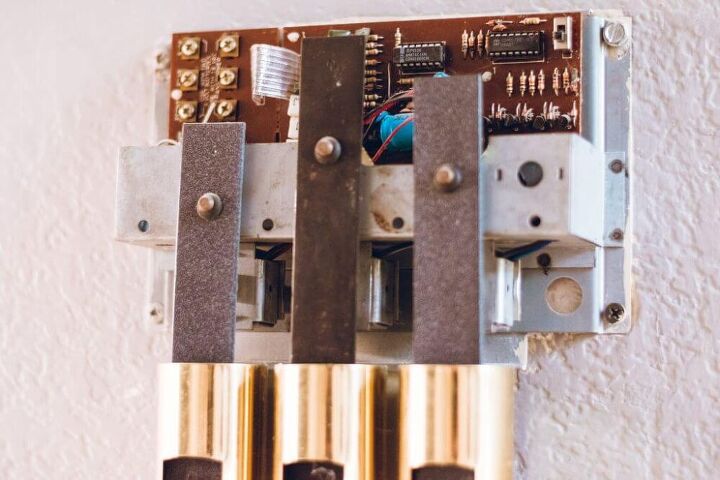
We had a very fancy doorbell...20 years ago. Upgrading the unit to something more modern and clean looking made a huge difference! I did run into a small issue though, so keep reading.
It turns out the old transformer for the original chime wasn't compatible with the new smart doorbell, so I had to update it. Check out the full post on my blog to see what I did to fix it!
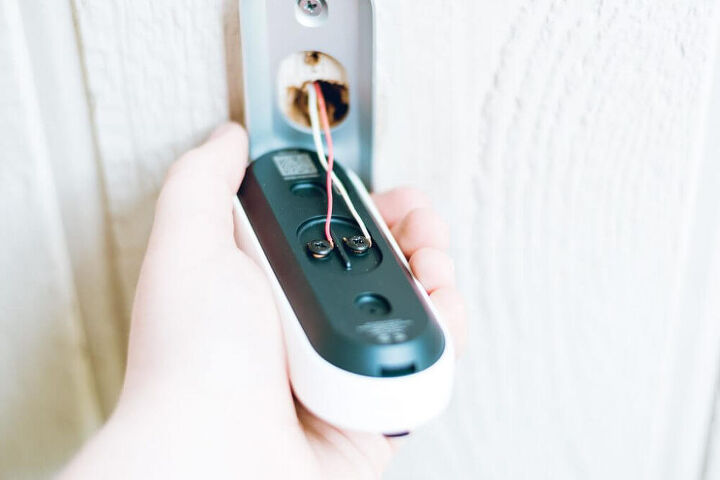
Once I got the chime figured out, I connected the existing wires from the old doorbell to the new smart one (Nest gives you great step-by-step instructions in their app for this), and I was in business!
One of the great features of this doorbell in particular is that it has a camera in it (and a really great quality one at that). Though I originally bought it for the chime feature, the camera has really come in handy.


Frequently asked questions
Have a question about this project?
We got a new chime box for our nest door Bell and the cover won’t fit because of the inside nest moduler