


How to Create a Birthday Photo Display in 5 Easy Steps

Looking for an easy birthday photo display idea?
Learn how to create a beautiful photo display perfect for any special occasion.
For more simple and budget-friendly DIY project ideas, be sure to follow us on HomeTalk and visit our blog!
I made this for my daughter's 16th birthday but it can be used for any year.
Perfect for a 1st birthday to celebrate each month of your baby's first year.
Or even for a graduation, wedding, bridal or baby shower!
Choose & Print Pictures
I’m one of those moms that creates a photo collage every year for each of my kids’ birthdays to post on social media.
I love to share a picture taken on their actual birthday starting with the day they were born.
So when I had this idea of making a birthday photo display I already had a folder of photos from each birthday on my phone.
That made it super simple to just upload them to my local store for printing.
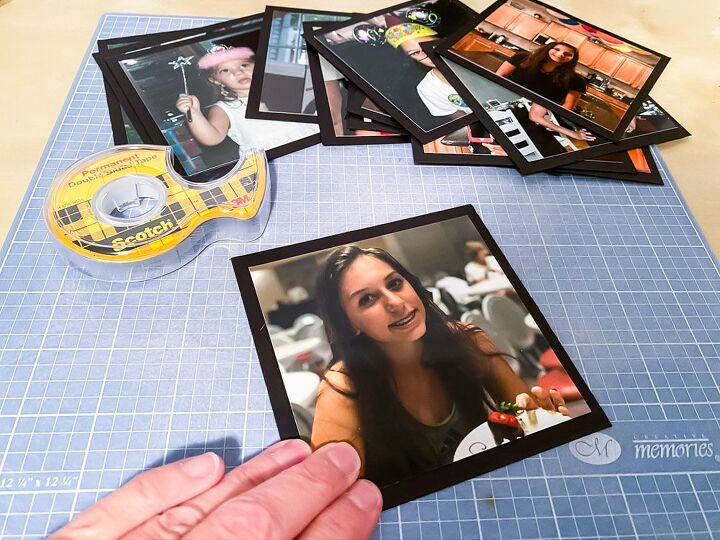
Trim Photos and Frames
I cut all the 4×6 prints to a 4×4 size using a paper trimmer.
You can also pay a bit more and get your pictures printed in that size.
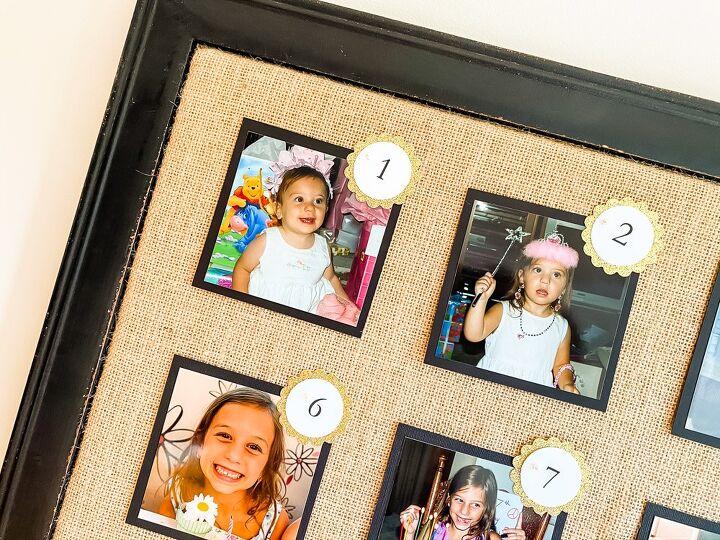
Then I “framed” the pictures with black card stock cut to 4.5″x4.5″.
Any color would work for this step, but I do like to use textured cardstock.
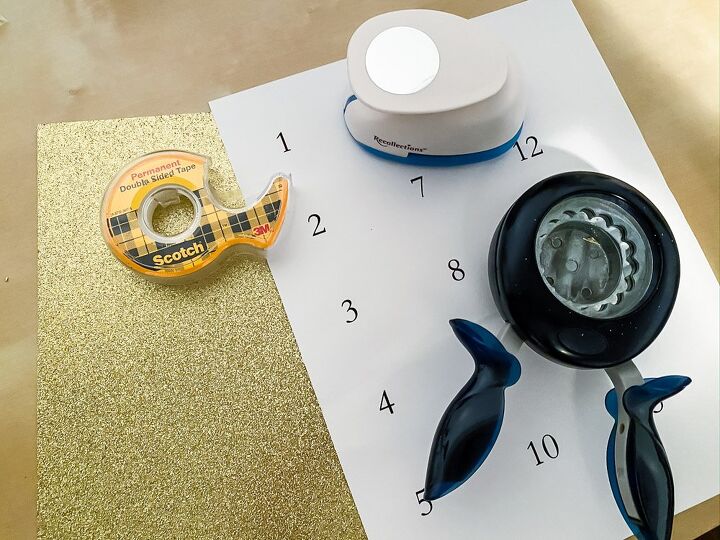
Print & Cut Yearly Tags
Print out numbers to coordinate with each year on plain white card stock.
Next cut out numbers with a 1.5″ circle paper punch.
Then cut a scalloped circle in gold glitter card stock with a 2″ scallop paper punch to go behind each number.
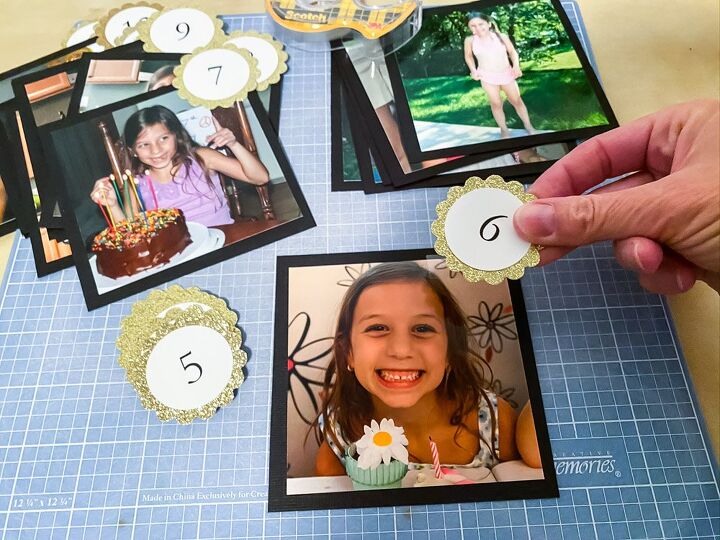
Adhere Photos & Yearly Tags
Using double-sided tape adhere your birthday pictures to the black frames you cut out previously.
Then tape your round year numbers to the gold scallops.
Once your pictures and year tags are all secure just tape the number to the corner of your photo.
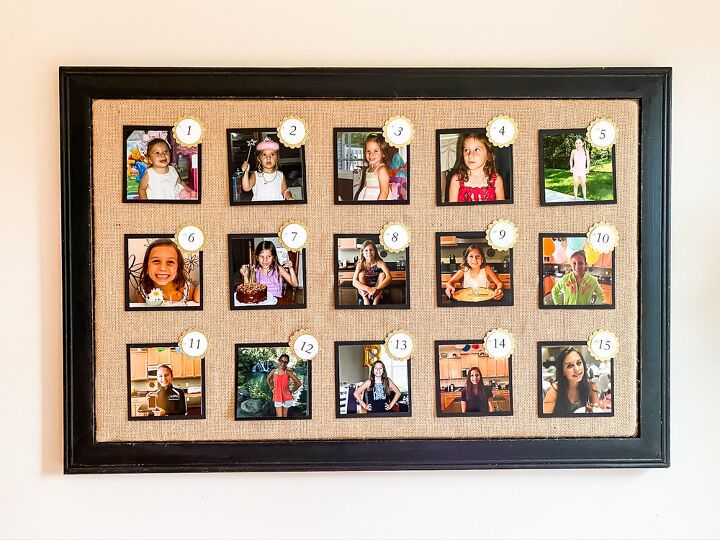
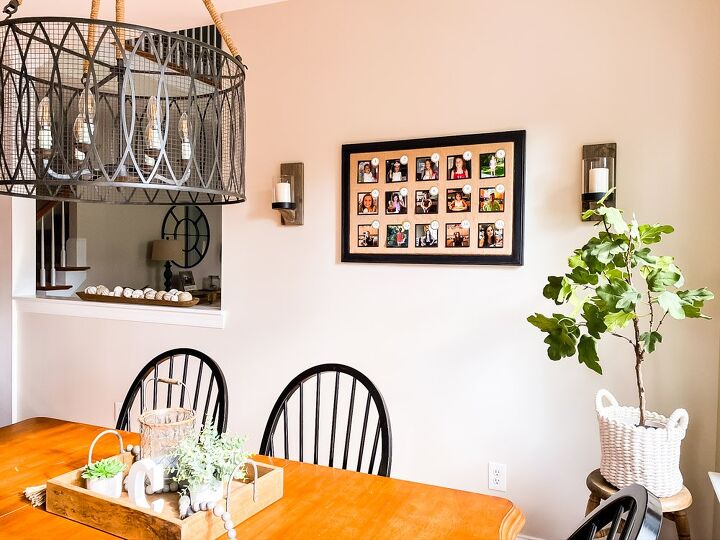
Create your Birthday Photo Display
I created the display in a 3x5 grid format on a burlap-covered bulletin board that I had already.
Actually, I had all the craft supplies needed I just needed to pay for the photo prints.
Resources for this project:
See all materials


Comments
Join the conversation
-
Very nice idea. I'd have to do mine in a scrapbook, though, rather than a pic for the wall. 14 grandkids would take up a lot of wall space!😍
-
Lovely idea. Nicely done.
Annie🦋


Frequently asked questions
Have a question about this project?