


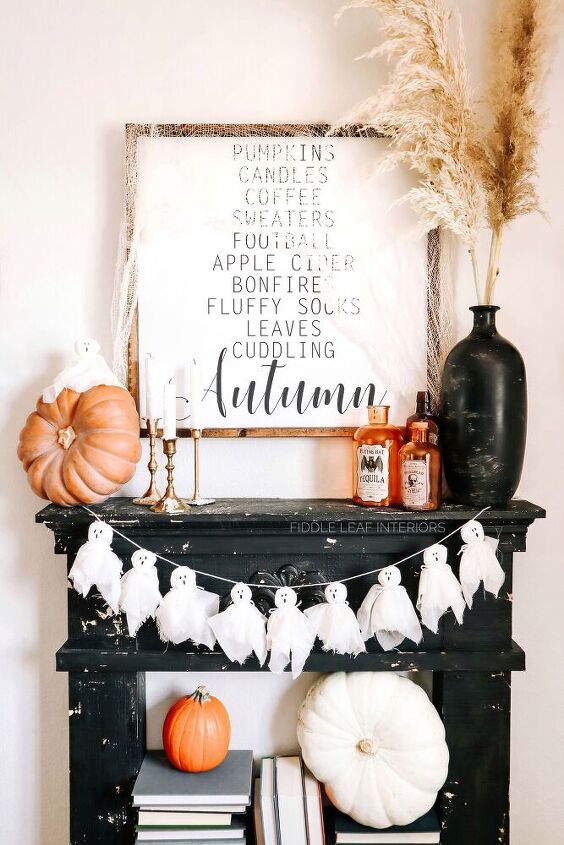
Easy DIY Ghost Garland
Happy almost Halloween! This cute ghost garland is probably one of my absolute favorite Halloween DIYs. It takes minimal materials, and can absolutely be made with your kiddos! Plus, some of my favorite memories as a kid were making DIY Halloween decorations, or any holiday decor really, with my mom; so this is a great way to make those special memories that you’ll savor for years to come!
Aren't they TOO cute! I hope you'll stp by my blog for other fun DIY projects, especially as we near Christmas! I'd love you have you as a subscriber too! :)
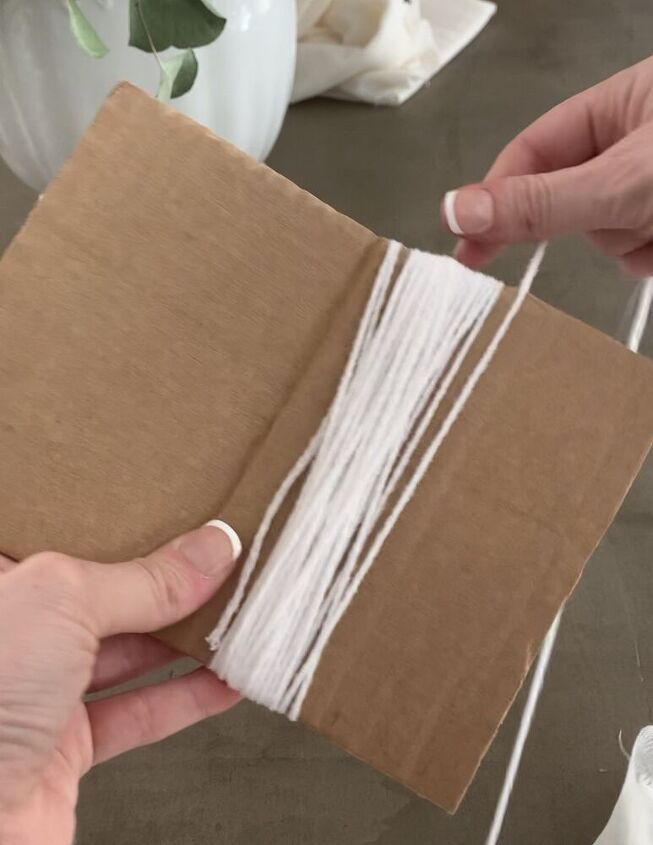
Wrap your white yarn around you 5″x5″ piece of cardboard between 50-60 times (depending on the thickness of your yarn – if thicker, you’ll need less rotations).
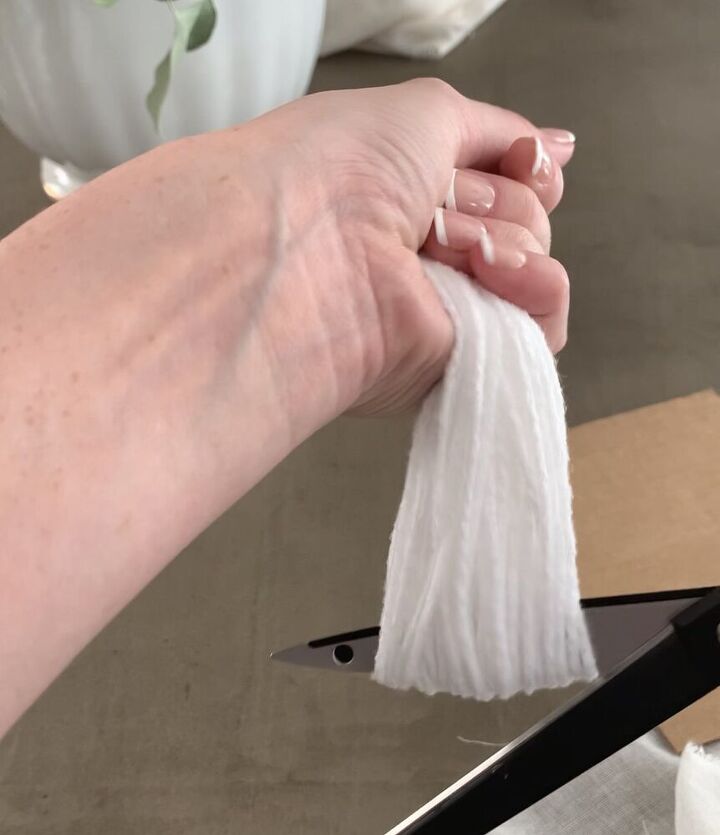
Cut your yarn off at what will be the bottom of your ghost. Slide off the yarn from the cardboard, and cut through the loop at one end to create what looks like a tassel.
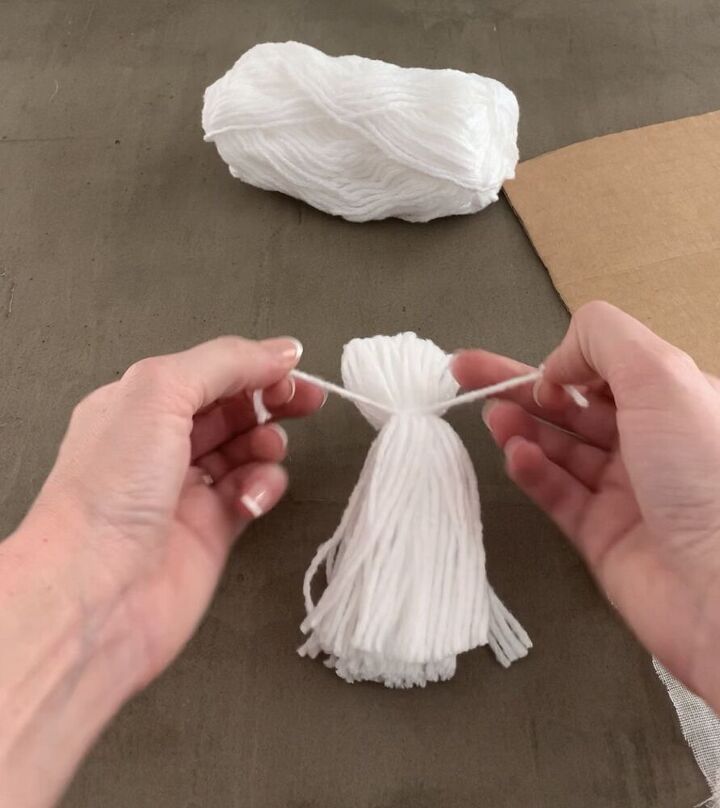
Cut a small piece of yarn and tie it around your “tassel,” about 1/3 down from the top of the loop. The top looped portion will serve at the face of your ghost. Be sure to double knot!
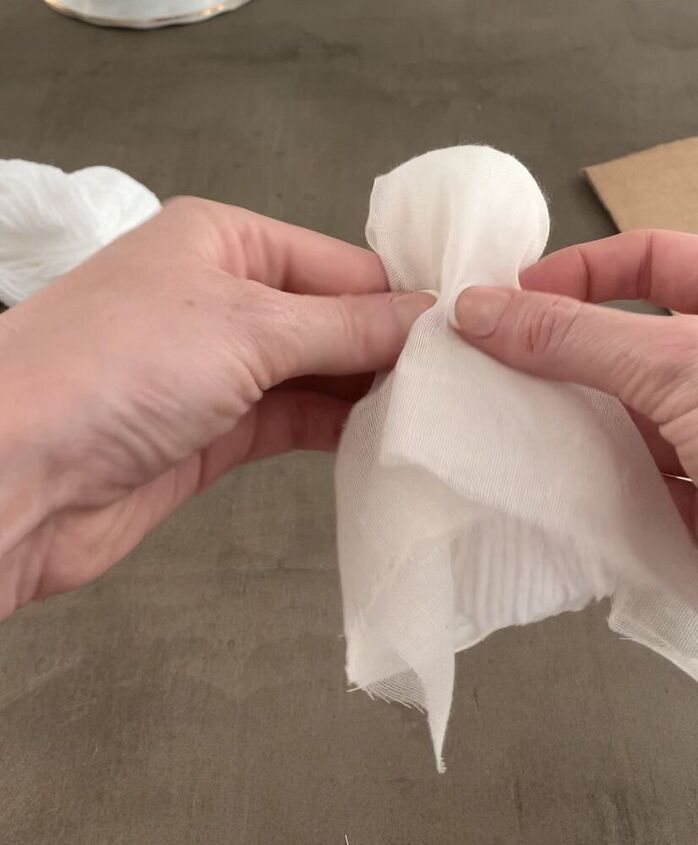
Use the fabric scissors to cut a square piece of cheesecloth that is about 10″ by 10″. Drape it evenly over your ghost. The very middle of your square piece of cheesecloth should be sitting on top of the looped portion of your yarn.
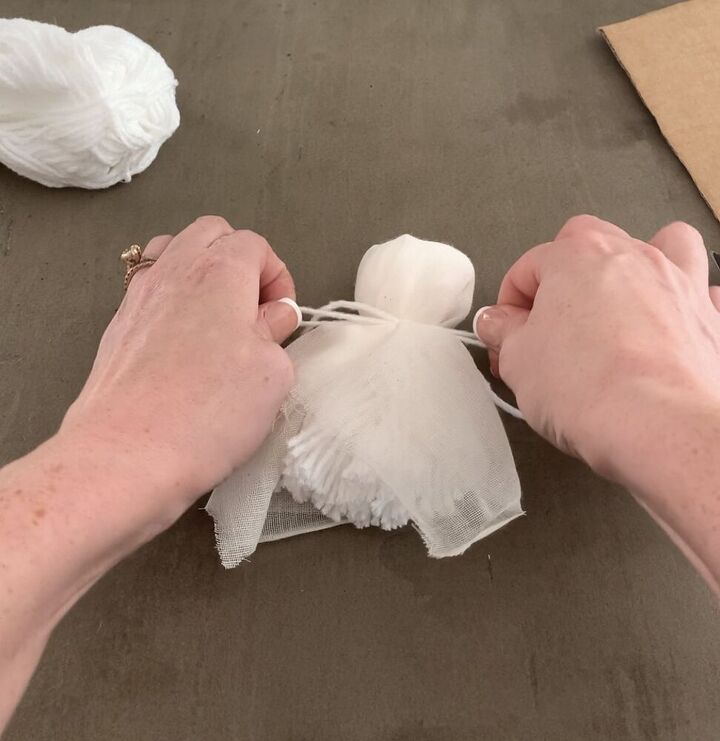
Cut another short piece of yarn and tie it around your cheesecloth in the same place as the prior tie. This time, instead of a double knot, first knot your yarn and then tie it in a bow. Cut off any excess yarn on each end to your liking.

Using a small paint brush and black fabric paint, paint your ghosts faces. I created a larger oval mouth with two smaller oval eyes.
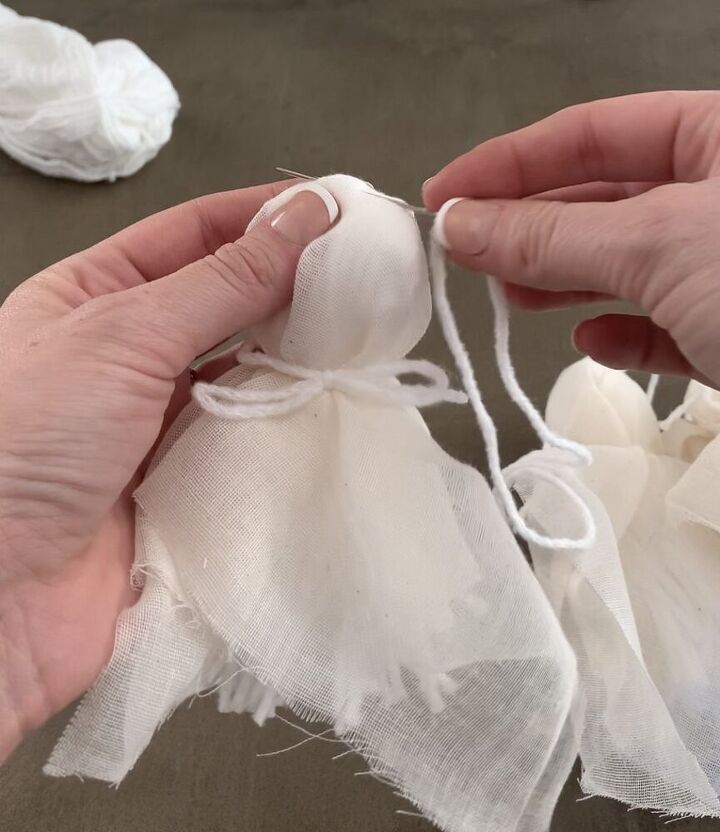
String a long piece of your white yarn onto an embroidery needle. Thread your needle through the top of each ghost’s head, making sure to pick up both the cheesecloth and several pieces of yarn underneath (this will make it stronger).
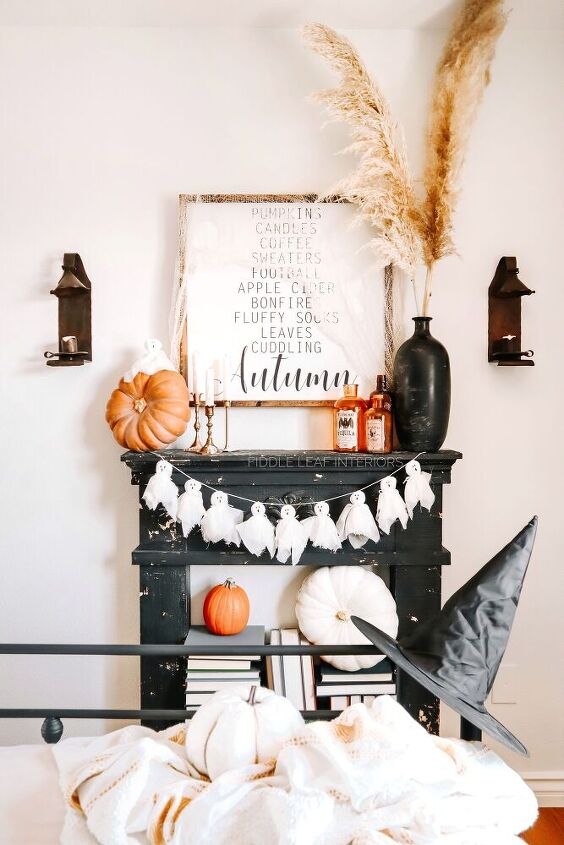
Adjust your ghosts, and then hang across your mantel or a shelf for the cutest DIY Halloween decorations around! You can also use these cute ghosts individually. How cute would they be on top of a Halloween place setting, or as a party favor for guests during a pumpkin carving party? The possibilities are endless!
I hope you enjoyed and I hope I see you around over on my blog as well!
XO,
Ana
Resources for this project:
See all materials


Comments
Join the conversation
-
When I was a kid we put a Kleenex tissue over a Dum Dum sucker (lollipop) and tied it with yarn then gave it away as a treat on Halloween night.
-
So very cute!! I will definitely try to make these..thank you for sharing!!


Frequently asked questions
Have a question about this project?
Lot of work for the yarn part. Why not just stuff the head with a cotton ball or piece of poly batting and call it a day?
Super sweet little ghost I love it.