


Transform a Bedroom From Carpet to Cork Flooring
If you have been following my blog post for a while, you know we added cork flooring to our daughter's bedroom. If you want to see the transformation, visit it here ( Cork Flooring Bedroom Project). We hoped to do the same thing to my son's room, which is adjacent to hers. And finally, I have completed this project. YAY! Follow along and see how we transformed my son's bedroom from carpet to cork flooring.
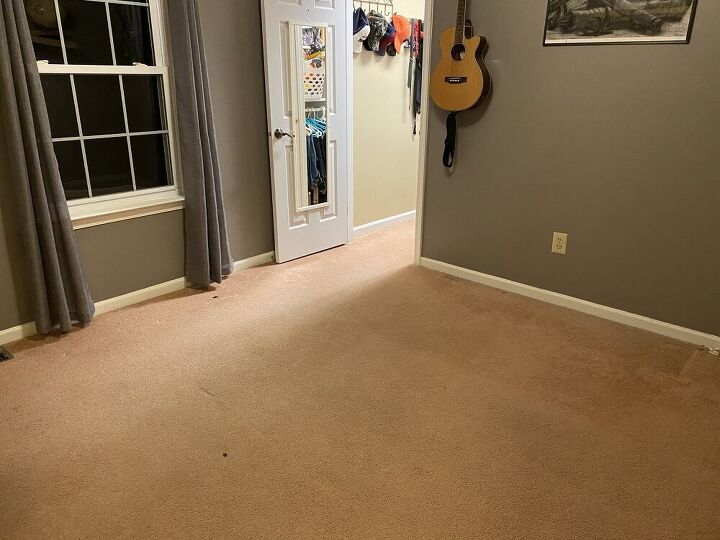
Before pictures of the bedroom that we are about to transform.
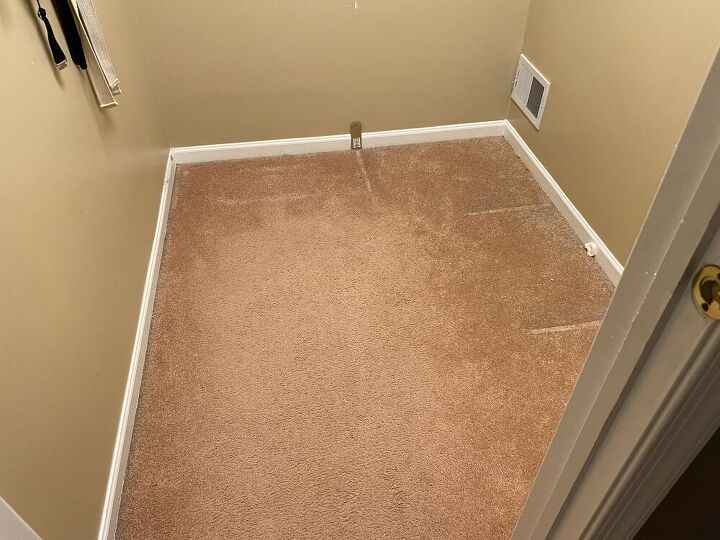
This is the walk-in closet we were replacing as well. The padding was completely flat, and the color was faded. It was over 25 years old, so it was expected.
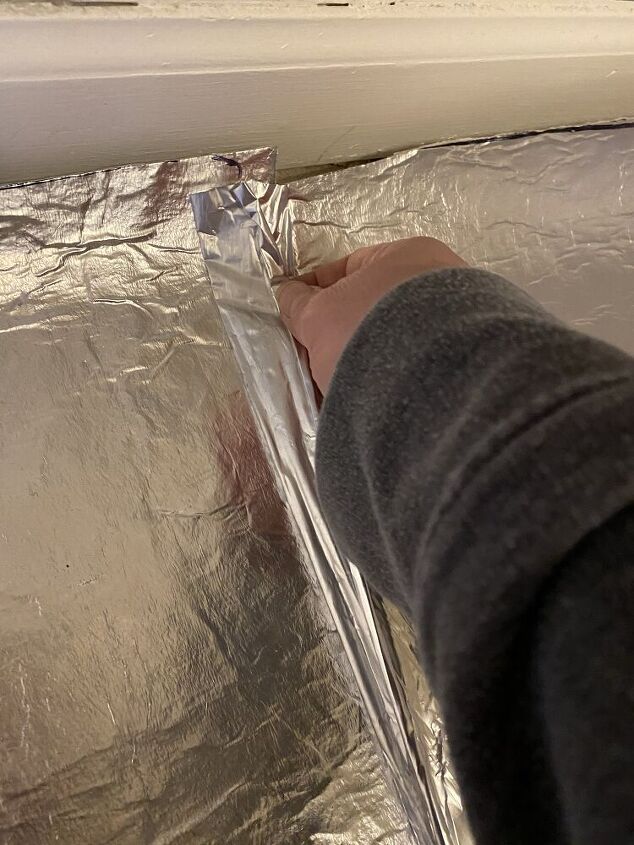
We removed the carpet, removed the tack strips, then vacuumed the entire floor in the bedroom and closet. We inspected the floor and screwed down some of the flooring that was squeaking. Then added the underlayment.
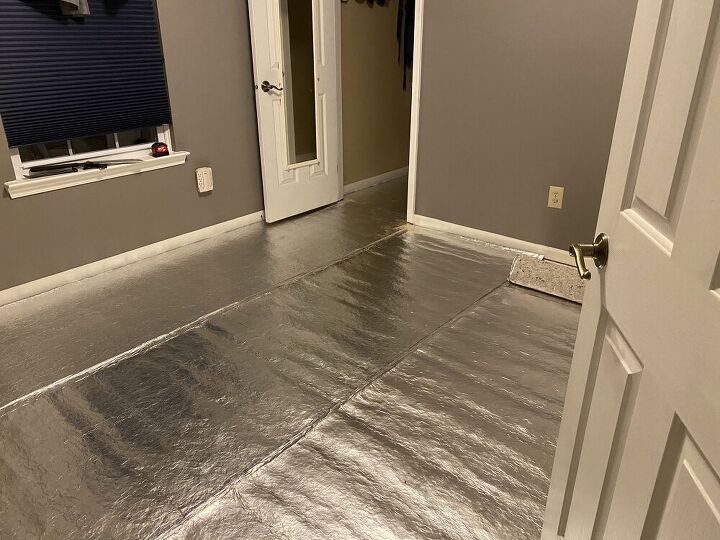
We cut out the areas that needed exposed like the air vent and cut around the door. It was easy to install and only too about 1 hour or so.

We cut under the doors using a door jamb saw so the planks would slide under them easily and create a clean look.
We used a table saw to cut out the vent and starting laying the floor down. It is an interlocking floor planks so no glue or mess. We had to cut the planks in an angle to frame the entry door so that took some time.
Then, we added the corner round molding around the edges to finish the cork flooring. We also caulked the holes and painted them.
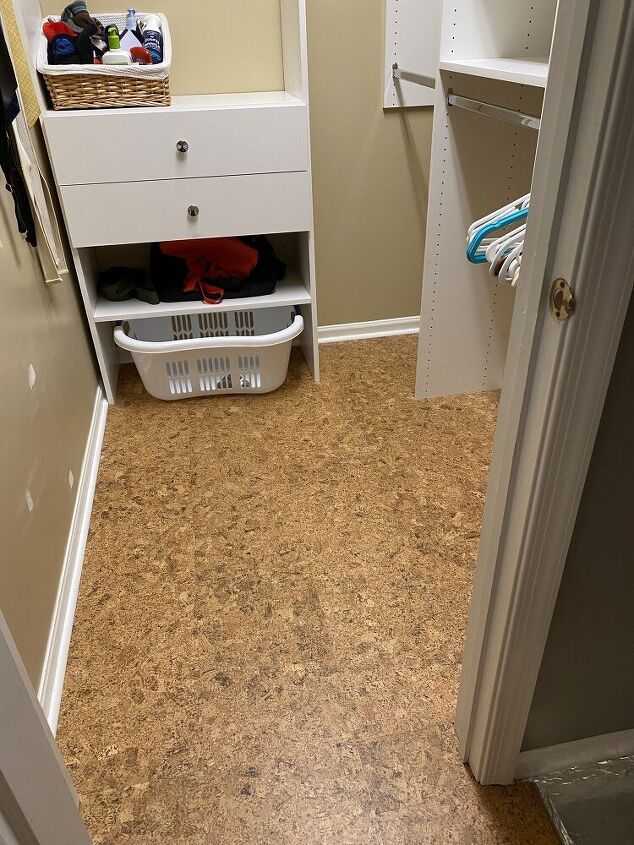
Here is the picture of the flooring after we installed the custom shelving unit we had removed when doing this closet.
Feel free to read more details of this DIY transformation on our blog by clicking on the link below.
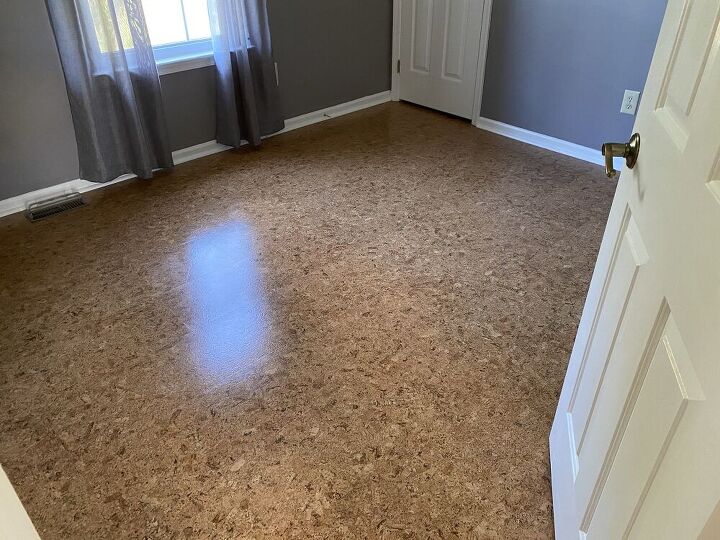
If you want, you can add urethane to it and let dry for an extra protection. We did that in our daughter's room, but did not in this room. It makes the floor a little shiny.
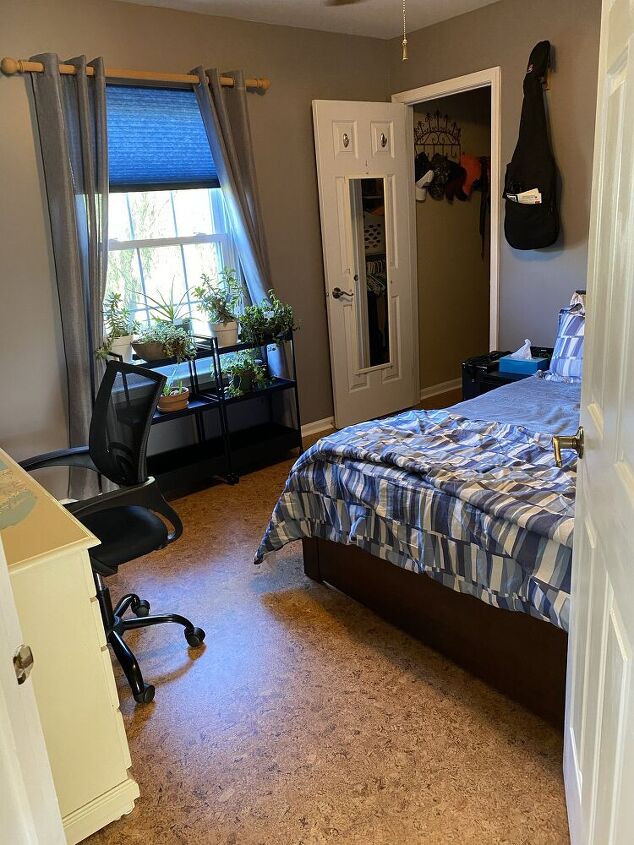
Here is the final picture with furniture in the room.
Resources for this project:
See all materials


Comments
Join the conversation
-
Beautiful ! Thanks for sharing
-
From The Spruce, ‘Pros and cons of cork flooring’.
Pros:
Soft, cushioned surface. Good insulator. Can be refinished if solid, not engineered. Hypoallergenic, antimicrobial and eco-friendly. Easy to install and maintain.
Cons:
Susceptible to damage. Divots from heavy furniture and appliances. Easily damaged by pets. Requires water sealing with multiple layers. Can fade in sunlight.


Frequently asked questions
Have a question about this project?
So very nice, but without the poly are you not risking the cork become too water saturated when cleaning? It looks wonderful.