


Refinishing a Dining Table

I got this table for $20. The top was worn, scratched, burn marks, water stains - it was a mess. It was a sturdy table but I knew I could refinish it and give a new, beautiful, country-style look.

Original tabletop
Here is the original tabletop. As you can see it has had many good years of use, but definitely has potential to look new again.
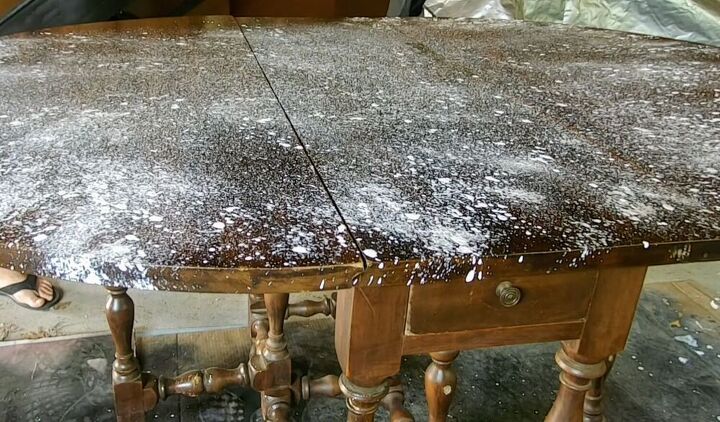
Paint & Varnish stripper
I've never used a stripper, so I thought this would be a great project to give it a try. I always sand until I get down to a wood surface that I can restain, but I wanted to try to get to the original wood without getting covered in sawdust. So I covered the entire tabletop and let it sit for about 4 hours.
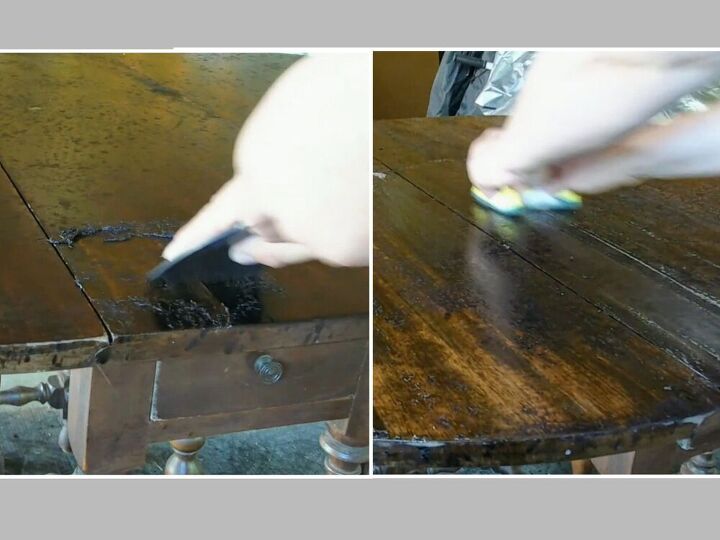
Scrap off the varnish.
After the stripper sat on the table for a few hours, I grabbed a plastic scrapper and started scrapping. The instructions said not to use a metal scrapper, to avoid causing scratches. This step definitely took more elbow grease than I anticipated. Once I got off as much as I could, I used a rough sponge with soap & water and scrubbed off any access.
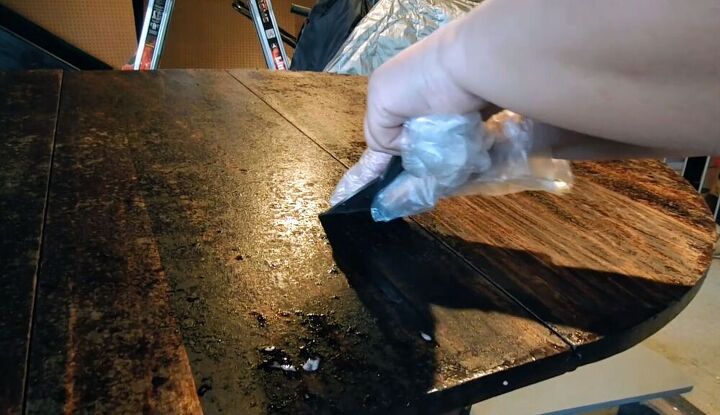
Second round of stripper
The first round of stripper didn't get off much of the varnish. So, I applied a second coat and let it sit for another few hours. When I started scrapping this second coat off, it went much smoother. I also used soap&water and a rough sponge when I was done removing this second layer of stripper.
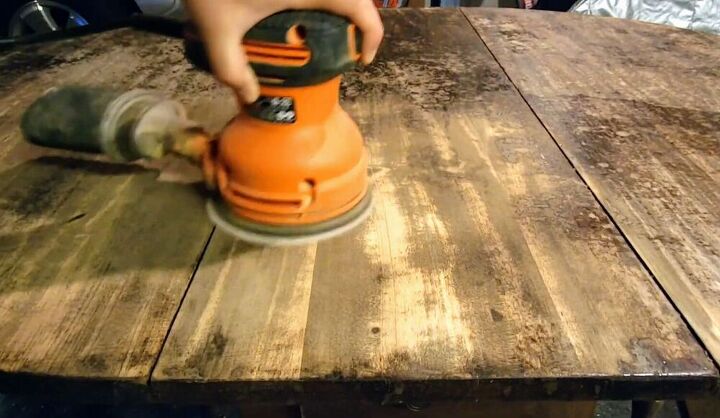
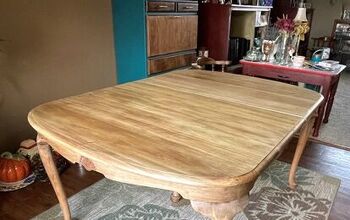
Sand
After two rounds of stripper, there was still small bits of the original finish that needed to be removed. I grabbed a sander and started giving it a final smooth finish. While I ended up with less sawdust, I still spent a lot of time doing two rounds of stripper and giving it a final sanding - therefore, I was not impressed with the time consuming technique of using a stripper.
Stain
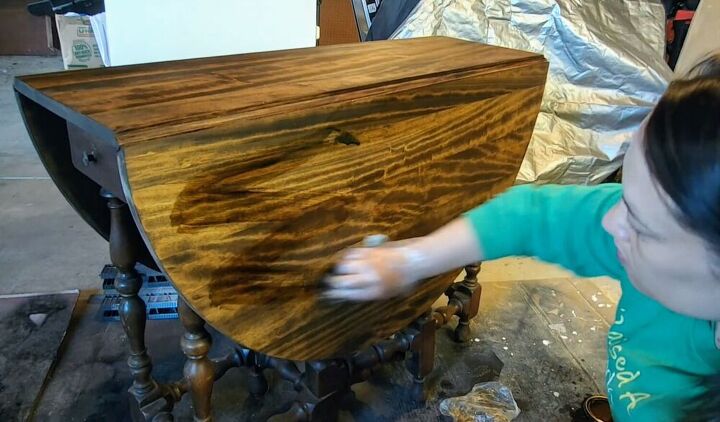
I did two coats of Minwax Red Mahogany wood stain. I absolutely love how the variations of colors came through.
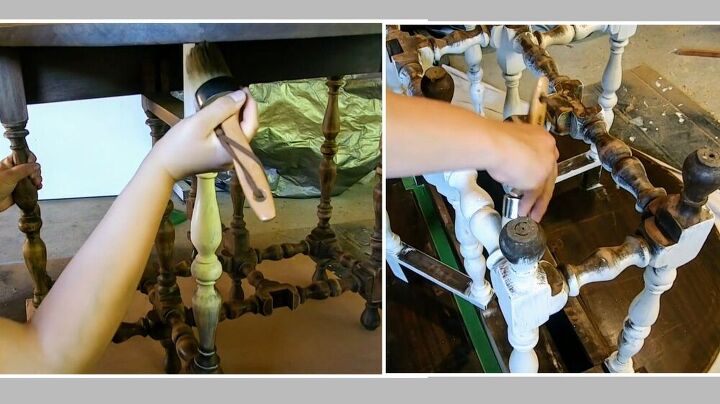
Paint the table legs
I used a cream color to paint the legs of the table. To make sure that I got full coverage, I gave it all two coats and flipped the table upside down to make sure I got everything covered.
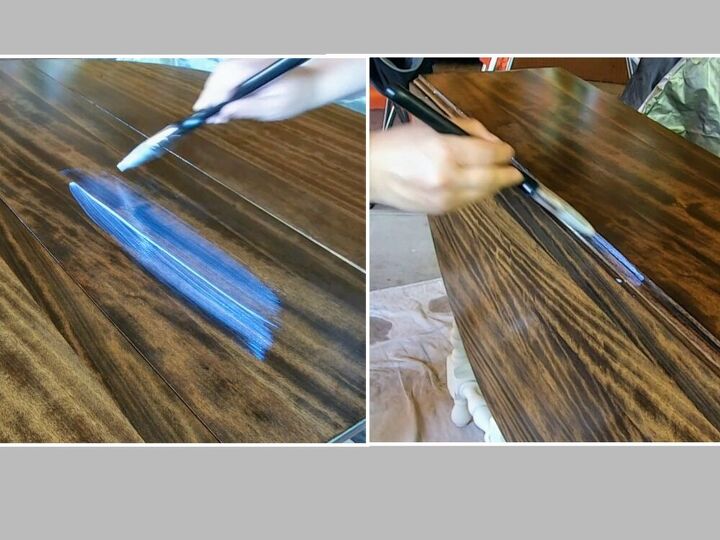
I did three coats of polyurethane over the entire tabletop.
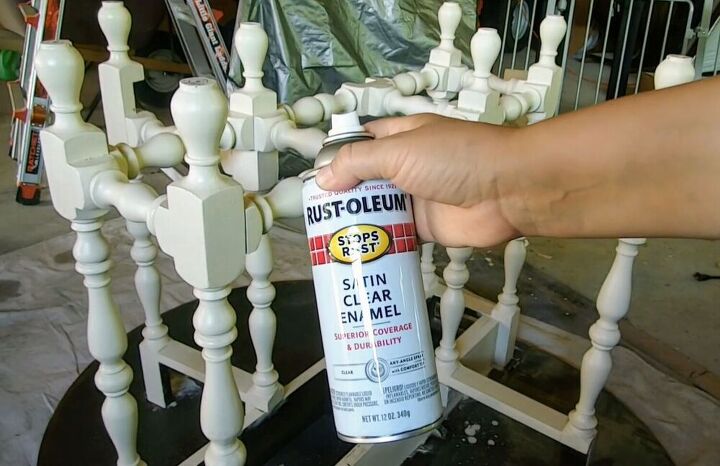
I sprayed the bottom with a satin clear coast by Rust-oleum.
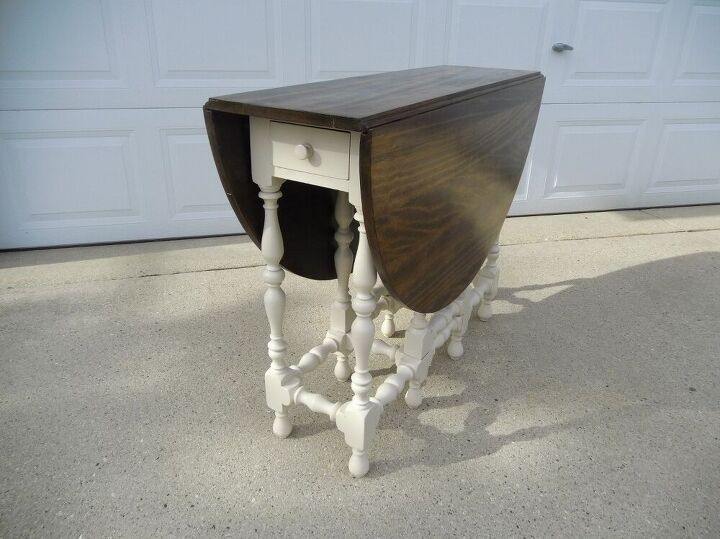
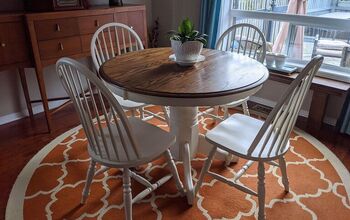
And here is the final look with the sides folded down.
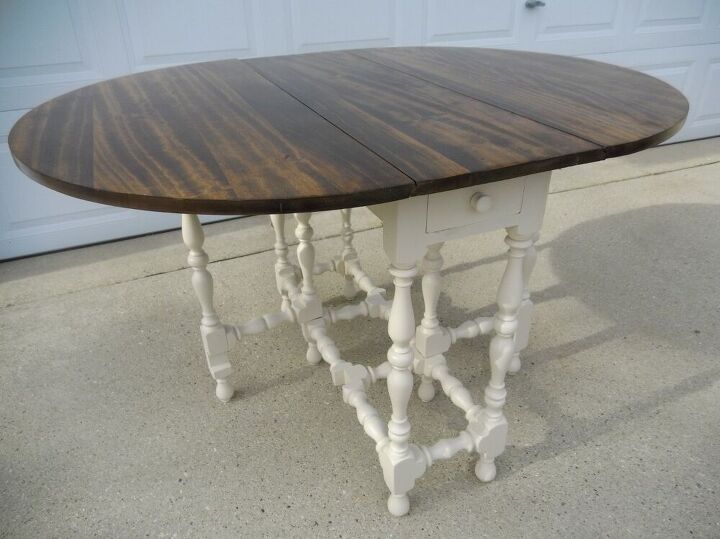
Final look with the tabletop fully open.
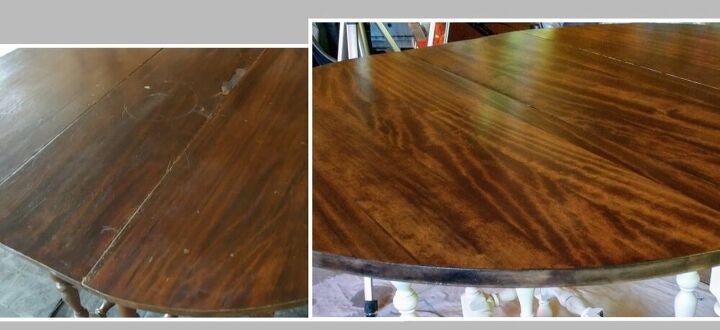
Here is a before and after of the tabletop.
Resources for this project:
See all materials


Comments
Join the conversation
-
Just shows what elbow grease and perseverance will get you in the end! This is a beautiful restoration! A piece you will now enjoy and be able to pass on to the next generation! Bravo!
-
Beautiful end result! Love it!


Frequently asked questions
Have a question about this project?
What stripper did you use? This turned out beautiful!
Did you paint over the old finish on the legs?
What about using the liquid refinisher that just melts the old finish and redistributes it? That's the easiest way to refinish a piece of furniture. This is a picture of the Mahogany restorer, but they have other wood finishers too.