


Candy Cane Christmas Garland
In today's video, I will be making this cute candy cane garland with a wood tag. This is the perfect handmade gift idea for family and friends. And while you're at you might as well make one for yourself. This super simple Christmas decoration piece will be loved for years.
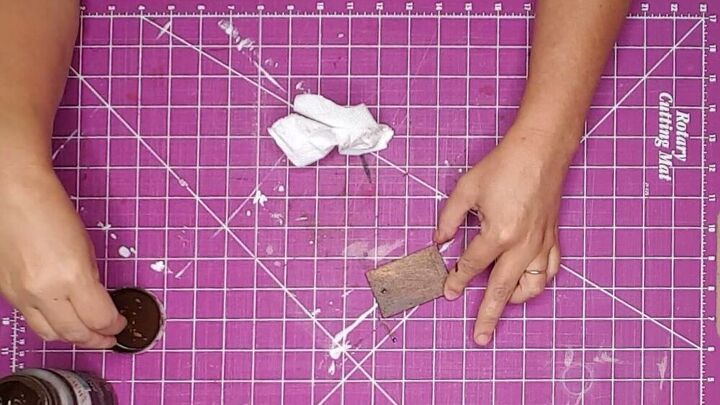
I used a piece of wood from Dollar Tree's Crafter's Corners and cut it down to 2.5" x 1.75". I then drilled a small hole for the twine I am using to go through.
I used Waverly wax to stain the tag. I rubbed it on and then rubbed it off.
After the stain had time to set up I took the small tag outside and spray painted it with white spray paint.
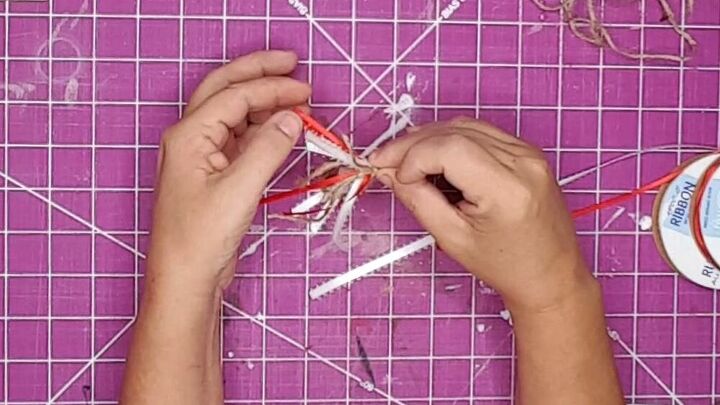
I used white ribbon, red ribbon and twine to create the tassel. I cut all the ribbon to about the same size and then staked the ribbon and burlap until the tassel was the size I wanted. I used a piece of twine and tied ribbons in the center.
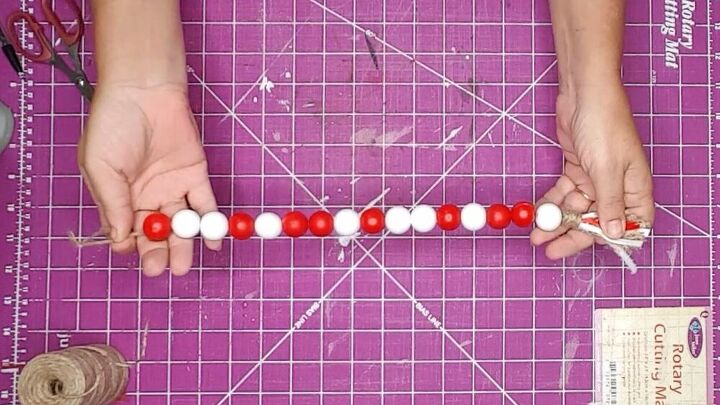
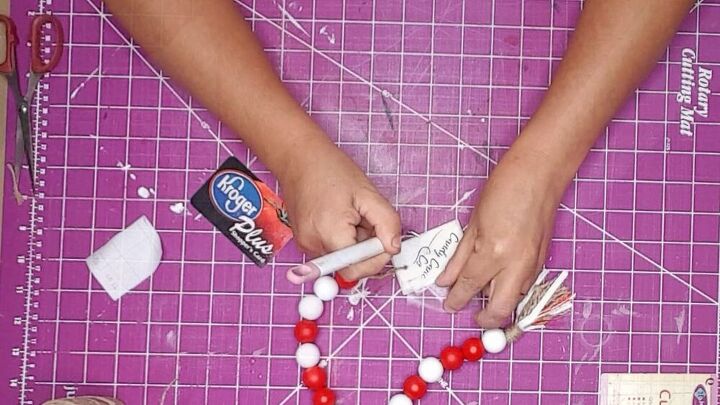
I strung some medium size wood beads which I had already painted with white and red spray paint to my twine. I used 8 white and 8 red. If you want a longer garland just add more beads to the twine.
*HELPFUL HINT - If you bead holes aren't large enough or not cleaned out use a pair of scissors to enlarge the hole by placing then into the hole and moving the scissors back and forth. This will shave off some of the wood and make the hole larger and smoother.
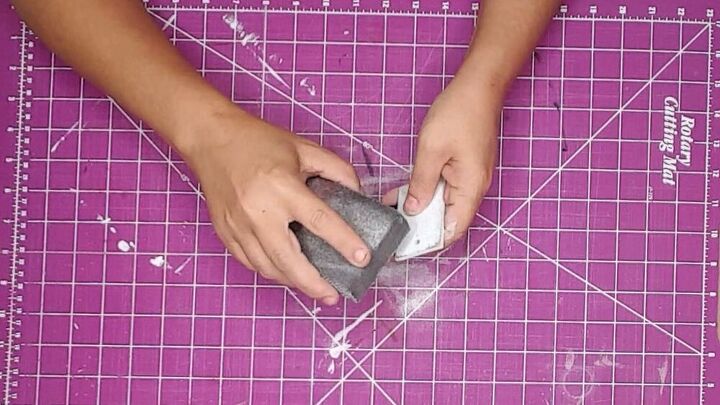
I used a sanding block from Dollar Tree to sand the tag to give a rustic and worn look.
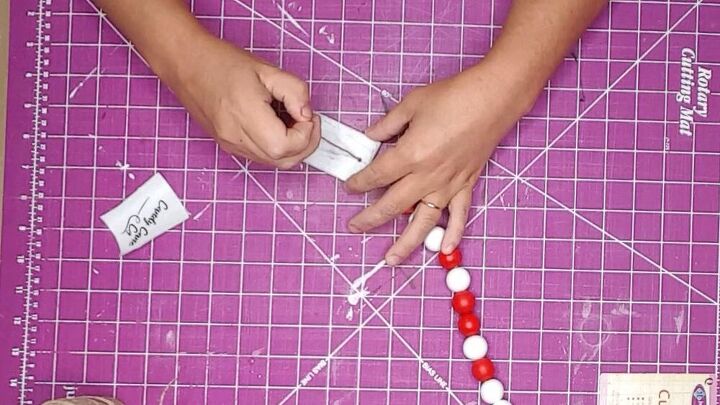
I attached the tag to the garland by pulling the twine through the hole and tying it.
I used my Cricut and cut out this cute Candy Cane Co. wording. I used transfer paper and transferred the vinyl to the tag.
*HELPFUL HINT - Anytime I am working with wood and vinyl I use my iron to give it more of a hand-painted look.
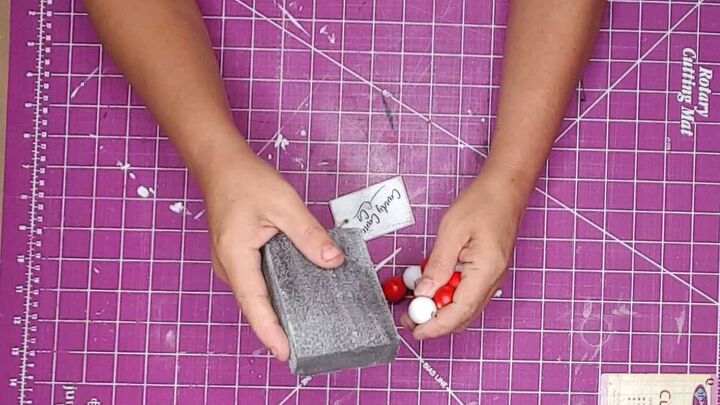
I decided I wanted the beads to look a little rustic and worn so I used my sanding block and lightly sanded some of the beads.
This step is optional or can be done before stringing the garland.
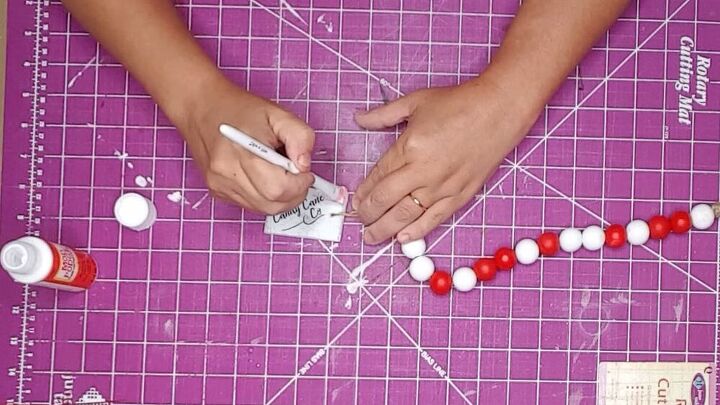
When I use vinyl I also apply mod podge to give it a finished look. I use a small make up brush from Dollar Tree to do this.
*HELPFUL HINT - Dollar Tree make up brushes work great for applying mod podge and for painting. In my opinion they work better than cheap paint brushes. So the next time you are at Dollar Tree pick some of these up!
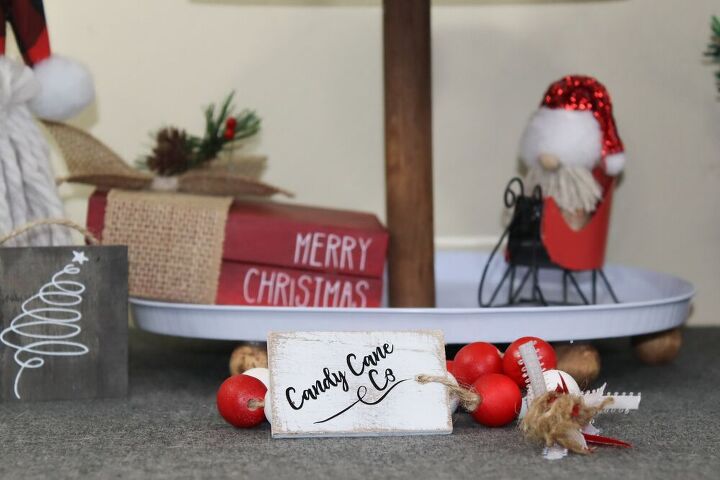
I created this garland with the idea of it being used on tiered trays. If you want a larger version you can use larger beads and/or more beads.
This is a great Christmas gift idea for friends, family, co-workers and/or secret Santa gifting.
I hope this video inspires you to add some crafty items to your home decor this Christmas.
Resources for this project:
See all materials


Frequently asked questions
Have a question about this project?