


Tattered Table Top to Textured Beauty

Well I am still on my mission to furnish our condo on the cheap since it is a temporary situation. My husband and I found this table in local paper free section. Of course when we got there the chairs were gone! But the table had good bones so in the truck it went. The table top had seen better days but the base really didn’t need much to spruce it up.
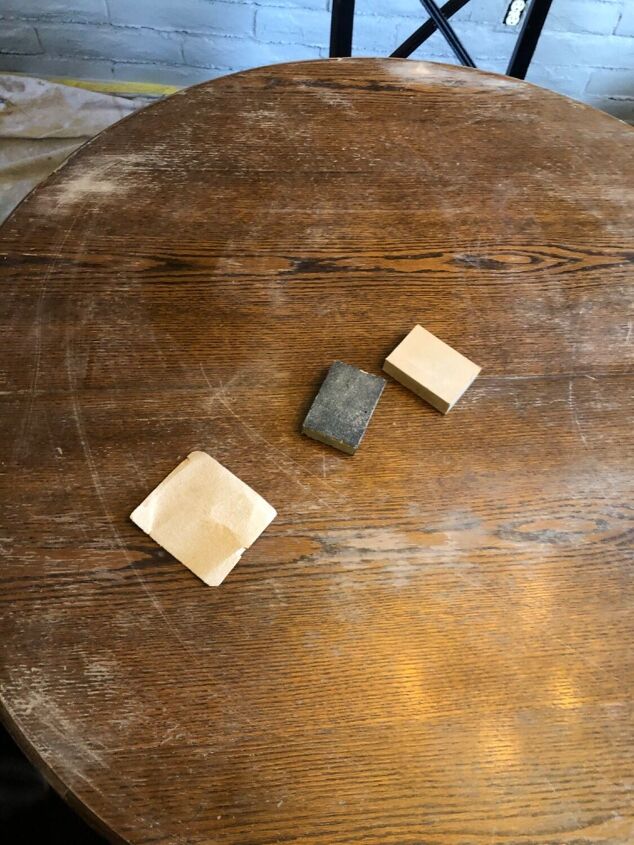
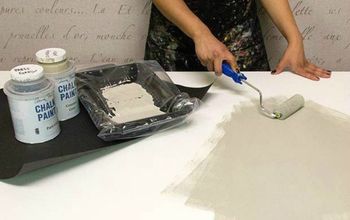
I had to get a rough grade sheet of sanding paper because some of the scratches were pretty deep. I didn’t worry to much about sanding the whole thing since I was going to put a textured Paint look on it. Once I got it even enough I taped it off and got start for my multi layered painting.
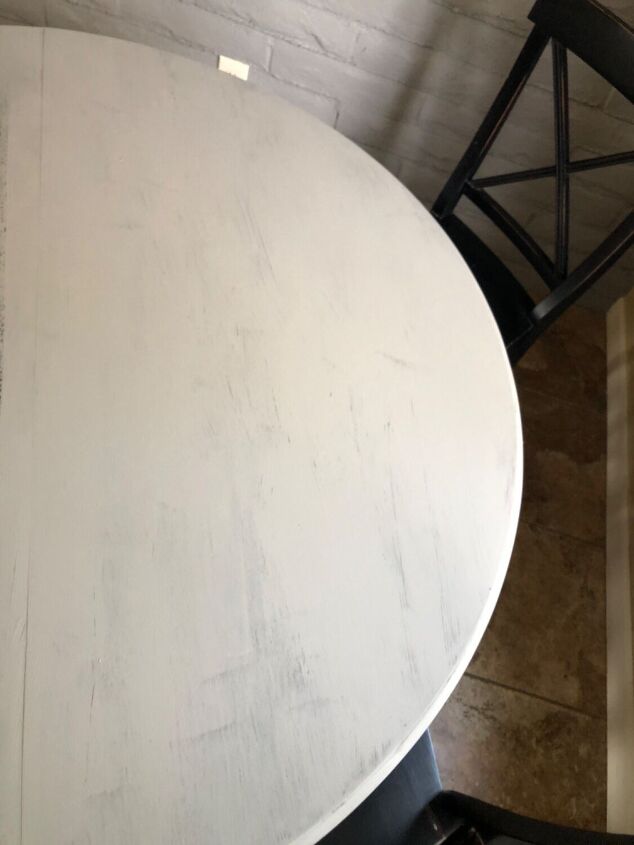
I applied my nifty liquid sander prior to painting on my base coat. Since I was only worried about the tabletop I taped off the lower rim and will leave it natural wood.
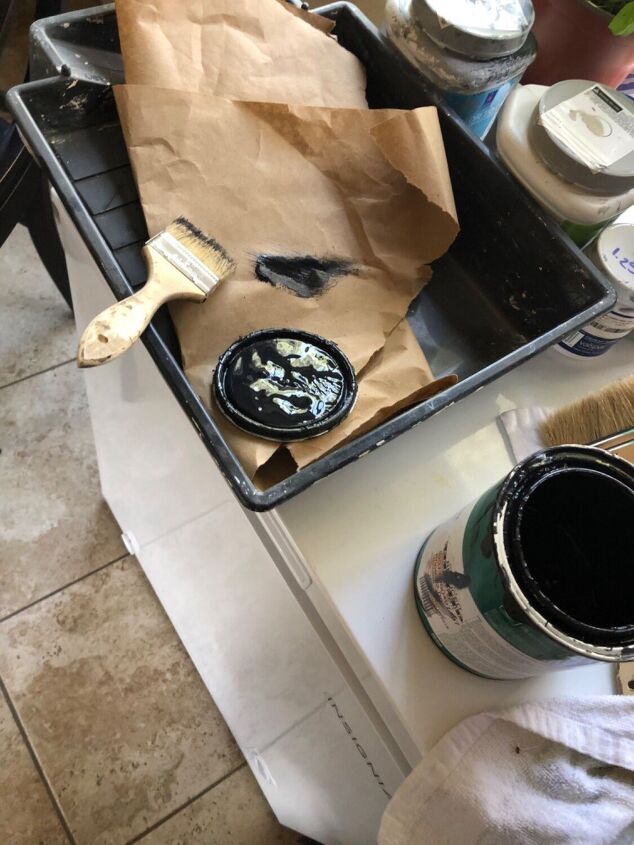
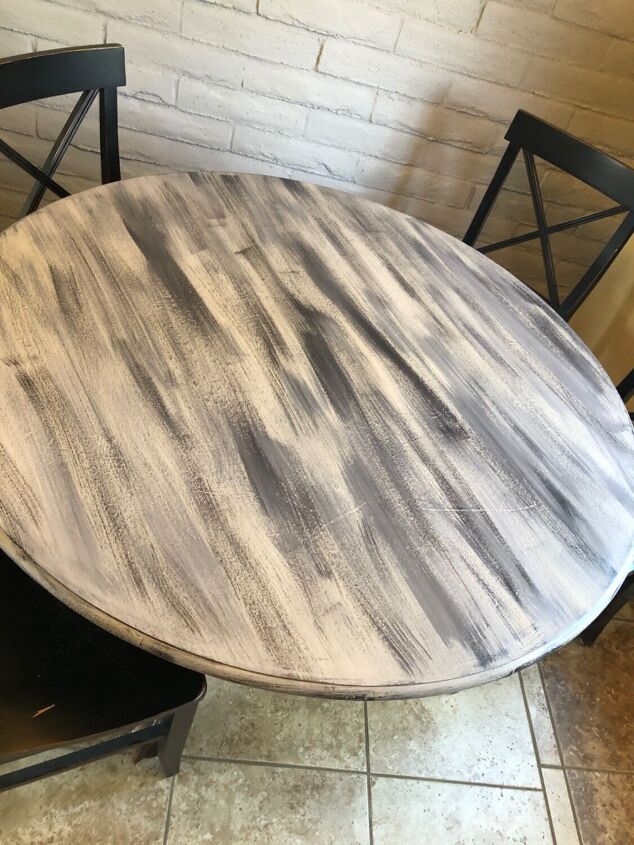
I started with black Acrylic paint and dry brushed with the wood grain across the top of table.
I used various paint colors I had around but I really wanted to make it pop so I decided to use my unicorn spit and add some bright colors.
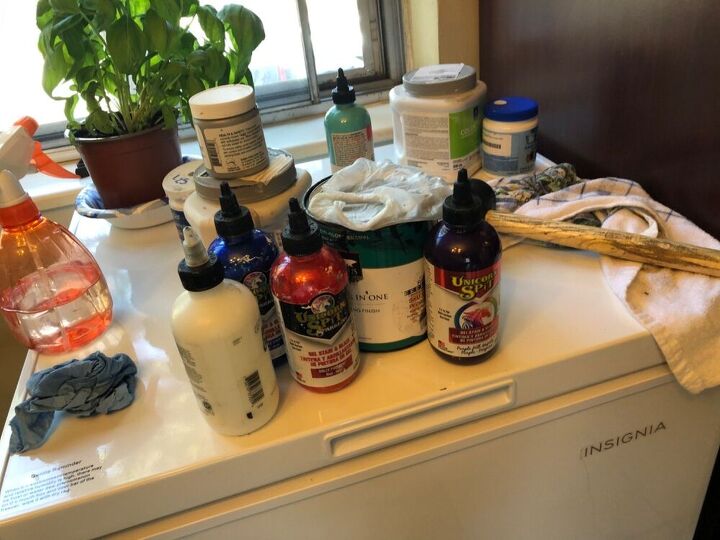
But really wanted to add many colors To the table top so I have different decorating options more colors the better. I was able to just squirt the unicorn spit stain colors in the areas I wanted and blend them in with my brush.
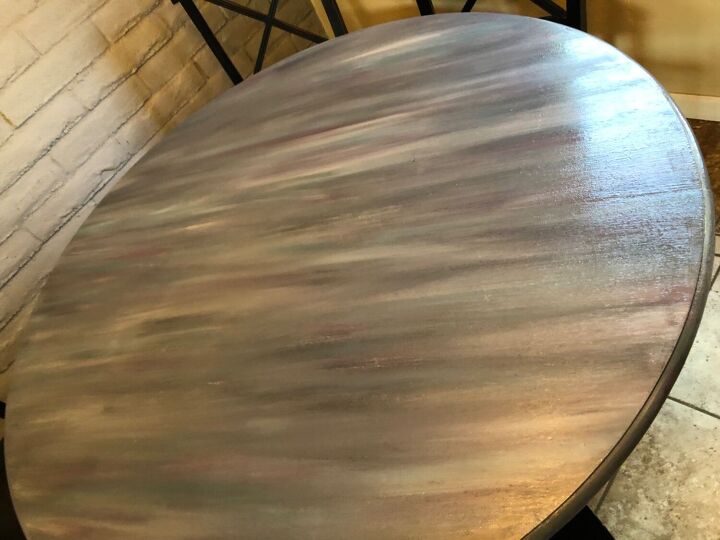
Every stroke brought more color and texture to the project. Once I complete the texture I always go back over with a dark colors to deepen it and sometimes I add white. Which I did with this one.
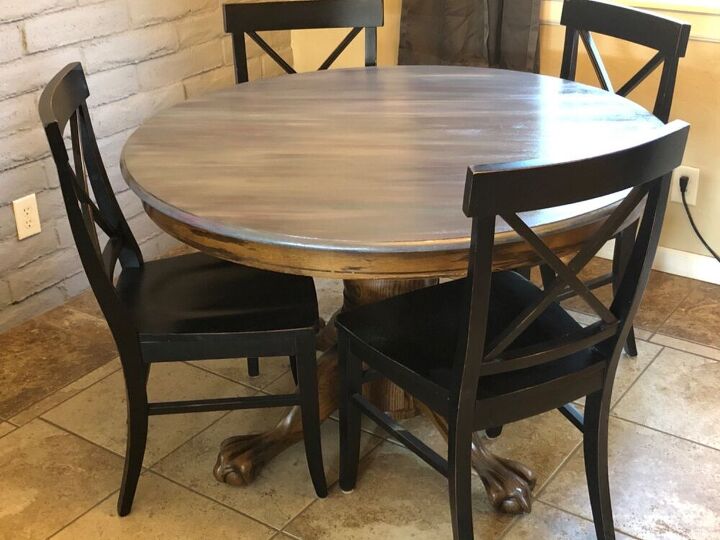
Once I completed all my colors I go over it with my clear polyurethane. I save old kitchen sponges and use them on projects like this one. Once the first coat was dry I went over it with my sanding block to smooth out finish. Then I went over it again with polyurethane in opposite direction to fill in any grooves from brush. Like I said earlier the base and rim were fine but dull so I went over all the legs and table top rim with polyurethane to complete the project.
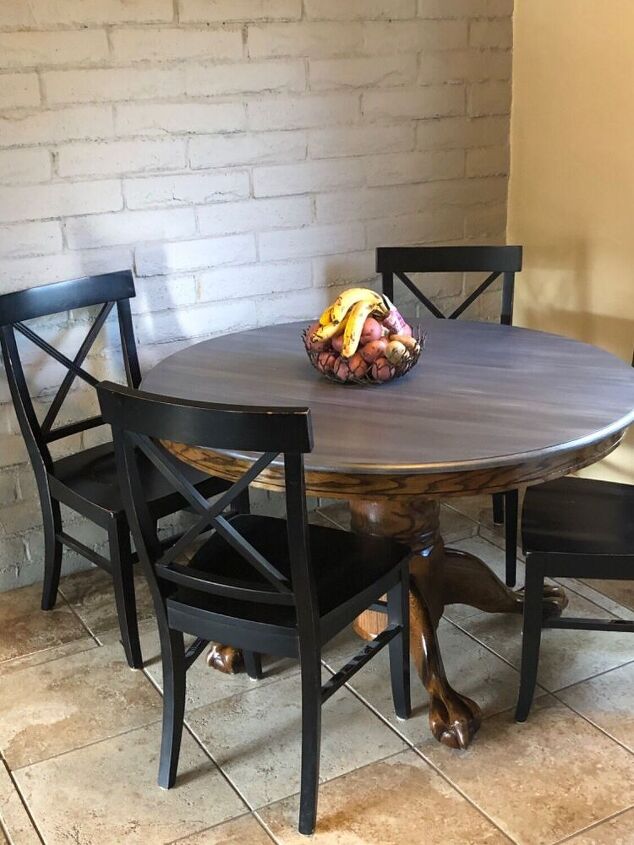
There was 6 chairs at a yard sale and they really wanted to get rid of them so I got all six chairs for $15.00 And they work great with my new textured table. I love how it turned out and of course I love the price. Second item in my furnish my condo for cheap challenge. Let me know your thoughts and Thank you for looking!
Resources for this project:
See all materials


Comments
Join the conversation
-
Absolutely beautiful!
-
Beautiful!!


Frequently asked questions
Have a question about this project?
I love your custom furniture especially the price and the pride you must have in knowing you made that, good on you! The best part for me was the fresh idea to add hints of color, gorgeous! By the way if I don't have spit what can I substitute it with? Thanks for the clever and creative share!
What’s liquid sander? Your table came out so love, and the feet on the table are magnificent!
I too would like to know if there is anything that would substitute for the spit paint.