


Shades of Grey Dresser
How about French Provincial in shades of grey? I would love to hear your comments below.
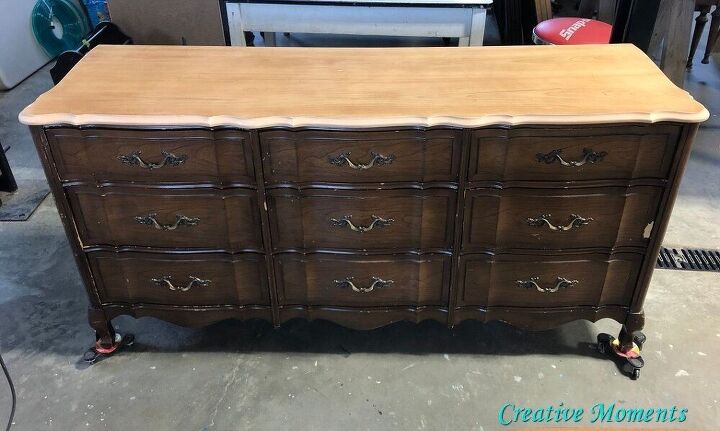
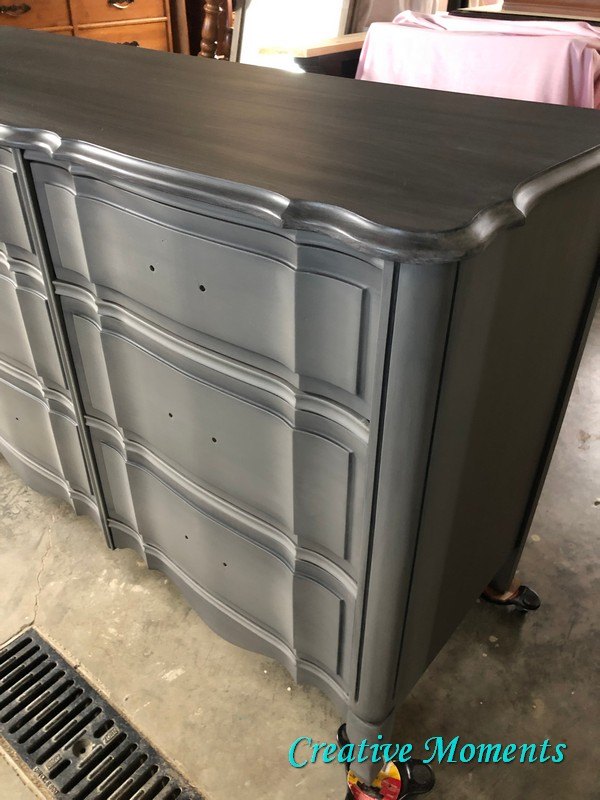
I purchased this giant dresser sight unseen and when it arrived it was in rough shape. The top had deep scratches and dings, the back was missing, drawers misaligned, chipped veneer and oh so dirty but the solid wood construction and pretty style would make all the work worth it.
I stripped the top with a chemical paint stripper as step then power sanded it smooth as shown above. The entire thing was scrubbed inside and out to remove years of grime and grunge using Dixie Belle white lightening cleaner, warm water and a scrub brush. After everything was scrubbed well I hose it all with clean water, wipe with a clean towel and let dry well overnight.
There are more steps described in depth on my blog tutorial linked at the bottom here. This project took MANY steps.
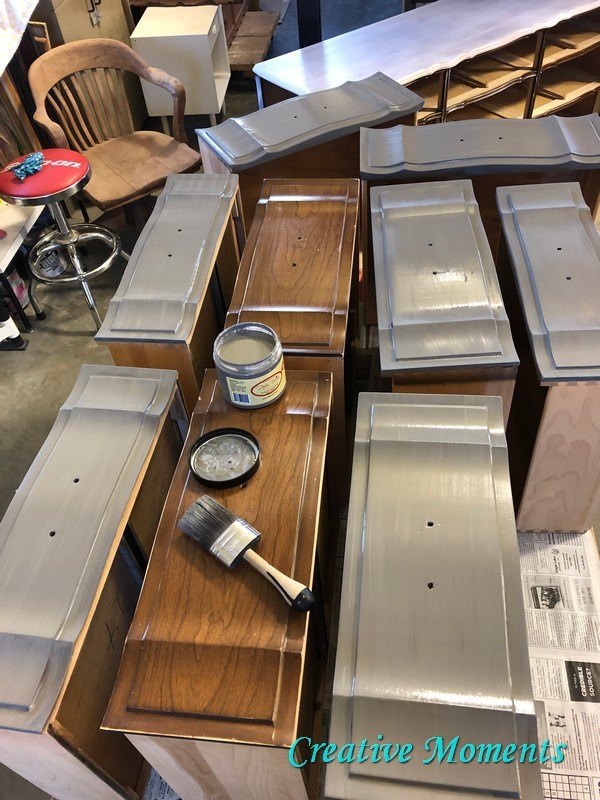
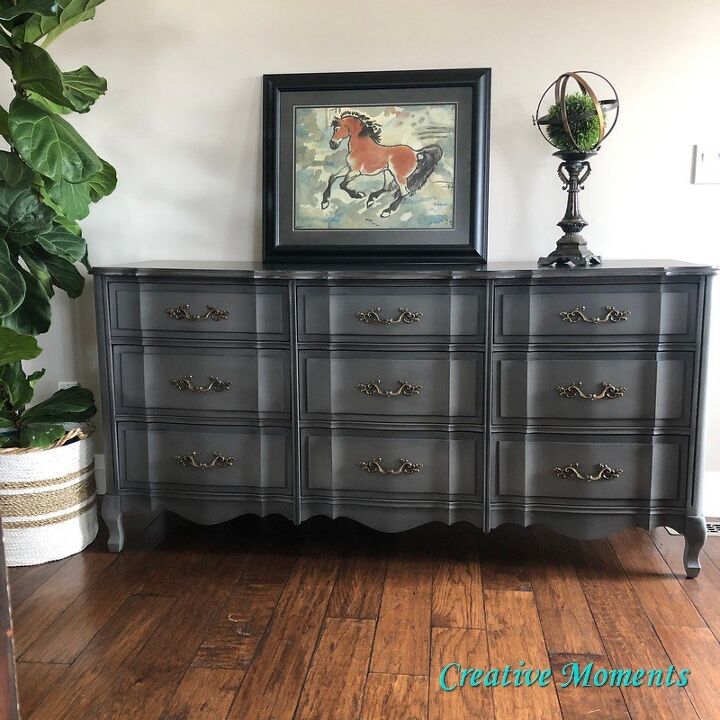
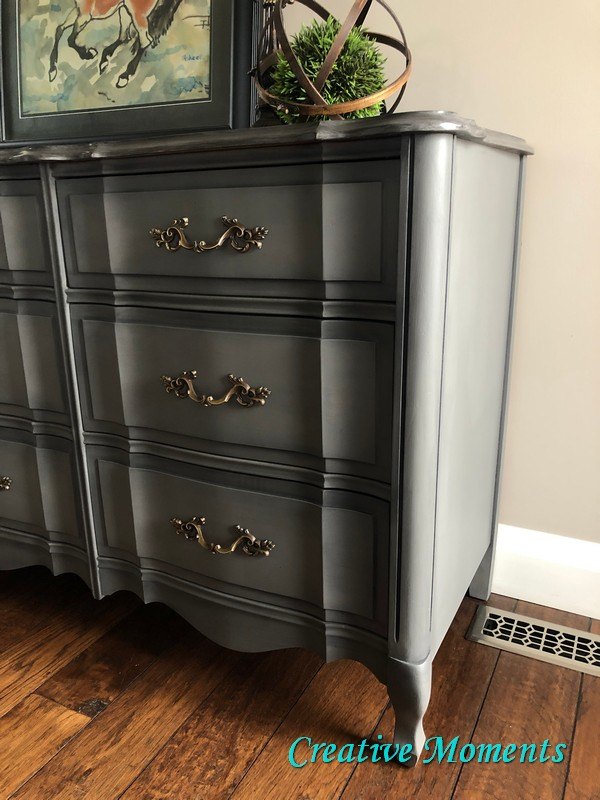
The base was next to be worked on. All surfaces were painted Dixie Belle in hurricane grey.

My first plan was to white wash the top so I used Dixie Belle No Pain Gel Stain in picklin white. However once it was put together the white was too stark, time for plan b as I loved the grey base.
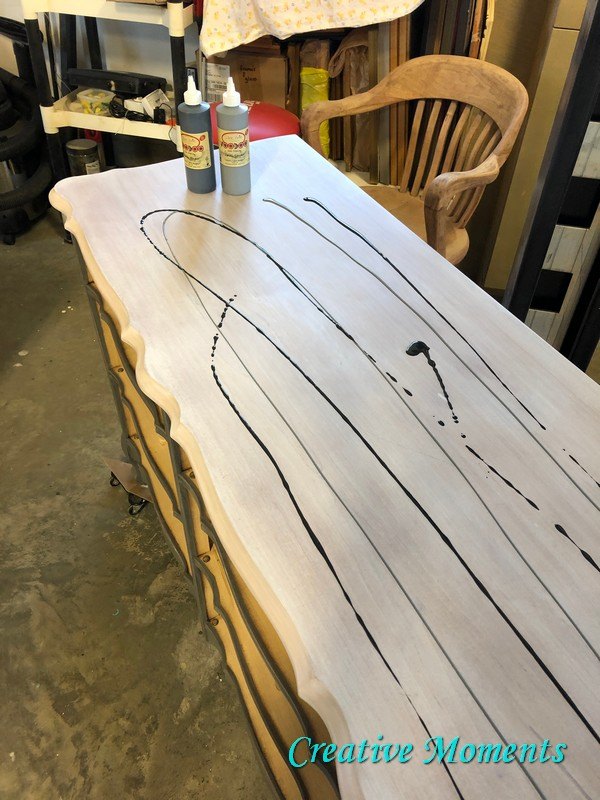
Plan b for the top called for Dixie Belle Voodoo Gel Stain in up in smoke and black magic. These two were drizzled to blend.
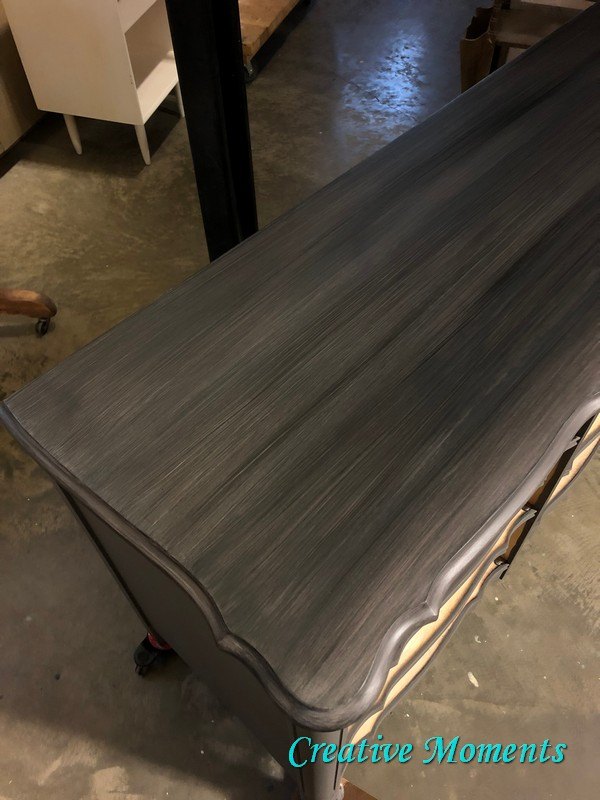
Once dry I went with plan c which was Dixie Belle Voodoo Gel Stain in black magic alone and loved it!
Now back to the base, I wanted to add some drama to the solid grey without a variegated look like the top so applied Dixie Belle midnight sky around the edges and blended in. YES!

To seal the top I used an applicator sponge and applied Dixie Belle Gator Hide in long sweeping motions. Three coats were applied in total allowing each to dry well between coats.
As a final step before putting the hardware back on, all the painted grey areas were sealed with clear Dixie Belle's best dang wax.
I love this piece, how about you?
Pop over to my blog for more free home decor and furniture tutorials and other steps of this update. Be sure to subscribe if you like what you see to get all my tutorials delivered to your inbox!
See more unique one of a kind pieces listed here or on my
Facebook page
https://facebook.com/CreativeMoments1/
Instagram page
https://instagram.com/creativemoments1/
Website https://creativemoments10.blogspot.com/
Pinterest page
https://pinterest.ca/lakuhn/creative-moments/
Etsy Shop https://www.etsy.com/ca/shop/CreativeMomentsStore
Resources for this project:
See all materials


Comments
Join the conversation
-
It’s soooooo beautiful! Great job!
-
Gorgeous piece!


Frequently asked questions
Have a question about this project?
Gorgeous. You’ve made me rethink grey. ☺️