


How to Make a Wooden Sofa Armrest Support
Sofa, blanket and your favorite movie or series ... A good combination, right? Add a hot drink and you've got the perfect plan. If it sounds good to you, this project is going to be great for you: a flat and stable wooden tray that adapts to the arm of your sofa and holds your drinks without the risk of liquid spilling. Look how easy it is to do!
The structure of this tray for the armrest of the sofa is very simple. To make it, you have to cut a lot of wooden strips and glue them in parallel on a flexible fabric.
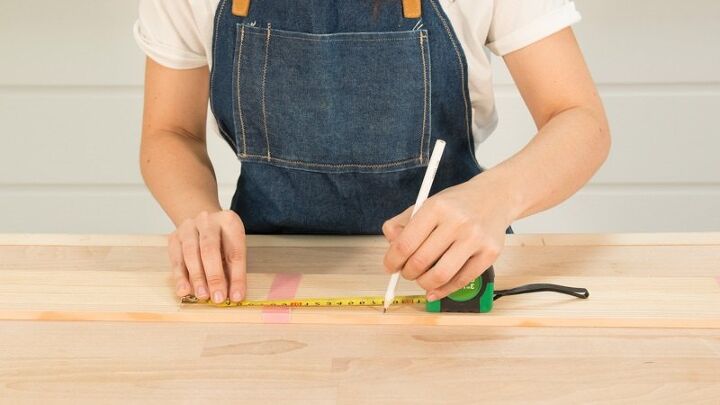
To start, cut your wooden slats from several long slats. To make it faster and not have to go one by one, tie the long slats together with some masking tape and cut them all at once. Mark the lengths of the pieces with a pencil and cut with a jigsaw.
In our case, the tray is made up of 25 slats each 18 cm long.
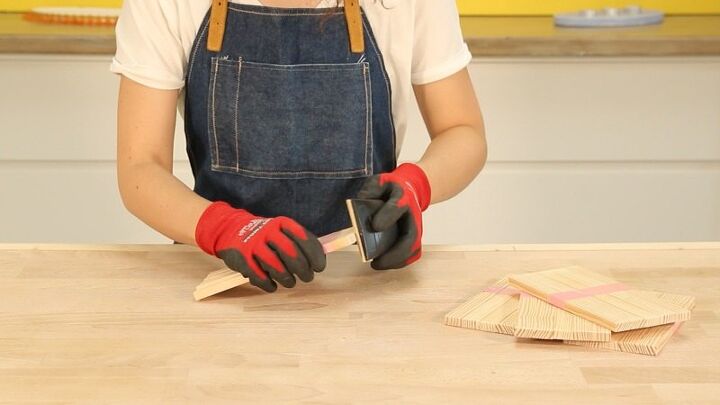
Remember, whenever you use the jig saw, go over the edges of the pieces with sandpaper to make sure they are smooth and without splinters. Plus, it will give you a much more professional look! If you want, also help yourself with a cloth to remove any remaining dust.
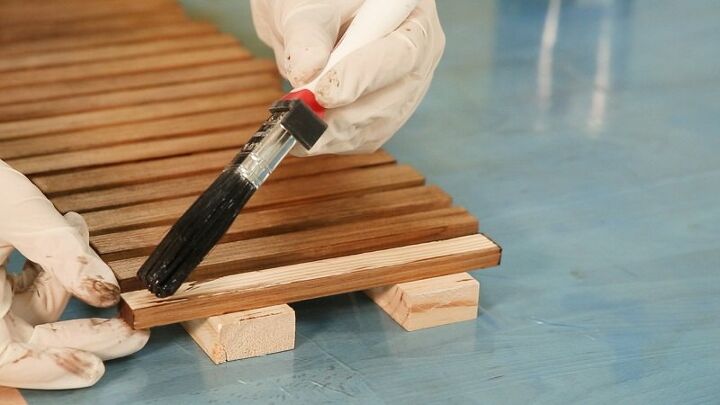
It is time to protect and highlight all the beauty of wood with varnish. Use a trowel and apply it in the direction of the wood fibers. After giving the first coat of product to all the pieces, let them dry.
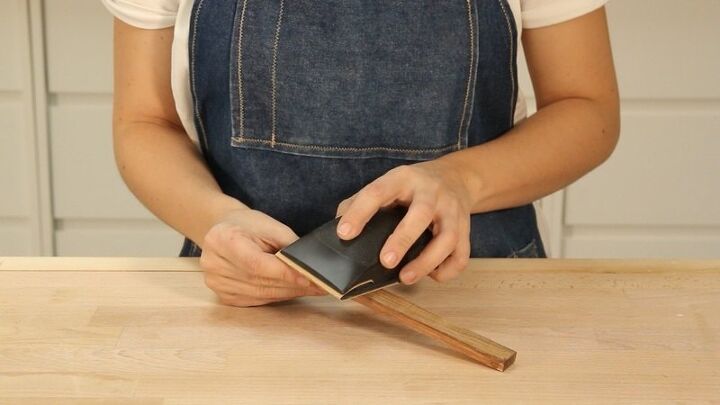
Afterwards, sand the slats to remove imperfections and apply a second coat of product, letting it dry again. Remember to always respect the times indicated by the manufacturer.

To build the tray you will need to attach the slats to a piece of fabric. Use one that does not fray and is the same color as the varnish you have used, so that the final result is more aesthetic.
Take a brush and cover the face of the ribbon that will be glued to the fabric with white glue. Go sticking the slats one by one, in parallel and very close together. Make sure the adhesive is not sticking out excessively down the sides of each piece. When you're done, let it dry.
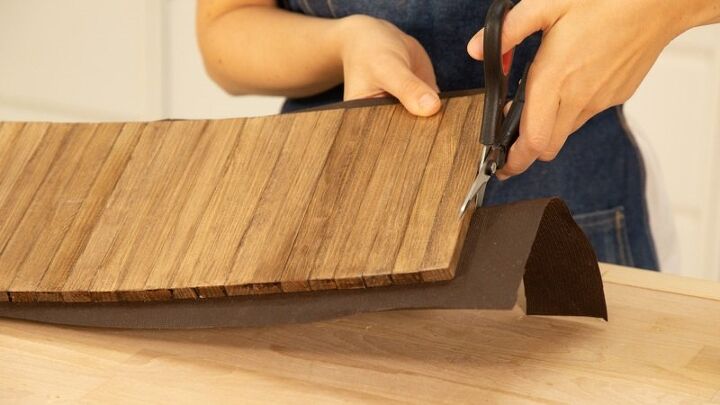
Once the glue has dried and the pieces of wood are perfectly attached to the fabric, take a pair of scissors and cut the fabric that sticks out around the wood.
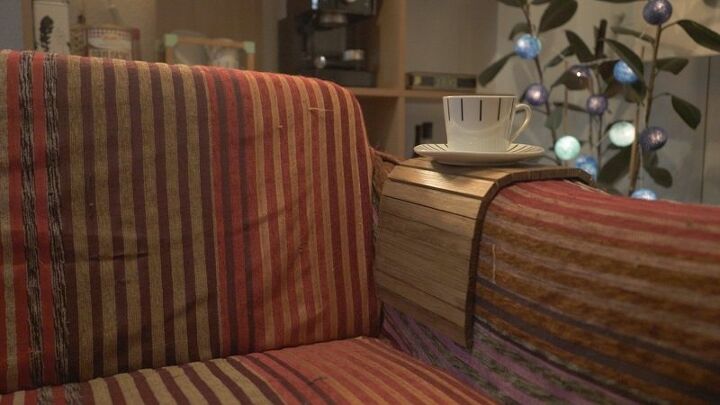
Ready! You now have your finished sofa tray. Once you have tried it, it will be difficult to live without it.


Comments
Join the conversation
-
Hello, what kind of fabric did you use? I'd like to make a few of these - they're really neat! Great job!
-
I thought this was a great idea, and if you use a fabric like corduroy (fluffy side out) it won't slip of your fabric arm rests. thank you and stay safe


Frequently asked questions
Have a question about this project?
How wide and thick are your slats ????
Hello, what kind of fabric did you use? I'd like to make a few of these. Great job!
What are the dimensions of the slats? Measurements are key in a good finished project.