


Christmas Tree Craft for Kids | Simple Home Decor | Kid Friendly
I was browsing Pinterest the other day and saw a Pin with these adorable Christmas trees. I had to make them and put my own spin on them.
The great thing about this project...it's kid friendly! So, when the kiddos get out for Christmas vacation, you will have something fun to do with them.

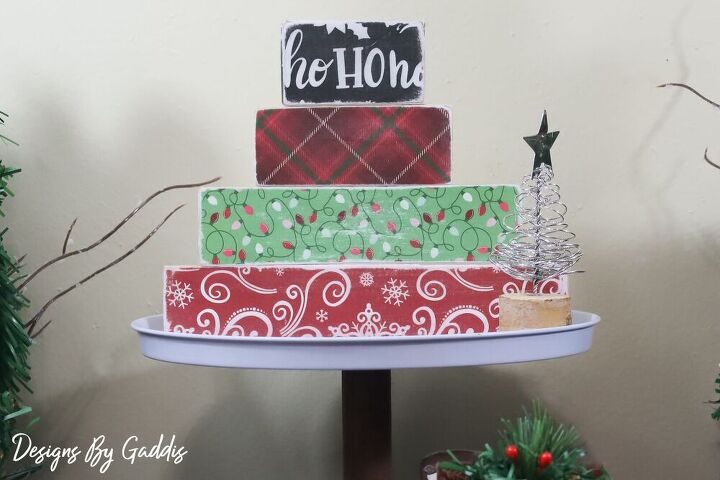
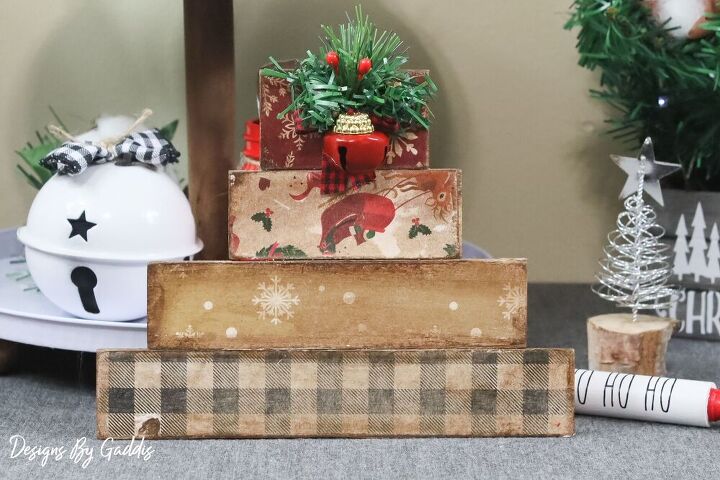
- I used wood from Hobby Lobby which I had to cut in half using a miter saw. This project can be done using large craft sticks for a kid-friendly craft.
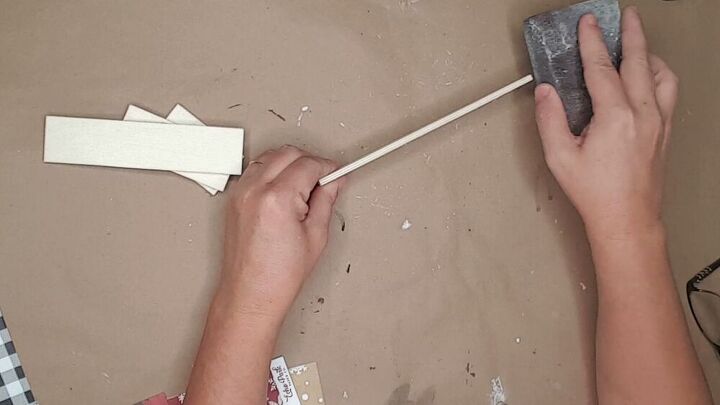
- I sanded each piece of wood to remove all the rough places after cutting.
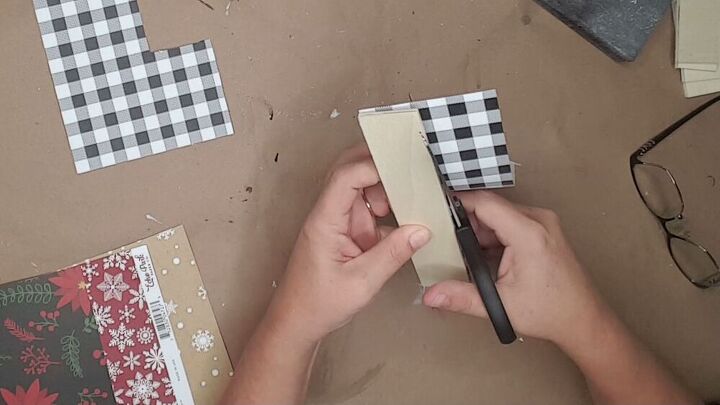
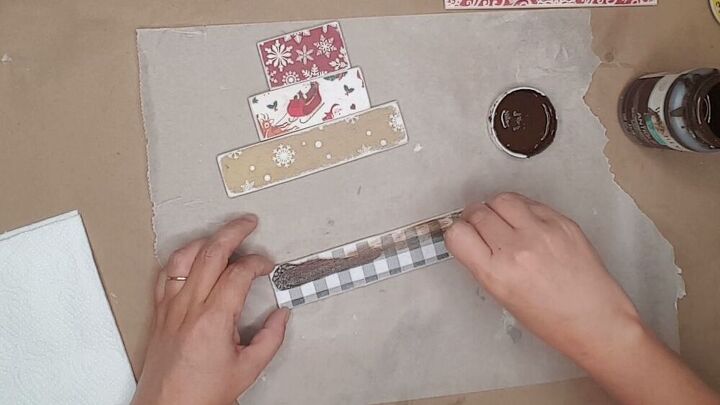
- I used buffalo check and Christmas themed scrapbook paper.
- Cut each piece down to fit on each wood piece.
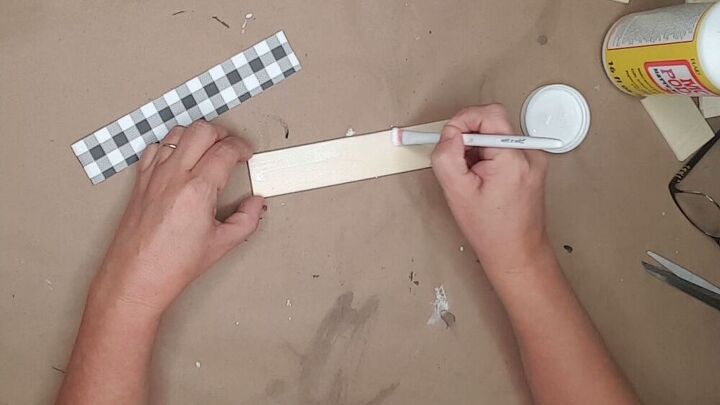
- I used Mod Podge to attach the paper to each wood strip.
- This can be done using white glue.
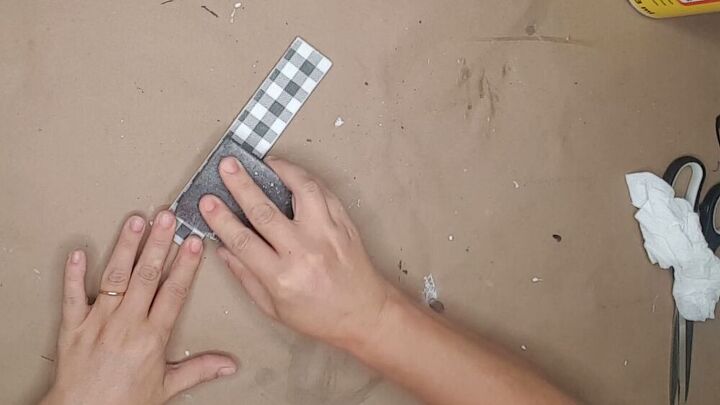
- After all the pieces had dried I used a sanding block and sanded the paper and the edges to give everything an aged look.
- This is optional. If you want more of a modern look skip this step.
- I used antiquing wax to give this tree more of a rustic aged look.
- If this isn't your style or if you don't have any antiquing wax this step can be skipped.
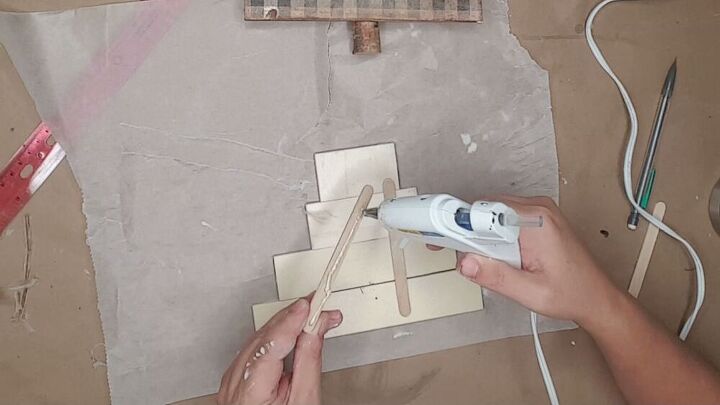
- I used a glue gun to attach small craft sticks to the back of each tree.
- This can also be done using white glue for a kid-friendly version.
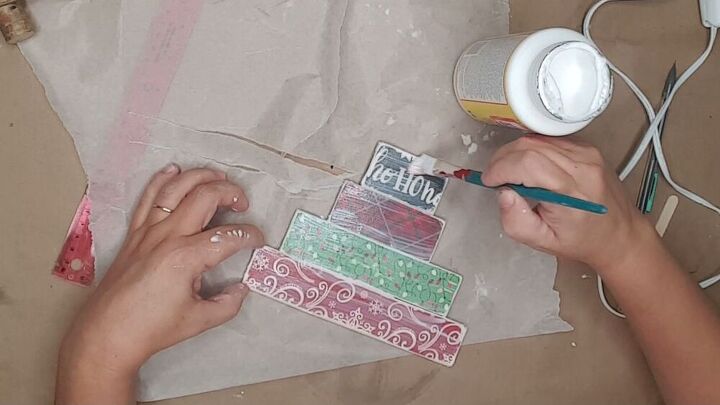
- I applied Mod Podge to the trees to give them more of a finished look and to make sure the paper was attached on all of the strips.
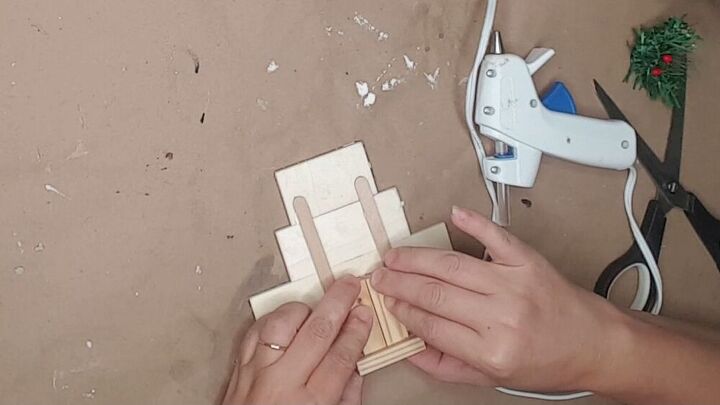
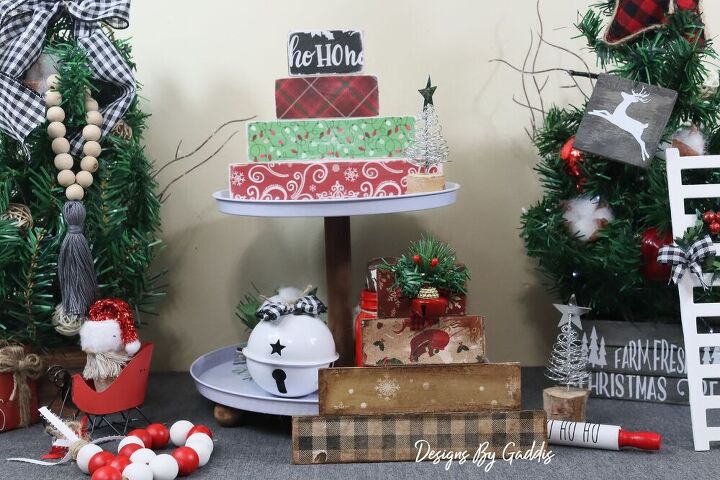
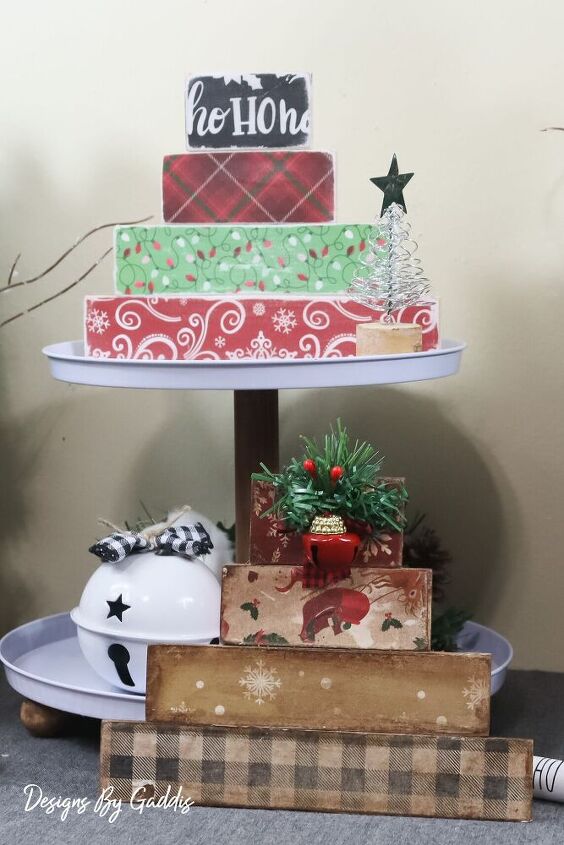
- If you want to display these trees on a tiered tray, table, bookcase, shelf, etc. you will need to build a base. These trees will not stand up by themselves, the wood is not thick enough.
- I used 3 Tumbling Tower blocks to create a stand.
Other Display Options.
- Drill a hole in the top and attach twine to hang on a tree or wreath.
Join my community to get FREE Printables and Special Deals only for my subscribers
My Disclaimer: All of the video footage, photos, and designs are created by me and are owned by Designs By Gaddis. You may only use the video footage, photos, and designs with my permission. My content is mine and it is protected. I am not sponsored or paid by any of the product companies or tools shown in these videos unless otherwise mentioned. I have full rights and control of the content.
__________________________________________________________________________________
Copyright @ Designs By Gaddis 2020. Any reproduction or illegal distribution of the content in any form will result in immediate action against the person concerned.
Resources for this project:
See all materials


Frequently asked questions
Have a question about this project?