


DIY Indoor Planter

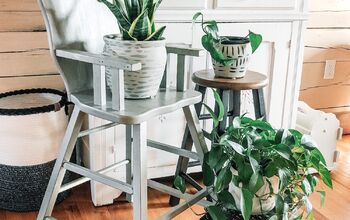
I'm starting the new month with a lot of new energy and I'm starting to bring a happy vibe into the house with new plants. Fittingly, I'll show you my DIY planter in basket look made of natural rope.
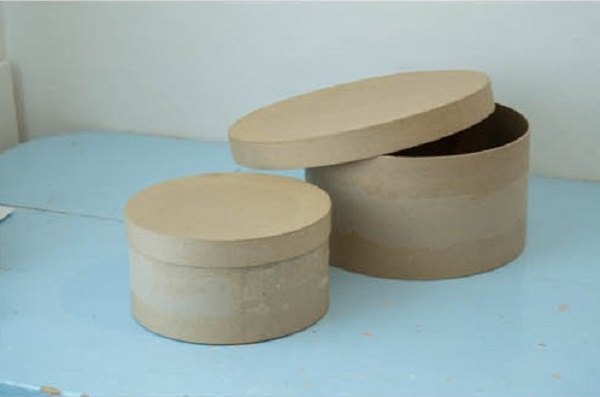
When I was tidying up I recently rescued those old, no longer beautiful looking, round boxes from the attic. You are, of course, crying out for a new feature and makeover. Tadaaa ... in a few steps you can make a wonderful planter from this.
In principle, the whole thing is not that difficult, you should just be extremely careful not to burn your fingers on the hot glue. It happened to me several times. Ouch. Maybe gloves would have been appropriate here.
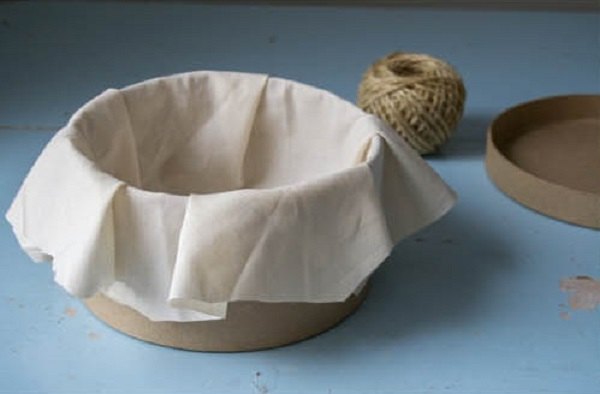
Cut the fabric so that you can fold it over the edge of the box and glue it to the inside, the inside and the outside with the hot glue gun.

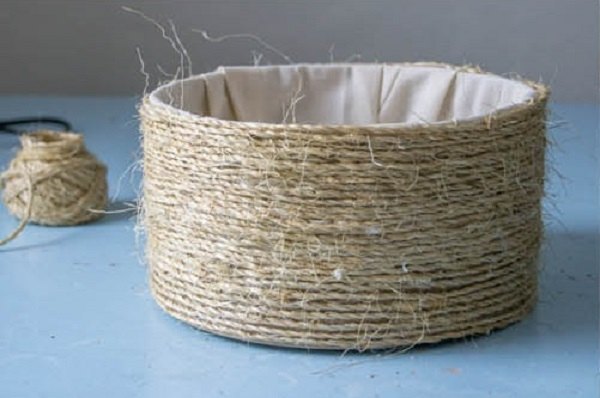
Now you glue the beginning of the rope to the bottom of the box and then wrap it tightly around the box. Stick the tape to the box at regular intervals and press it carefully! at. Wrap the tape completely around the side and stick the end tightly to the top edge. You cut off the rest.
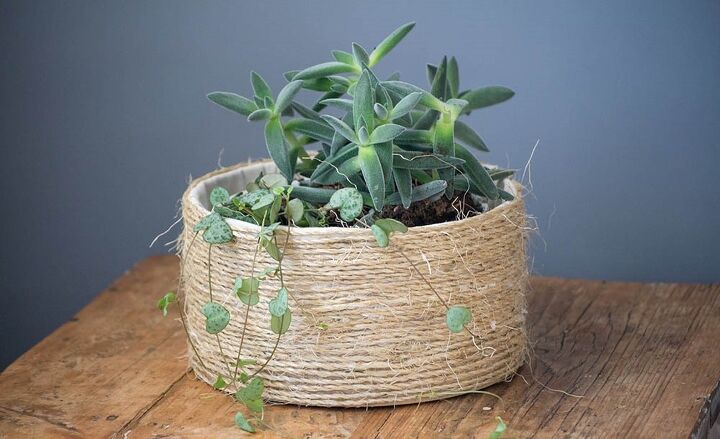
The planter is ready. Of course, you can also use the basket as a storage box. Only the lid no longer fits on top if you stick the tape up to the edge. Otherwise just leave an upper edge the size of the lid free.
Resources for this project:


Comments
Join the conversation
-
Nicely done! tfs!
-
Thanks, Josephine! I love this idea. I always marvel at how creative people are.


Frequently asked questions
Have a question about this project?
How can you use a fabric lined cardboard box as a planter? Did you use artificial plants that don’t require watering?
How did you waterproof this box? Love the project but the water will seep thru and ruin it. Unless, of course, you use artificial plants.