


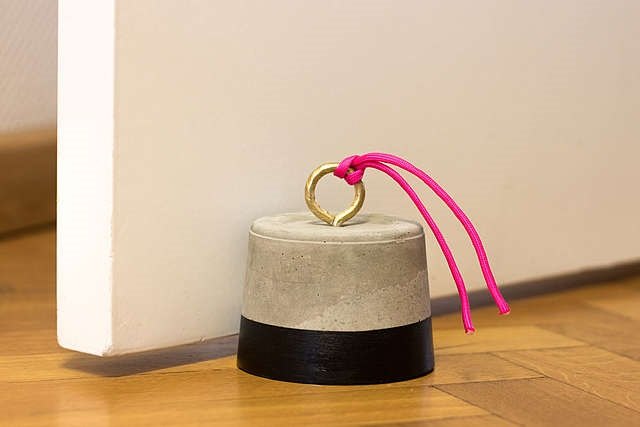
Pour Your Own Concrete Doorstop

Such a door stop can do a lot: namely, hold entrance, room or balcony and terrace doors in the desired position. Instead of a run-of-the-mill part from the store, we cast a fancy stopper ourselves. In this way, a boring everyday helper almost becomes a design product.
A door stopper protects doors, locks and frames from damage caused by unintentional slamming, for example in the event of a draft or temperamental disputes. But they also prevent doors, or rather their handles, from knocking unsightly quirks into the walls when pushed open.
In order to cast such a project yourself, you of course need some utensils and some space. Working with concrete is quite dusty, so a workshop, garage or, in summer, outside in the garden is a suitable place. You should not breathe the dust if possible, so use a respirator. You should also avoid skin contact when mixing and decanting, and wear disposable gloves. Otherwise, the project is quite simple and quick. It’s best to pour several stoppers at the same time, because friends and family will definitely want one too …
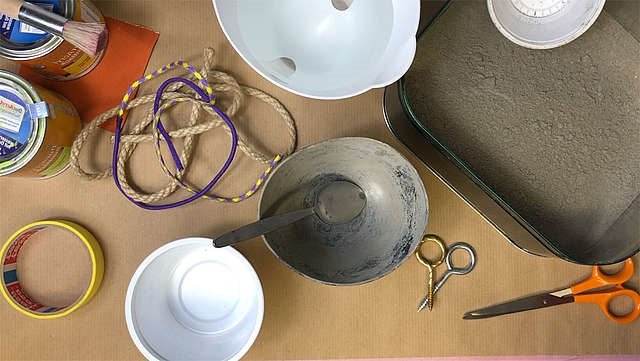
Place all materials within reach on the possibly protected work surface.
- Instant concrete
- Water
- Screw eye
- Rope or cord
- If necessary felt pads
- Container to mix (not too small, otherwise you can only mix small amounts and instant concrete sets pretty quickly!)
- Stick or old spoon for stirring
- Various empty and clean molds (we find large yoghurt or zaziki cups with a capacity of 500 grams perfect for the doorstop!)
- Rubber or disposable gloves
- Mouthguard
- Newspaper or cardboard as a base
- Painter’s tape
- Brush
- Color in different shades
- Sandpaper
- Scissors, pliers or a cutter to cut open the molds
Screw the eyebolt with the screw thread into the bottom of the mold from the outside until the ring touches the bottom. This is relatively easy to do with cups made of thin plastic. Alternatively, you can cut into the ground a little. If necessary, fix the screw with some tape. Then place the shape with the open side up a little higher, for example on two upturned coffee mugs, so that the screw hangs freely between the mugs and stays straight.
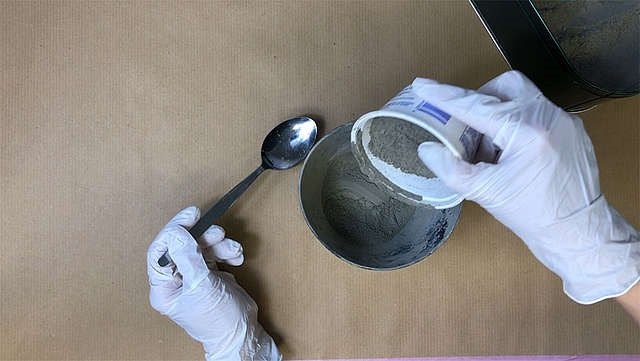
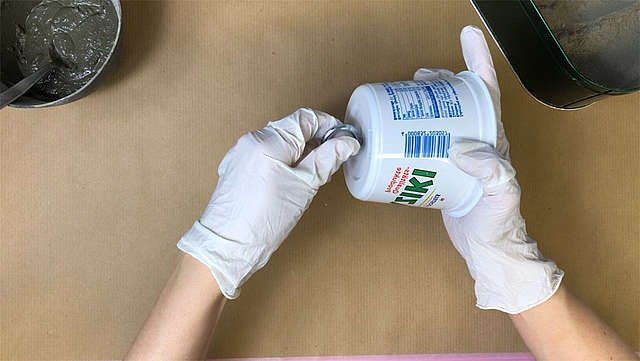
Now you can mix the concrete. Follow the instructions on the packaging: First, use a small container to pour the cement mixture into the mixing container (here a plaster beaker). Then it is best to add water while stirring. It’s better to use a little less water at the beginning and add more if necessary. When the concrete has a yoghurt-like consistency, no longer crumbles and no lumps are left, it is ready for use.
Tip: Instant concrete sets in just a few minutes. So that you can work in peace, it is best to only mix material for one mold. If the amount is too little, you have to hurry up with the second margin, otherwise the part poured in first will already harden!
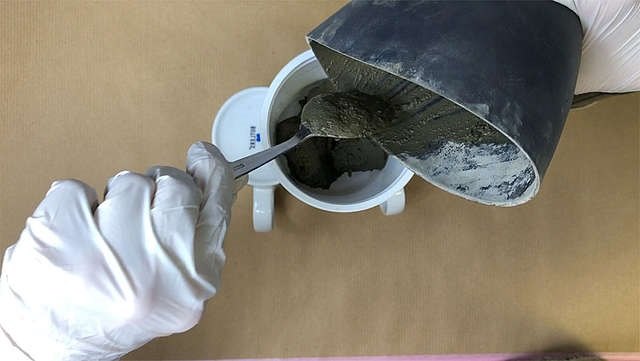
Now quickly fill the form with the concrete.
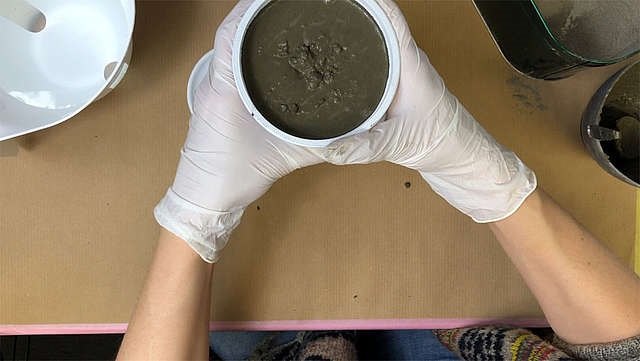
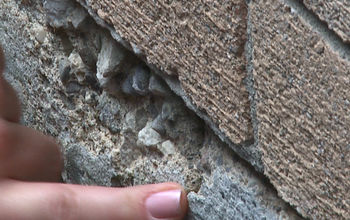
To get any trapped air bubbles out, gently shake or tap the container until no more air bubbles rise and the surface appears as smooth as possible. You won’t get all the bubbles out, even small stones cause holes – but that’s exactly what makes a concrete form so charming!
You can’t be too impatient with concrete. Even if the instant concrete hardens very quickly, it is best to allow several hours to pass before the formwork is removed, preferably overnight.
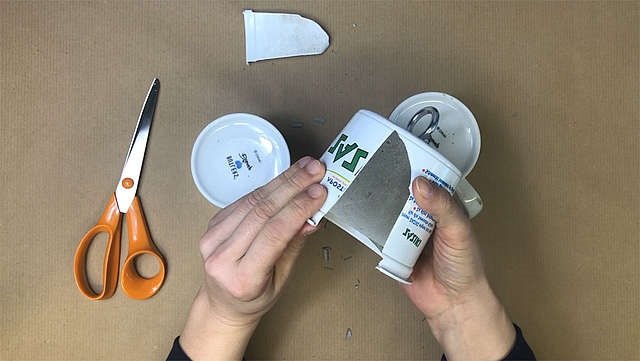
Once the concrete has dried, the casting mold can be removed. Depending on the type used, you can continue to use this or it must be carefully cut open . This is usually the case with thin-walled containers such as cups. The area directly on the screw can be a bit tricky, but with the careful use of a cutter, all plastic residues can usually be removed.
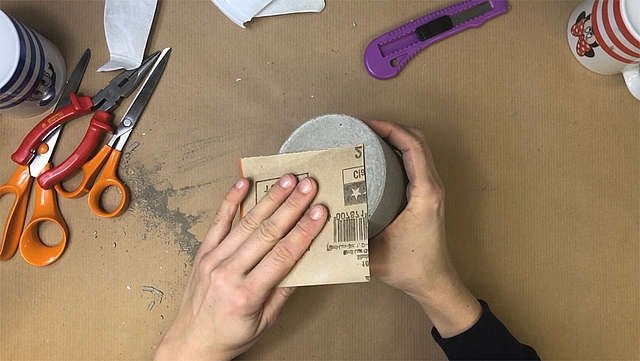
With fine sandpaper you can now carefully go over the possibly rough or irregular sides and smooth them out.
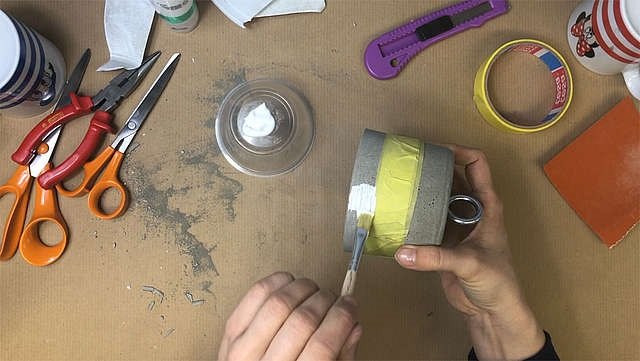
If the object is completely dry – usually easy to recognize by the light gray color – you can paint or varnish it as you like. We masked a strip on the lower edge and painted it with acrylic paint or colored varnish .
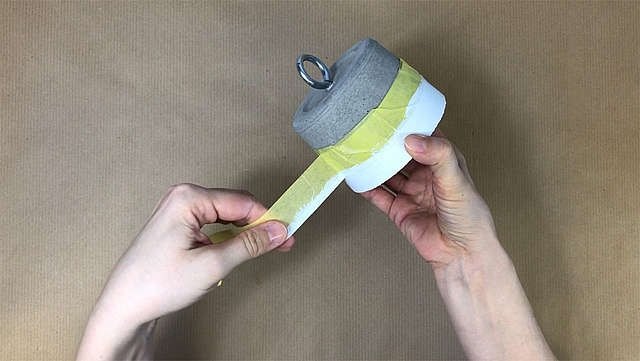
Let this dry and peel off the masking tape again.
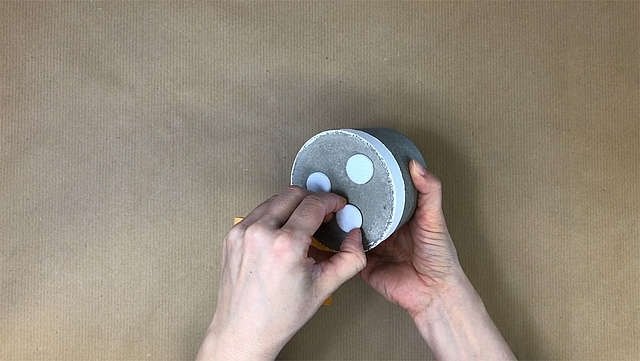
If you want to place the stopper on parquet or laminate, felt pads from tesa, for example , are useful to protect the floor from scratches. These can simply be glued on.
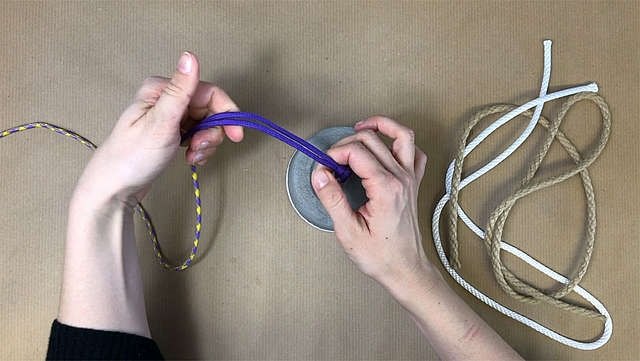
Finally, cords are looped through the eyelet. So the stopper can be easily moved. Here the colored band provides a nice accent.
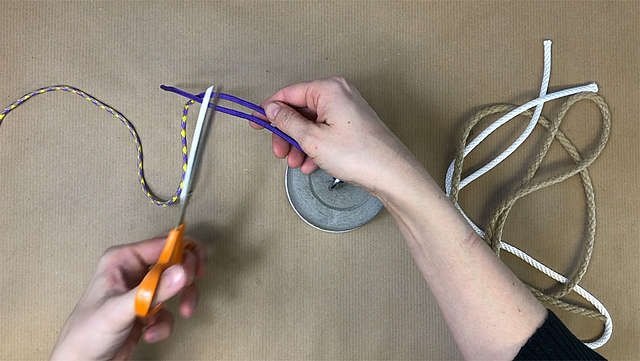
Cut off the ends and weld briefly with a lighter.


Frequently asked questions
Have a question about this project?