


(Lazy Woodworker's) Night Stand From an Old Drawer

This wooden cube was just too small and sad to be a night stand, so I stuck a drawer on top.
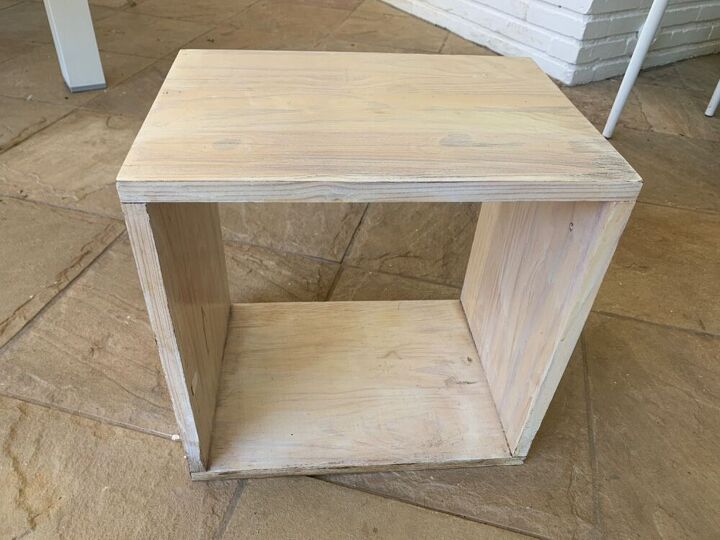
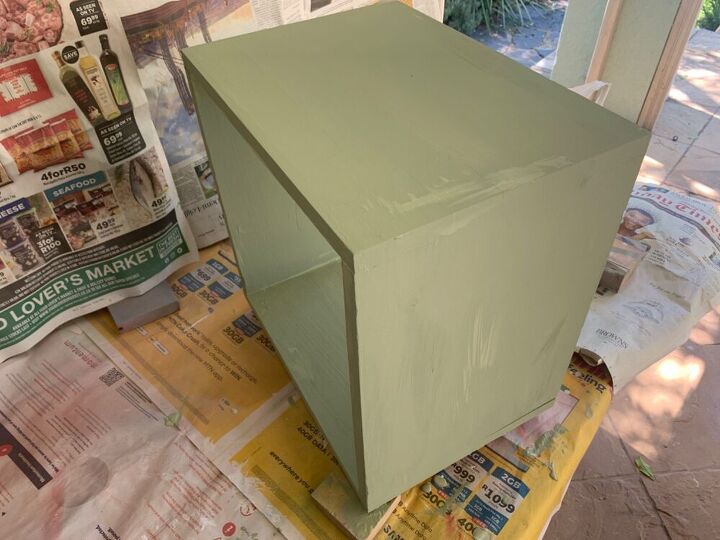
I'm embarrassed to say that the cube above has served as a night stand for a number of years, despite it being too insignificant and too worn to look good.
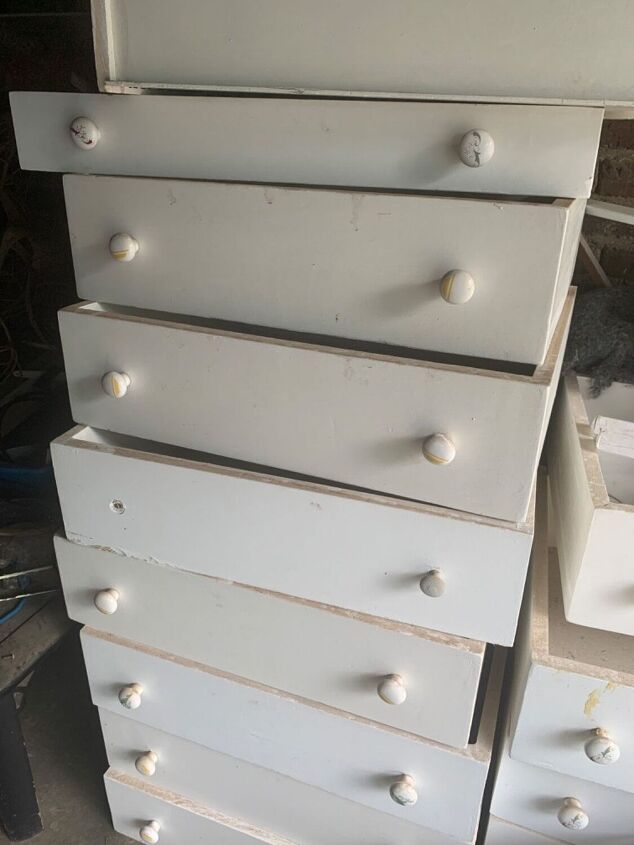
Conversely, in the garage, in a much shorter period, the stack of used drawers was growing much too significant but equally worn. So, it seemed like a good idea to combine the two and let them balance each other out, kind of like a DIY Yin and Yan.
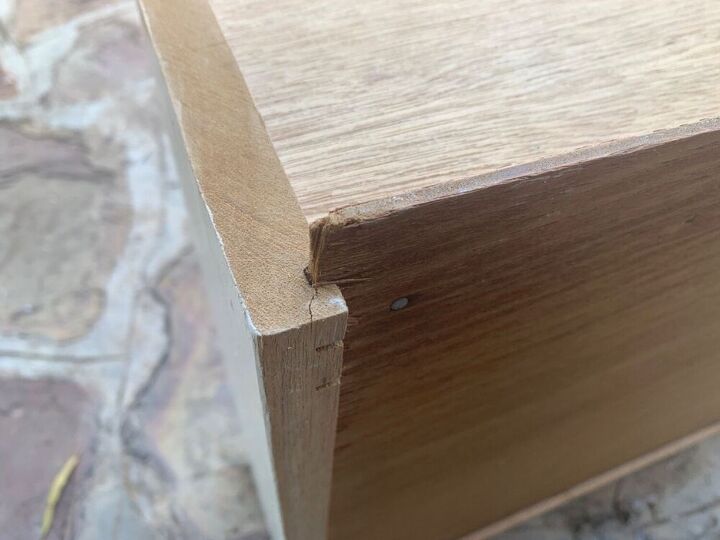
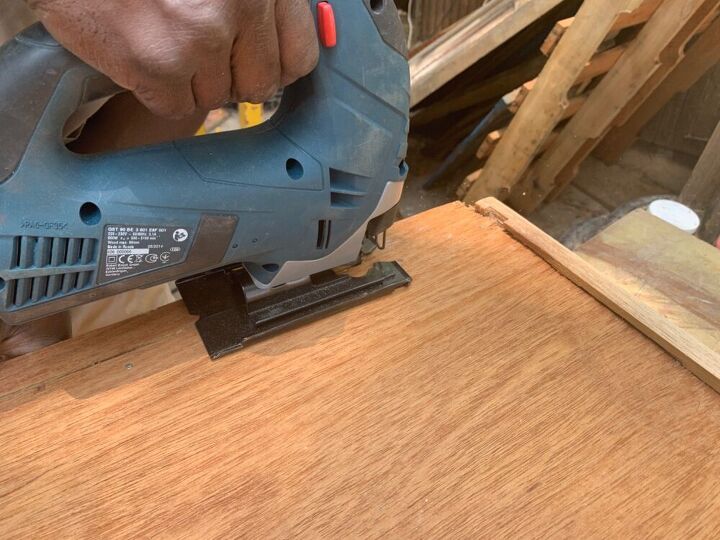
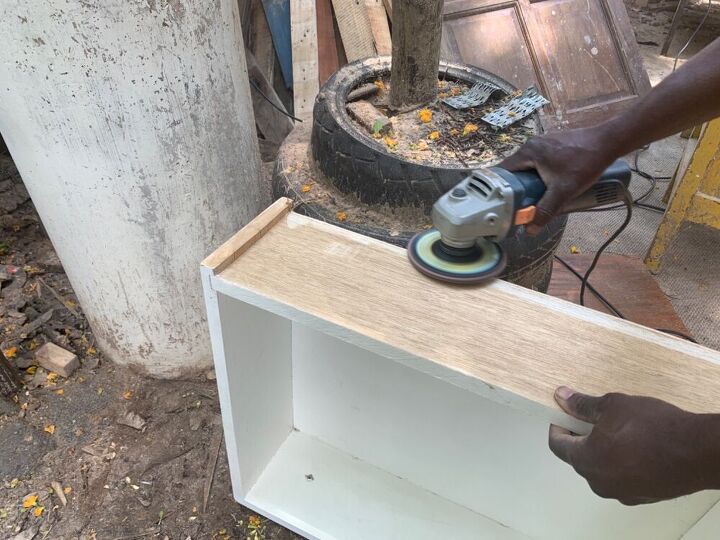
My only problem was that the back of this drawer was really ugly with the drawer base jutting out and that I don't do woodwork. Fortunately there is a job creation center around the corner, so off I went to find a jigsaw wielding person. To all of you who could instantly run this through your rotary saw in your spectacular backyard workshop with every imaginable tool - this is what the rest of us have to do...
Anyhow, I can report back that the guy used a rotary saw to make a large cut parallel to the side of the drawer and then a jigsaw to cut away the corners. Which left the drawer base flush with the side. He then sanded the edges down with a rotary sander. So at least I know the theory.
Sanding done and dusted - pardon the pun.
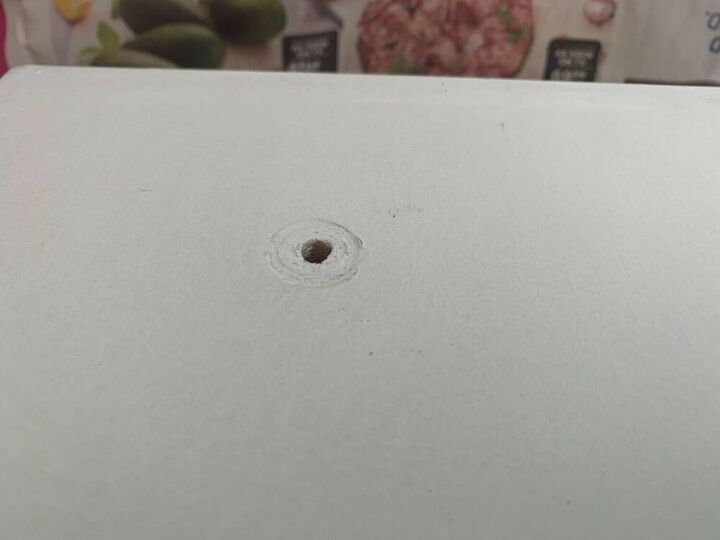
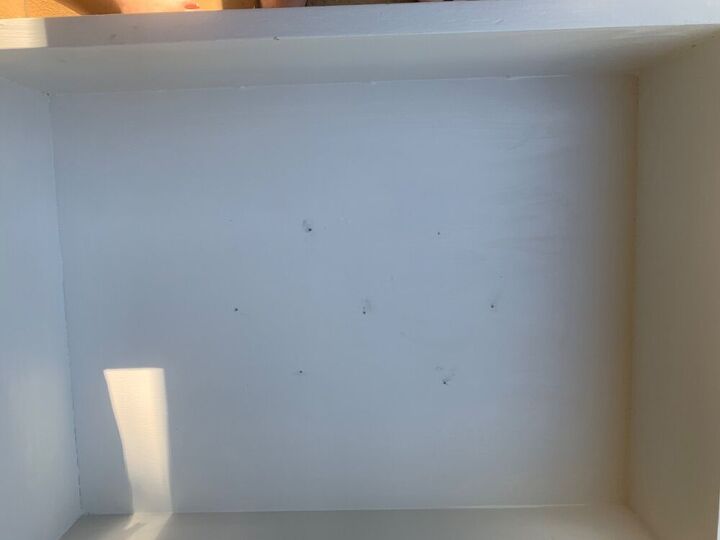
Back home, I used wood-filler and my finger to cover the holes where the handles had been, both on the inside and outside of the drawer. After leaving it to dry I sanded it down, together with the whole drawer. I wiped the dust off with a damp cloth.
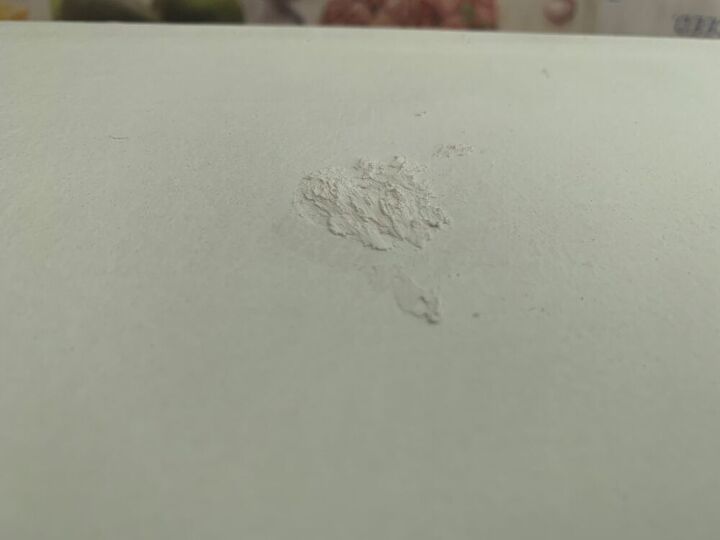
This is what the wood-filler looked like before sanding it down.
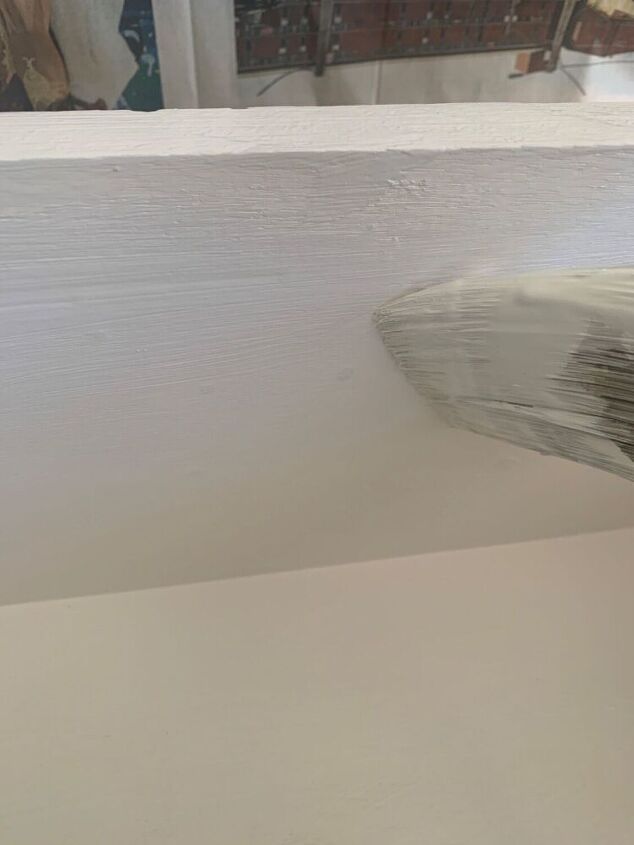
Next, I painted both the drawer and the cube with two coats of chalk paint and a suitable sealer. Strictly speaking you only do the painting after constructing the table but I thought it would be easier to do if it was still in two parts. I figured that I would be able to touch up where necessary. This approach of mine only works if the sealer is a dead match or if you are doing a distressed effect. Otherwise you could complete the painting, then the hammering and touch-ups before you finally paint the sealer. Mine was okay and I managed to get away with using a pencil eraser to remover my hammer marks. But more on that later.
The cube in the process of drying.
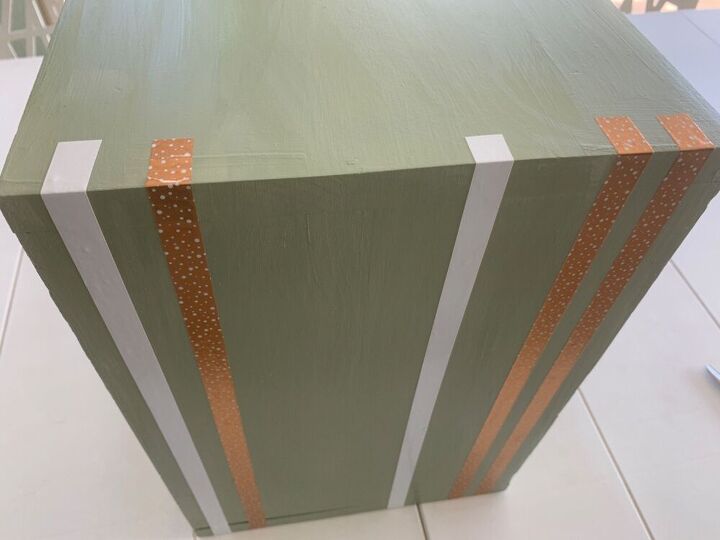
For decoration I applied some washi-and electrical tape to the cube because sticking tape is a lot easier than painting stripes. As you can see from the picture above, I went beyond the sides that would be visible. Make sure the tape is very firmly stuck.
I applied wood glue to the top side of the cube and placed the drawer on top of it. I chose to ignore the husband's mumbling about using screws and instead hammered in about 7 short nails as can be seen above. They don't look particularly pretty so I suppose this is why you should only paint after you have driven them. Or at least touch up. Or just use less nails - but the husband was convinced that my creation would come apart, so I wanted to prove him wrong and went for overkill.
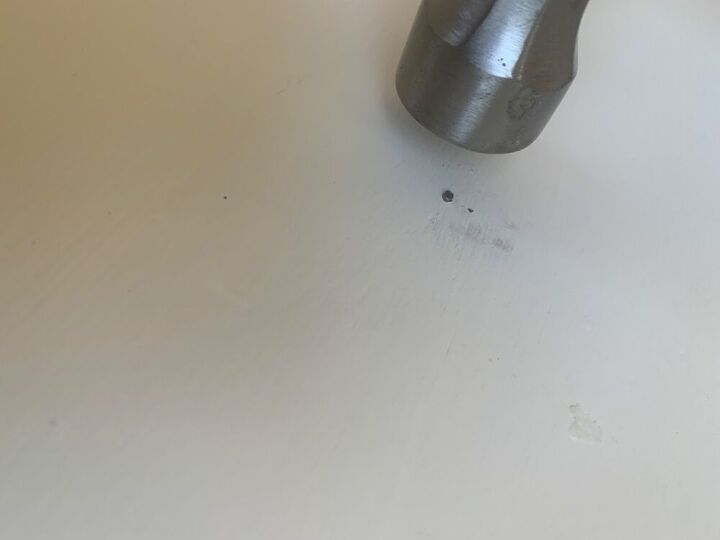
My hammer left some grey marks which I removed with the eraser.
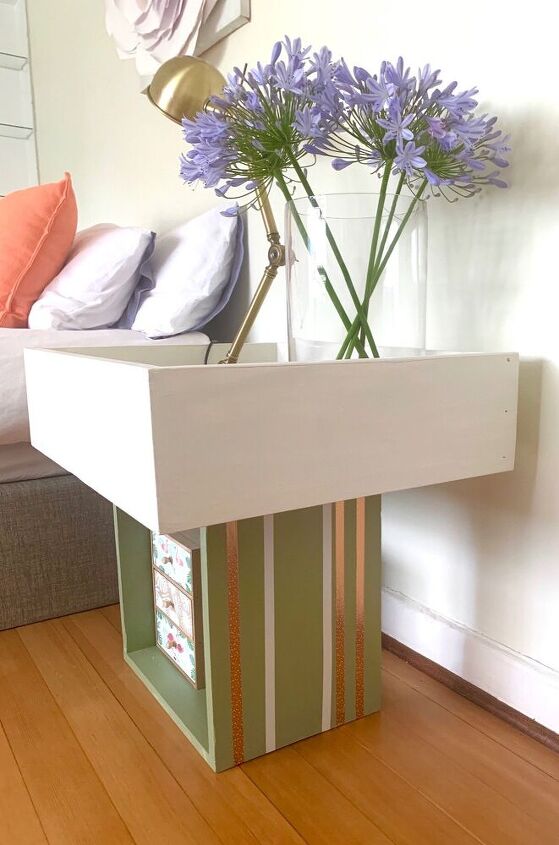
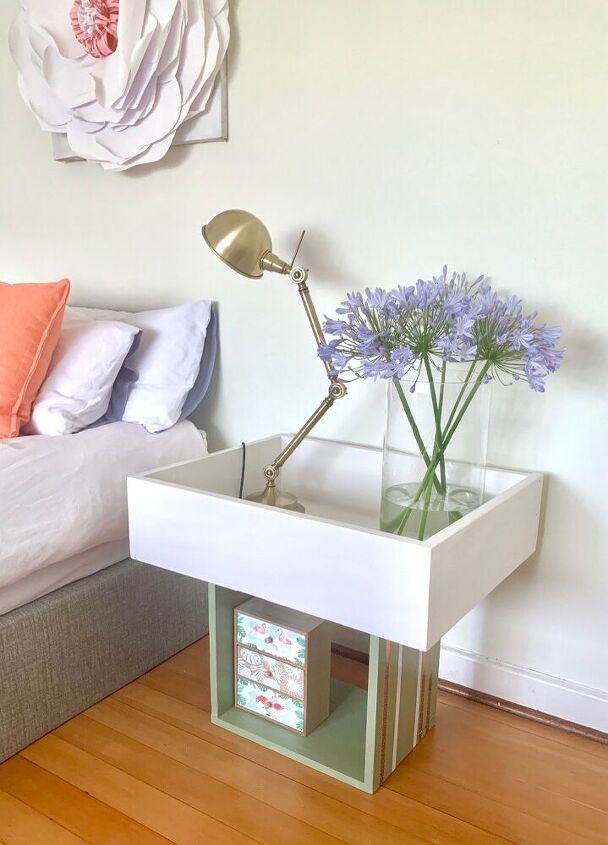
And there you have it - a perfectly presentable night stand. Which proves that even the laziest woodworker is capable of cobbling together a piece of furniture.
Resources for this project:
See all materials


Comments
Join the conversation
-
Using what you already have this is what it's all about.✌ NIFTY idea you had.Keep up your unique style!😊
-
Love this modern look, I would drill an opening in the bottom or back for lamp wires and chargers🥰


Frequently asked questions
Have a question about this project?
Ha ha, my kitty would love to hop in and knock it over!!
I have an old hope chest that’s finish is worn off on edges and corners. The top is a padded seat easy enough to recover. What can I do or use to touch the distressed ares of wood?
Good job!