


DIY Dollar Store Christmas Candles
The most wonderful time of the year is finally here and I can't even begin to describe how excited I am. It's been a difficult year, to say the least, so I'm going to milk the holiday season for all its worth. I already have my list of must-watch Christmas movies written down, I attempted to make shortbread for the first time (a successful attempt at that!), and I've whipped up the first of many holiday-related DIYs.
If you've been anxiously awaiting the Christmas season as much as I have, I know you're going to love today's post. I got the inspiration for this project from the lovely Holly over on Holly Grace. She made the cutest pumpkin candle for Halloween using this method (check out her video over on Tangi). I absolutely loved how her candle turned out, so when I saw a collection of pretty glass Christmas jars at my local Dollarama last week, I knew I had to give candle-making a try.
Side note: I also started up my own Tangi page, so if you want to see some of my DIYs come together in quick, one-minute videos, head over there and hit "Follow" so you never miss out on my creations!
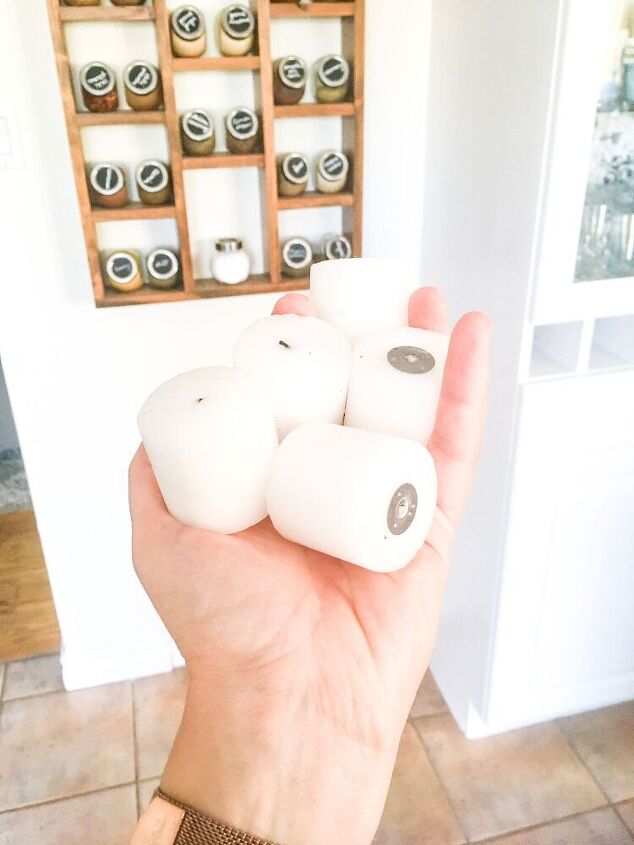
This DIY is the perfect way to get rid of candle odds and ends that have been taking up space in your drawers, cupboards or storage containers.
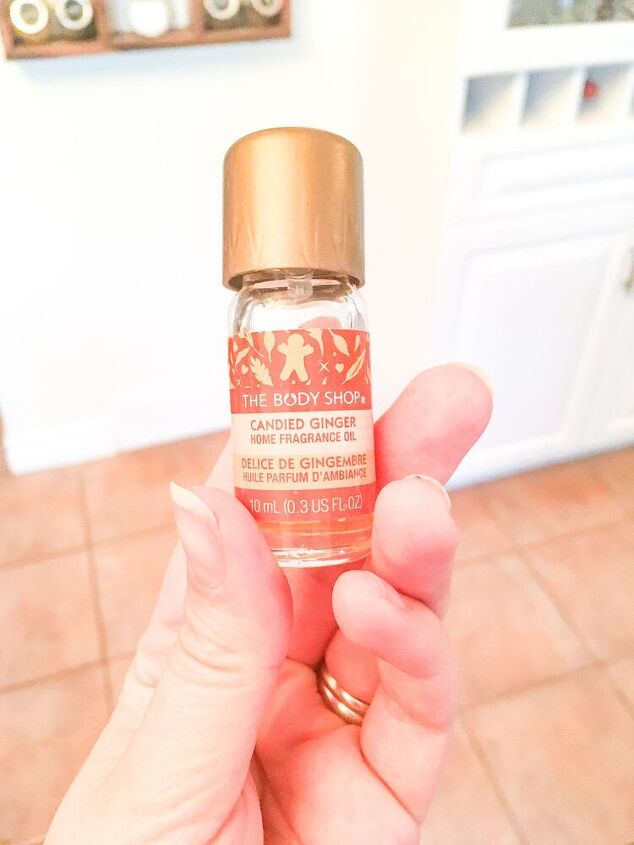
I also happened to have a bit of Christmas-y home fragrance oil that I no longer had a use for, so I decided to throw that into the mix, too.
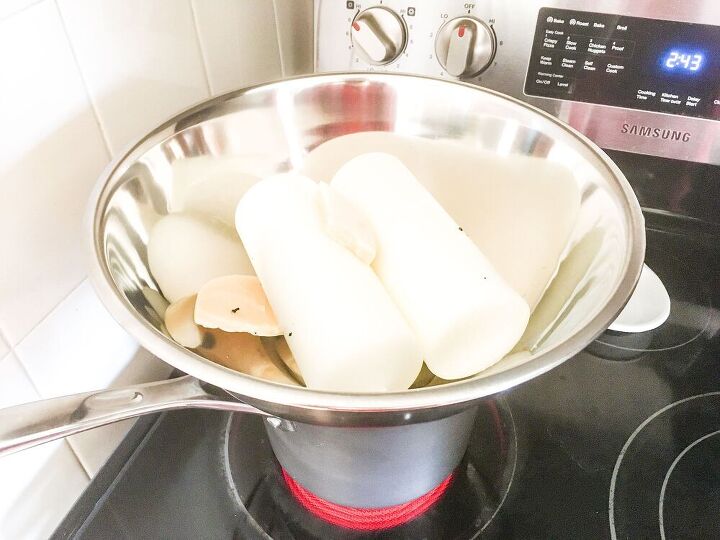
The first thing I did was set up a double-boiler using a pot filled with boiling water and a metal bowl. Make sure you use a bowl that you don't mind ruining! It's going to end up with a coat of wax all over it, so you don't want to use a good mixing bowl. I picked one up from Dollarama and it worked like a charm.

As the boiling water heated up the metal bowl, all of my candle pieces began to melt. As the wicks started to break away from the wax, I used wooden skewers to remove them from the bowl. Again, use a utensil you don't mind getting covered in wax.
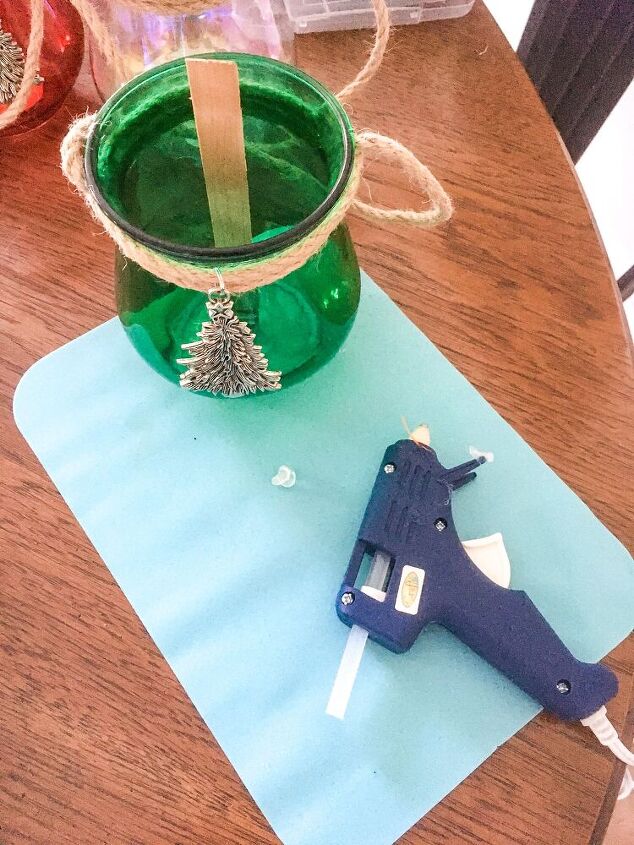
While the candles were melting, I used hot glue to secure the wicks to the inner base of my Christmas jars.
Learn how to make a candle wick.
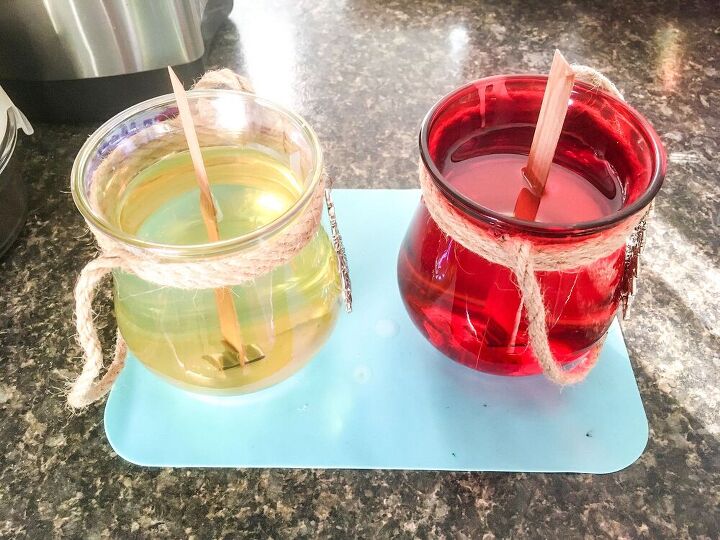
Once the hot glue was dry and my candles had completely melted, I added a few drops of the ginger home fragrance oil to the wax, gave it a quick stir, and began pouring.
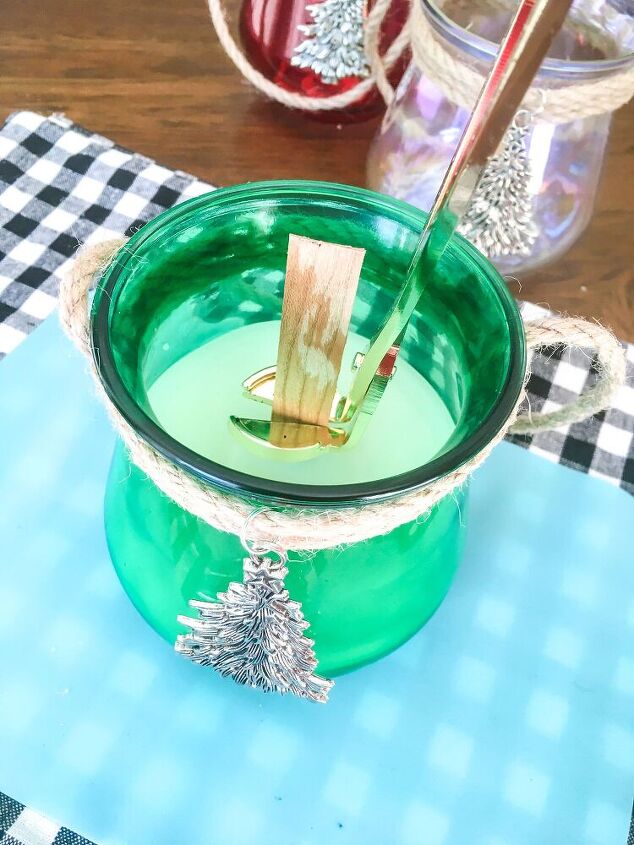
I ended up melting enough wax to fill the three Christmas jars I'd snagged from the dollar store! I let them sit overnight to allow the wax to settle and harden, and then used a pair of wick trimmers to cut down the wooden wicks.
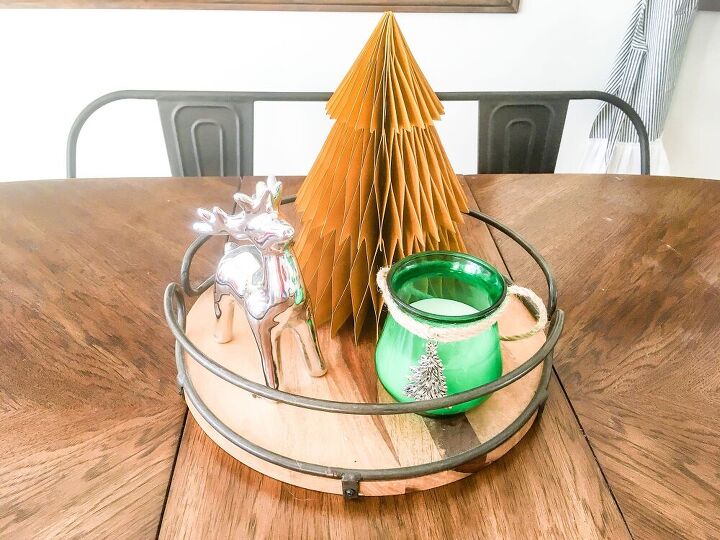
Now I have three beautiful Christmas candles and an empty storage container that can be put to better use. I think this project was the perfect way to kick off a season of holiday crafting. And, going forward, I'm sure I'll make candles for every occasion.
Resources for this project:
See all materials


Comments
Join the conversation
-
Did you not have to deal with the sink hole? I made some candles a few months ago from the leftovers I had and every one of them sunk in the middles.
-
That Is Fabulous!!


Frequently asked questions
Have a question about this project?
I don't understand the use of wooden wicks, don't they just catch fire and burn up?
I have never heard or seen wooden wicks...could I use split thin popsicle sticks?
Some time ago, someone did something really neat with small glass jars. She poured some Mod Podge into the jar, swirled it around, then added some food coloring and swirled that around. The turned it upside down and let it sit overnight. The final result was a beautifully colored translucent jar. I'm not sure if I have that right, or maybe I am missing a step or two. Does anyone here remember the article?