


Easiest Way to Create a Faux Whip Cream Topper | Plus Adorable Mug
5 Materials
$5
1 Hour
Easy
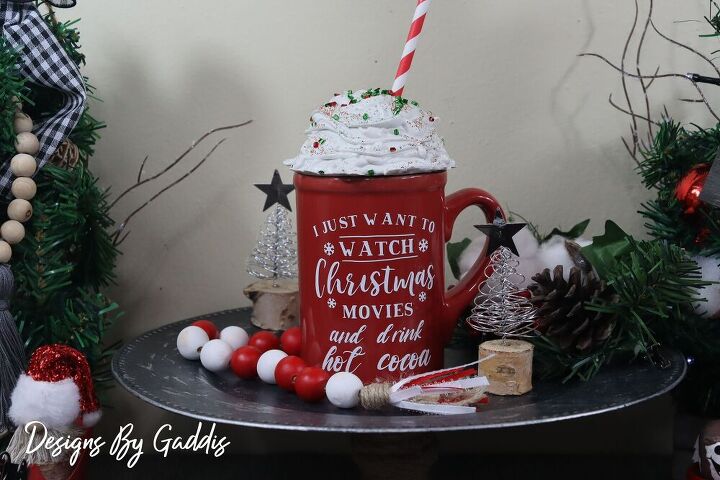
I just love all the cute faux whip cream topper mugs you see this time of year.
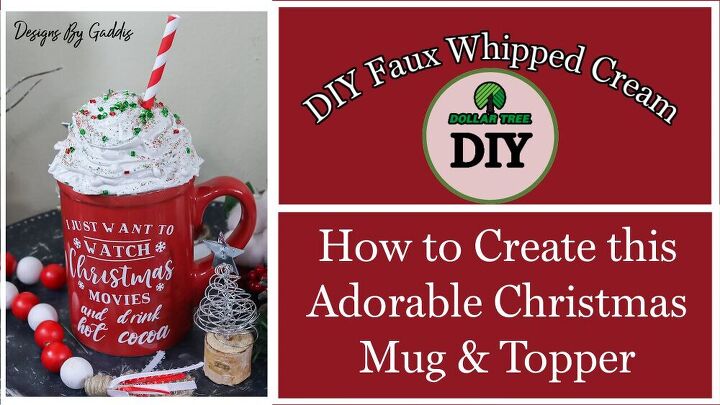
It is so much easier to create the faux whip cream topper than it is the chocolate covered marshmallows. I have been trying to do them and just can't get it right. Maybe I am too much of a perfectionist, but the whip cream topper is simpler for me to make and I think it is the most adorable thing ever.
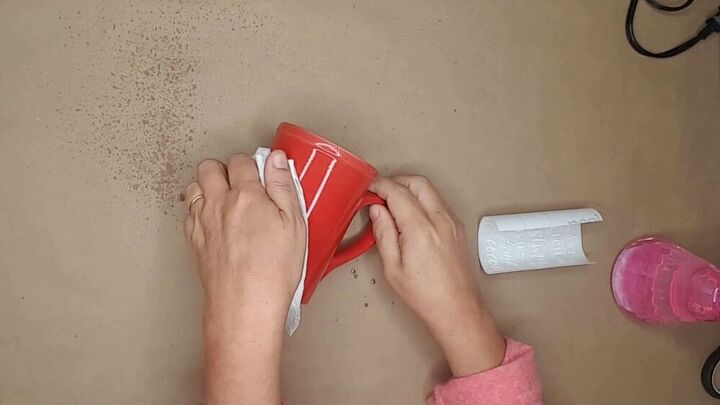
Step 1. Clean Mug.
- Clean the mug you are going to use. I used rubbing alcohol and wiped it down with a paper towel.
- This will remove any dirt and oil from the mug so the vinyl will stick better.
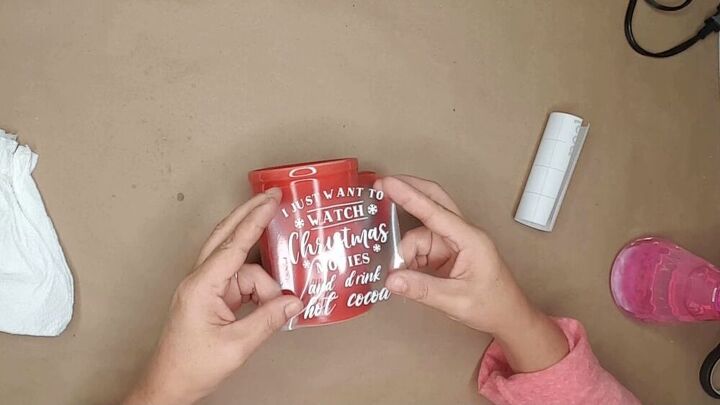
Step 2. Cut and Apply Vinyl.
- I purchased this cut file from Design Bundles.
- I added the bottom part "and drink hot cocoa".
- Cut the vinyl using my Cricut Explore Air 2.
- Apply vinyl in the spot you want on the mug.
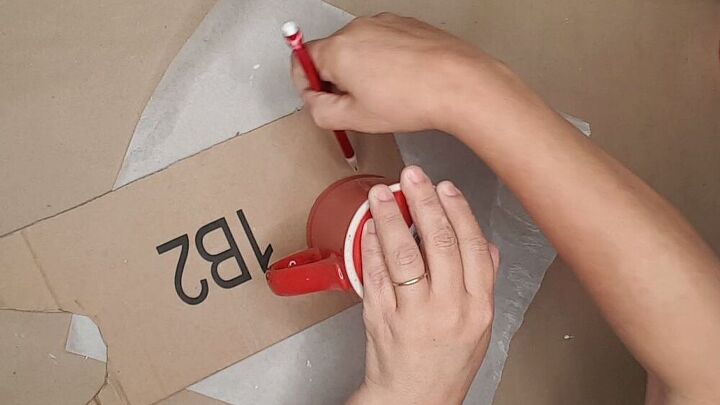
Step 3. Outline the Base.
- I used a piece of cardboard to trace the rim of the mug. You can also use foam board.
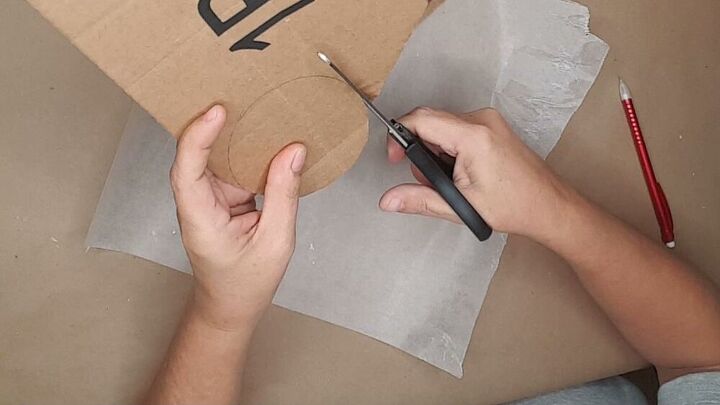
Step 4. Cut the Base.
- I cut around the outline I just made.
- Trim it just inside of the line.
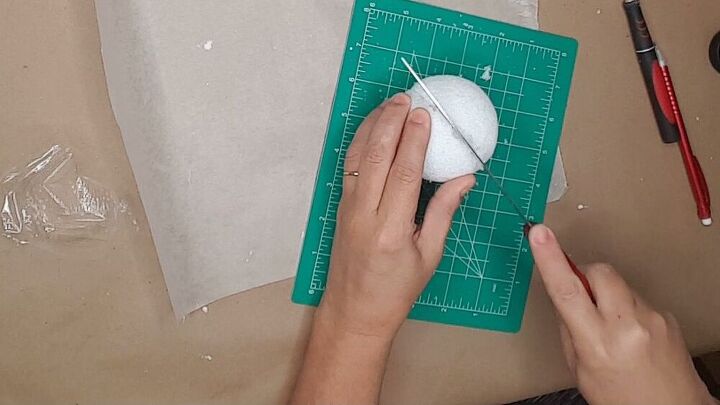
Step 5. Whipped Cream Middle.
- I used a large styrofoam ball from Dollar Tree and cut it in half.
- This will be the center of the whipped cream.
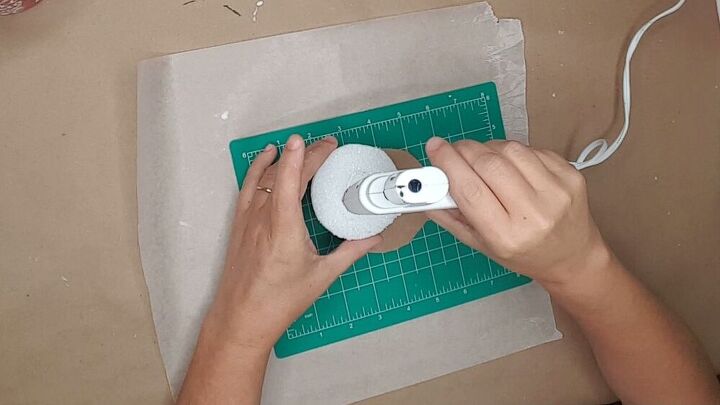
Step 6. Attach the Base and Styrofoam.
- I hot glued the styrofoam half to the cardboard base.
- You can use Mod Podge or white glue for this step if you don't have a hot glue gun. It just may not stick as well.
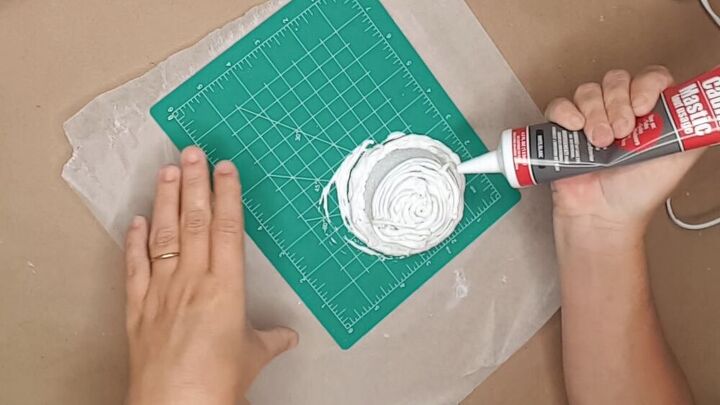
Step. 7. Apply Caulk.
- I used a tube of caulk from Dollar Tree.
- I cut the tip at an angle and then started applying it to the styrofoam and base.
- I applied it like I was frosting a cup cake.
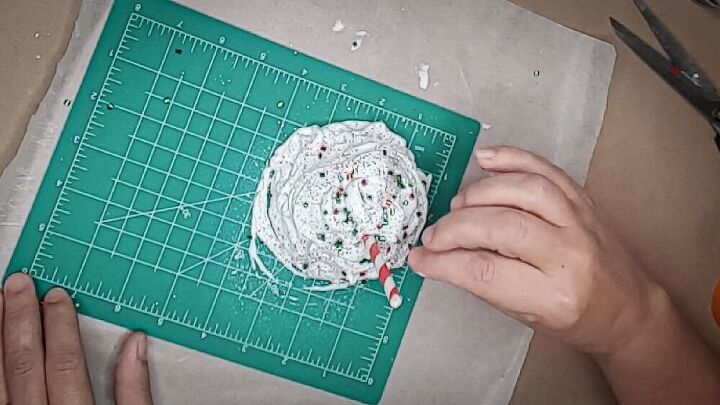
Step 8. Add Embellishments.
- I cut a paper straw down to fit and pushed it into the styrofoam ball.
- I then sprinkled the Whipped Cream with red and green glitter.
- I also added Red and Green crafting tubes from Dollar Tree.
- You can decorate the top of the Whipped Cream with anything you like. (mini graham crackers, mini marshmallows, peppermint candies...)
Step 9. Allow to Dry.
- I sat the Whipped Cream to the side for a couple of days to let it dry completely.
- Once it was dry I placed it on top of my mug.
{
"id": "6456729",
"alt": "",
"title": "",
"video_link": "https://www.youtube.com/embed/qU9_UAy5lKs",
"youtube_video_id": "qU9_UAy5lKs"
}
{
"width": 634,
"height": 357,
"showRelated": true
}
Watch the Video for the Full Tutorial.


Any price and availability information displayed on [relevant Amazon Site(s), as applicable] at the time of purchase will apply to the purchase of this product.
Hometalk may collect a small share of sales from the links on this page.More info

Want more details about this and other DIY projects? Check out my blog post!


Frequently asked questions
Have a question about this project?