


How to Make a Lattice to Hang Pots
Do you like plants a lot but don’t know how to put them at home without it being the same as always? We have a great idea for you to decorate any bland wall in an original way: so you can make a wooden lattice with slats to create a vertical mini-garden with your pots.
WHAT DO YOU NEED?
Tools- Flexometer
- Pencil
- Sandpaper
- keyhole saw
- Drill
- Wire
- White glue
- Wood Ribbons
- Small pots
- Sprayer
- Succulents
- Substratum
- Balcony scissors
- Screws
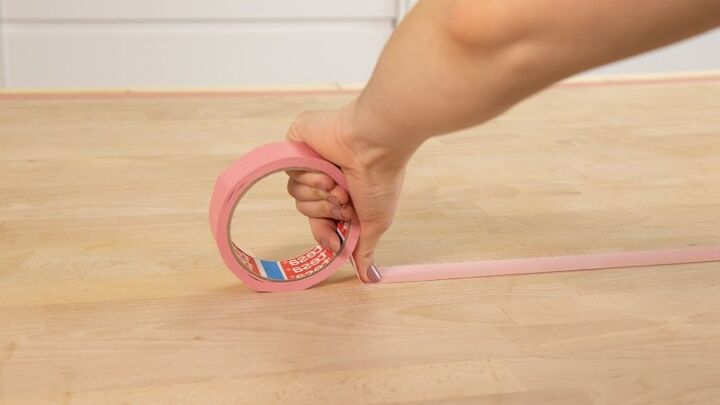
1. Measure the wall and create a template
The first step to create your lattice with pots is to measure the surface on which you want to place it, with the help of a tape measure. Measure the width and length and, with those measurements, create some guides by sticking some masking tape on your work surface. They will help you to make the lattice construction process easier.
2. Mark the lattice design on the template
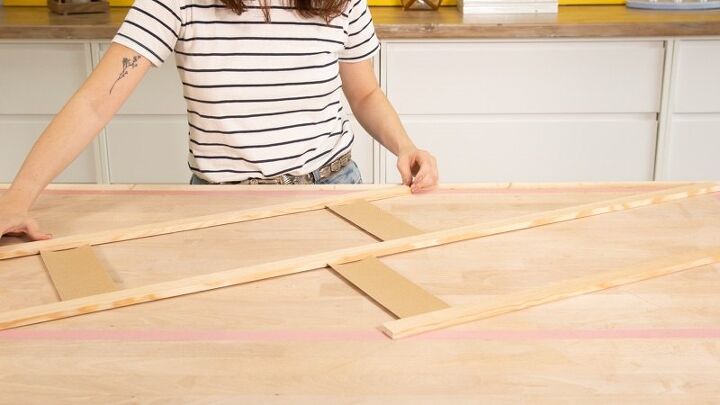
Once you’ve attached the guides with masking tape, you can begin shaping the lattice by cutting the wooden slats. The structure is quite simple: four slats diagonally parallel to one side and, superimposed on them, four slats parallel to the other side, forming rhombuses.
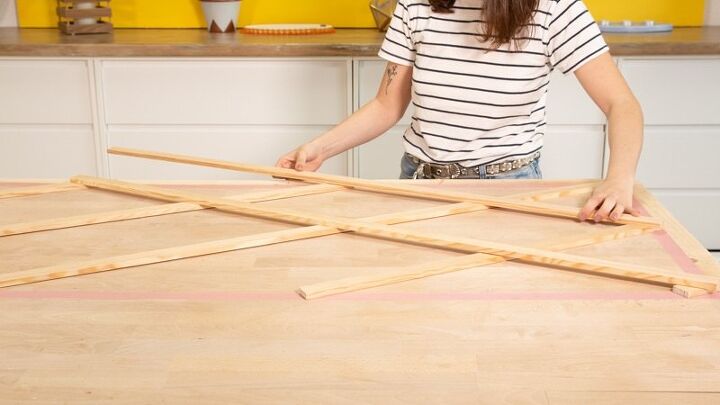
Place the slats on your work surface forming the lattice, from one side of the guides to the other, and mark with a pencil the points where they intersect with the masking tape, which will be where you have to cut. To ensure that you leave the same space between one strip and another, you can create several pieces of cardboard of the same size, which you place between them.
These are the measures of the slats that we use: 2 slats of 120 × 3 cm, 2 slats of 115 × 3 cm, 1 slat of 63 × 3 cm, 1 slat of 37x 3 cm, 1 slat of 60 × 3 cm and a last strip of 66 × 3 cm. They are all 1cm thick.
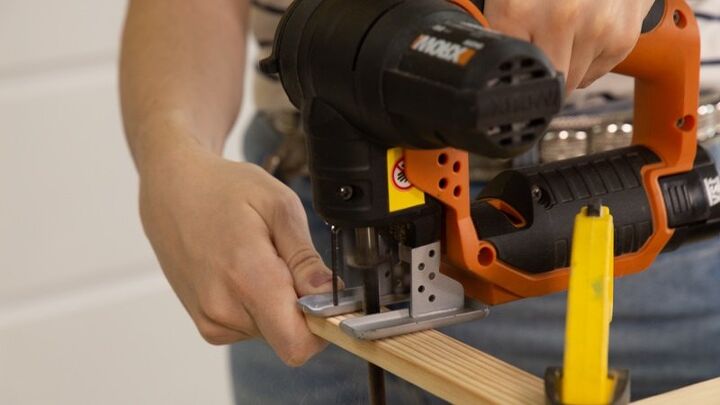
3. Cut and sand the wood slats
When you have the marks, cut the slats with a jigsaw and sand carefully when finished.
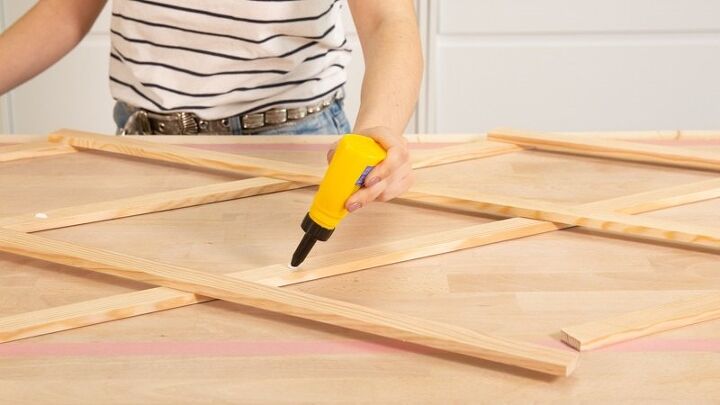
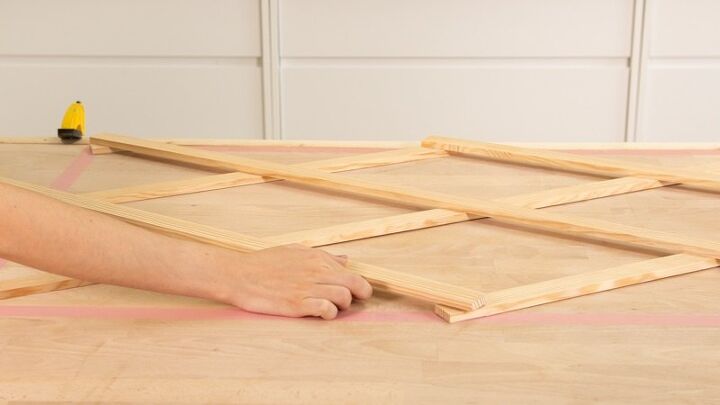
4. Join the slats
Time to fix the wooden slats together. To do this, mark with a pencil on the wood the exact point where they should be joined. When you have it, lift the slats at the top one by one, and apply white glue, pressing lightly afterwards.
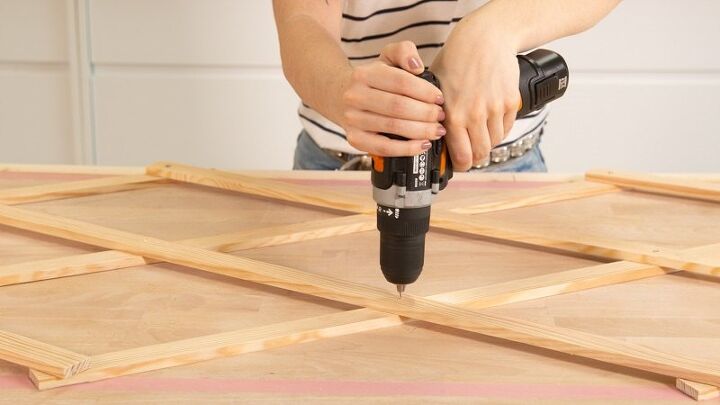
After applying the white glue, install screws to secure the joints. For this, we recommend that you first make a small hole with a fine bit so that the wood does not break when inserting the screw.
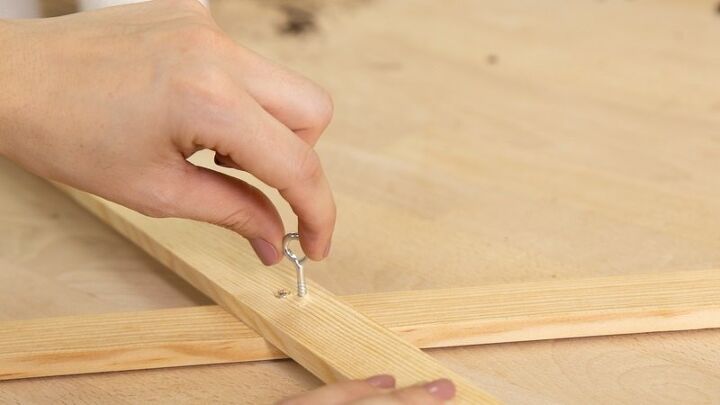
5. Hang the lattice
In order to hang the lattice to the wall, you will need to place some sockets on the structure. Insert them from the back, where the screws are. Then, place the lattice in the place where you want to put it and press lightly against the wall with a small tap. This will mark the exact area where the females go and will serve as a guide.
With this, it will be easy for you to carry out the next step, which will be to make some holes in the wall, and then insert a plug with a hammer in each of them. Now it only remains to put a couple of spikes and you can hang the lattice.
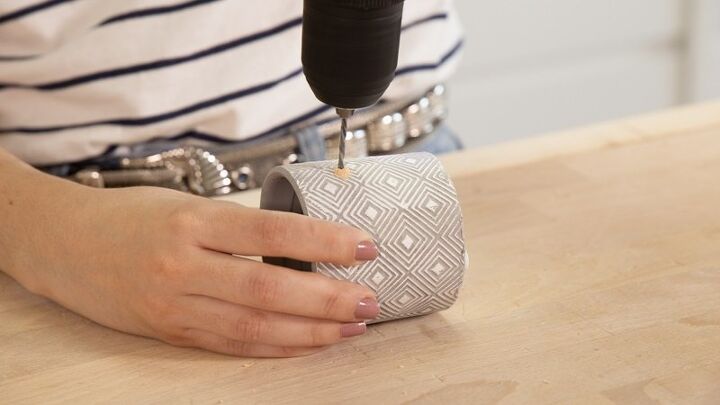
6. Prepare the pots on the lattice
The time for the little plants has arrived! Start by preparing the pots. We have decided to put a clay pot at each intersection of the lattice, if you like it, you can do it the same.
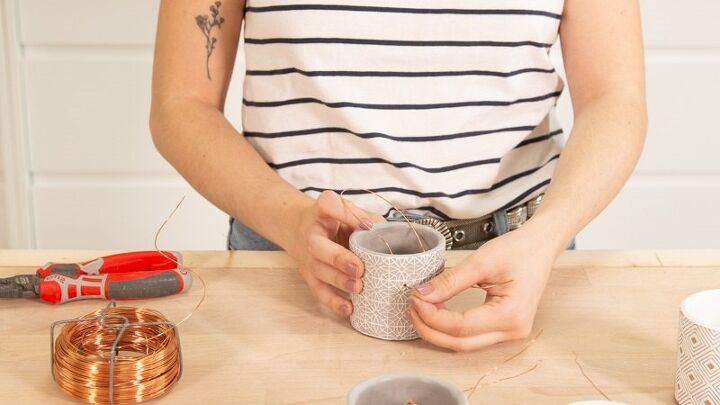
Make a couple of holes in each pot with the help of a drill to be able to hang them with a piece of wire. Be careful and don’t use too much force to avoid breaking them. When you are done, clean any dust that may have been generated, cut the wire and insert it through the holes you just made.
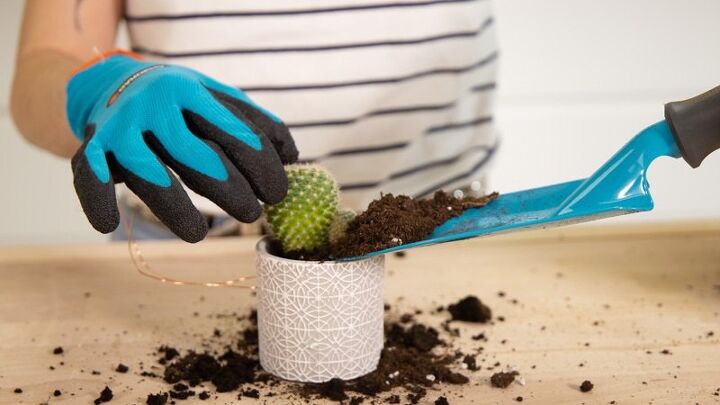
7. Transplant the succulents
To put the succulents, you can directly introduce the pots in each pot. We have preferred to transplant them, since without that step they would be too loose. If this is your case, you can follow the same steps. For this work, we have used a Gardena 4-in-1 set, which comes with gloves, a gouge, a trowel, and garden shears.
Start by putting on gloves to protect your hands, because succulents sometimes have little hairs that can irritate your skin. With the help of a shovel, introduce a little substrate inside the pot and hollow out the soil to introduce the plant. Then flatten and add a little more substrate if you need it.
8. Place the pots
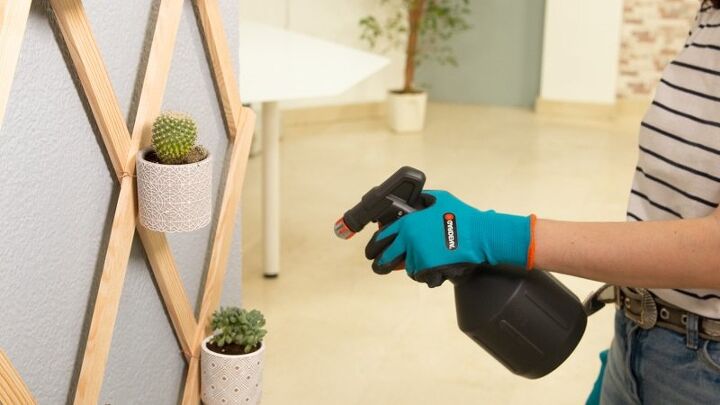
Almost done! Once you have the lattice anchored to the wall and the pots prepared with the seedlings, bring the pots closer to the lattice and screw the wire from behind, so that they are well attached.
The last step will be to water the succulents with a water spray to settle the soil well and make them super pretty.
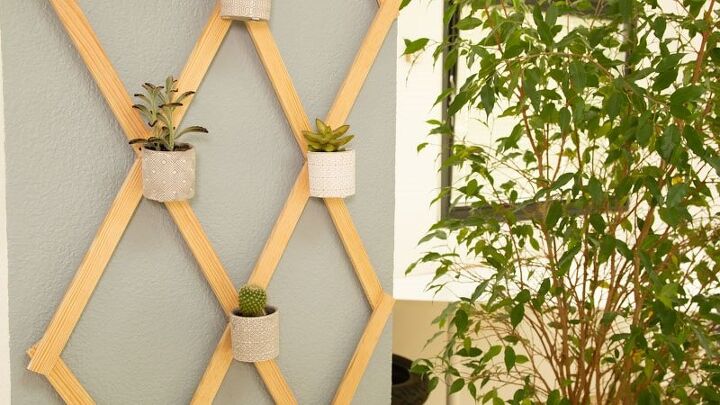
Ready! You already have your lattice with pots . It was cool, right? What do you think?
Resources for this project:
See all materials


Comments
Join the conversation
-
I had been looking for the right picture/ painting for my new bathroom wall , now I’ve seen this , it’s exactly what I want to do. Thank you.


Frequently asked questions
Have a question about this project?
What are balcony scissors??