


Painted Faux Brick Floor

After getting a quote to redo my floors, I had to do something in the meantime that I could actually afford. Painting was definitely something in my budget. I had attempted to paint my floor previously and kept quitting halfway because the stamp I was using did not fit and I was unable to bend it. So my before picture is not the actual original vinyl.
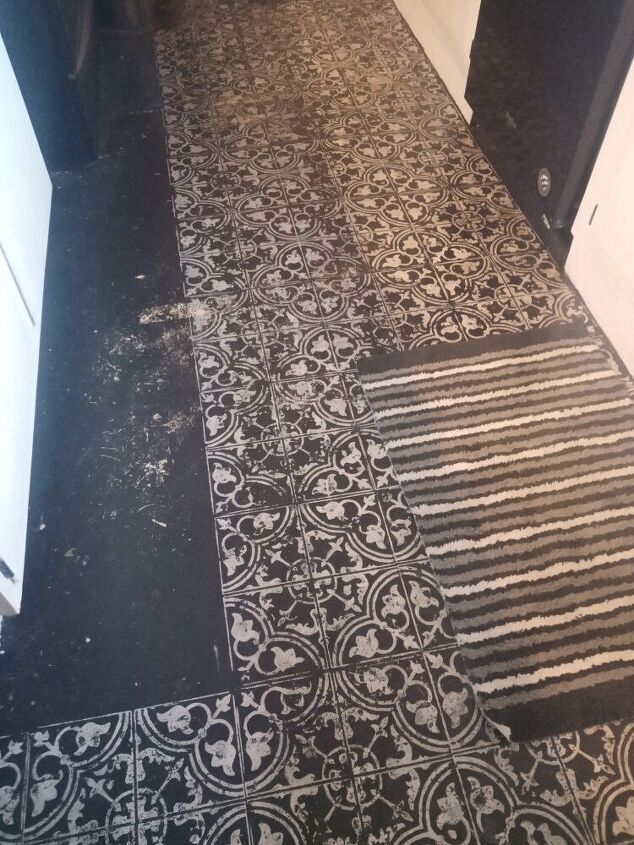
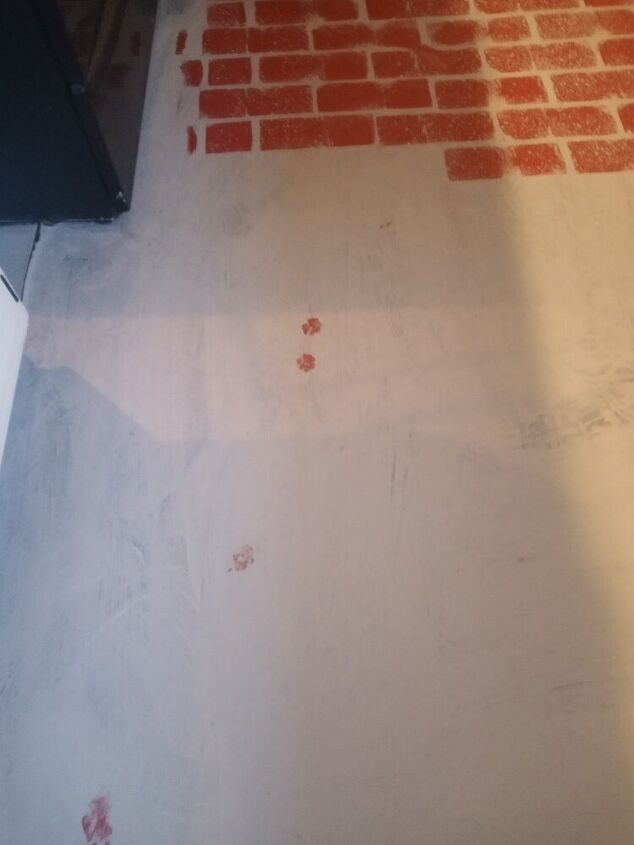
Here is the sad before picture. Between my throw rug and half stamped...it was pretty bad. Since it had been a whilefrim the last time I attempted to paint, I started all from scratch from the beginning with prepping.
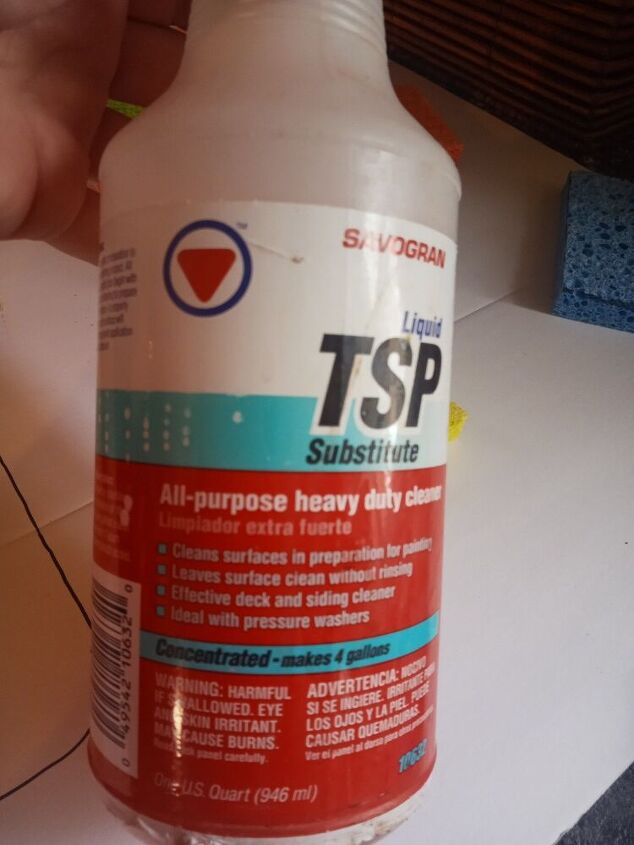
Make sure you sweep and mop first. Then I used a mixture of tsp substitute and water to give it a final cleaning.
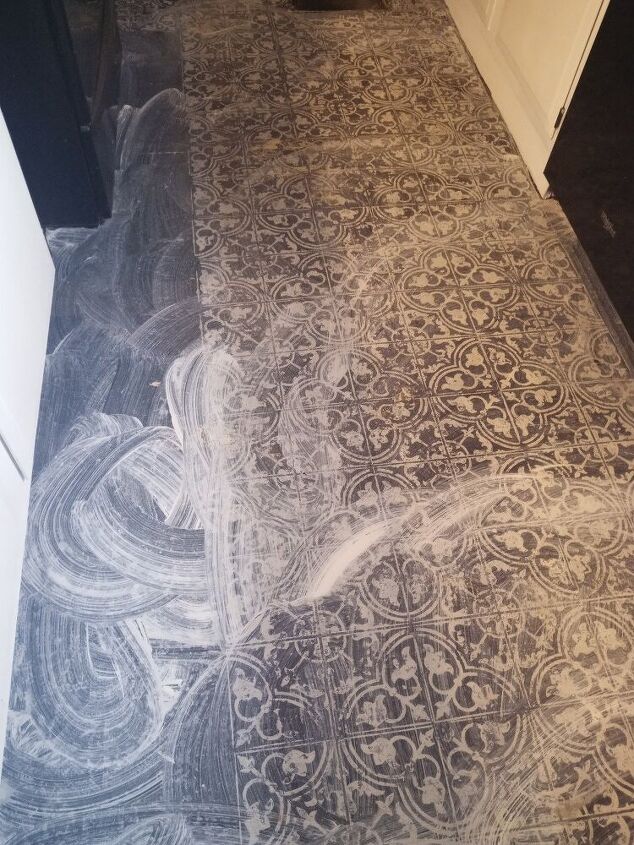
Once the floor was almost dry I went and applied a thin coat of Extreme Bond primer with a sponge from Sherwin-Williams. This stuff is amazing! It's almost like glue for paint.
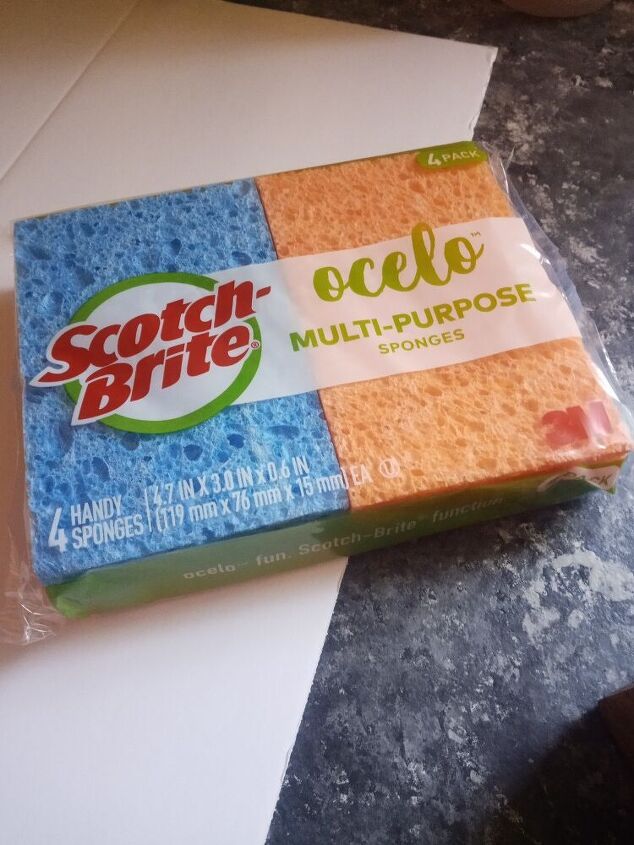
While my bonding primer dried I made my own stamp out of sponges.
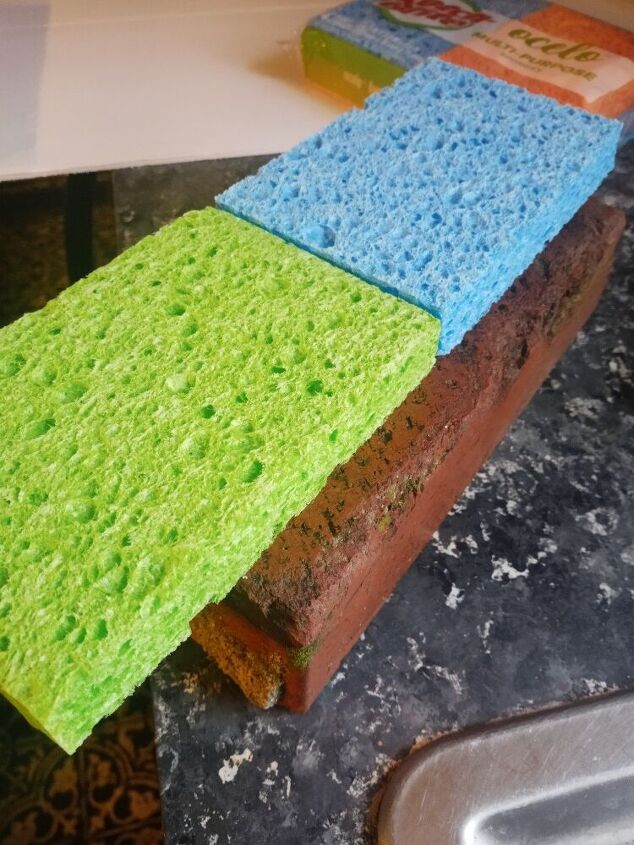
The sponges weren't as big as the brick that I had as a template so I just measured the length. With the sponges I had it was about one and a half sponges to make one brick.
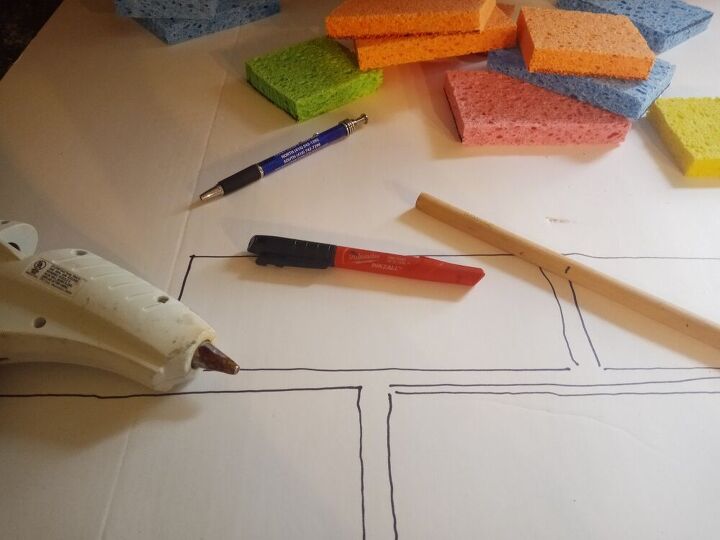
I then took a piece of foam board and traced the sponges I had cut. I used a bamboo straw for measurement between each brick. It just happened to be the exact size I needed, but you can measure with a tape measure. Then I hot glued the sponges onto the foam board. Afterwards I trimmed the excess foam board.
Here's what my homemade stamp looked like after gluing and trimming. (I had forgotten to take a picture before I started painting)
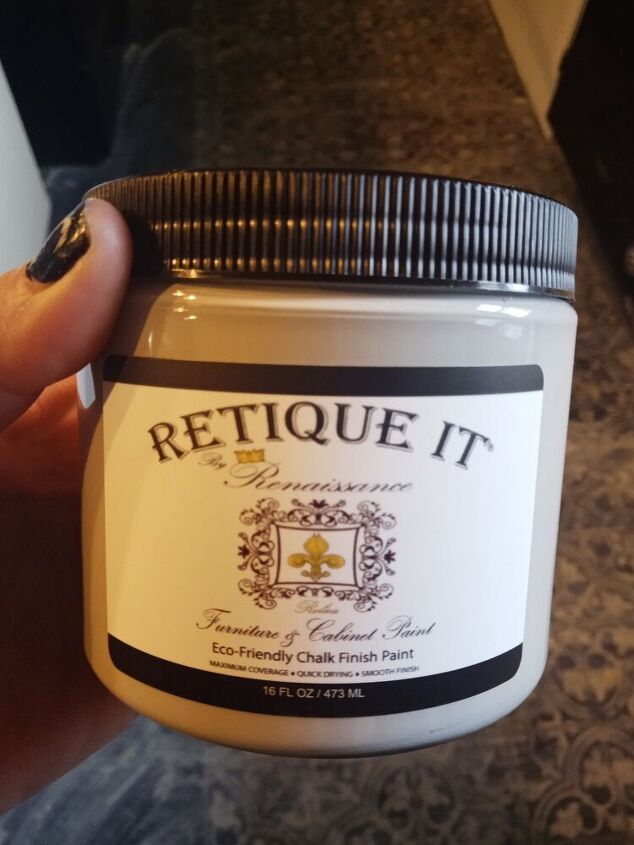
I used a base coat of Retique It paint in Stone Castle. It was the perfect gray to look like grout. Plus being a chalk style paint it dries super fast.

As you see I didn't get real fancy with the base coat. I didn't have to worry because we are going to stamp the brick pattern over it. I figured any imperfections would add to the look of texture.
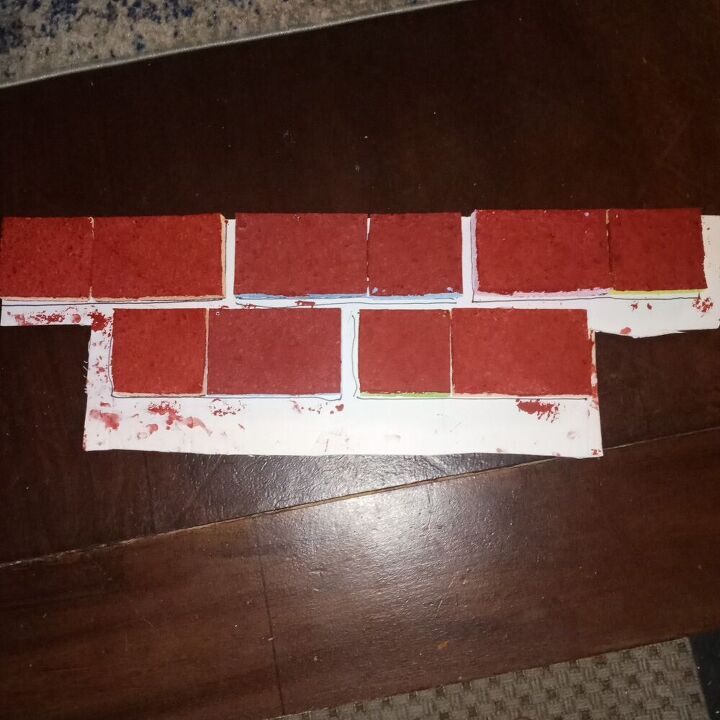
I applied the Retique It Venition Red paint onto my homemade stamp. I just used a damp natural sponge to apply it but you could use a sponge roller or anything else that you find is easy. You don't want the paint to be too thin. So, really no need to add water unless you feel like it's starting to dry too quickly on your sponge stamp.
as you can see in the picture you might want to lock up your animals while doing this. LOL my cat decided to add his own touch with his paw prints.
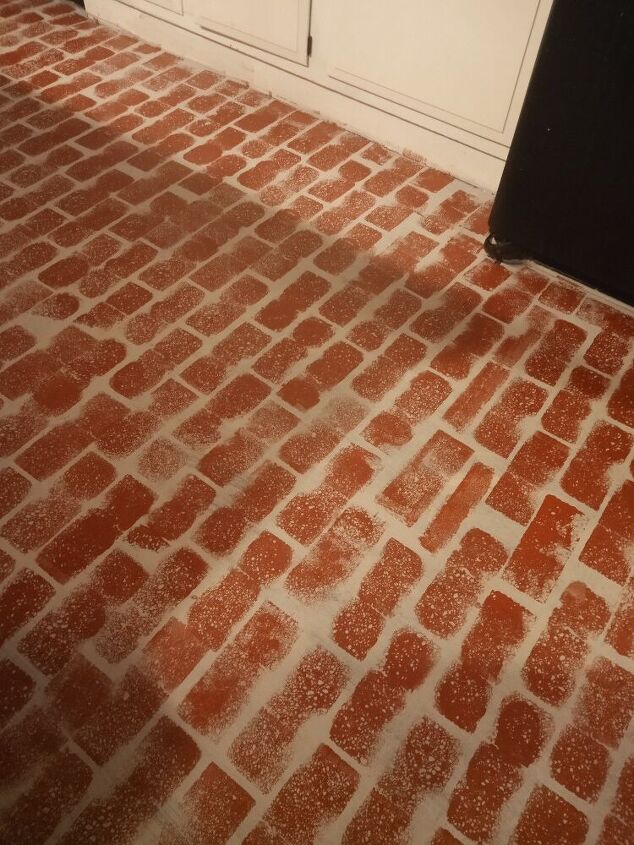
Since I made my stencil staggered I went in after and used a single sponge to stamp any bare spots. It definitely isn't perfect but I was okay with that. As usual I just chalk it up to "character" 😂
Sorry! I forgot to take a picture of me applying the Ultratique water-based epoxy. It's super easy you just apply it like you would any other sealer or paint. I did end up putting two coats. This stuff is amazing! I used it on my countertops and it has held up so well.
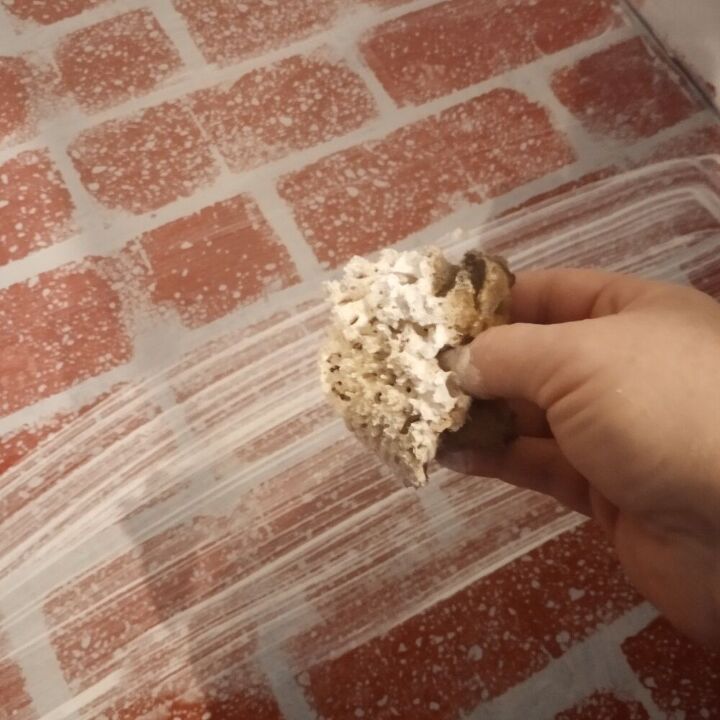
I loved the look after the sealer dried.. it was a little bit brighter than I had wanted. So I mix equal parts of Retique It Snow white paint and their polycrylic to make a white wash glaze.
I just wiped it on with a natural sponge and wiped off any spots that were a little bit too thick.
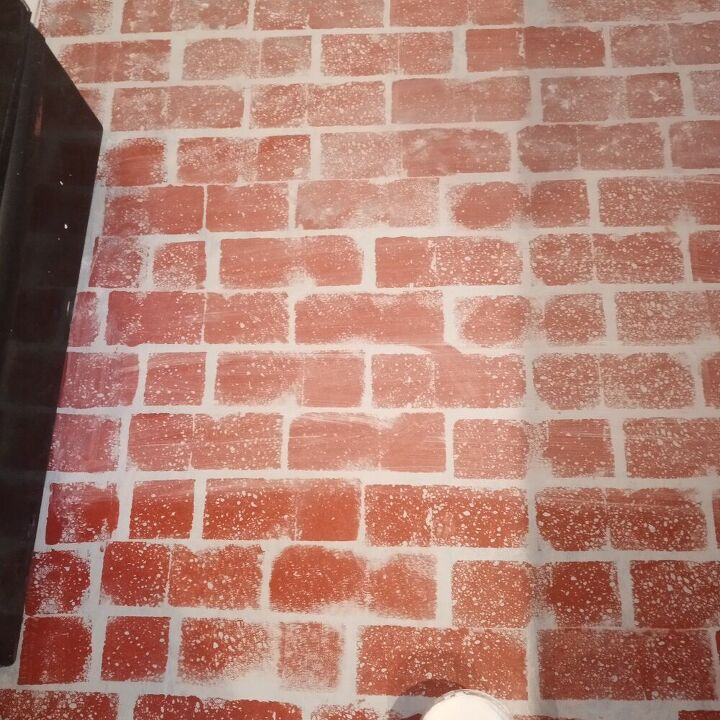
Here's the difference with the glaze versus without. It didn't make a huge difference but it toned down the red.
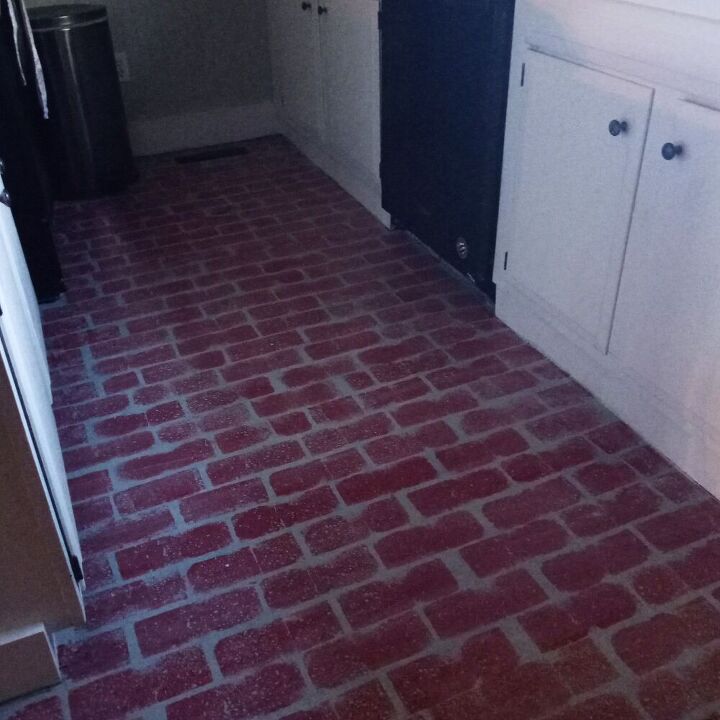
I couldn't have been happier with the results! It seems to fit the style of our almost 100-year-old farmhouse. And I did not have to spend thousands of dollars! 😬
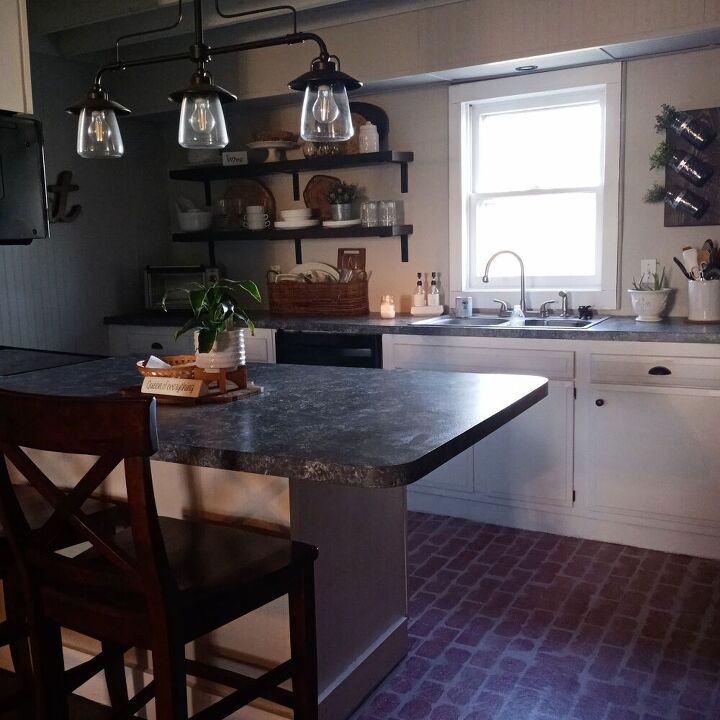
Here's the final look of my kitchen. We have totally transformed it using just paint.
I painted the countertops and the cabinets and now the floor.
I absolutely love it! ❤️❤️
Resources for this project:
See all materials


Comments
Join the conversation
-
You did an incredible job! It's beautiful.
-
Love it


Frequently asked questions
Have a question about this project?
Could this be done to a square ceramic tile floor?
I have 1960's 1x1" light green bathroom tile.
I want to paint white over these tile and grout.
how can I do this please?
How well does it stay looking good ? Did the glaze also act as a sealant ? Seems to me you'd have to seal it so it wouldn't get scratched.