


Throw Pillow Cover With Bleach

The living room could be considered as the beating heart of the house. We spent most of our evening on the sofa. Drinking tea, talking, playing dice-games and watching Netflix. We often find ourselves battling about who gets more pillows. After reflecting on our last pillow-fight (not the fun part with the feathers flying around), I bought more throw pillows and decided to make covers. In this tutorial, I will present my last stencil-bleach throw pillow covers.

Like all good things, it started with a google search. I googled the words: nature, silhouette, cartoon; and printed a few results. Once I had it in my hand, I could clearly understand what I have in my mind and how to achieve it. If I could trust my drawings better, I could have skipped this step and draw... one day.
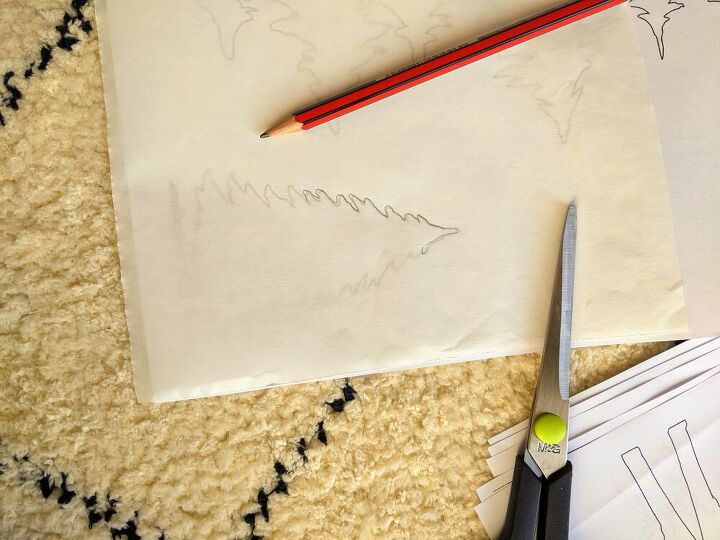
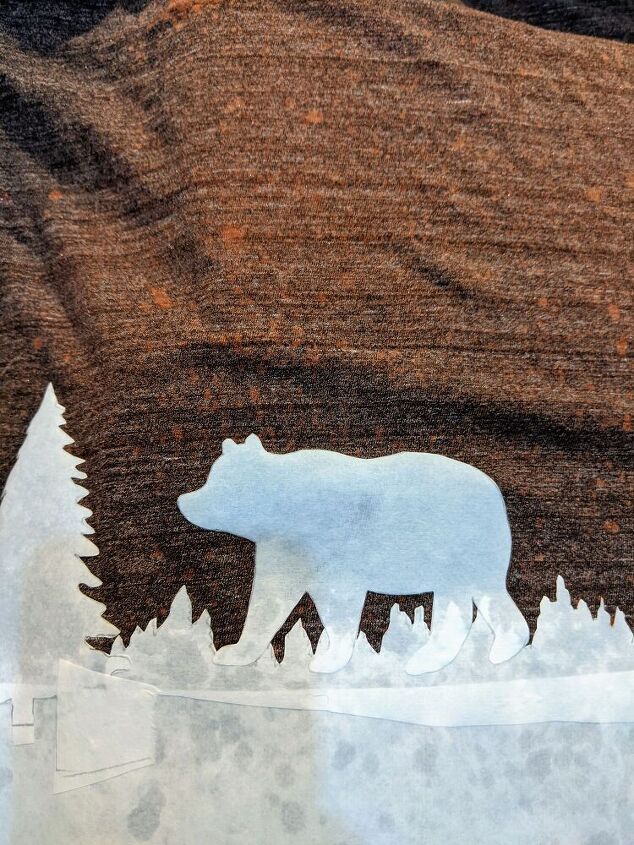
I copied to a Freezer Paper the bits that seemed to fit perfectly together, making sure the paper's shiny waxed side is faced towards the print, and I am copying on top. I copied 3 trees, a mama-bear and a bit of grass. Then, using scissors, I cut it out, according to the pencil line. I had to use fingernail scissors for the grass and the trees to make it as accurate as possible.
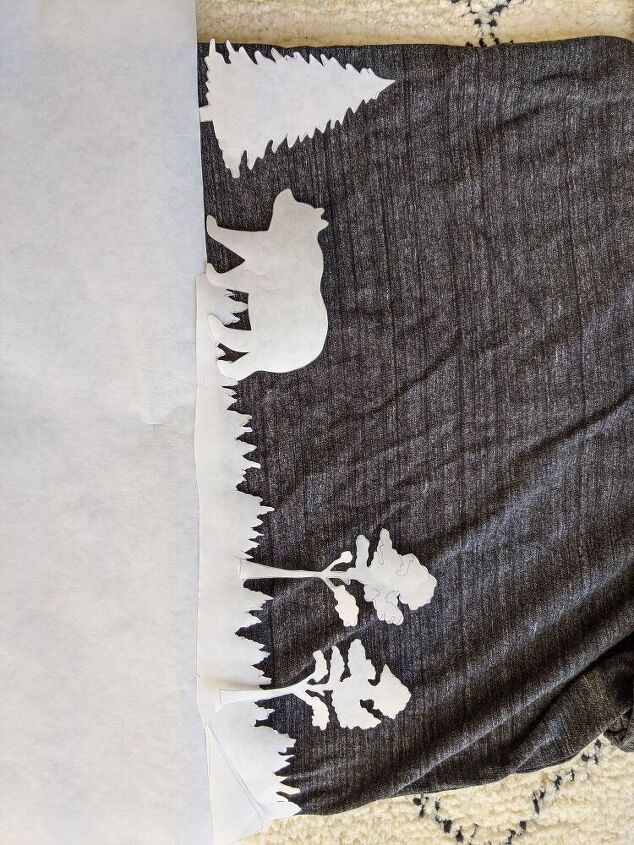
Once I had all the cut-outs, I placed it on top of the cover. I shift places a few times until I reached the scene that seemed to make the most sense.
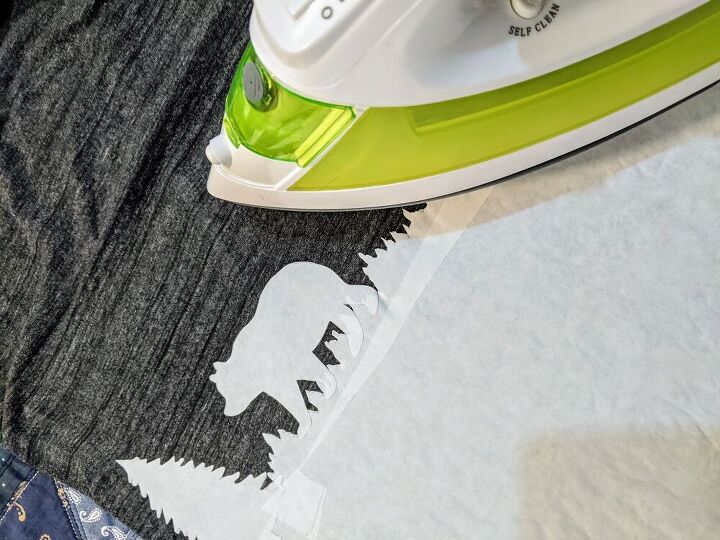
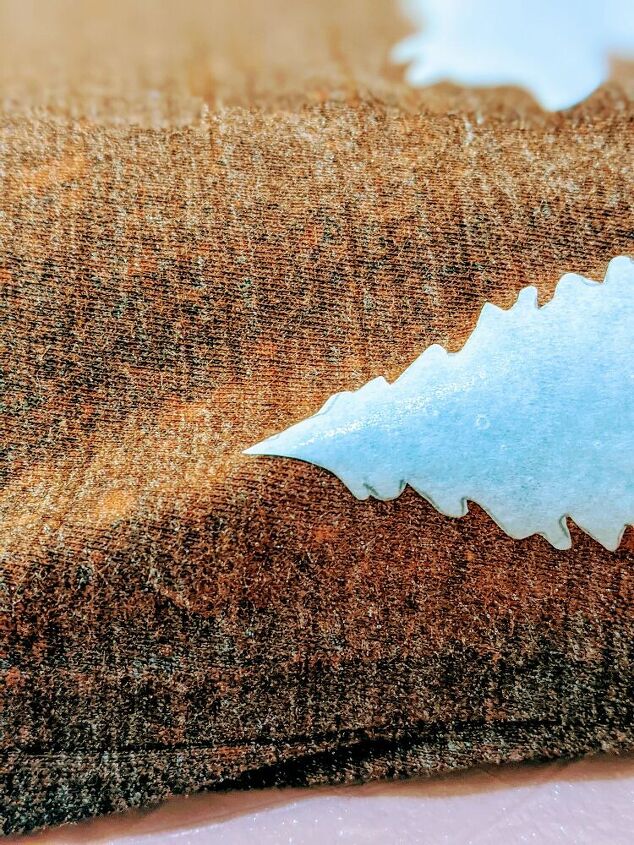
Then, I ironed it to the cover. According to what it says on the freezer paper, the iron was set to "cotton" heat. I had places that I thought were not covered properly; therefore, I cut pieces of freezer paper and placed it on top of the others, as one can notice next to the tree.
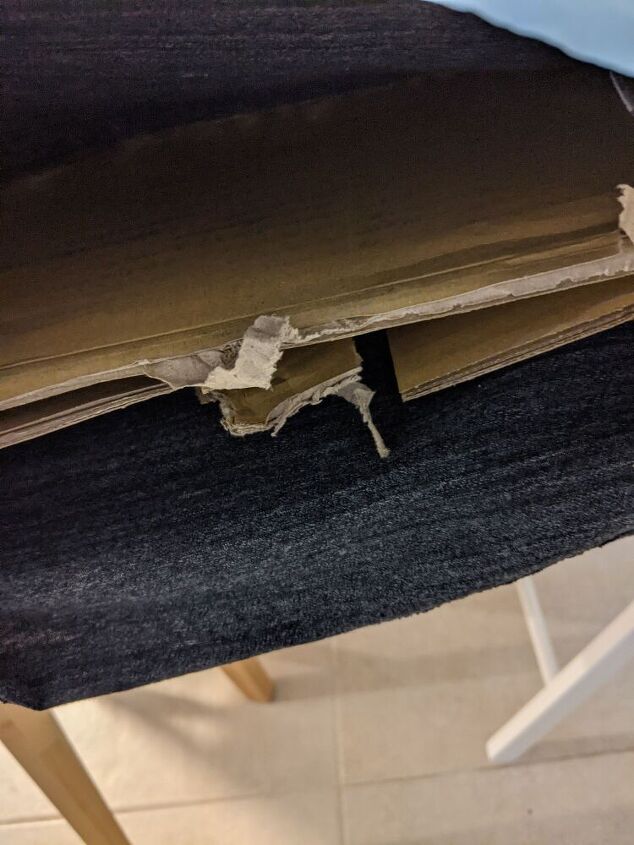
To make sure the bleach will not be converted into the back of the cover, I placed hard cardboard in the middle, and flatten the cover on top using the iron.
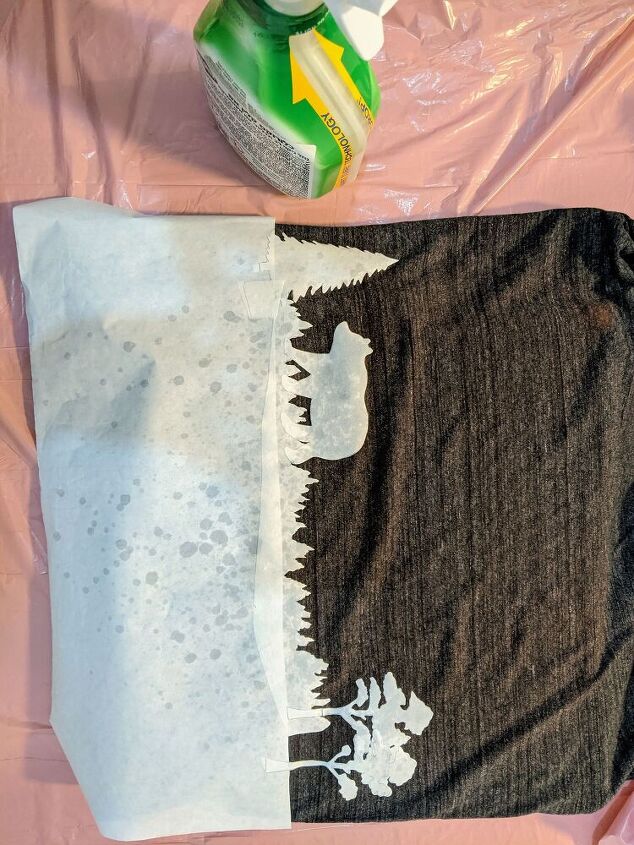
I covered the table with a plastic sheet to protect it from the bleach, and I started spraying. I used "Clorox Clean-Up All Purpose Cleaner with Bleach". The low bleach consistency allows me to control the situation and stop the process when I want. I sprayed from a distance, to create the sunrise effect.
It takes about a minute from when the spray touches the fabric until it noticeably changes colour.
I used quite a lot of spray, and the freezer paper was starting to lift itself from the cover... Then, I had to be more careful and act quickly.
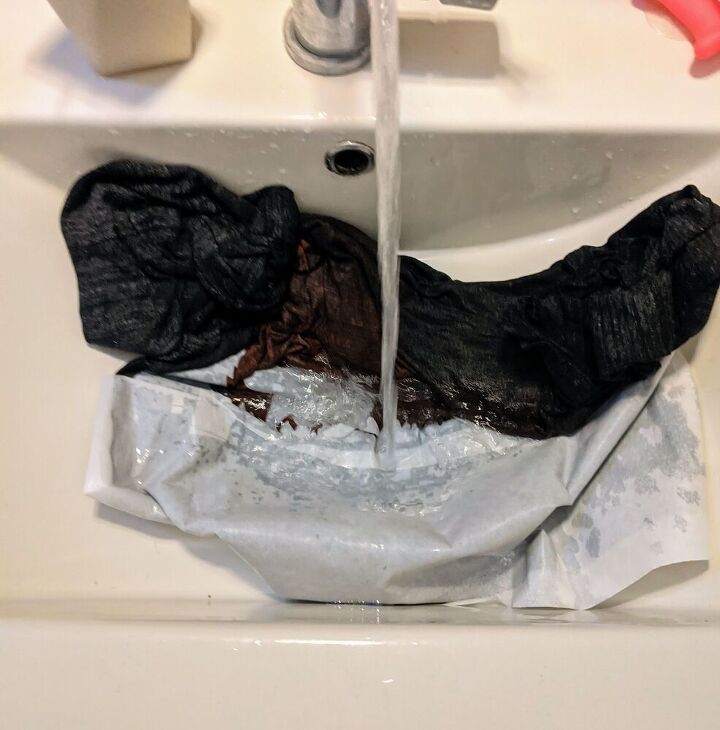
I placed the cover, as it is, under running water and squeezed the bleach out of it. At first, the water changed colour to red-orange. I continued squeezing until the water was clear again. Then, I peeled off the freezer paper. As it was so wet, it was an easy process.
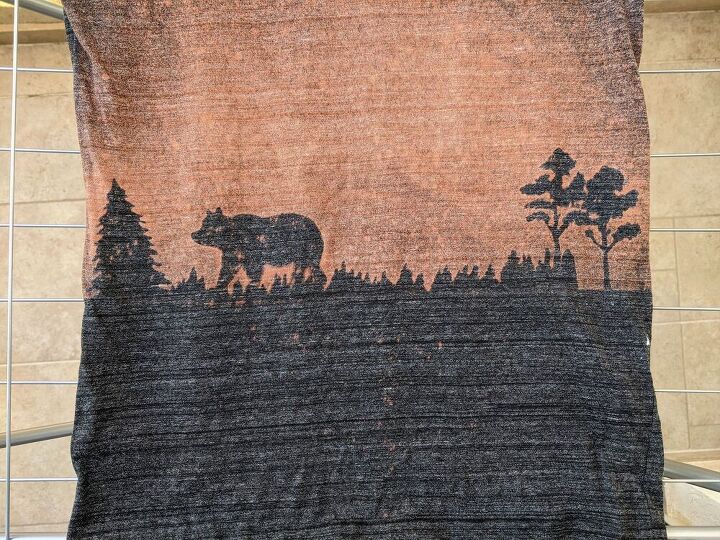
I hung it outside to dry a bit, before placing it in the washer for a quick cycle.
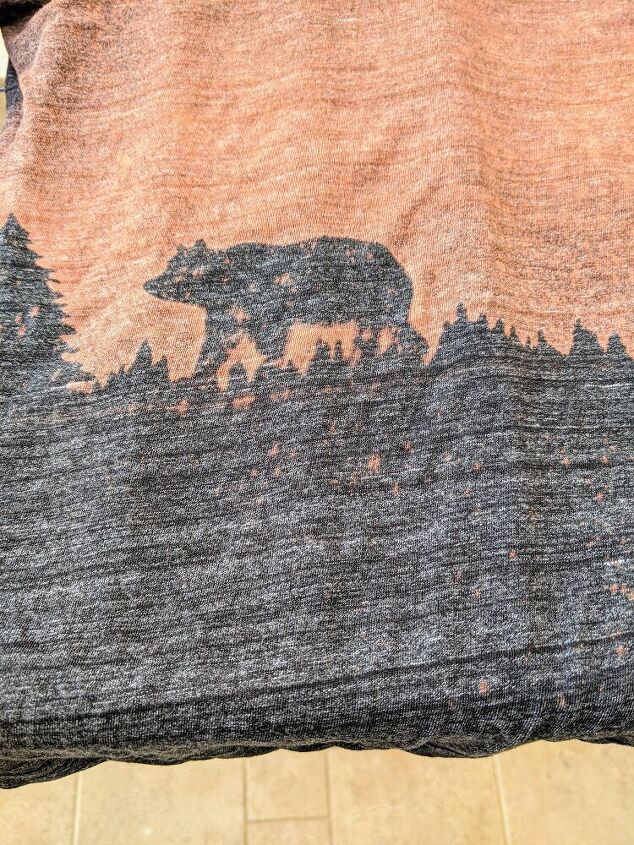
After the wash, the colours were more vivid, and a texture was settled. Perhaps I did not wait long enough.
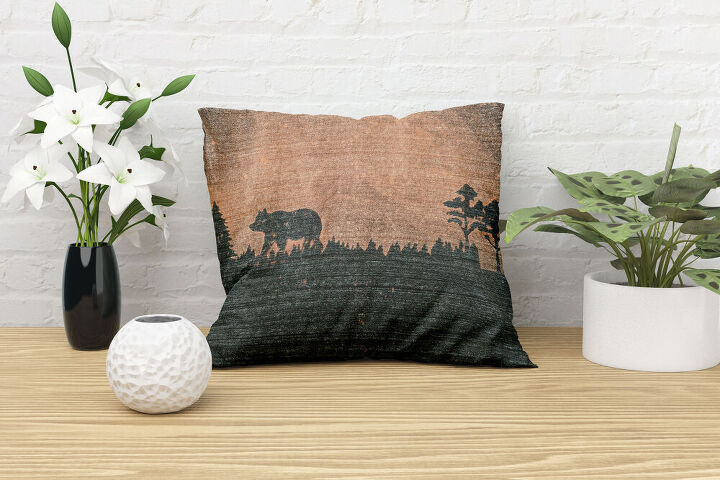
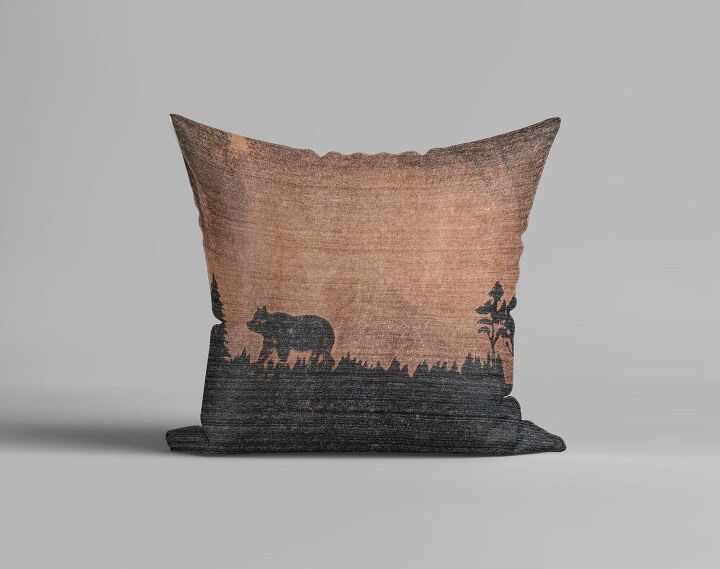
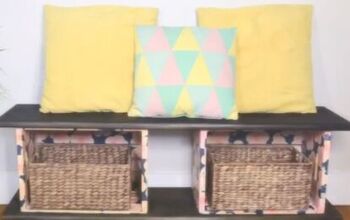
I love my new pillow cover; it is unique and perfectly fits our grey sofa and mustard-coloured pillows. What do you think?
Resources for this project:
See all materials


Comments
Join the conversation
-
I love it. Ingenious
-
I would have liked to see the pillow on the sofa but loved the outcome anyway. Thanks for sharing your idea.


Frequently asked questions
Have a question about this project?
Wow A great project to make ! I wonder .. Is it possible to color back ground first ?
If you did this on a Tshirt, how would you control the bleach spray? Would you have to cover the sleeves? Could be difficult.
Pest and flying bugs in my house how to get rid of them