


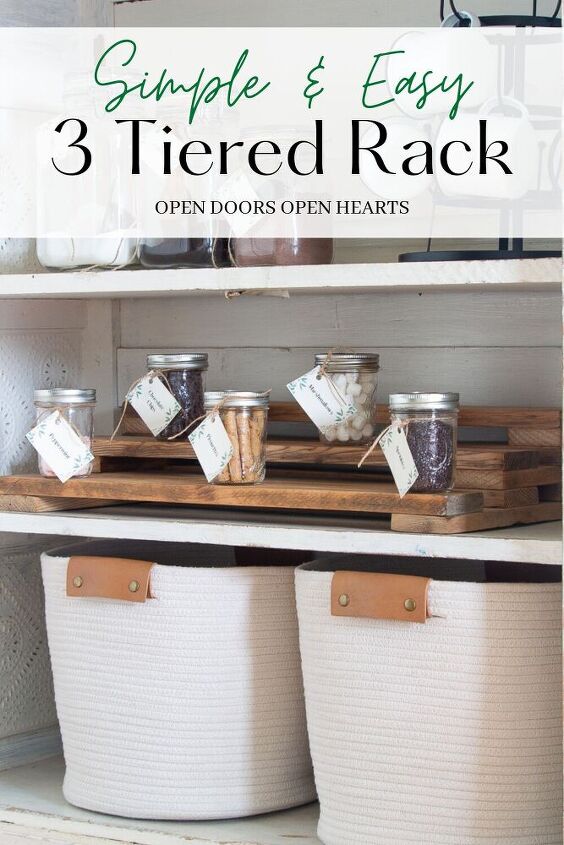
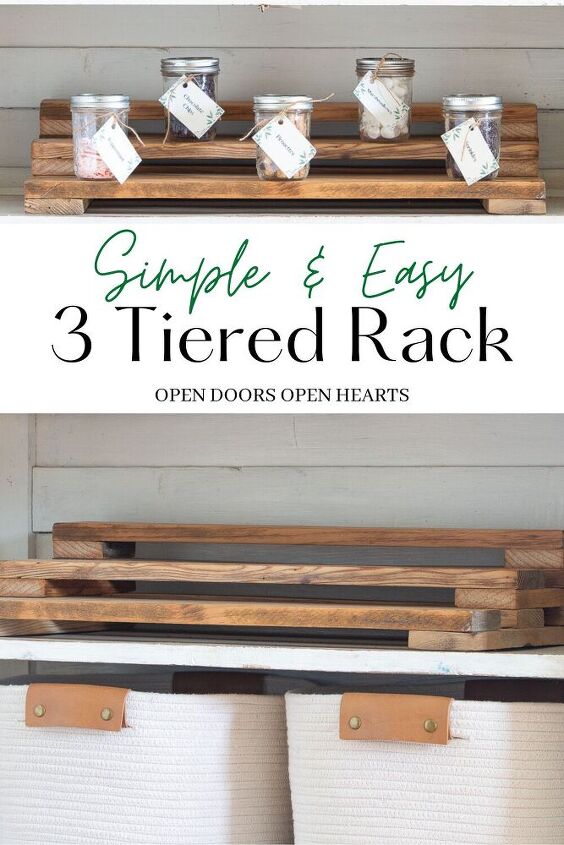
How to Build A Simple & Easy DIY 3-Tiered Rack
Inspiration for the 3 Tiered Rack
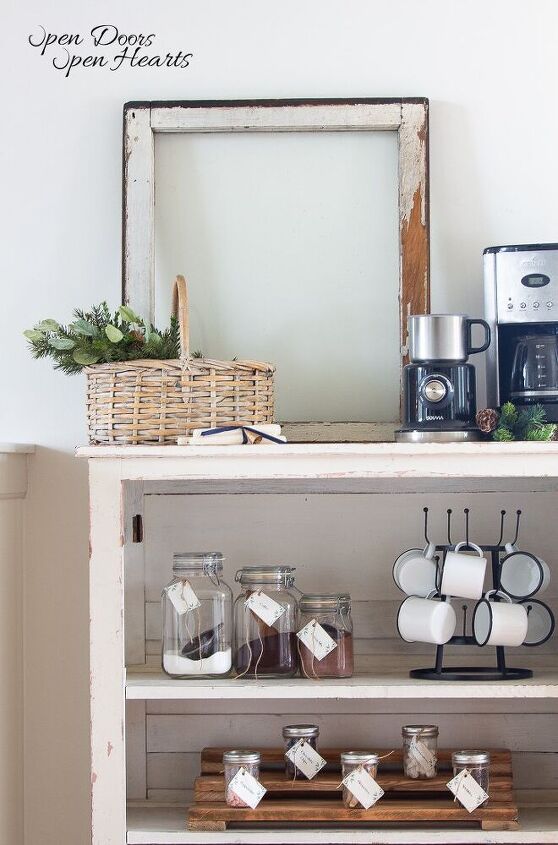
When I was preparing this pie safe to become a coffee/hot cocoa bar I cleared everything (except the baskets) off the pie safe and started working with a blank slate. I began adding the different elements to the pie safe but got stuck when I came to the shelf that had the DIY tulip tray. Anyone else find it coincidental that the shelf that had a DIY tulip tray would be the shelf that now has a DIY 3-tiered rack haha?!I played with all kinds of ideas for what I could put there, but nothing seemed to work. This shelf seemed like a perfect place to put the toppings because it was the right height for the girls. But I wanted to toppings to be displayed in a cute and fun way.I’m sure you guys are getting tired of hearing about the back storage room. But it’s where everything is! It’s where I go and dig for ideas and find inspiration for new projects. The problem is no matter how many ideas I get that help empty this room, I always find a way to fill it up again. I guess this is good for inspiration!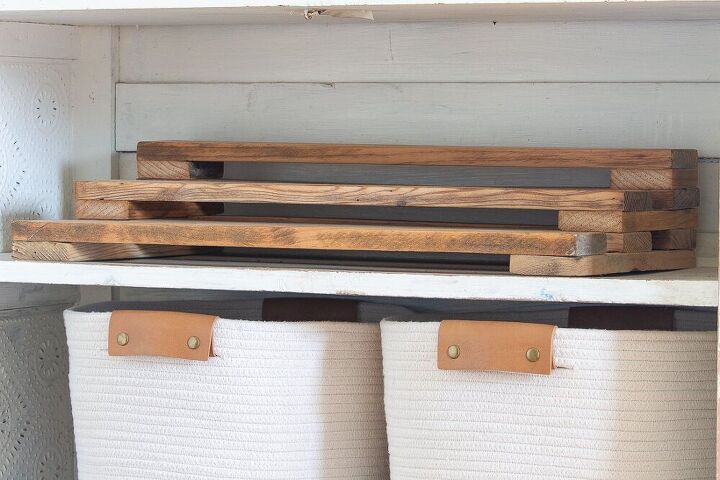
Anyway, one day while I was back there rummaging around I found two wooden trays. They were used on the chicken farm for egg storage back when my husband’s family was running a chicken farm. But now they were just cute little pieces of décor waiting for me to be struck with inspiration.

Doesn’t the saying go “Necessity is the mother of all invention”? Well, I needed something so I created it. When I saw these 2 trays I envisioned taking them apart and putting them back together in such a way that would turn them into the perfect 3-tiered rack for displaying the toppings for the girls.
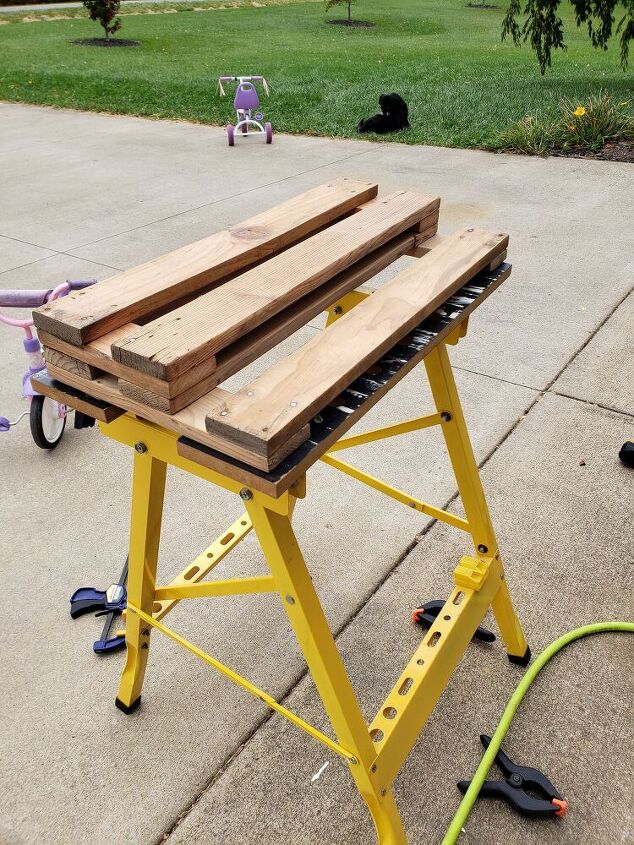
3 Tired Stadium Rack: SuppliesCircular sawNail gunNailsSandpaperSanderHammerFuBarWood-1×3ClampsSaw HorseI’m going to give you the instructions based on what I did since the wood I used was pre-cut. But, if you want to build this with new wood I’ll provide you with all the measurements so you can do the same thing.You’ll need 3 6′ 1×3’sCut them to 24”, 12”, 7.5” & 3”Below I’ll get into all the details.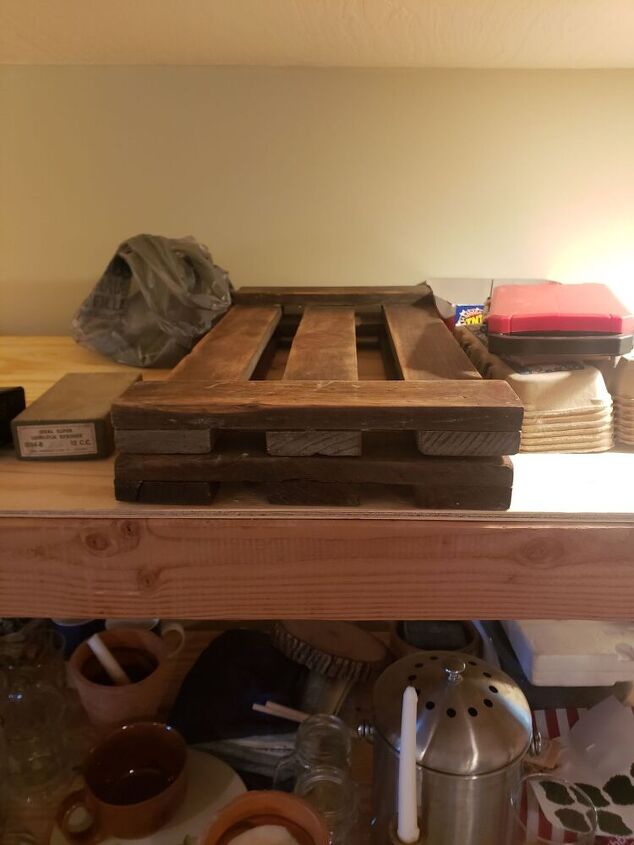
Step 1.
The first thing I did was take these trays apart with a hammer and trim removal tool.
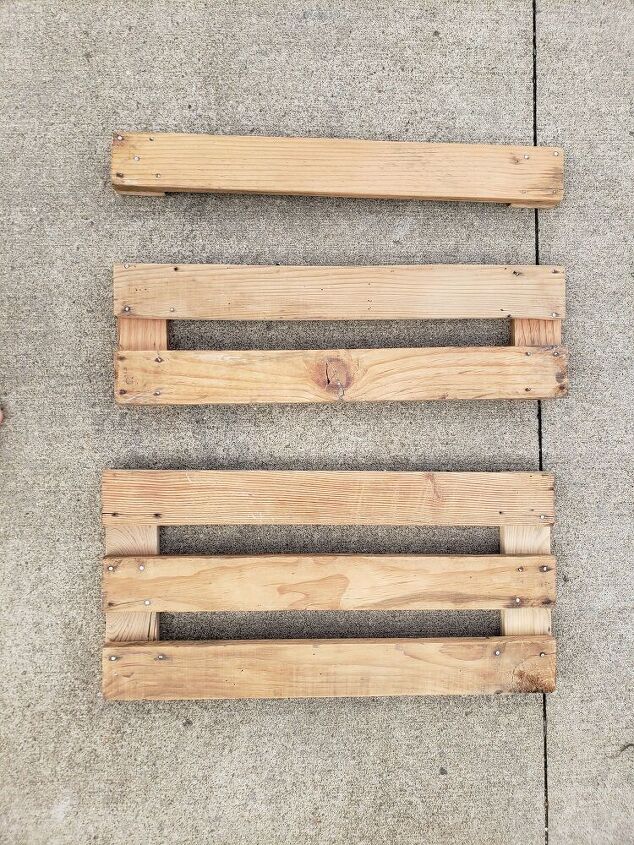
Step 2.
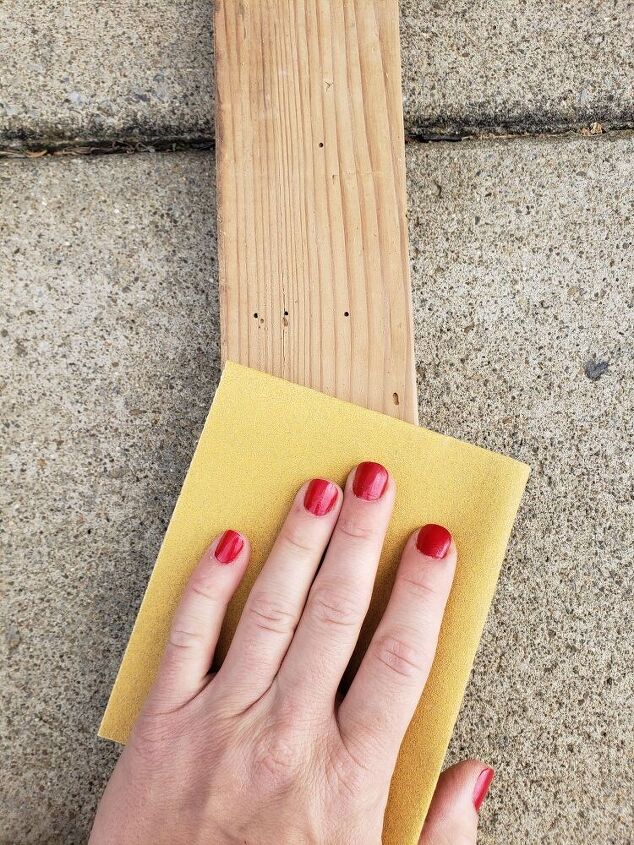
Next, I used a circular saw to cut the wood to the sizes I needed to create a 3-tiered rack. I ended up with:6-24” pieces2-12” pieces2-7.5” pieces2-3” pieces
Step 5.
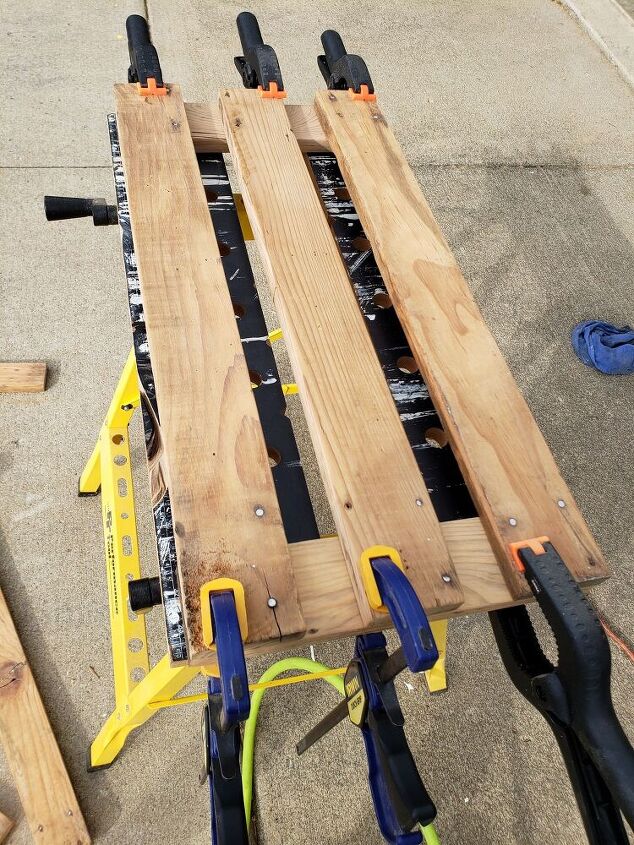
Next, using the same technique, I nailed the 2 7.5” pieces on top of the 24” pieces on the same ends where I had the 12” pieces.
Step 6.
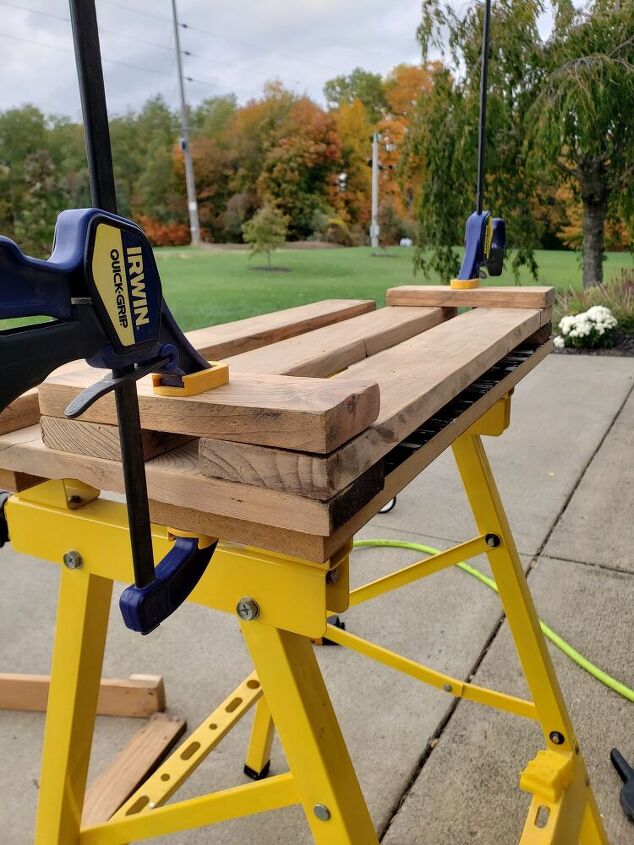
After I had the 7.5” pieces nailed in place I added 2 of the 24” pieces going the same direction as the other 3 24” pieces. At this point, you should start to see the stacking this is going on, which is creating the stadium look.
Step 7.
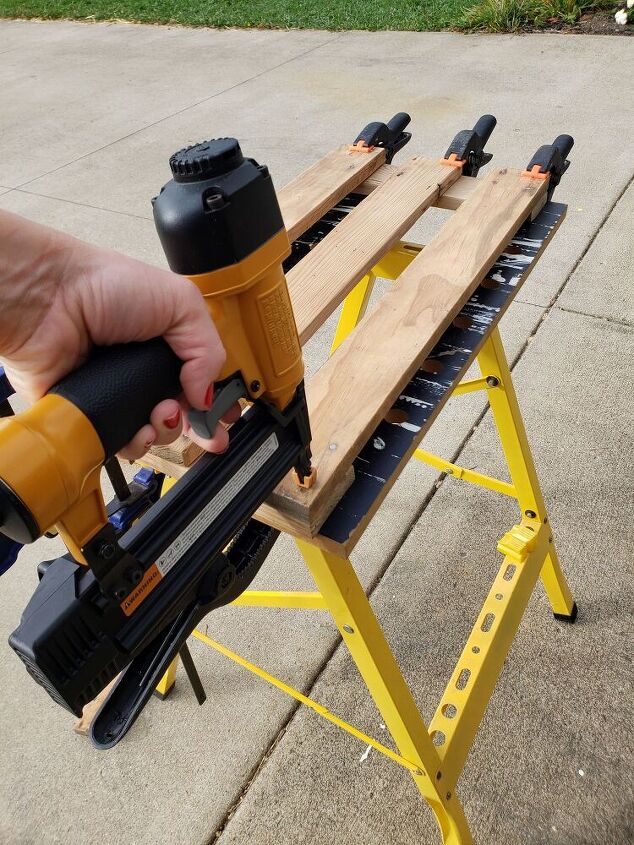
Next, I nailed the 3” pieces and the final 24” piece to the top of the rack creating the final stadium appearance.
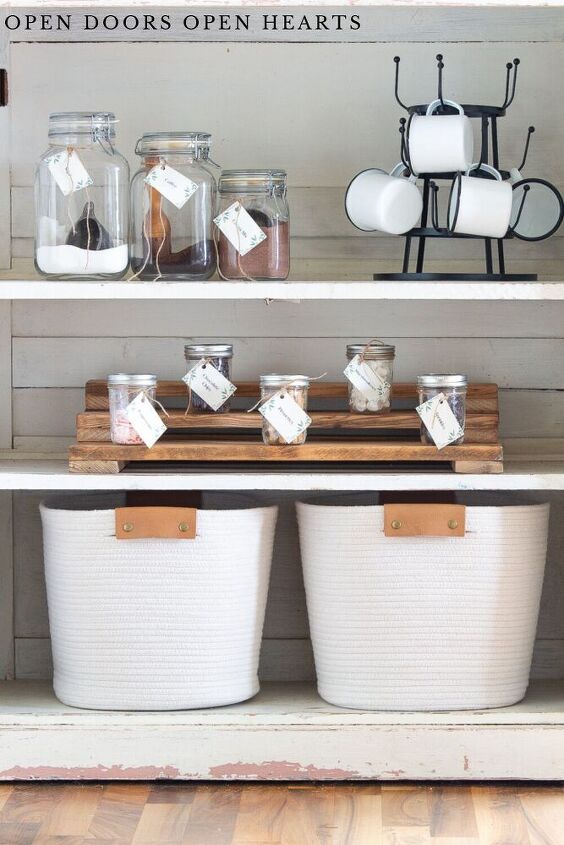
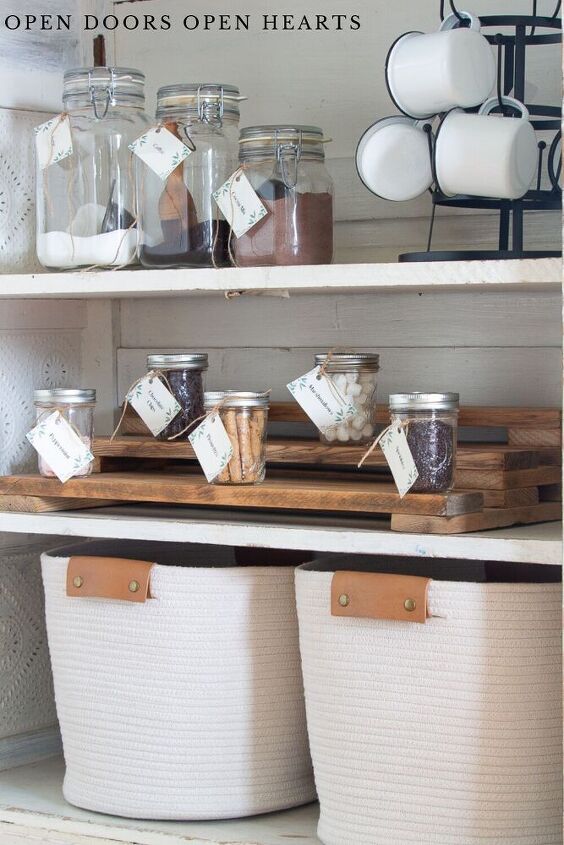
I’m actually wondering if when I’m ready to take the hot cocoa bar down I could use this as a way to organize one of my kitchen cabinets. Anyone else hiding a mess behind those cabinet doors? I’m not really sure where it will go yet, but for now, it’s getting so much love sitting on this lower shelf providing the girls’ easy access to delicious toppings for their hot cocoa.
Resources for this project:
See all materials


Comments
Join the conversation
-
Love this project and this same concept can be used in any cupboard to make use of the vertical space, such as stacking spices or tins so you can see them better. Thanks for sharing!
-
Well that is the prettiest tiered rack I have ever seen. Sure beats that plastic kind! Would be really cute for small plants too. Great idea!


Frequently asked questions
Have a question about this project?