


DIY Pantry Organization
We were very lucky to have an awkward space that I turned into a pantry. It's amazing how quickly it gets disorganized though! Customize your storage for the best results!
Organization, amiright?! It's a constant need, a constant effort, and a sore spot tends to pop up out of nowhere! Or in my case, it lingers far too long.
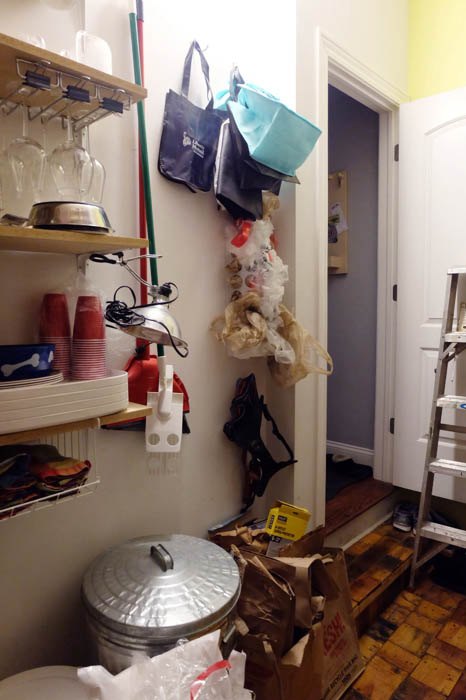
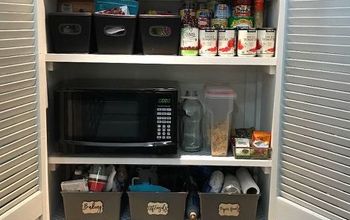
Our pantry had this disaster zone of bags, recycling, dog food, dog collars, and goodness knows what else was lurking in there. So embarrassing!
After taking a few measurements I came up with a plan. See, when you customize your storage and organization, you're far more likely to keep it organized, clean, and tidy. Plus you'll be so proud of it!
(Looking for more organizing tips? Check out these posts!)
I ran out to the store and picked up two 8 foot and two 4 foot long shelving pieces to match the existing.
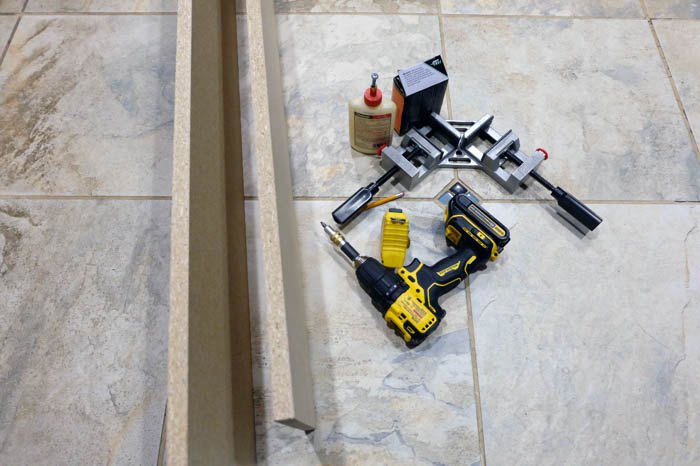
For this particular project, I used a screw gun, a corner clamp (not required), some wood glue, screws, and a flip drive countersink drill bit among a few other tools. Come check out the blog post for details on that drill bit as well as more organizing tips!
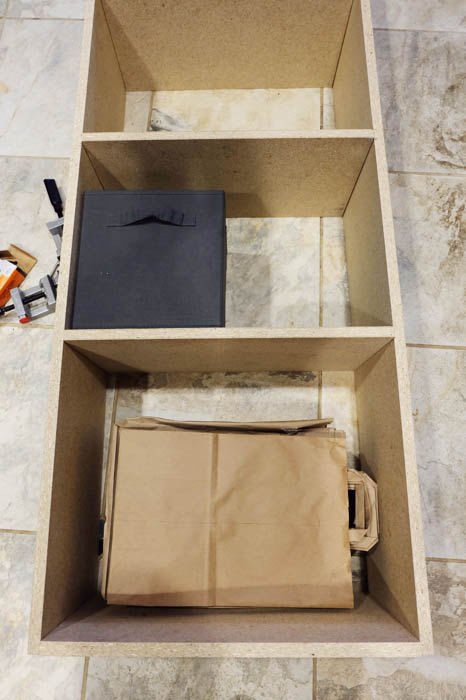
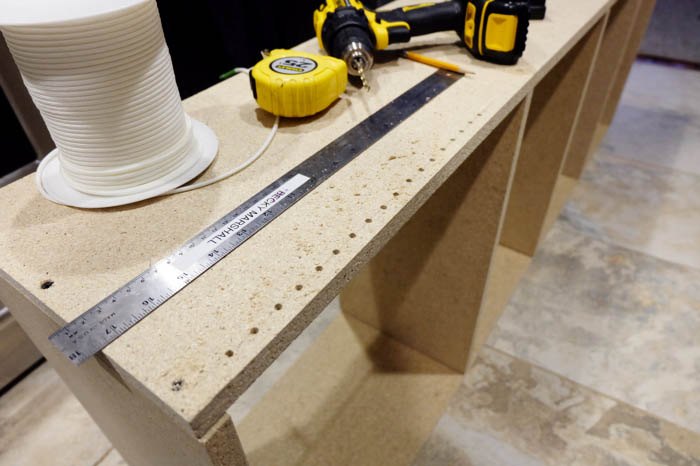
In my particular instance (yours will likely vary), I built a 6 foot tall by 2 foot wide simple box. Drill out the holes in the sides for the horizontal pieces, glue the edges of the shelves, then screw everything together. Don't forget to subtract for the thickness of the vertical pieces (1 1/2" here total) so your finished width is correct.
Next I laid out the paper bags and one of the fabric bins I was planning on putting in here. Measuring the bags, I placed the first shelf then divided the remaining space between two more shelves.
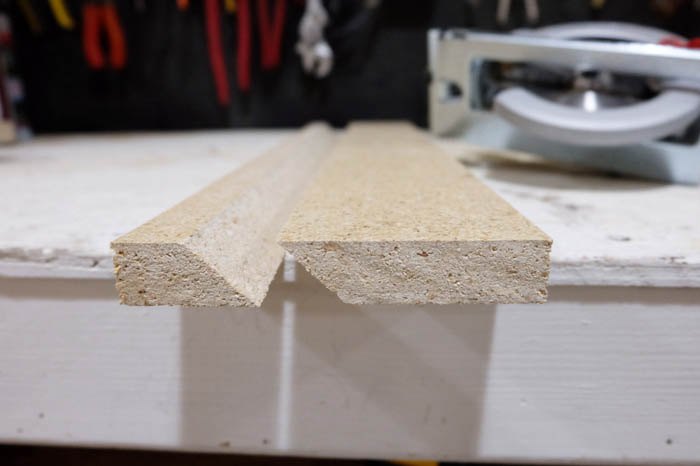
While my math was off, as usual, I made my first ever French cleat and I was super excited about it!
A French cleat is a great way to hang floating items on a wall. Cut a 45° angle through a piece of wood....
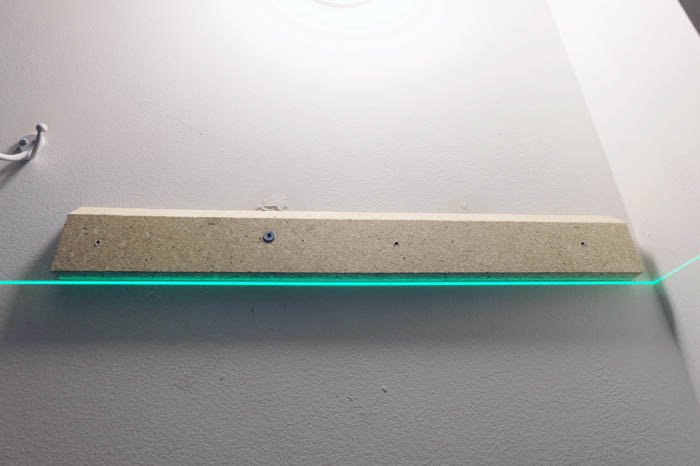
...and I used a laser level to locate the bottom half of the cleat. (A regular level works just as well.) If you're aligning it with something specific like I was, be sure to subtract all the appropriate numbers to get things to line up.
And! Be sure to attach it to the wall the right way. This was the wrong direction. Doh. Flip it so the angle is facing the other way. Attach the other half to the top of your piece right on the edge.
Lastly before hanging this on the wall, I drilled out holes in the sides in the brown paper bag section.
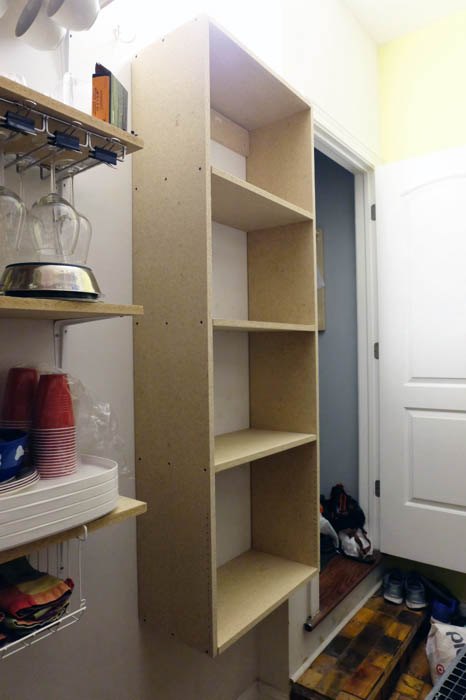
Hoist the beast onto the wall, setting the cleat parts together and voila! A floating storage shelf unit!
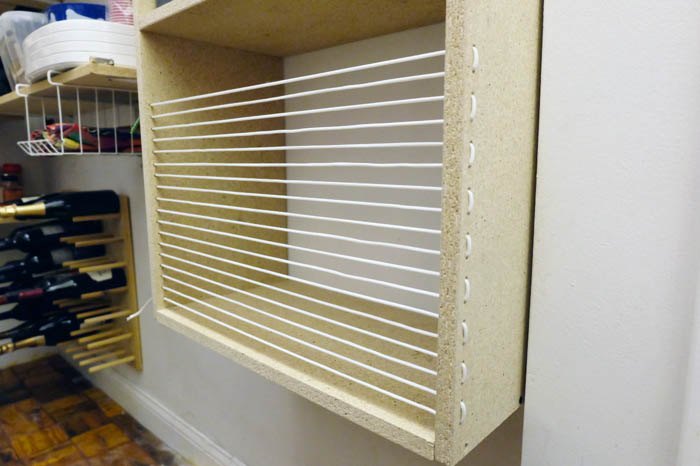
Lastly, I strung paracord through all those holes to hold the brown paper bags in.
Oh and come search my blog, Flipping the Flip, for directions on how to make that oversized pegboard wine rack in the background there!
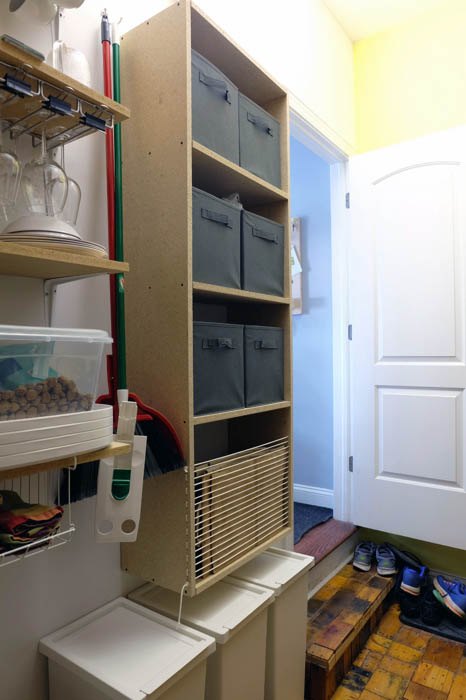
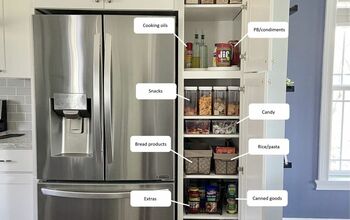
And voila! A few bins with lids from Ikea to hold recycling, plastic bags, and dog food and this is waaaaayyyy better than it was before!
For less than $90 (which includes the material costs, the fabric bins, and the Ikea bins), I am a happily organized woman!
Resources for this project:
See all materials


Comments
Join the conversation
-
Clever. At first I didn't get why you drilled holes on side of shelf for the bags but then you put string in to hold the bags. Very Clever. I have an old black walmart shelf unit in garage for storage. I will adapt a spot for bags in that using your ideal.
-
Great Planning, nice job. Pretty good price point considering what materials cost nowadays.


Frequently asked questions
Have a question about this project?
Where did you put your brooms and mop?
Nice work! I’m puzzled by the amount of space you set aside for paper bags. I keep 3 under the sink. Am I missing some great use for them?
Tell me more about that wine rack/holder I see!! :)