


How to Make a 3D Heart From Cardboard
If you follow my blog you will know last year I started doing steampunk and now I am totally addicted to it. So with valentines day coming up a steampunk heart seemed like the most obvious choice of project. But I wanted to take it one step further and try and make a 3D steampunk heart out of cardboard. This heart can be filled with chocolates and used as storage after valentines day. Or it can be a valentines day keepsake for a loved one.
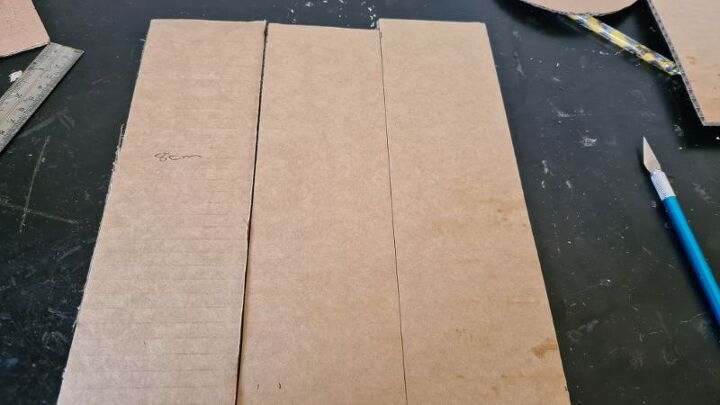
To make this project you will need some corrugated cardboard. I used just a regular cardboard box that my Hello Fresh food is delivered in.
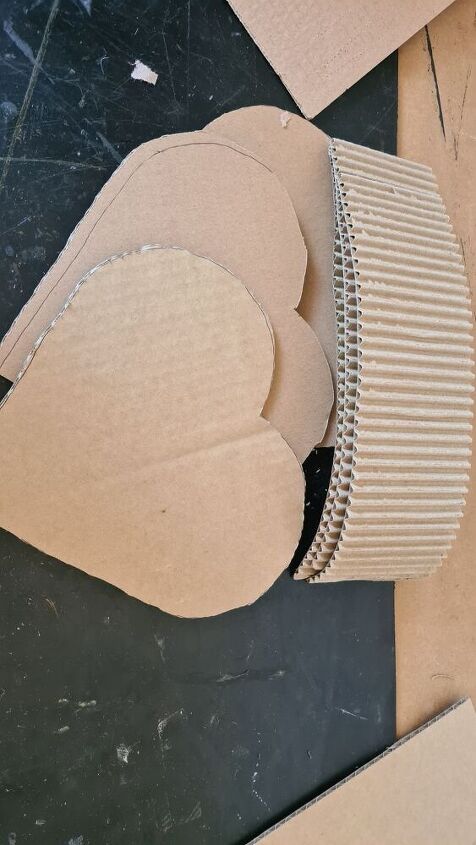
If you are no good at drawing heart shapes, you can print one and use that as a template. Cut out 3 heart shapes around 20 cm to 25 cm. You will also need to cut some strips of cardboard about 4 to 5 cm high. These will be the sides of the heart, so you will need to cut enough to go around the heart twice. Once around the outside and the other on the inside.
One of the hearts will be cut out in the middle leaving about 25mm of the heart, as pictured above. To get a good clean edge it works better to cut the cardboard with a craft knife, scissors will crush the edges.
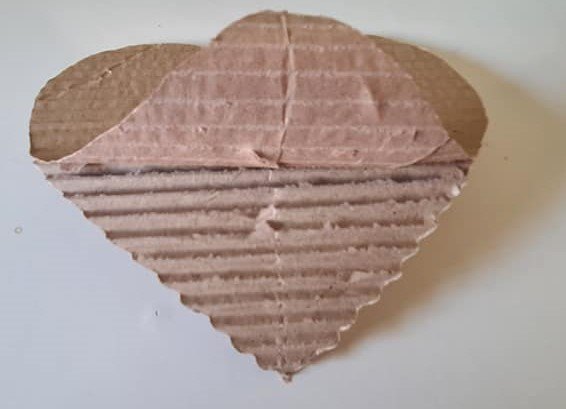
To get a nice corrugated look you need to remove the top layer of the cardboard. I have learnt that there is a hard way and an easy way. To get a nice clean surface which is what I wanted for this project, you need to start at the beginning. Use a craft knife and lift the top layer to get you started. Hold one side in each hand and very slowly move both edges away from each other. The paper pops off in one clean piece in seconds.
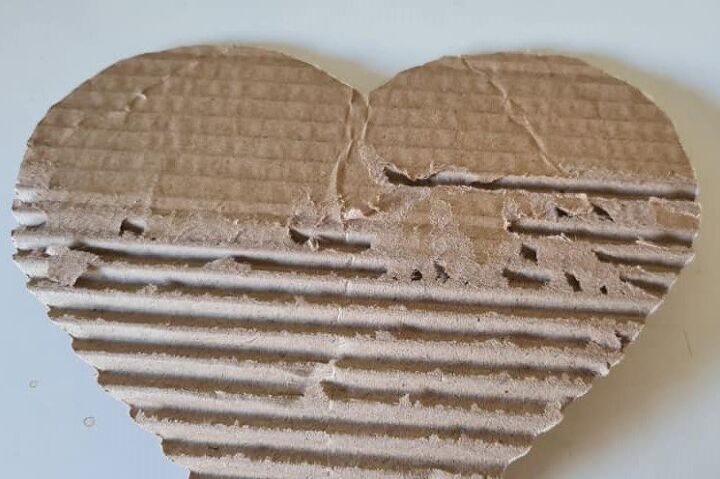
The old way I use to do it was to use a pen and run the tip through the slots and pull off all the paper. This method is very messy and time-consuming. While this method offers a great texture effect for mixed media art projects, it was not the look I was after.
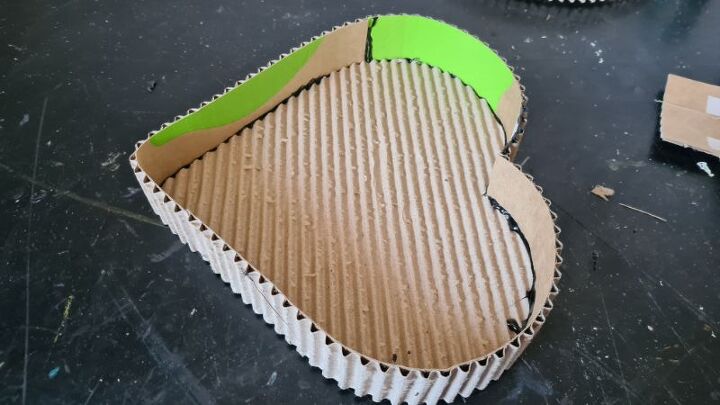
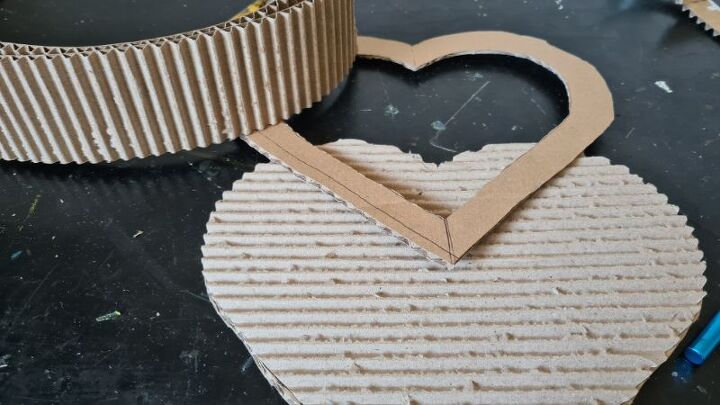
Start, by glueing two heart together so you have a thick base. This will offer some extra support for the sides so you have a stronger structure. I use hot glue to do this because it dries quickly and I can continue. Next, glue the sides to the base. I did have some joins which are fine you can just slightly overlap the ends.
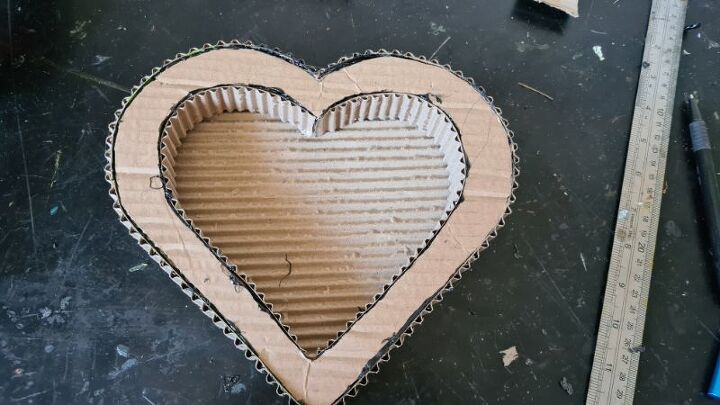
The hollow heart is then glued to the inside of the heart walls. Because you have a double layer on the bottom the depth on the inside will now be different to the outside. Measure the inside and cut the cardboard to the correct size and glue it on the inside of the heart. This will support the top heart from caving in on itself.
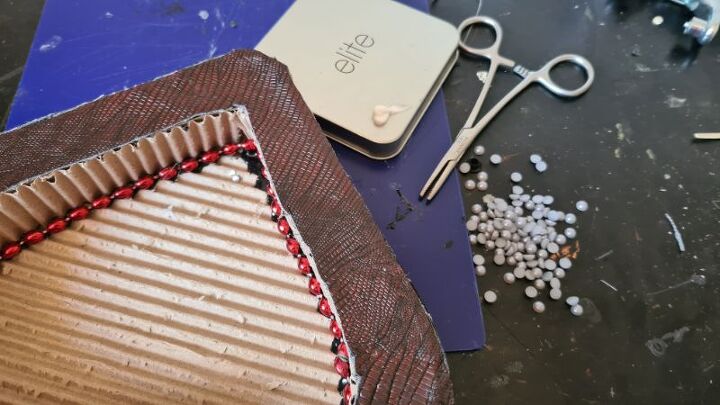
This is where I changed my mind on the look I wanted. I decided to cover the heart in scraps of leather I had leftover from a previous project. I covered the top and the outside with the leather, you will still see the corrugated effect through the leather on the sides. Because I was glueing corrugated cardboard to corrugated cardboard I was left with many gaps in the joins. To offer extra support and fill in the gaps I glued some plastic beads in the crease. To glue the leather I used quick drying tacky craft glue.
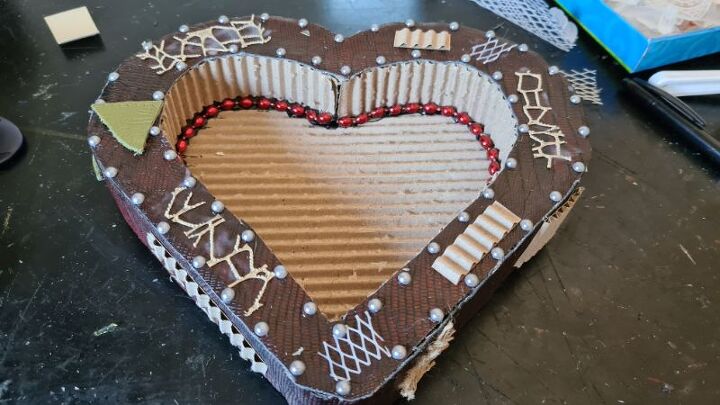
I wanted to give the heart a mixed media makeover. This technique is achieved by adding bits and bobs and embellishments to the heart. I always start by adding texture using everyday items as you can see in the photo. The beads are half pearl which I did have to glue in place one by one using clamp scissors.
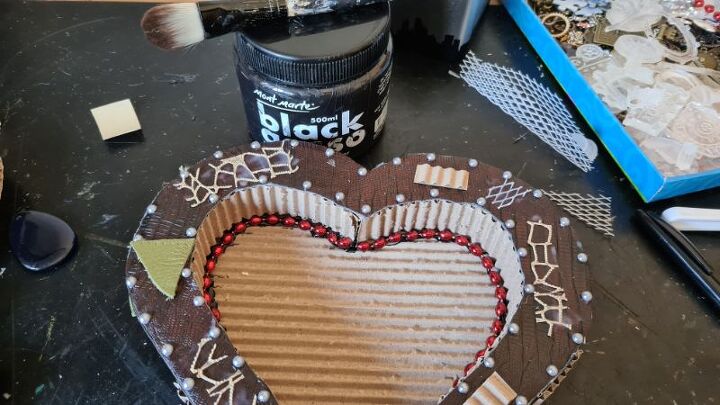
I find it easier to paint everything with the black gesso now so I have access to everything before all the layers are added.
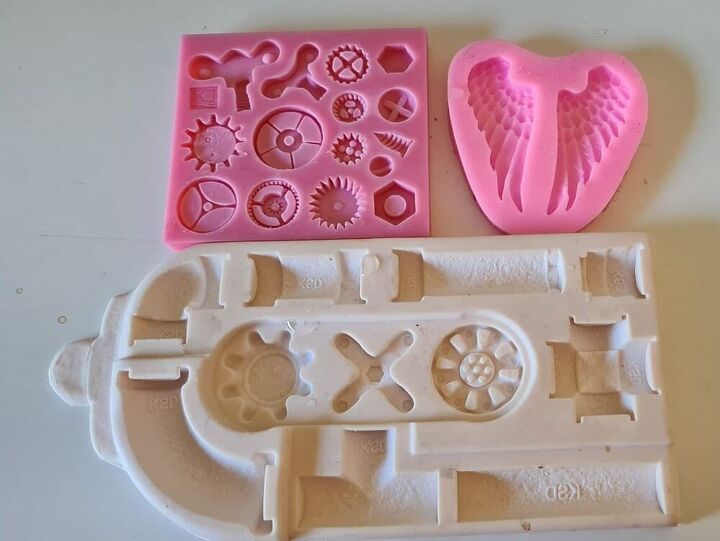
To make the embellishments I used some silicone moulds and resin. Links to items used are available on my website listed at the bottom of this post.
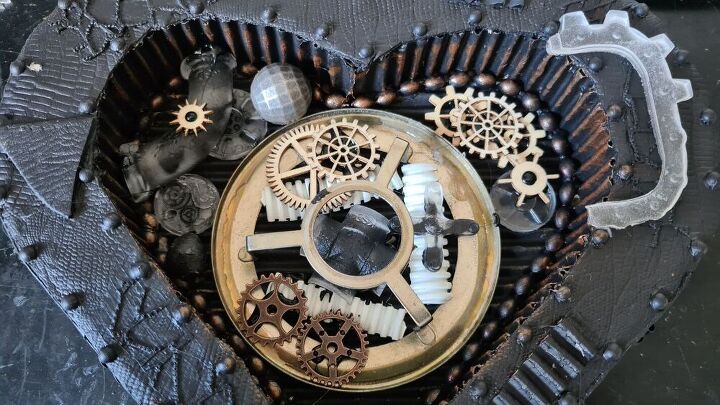
The rest of the items I used were charms and bits of broken jewellery I had at home. To make the heart 3D, you need to layer the embellishments. I used a broken lamp as my centrepiece to add height, but you can build it up with cardboard or broken jewellery if you like.
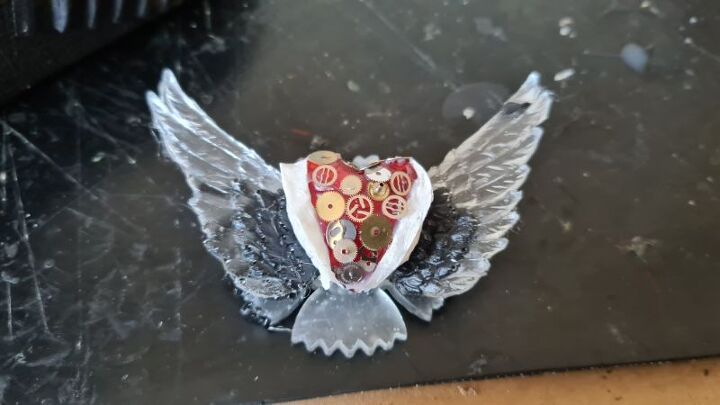
The heart focal point was a glass bead from a broken necklace that was glued to a set of resin wings I made. I did add some steampunk charms to the inside of the heart, but once painted it looked a mess.
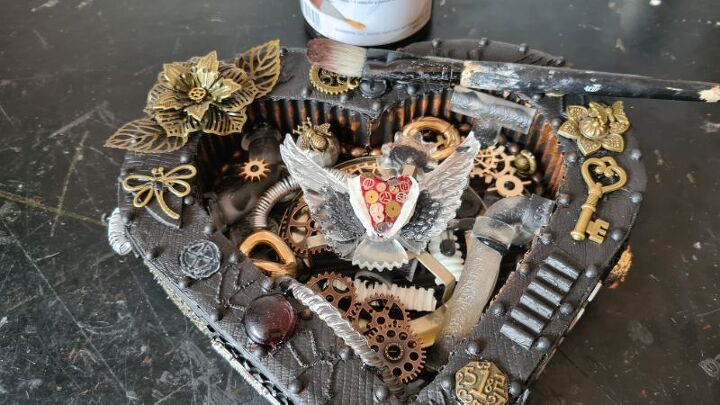
This was the heart with all the embellishments glued in place before it was again painted with black gesso. You can also use acrylic paint I just find gesso has better coverage.
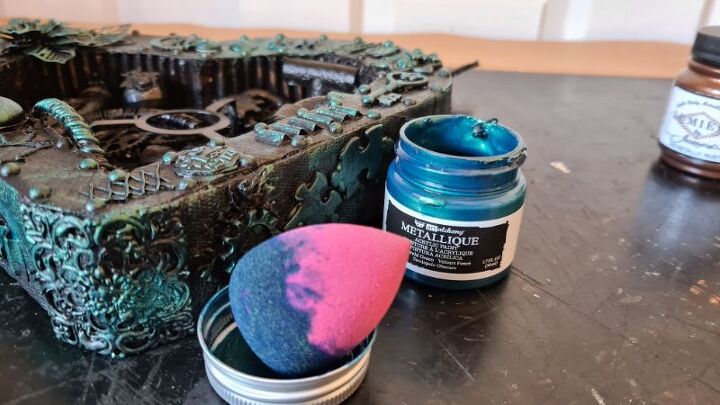
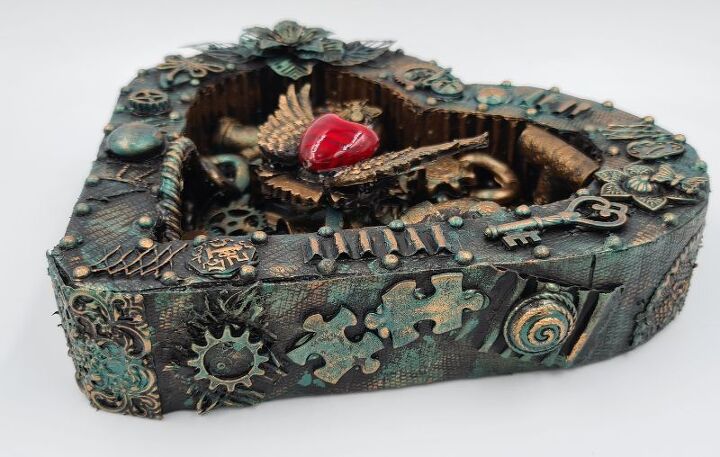
I used 2 colours on this piece, metallic emerald green and metallic rust. I like to apply my paint using a small amount on a makeup sponge and lightly dab it on. When you add the colours try not to cover all the black below as this adds to the final effect.

For a more detailed tutorial and links to the products that I used in this project. Please click on the link at the bottom of this post.
Your cost for this project will depend on the items you have at home. I do lots of craft so already have these products at home.
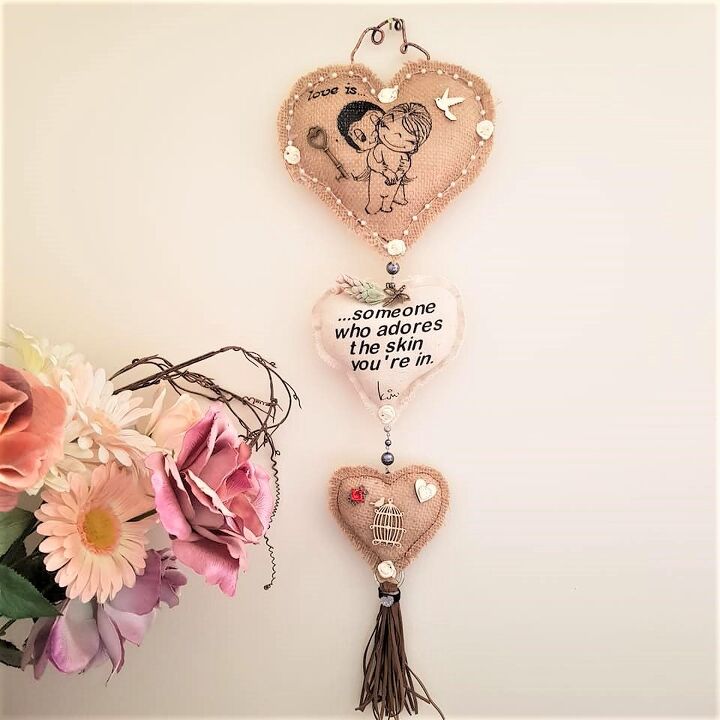
If you are looking for more valentines craft ideas, check out this cute "love is" wall hanging.
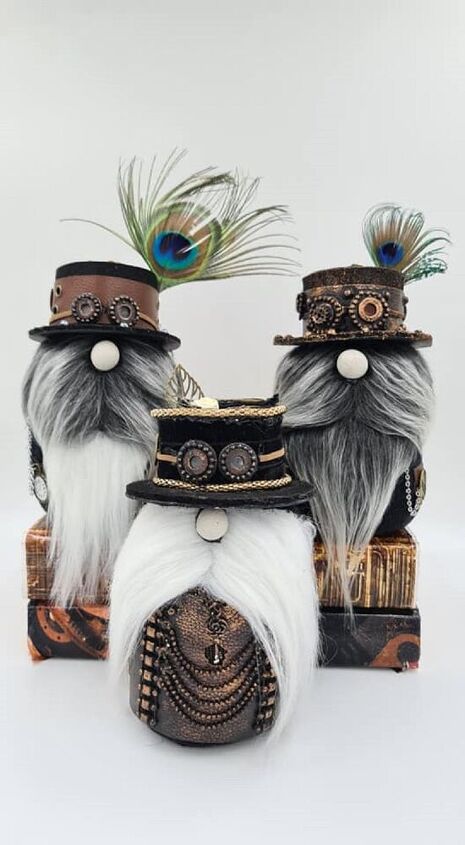
These gorgeous no-sew gnomes can be decorated in a valentines theme.
Resources for this project:
See all materials


Comments
Join the conversation
-
AWESOME 🥰❗
-
Cute ideas. Very original. I love gnomes


Frequently asked questions
Have a question about this project?
i have Enjoyed doing a few steampunk themed art pieces in the past but not lately. Is it still quite popular?
Anyway, when I first saw the cogs on the heart, I instantly thought oh no! So glad you felt the same way. It came out really nice and balanced with the heart as the star of course.