


No Nonsense Backsplash- a Renter's Guide

Calling all my renters! ...Or just friends who need a lazy girl guide to a temporary and cheap backsplash. When you're stuck in a contract as a lessee in a space where updates are prohibited, personalizing space can be practically impossible. But being a renter and finding cheats to creating a space are my expertise.
Did you know that acrylic adhesive makes a great backsplash? Well, it totally does and costs way less than peel and stick versions available in the store.
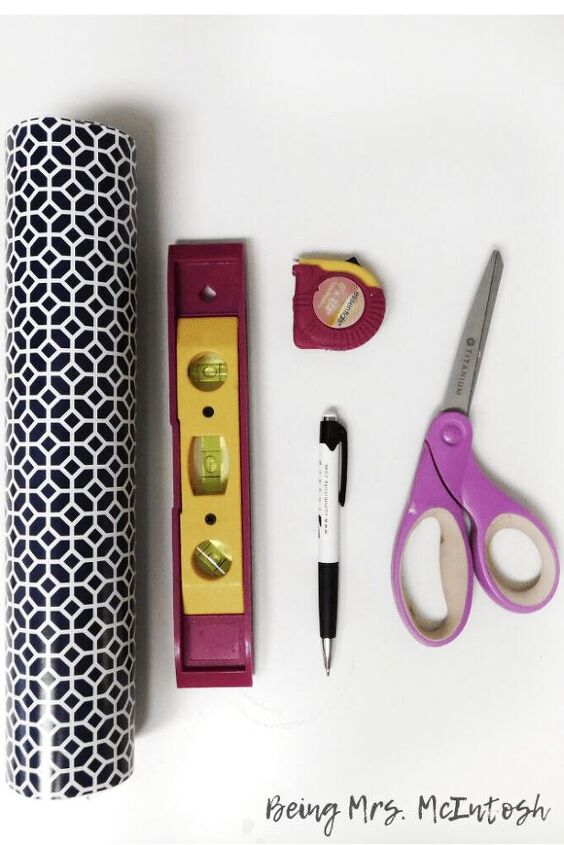
Here's what you'll need:
- Level
- Pencil
- Scissors
- Roll of patterned non-permanent acrylic adhesive
- Exacto knife
- Tape Measure
First, measure and cut strips of adhesive into 12 inch long sheets. This helps make it way easier to apply and avoid crooked lines. Then on the wall where you plan to apply your "backsplash", measure a level line to apply the vinyl adhesive.
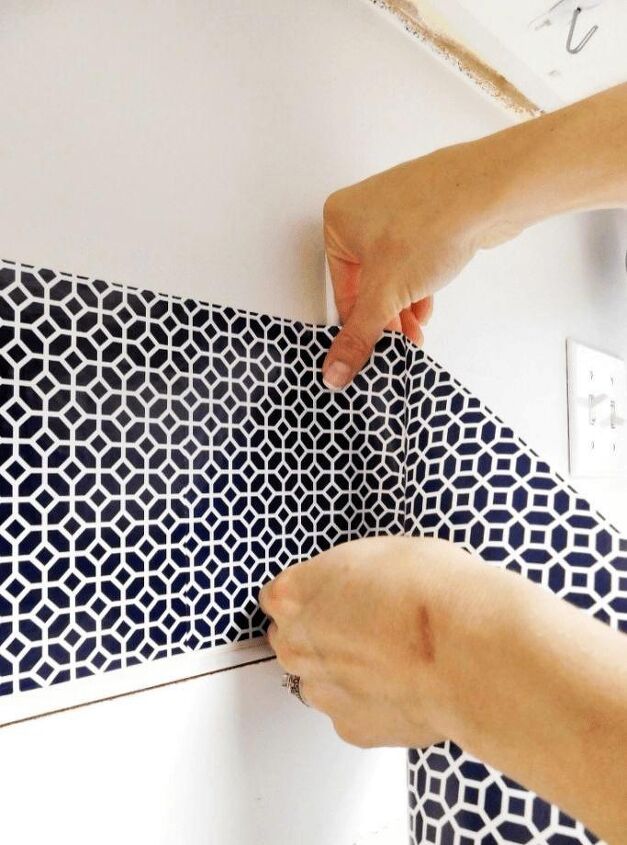
Take one sheet of vinyl adhesive and peel the backing off bit by bit as you carefully apply the adhesive to the wall. Following the line marked by the level to ensure straight application.
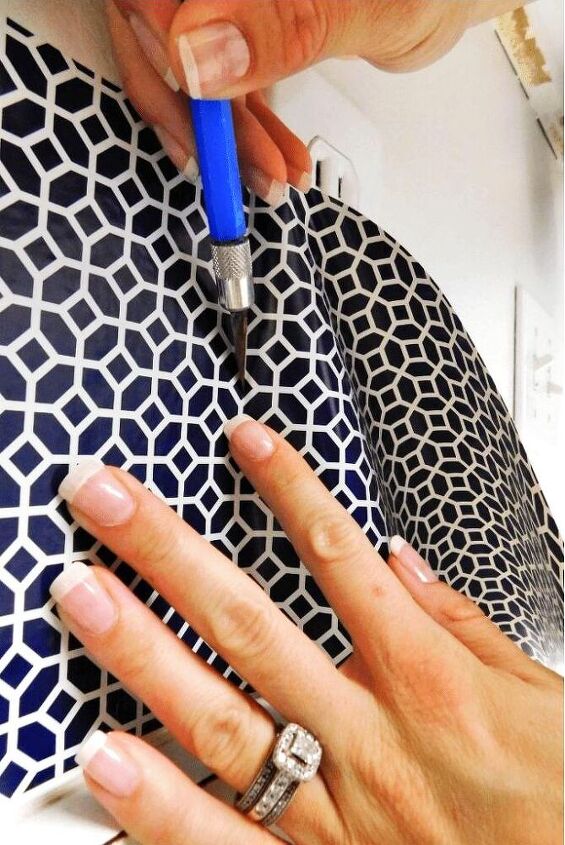
Apply the vinyl to meet the edges of any outlet cover or light switch. Using the exacto knife, cut the vinyl along the edge of the light switch or outlet cover. Continue applying the vinyl until the desired area is covered. Then take a rag and rub the vinyl to really make it stick.
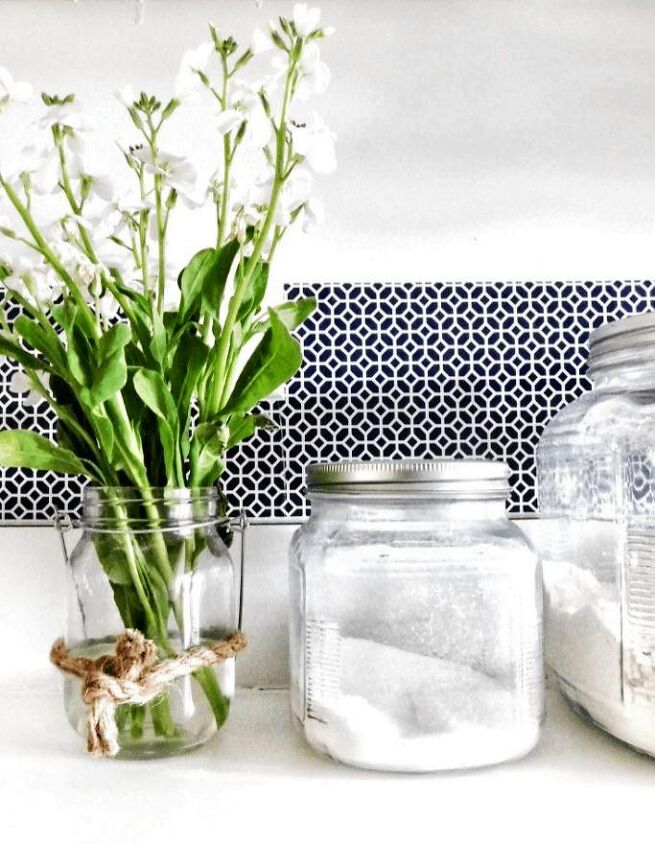
The vinyl can be applied in either single layer, or continued until they meet the cabinets. Such a great way to add character and depth to an otherwise bland space. And renter friendly!


Comments
Join the conversation
-
I went on Amazon's site and could find no rolls of patterned non-permanent acrylic adhesive. All were just plain colors.
- See 1 previous


Frequently asked questions
Have a question about this project?