


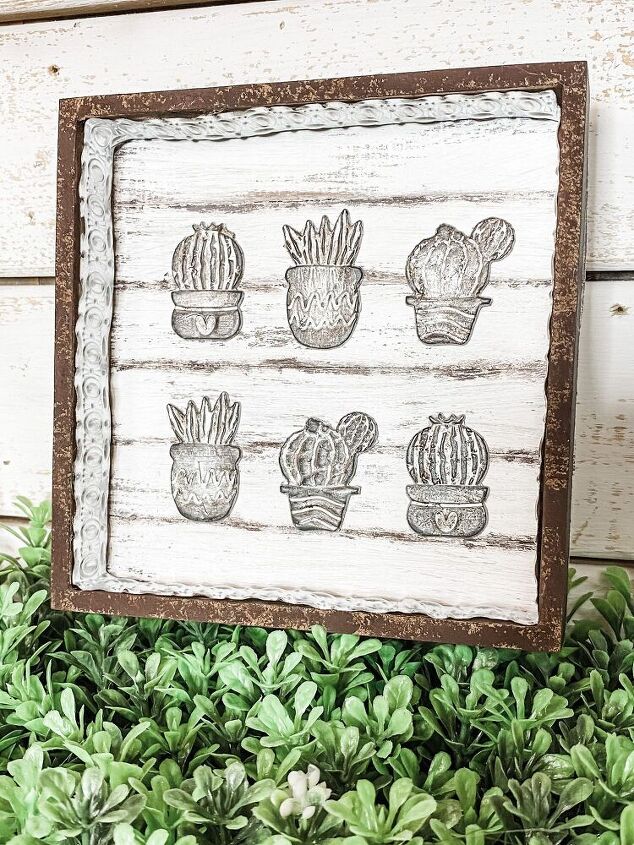
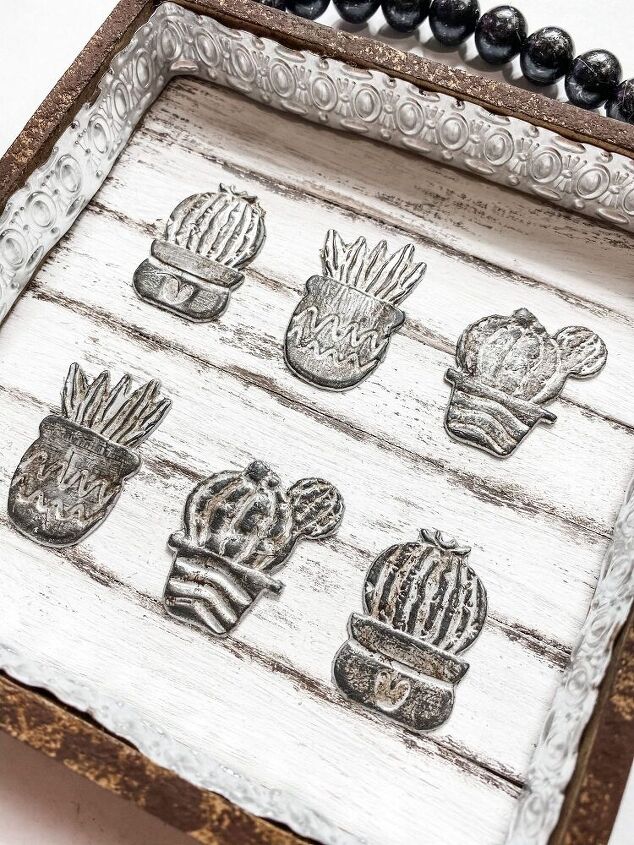
DIY Rustic Decor With Dollar Tree Cactus Succulent Stickers

I can’t believe how amazing this high-end DIY Rustic Decor with Dollar Tree Cactus Succulent Stickers turned out! I am always browsing my local Dollar Tree for items that I can use in my DIY decor ideas, and that’s how I found the packs of adorable little succulent stickers I used in this easy DIY project! Full Blog Post
You can never go wrong with rustic decor, especially affordable, do it yourself, rustic decor! If you want to make this super cute home decor,
I’ve got you covered with a tutorial video, supply list, and step-by-step instructions!
Boho Farmhouse Style Decor – Watch the replay
Are you a visual learner? Do you enjoy crafting and conversations?
Then you’re going to want to watch the LIVE video replay from when I make this easy DIY project on my Facebook page!
We always have a great time crafting during a Facebook LIVE, so watch the replay to join in the fun!
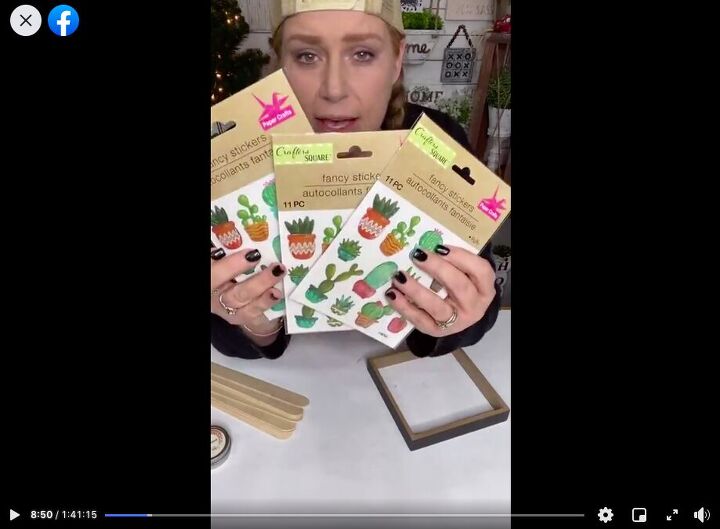
WATCH THE REPLAY
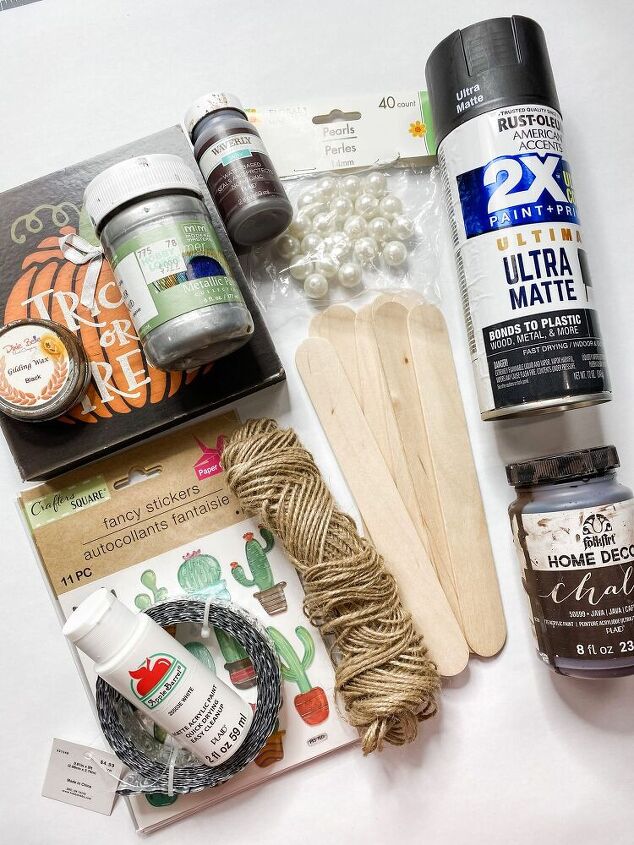
For this project, I will be using these items but you can substitute where you want.
“As an Amazon Associate, I earn from qualifying purchases.”
- Dollar Tree Sign Box
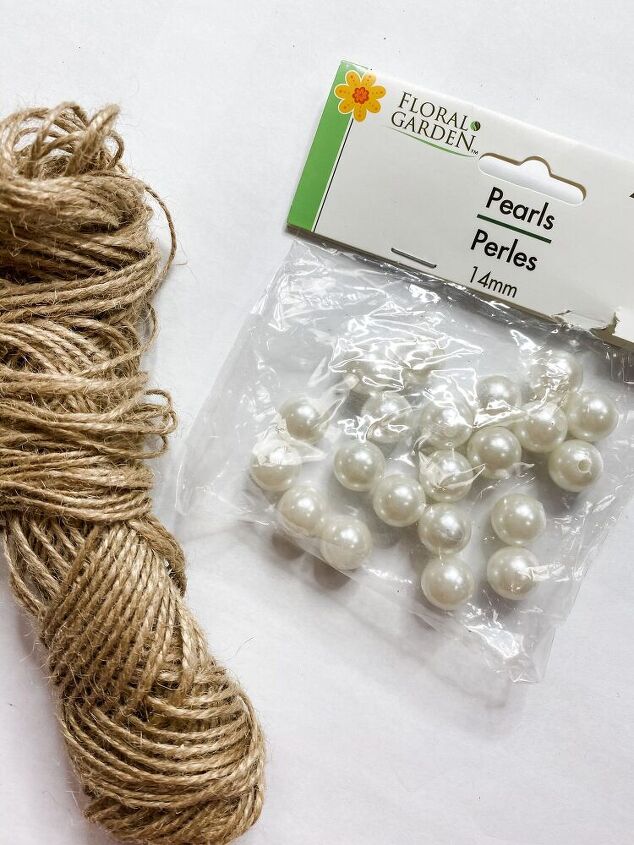
- Dollar Tree Pearls
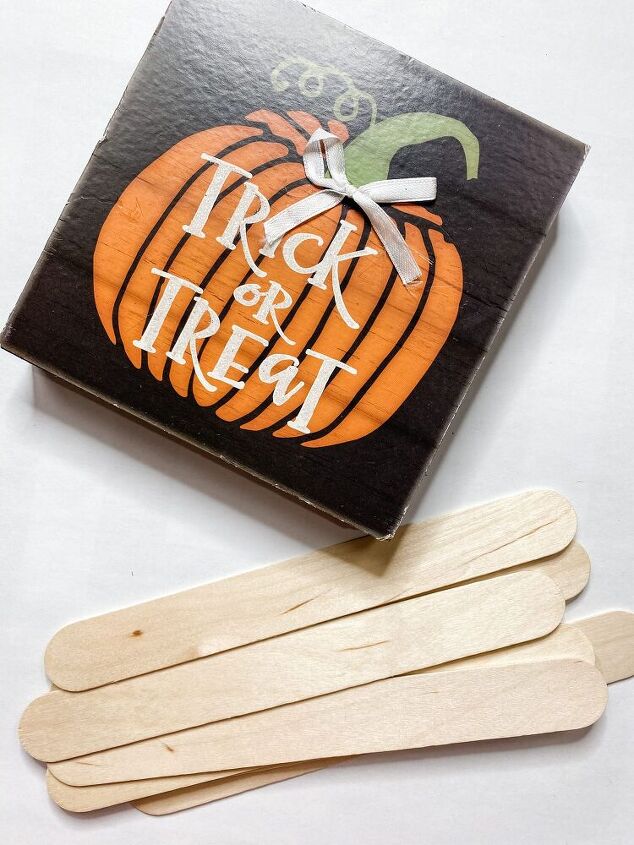
- Giant Craft Sticks
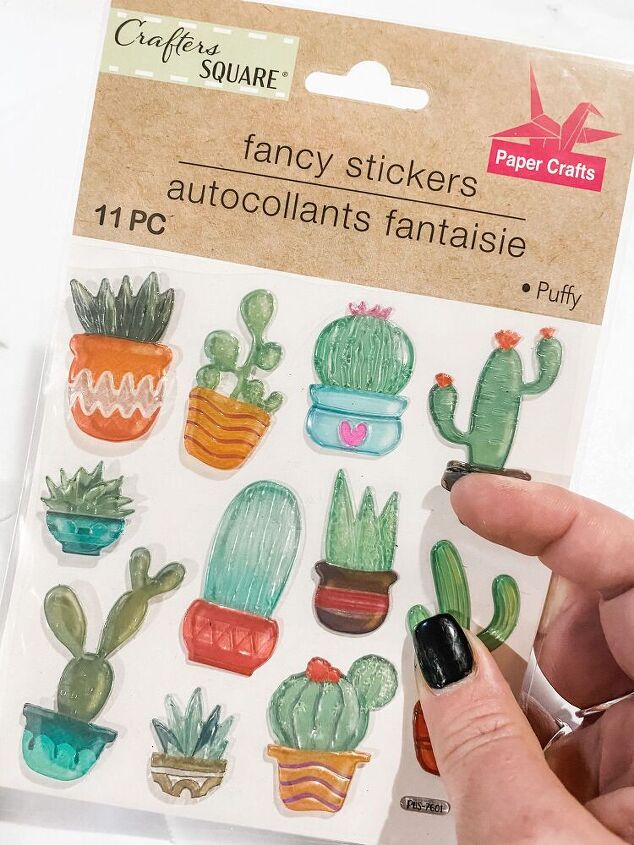
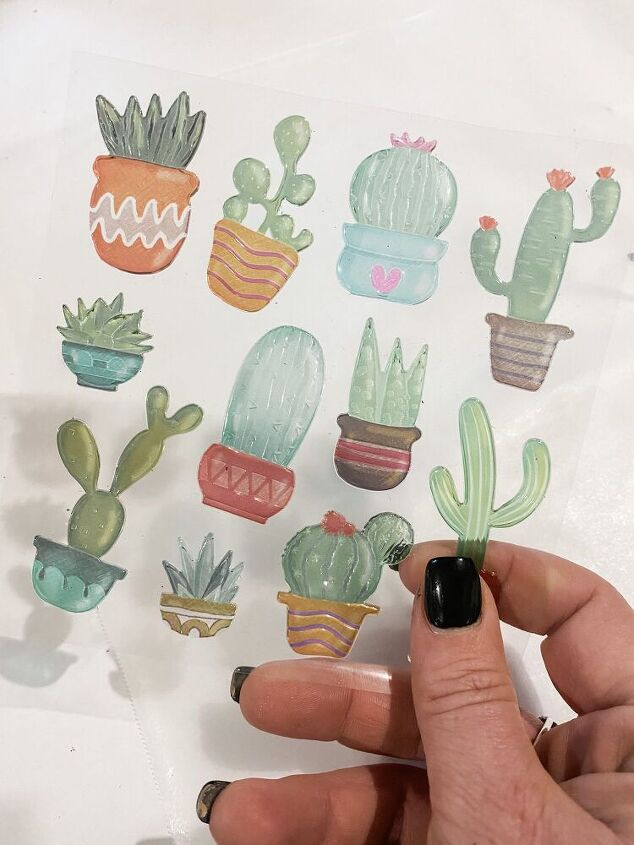
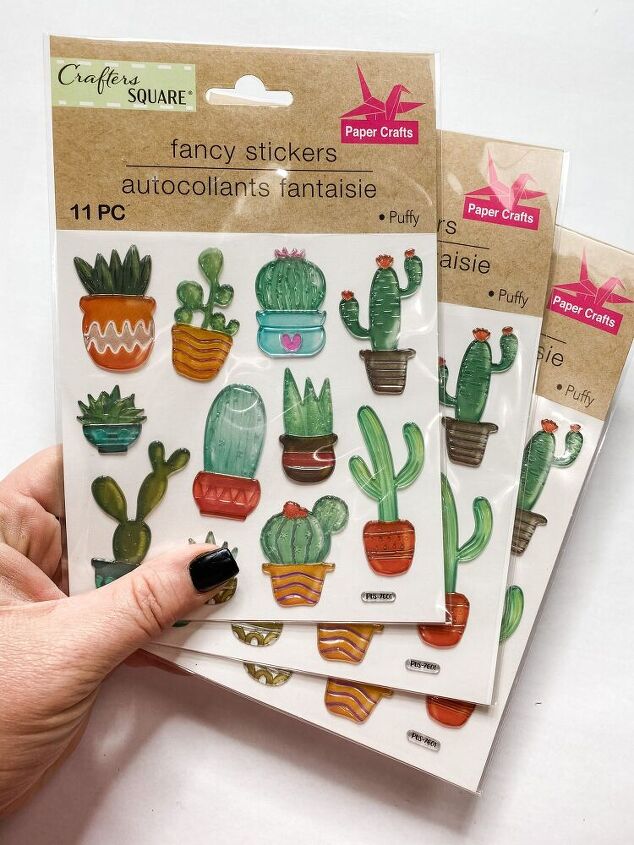
- Dollar Tree Cactus Succulent Stickers
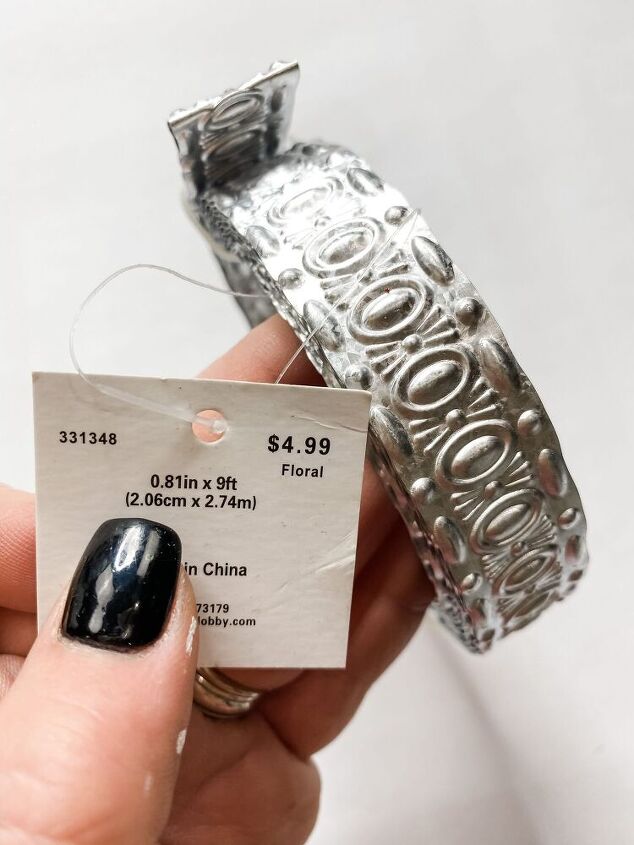
- Embellished Metal Ribbon (Hobby Lobby)
- Jute Twine
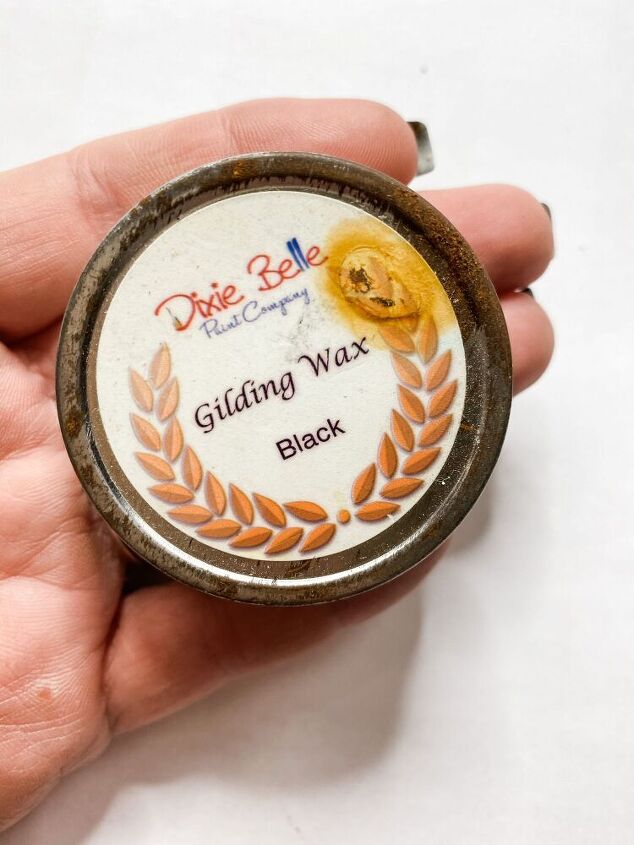
- Dixie Belle Black Gilding Wax
- Folkart Java Chalk Paint
- Apple Barrel White Acrylic Paint
- Rustoleum Ultra Matte Spray Paint
- Waverly Wax
- Modern Masters Silver Metallic Paint
- Hot glue gun and glue sticks
- Heat Gun
- Paint Scraper
- Hammer
Let’s get started!
The first couple steps of making this DIY rustic decor might be the most difficult ones of the entire project.
You’re going to start by removing the backing from your Dollar Tree MDF sign box.
This can be a bit tricky, so make sure you’re careful.
I pried a putty knife in between the front of the Dollar Tree sign box and the sides. I then used a hammer to wedge it further in and pull the front board off. This leaves just a square frame to work with.
DIY projects that are easy and fun
Once you have the front design removed, it is time to create the shiplap background!
I smoothed down the edges of the Dollar Tree sign box with a sanding sponge, then grabbed my giant craft sticks from home depot. These are great when you’re doing shiplap!
Lay the giant craft or paint sticks across the sign box, and hot glue two trimmed craft sticks across your backing. This is going to secure them and make it easier to paint the craft sticks before we attach them to the sign box.
Next, flip the shiplap background over so it is face-up, and put the sign box on top.
Now, trace the edge of the sign box onto the shiplap backing. You’re going to have to trim them before you paint and attach them to the sign box.
I used a pair of aviation snips that I got from Lowes to cut the wood craft sticks. Be careful not to snip your fingers or get a splinter!

How to stain wood with paint
The first step to staining wood with paint is to wet the wood. I use a continuous spray water bottle to mist the wood with water. The water helps the wood absorb the paint and gives the wood a paint color rather than a painted look. TIP: you can use any color of paint to stain wood!
Next, use a baby wipe to spread brown paint (I used Folkart Java Chalk Paint) across the shiplap craft sticks. Grab a clean wet wipe and use it to wipe off the excess brown paint off leaving a stained look.
Allow the wood to dry before you move on.
I used my heat gun to speed up the drying process. If you don’t have a heat gun, you can always use a hairdryer on the low cool setting.
Next, you’re going to use a chippy paintbrush to dry brush Apple Barrel White Acrylic Paint over the surface of the quart paint stick shiplap backing. You don’t need too heavy of a hand because keeping light strokes will give you an effortless distressed finish.
It is very easy to create a distressed paint finish. Distressing wood with paint is one of my favorite paint finishes to do.
I went back with an artist’s brush and brown paint to highlight the edges of each craft stick. This is what creates your shiplap look!
Next, you’re going to grab your Dollar Tree Cactus succulent stickers. Don’t get me wrong, these are adorable stickers on their own, but they definitely needed a facelift to work with this DIY rustic decor! I love that they are called Fancy stickers even though they appear to look like cheap jelly ones.
Paint the succulents
I needed these very colorful Dollar Tree cactus succulent stickers to match the rustic feel of my DIY boho rustic decor idea, so I started by painting each one entirely with Modern Masters Silver Metallic Paint you can get this at Hobby Lobby in the craft area. Be sure to use your Hobby Lobby coupon because this stuff is right around $10!
Next, I used an artist’s brush and lightly brushed Waverly Antique Wax over each sticker. Then, use a baby wipe to dab over each sticker We are going for a faux rust finish for these stickers. I love a good gross crusty aged look, and I know exactly how to create that rust look let me show you how.
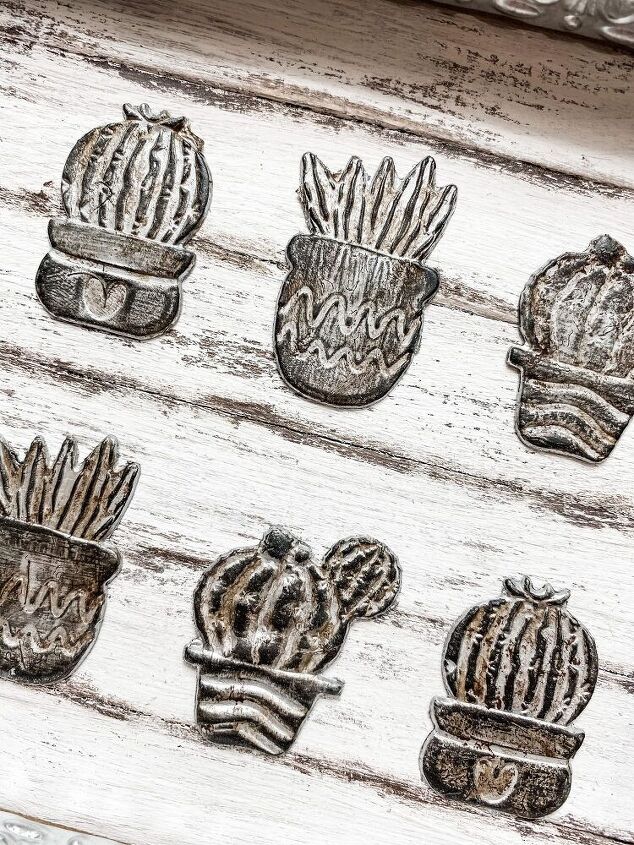
Use your fingertip to dab Folkart Java chalk paint onto the stickers.
The paint is going to add to the faux rust finish to the Dollar Tree crafter’s square cactus stickers. Keep doing this and dabbing with a wet wipe until you’re happy with the rusted look.
Next, I used my fingertip to spread Dixie Belle’s Black Gilding wax across the Dollar Tree cactus succulent stickers. Lightly brush the wax across the stickers so it only really gets onto the raised parts of the stickers.
Bring it together
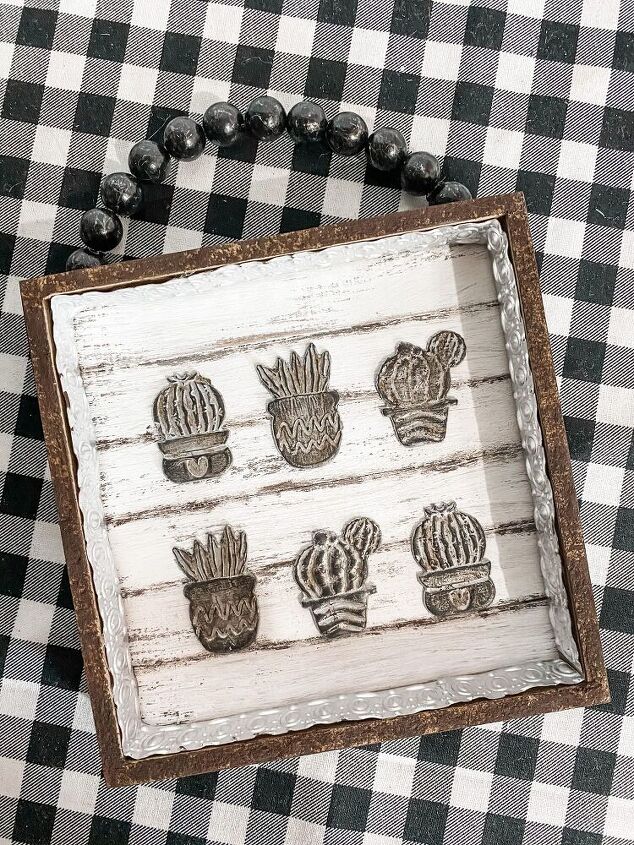
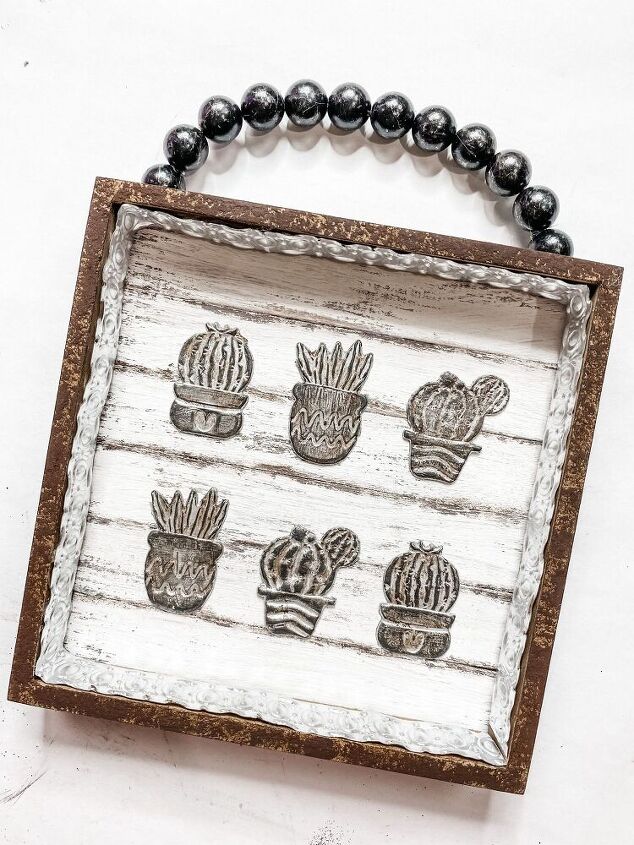
Now you’re ready to apply your stickers to the shiplap backing. I used 6 stickers, so I placed them in two rows of three. If you find that your stickers aren’t wanting to adhere to the painted wood, you can use hot glue to secure them in place. I use gorilla glue sticks and they seem to work best.
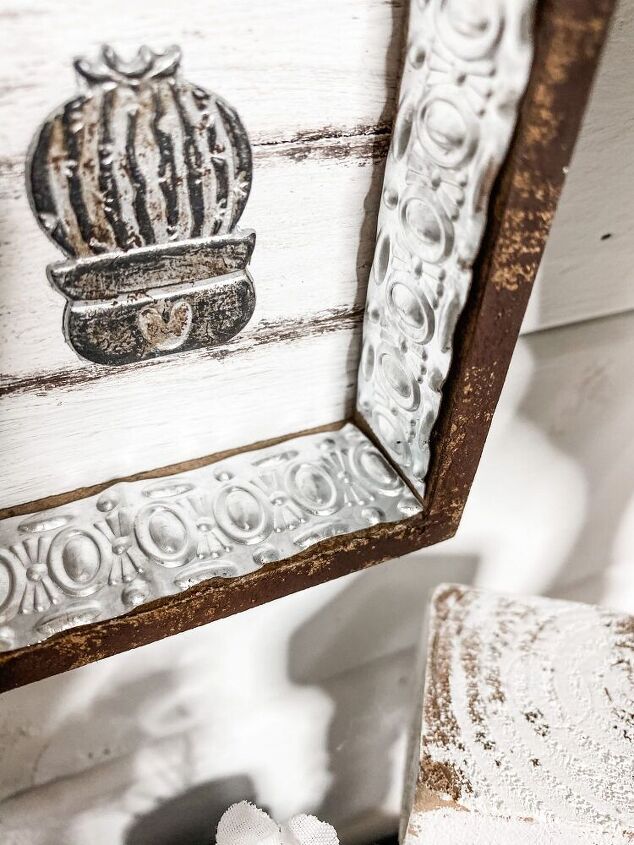
Before I hot glued the backing onto the Dollar Tree sign box frame, I embellished the inside of the frame with some Hobby Lobby metal ribbon. I wrapped the metal ribbon around the inside of the frame and hot glued it in place. I used a putty knife to press the metal ribbon into the corners of the frame.
Next, I painted the face of the frame with Folkart Java Chalk Paint. We still have a couple of steps before we attach the backing onto the Dollar Tree sign box frame.
I put a handful of Dollar Tree pearls into a mixing bowl and sprayed them with Rustoleum Ultra Matte Black Spray Paint. Swirl the pearls around in the bowl until they are all coated in paint.
These painted pearls are going to become the hanger for this adorable rustic decor DIY. Once the pearls are dry, thread them onto a piece of jute twine. Add as many until you are happy with the length of your hanger, then tie a knot in the twine right up against the end beads.
Now, hot glue the frame onto the shiplap backing. Hot glue should work well enough, but if you aren’t getting a secure enough bond, you could always use staples.
It’s a high-end decor DIY!
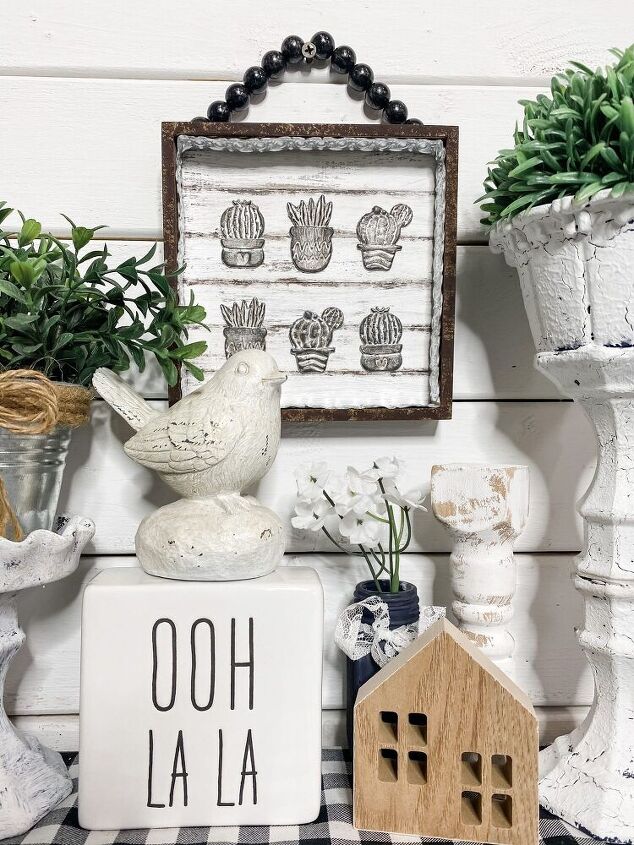
All that is left to do is secure the hanger to the simple Dollar Tree DIY decor. I hot glued the ends of the jute twine to the back of the shiplap backing. You’re going to want something to press the twine into the hot glue unless you have finger protectors. It ended up looking like a black bead hanger.
At this point, I went back over the DIY project and did any finishing touches I saw, like trimming any craft sticks hanging too far over the edge of the Dollar Tree sign box frame. *by the way I got that ooh la la sign at Dollar Tree as well. I bet you can tell I am a huge dollar tree lover!
I hope you enjoyed this DIY Rustic Decor with Dollar Tree Succulent Stickers as much as I did and decide to make one for yourself! I would love to see how yours turns out!
Thanks for stopping by! XOXO Amber


Comments
Join the conversation
-
Love it!!!!
-
They have cute stickers, but I never thought of this, great idea~


Frequently asked questions
Have a question about this project?
I didn't see the link to your list of supplies every creative should have on hand, can you please attach it here so I can get what is needed?
I absolutely love your favorite store, LOL!
I love following those projects that show $ Tree as the supply place to go!
I am going to be following you on the FB now too!
More than ever in today's world, we need to be pinching pennies, but needing a positive upbeat attitude!
Thanks so much!
Stay safe and stay awesome!!