


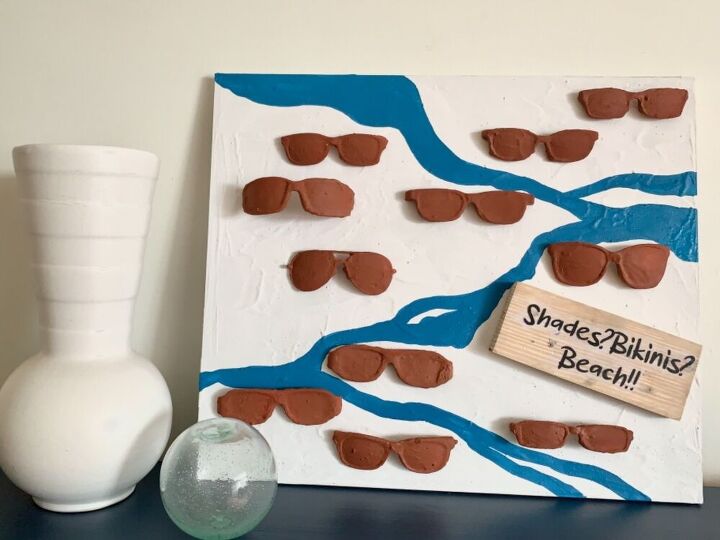
Beachy Artwork From Lots of Old Eye Glasses

Here’s a fun use for old cheap sunglasses, 3-D glasses and scratched readers that are laying around in your drawers.
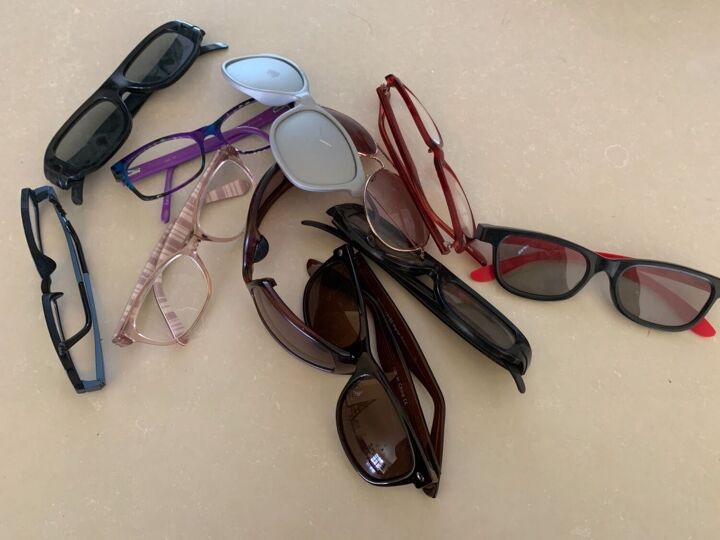
Rummaging through my drawers this is the collection of defunct glasses I found, eleven in all. I have absolutely no use for them yet I fell too bad to throw them away.
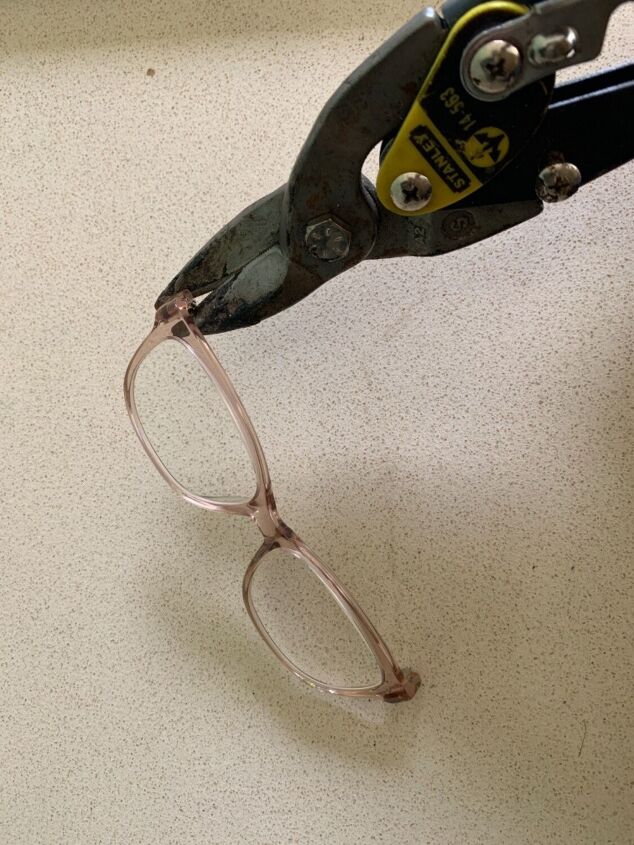
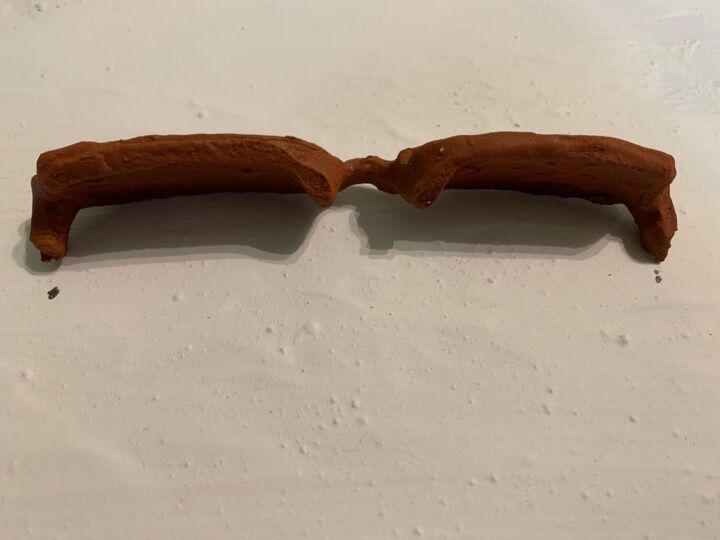
I removed the arms. This is where you see why you pay the big money for prescription glasses - most arms could simply be twisted off, not so much with this pair.
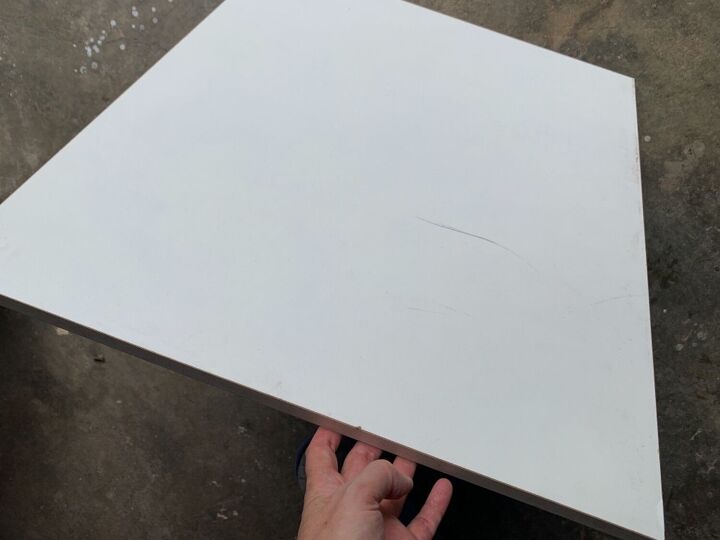
You also need a base of some sort. It can be anything ridgid such as a piece of wood or metal. I used a laminated chipboard shelf. Before you start painting as described in the next step, first add any attachments to the back for hanging. This makes life easier at a later stage.
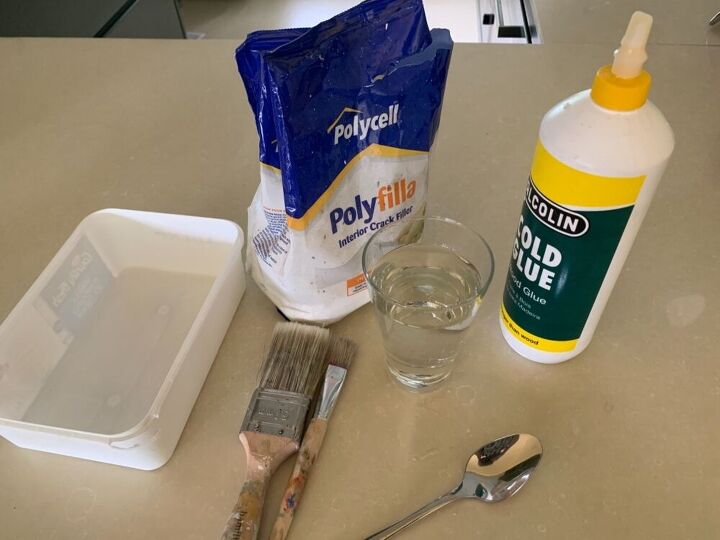
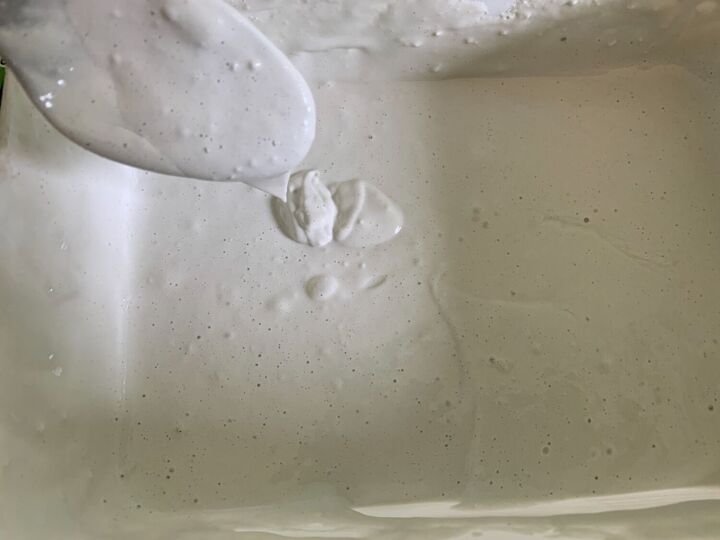
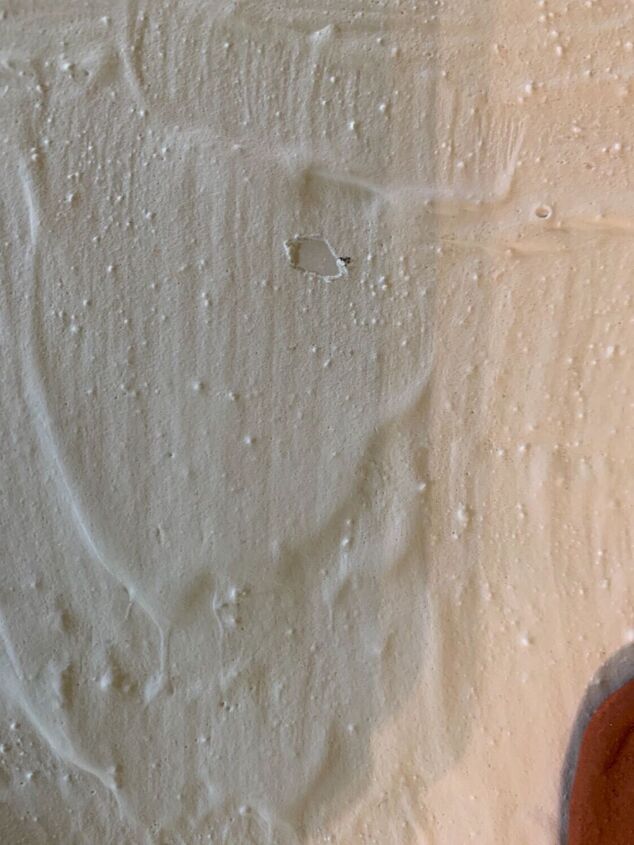
To paint the board mix roughly 3 parts crack filler to 1 part water (I'm guessing because I added water until I had a medium paste as seen below). Add the water to the crack filler, not the other way around and stir well with a spoon. I found that adding additional crack filler to the mixture leads to more lumps. Finally, add half a part wood glue and mix. I made my mixture in an ice cream container with a lid and found that it kept quite nicely overnight. You can always add a bit of water the next day if it has thickened.
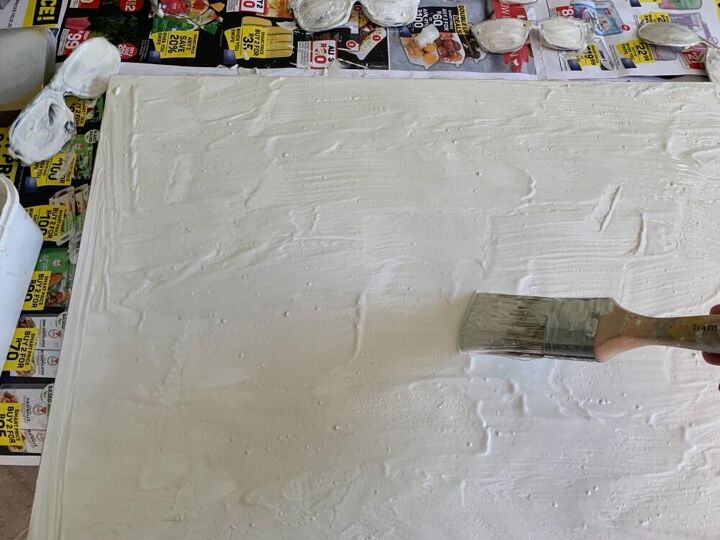
Cover the board and the glasses with the mixture and allow to dry. You will find that the glasses will need more than one coat because you need to set them down to dry and then flip them over to paint the exposed parts. This is going to take a day or so depending on the weather and how thick your mixture was. Ensure that all the plastic parts are covered. Don't set everything on paper to dry as pictured above because the paper will stick. Rather work on a tray or on wooden blocks instead.
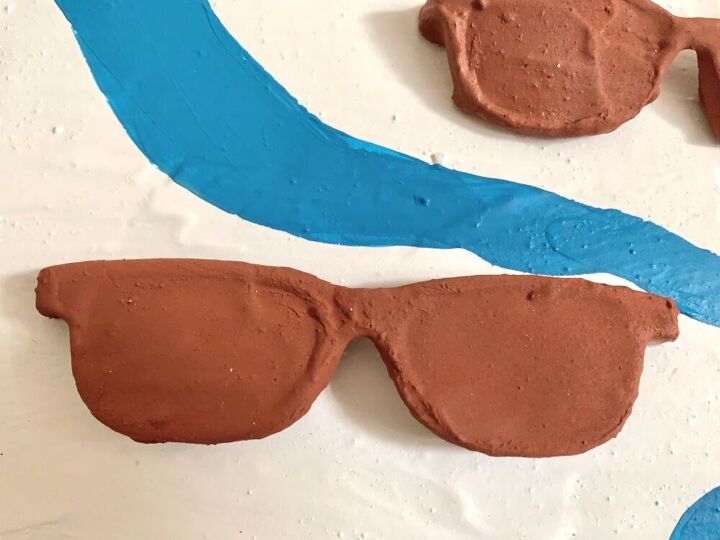
Once dry, I sprayed the glasses with Rustoleum American Accents Terra Cotta. You could also paint or spray the board in a design. I added my blue lines later because I wasn't happy with my initial design.
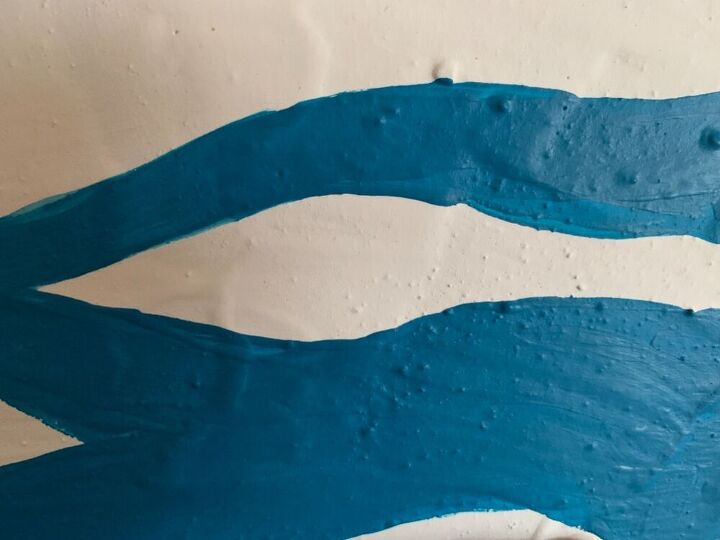
I added some acrylic in blue

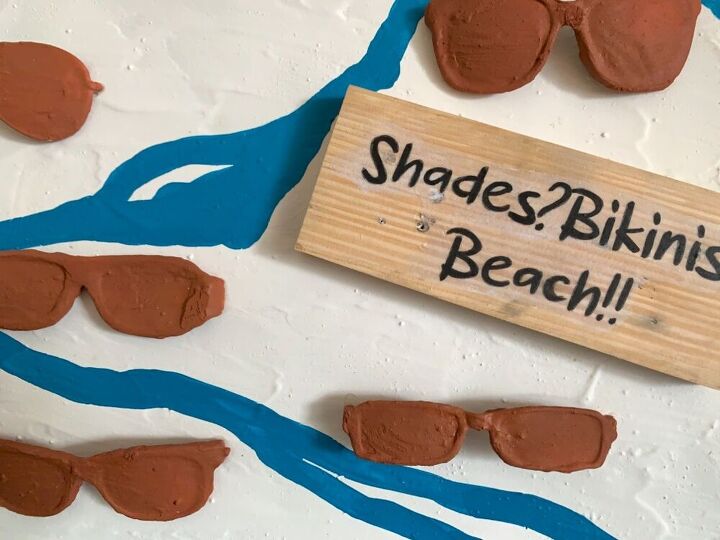
To make the sign, I used:
- a piece of sanded pallet wood, cut to size
- some wording printed in reverse on a laser printer (someone on Hometalk did a comparison and found that a laser printer works better than inkjet). I did the wording on my PC.
- transfer glaze and brush
- scissors
- a cloth
- water
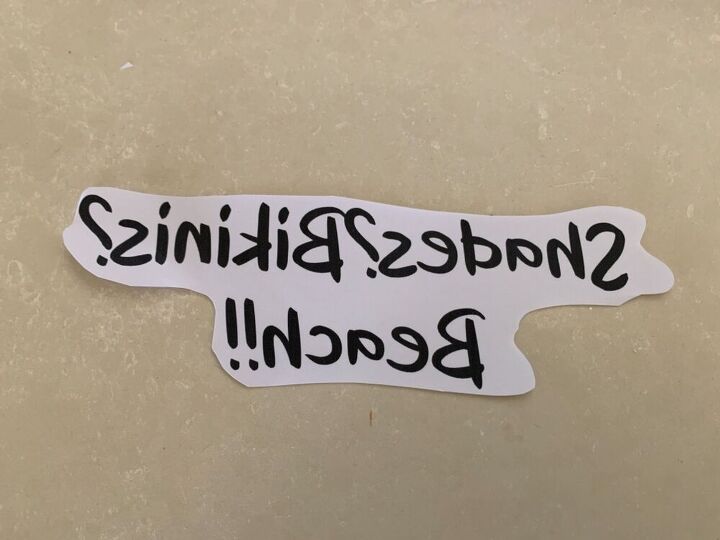
I cut out the wording...
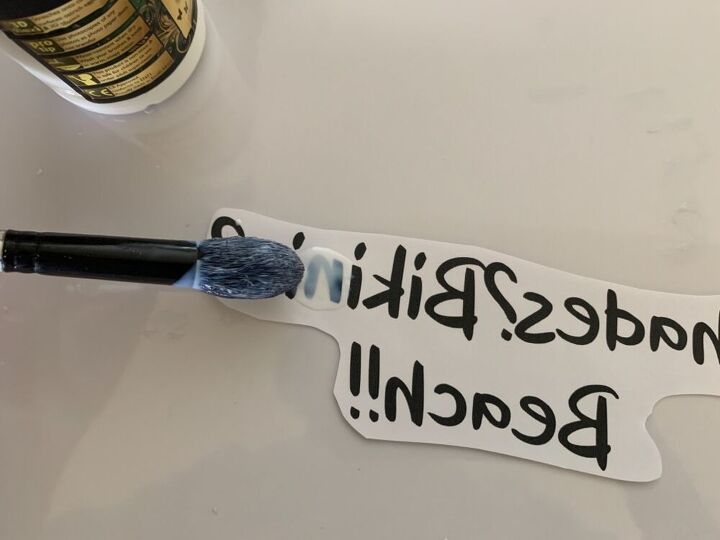
Then, following the instructions on the container, painted a layer of transfer glaze onto the printed side of the image. It looks strange because you have to reverse the wording. It's actually easier to work tidily from the outset and to not smudge glaze onto the reverse of the paper or onto the surface on which the image is laying because the paper tends to stick and tear once you start handling it.
I let it dry properly and repeated the process two more times as per the given instructions. Essentially you are creating a coating to protect the image.
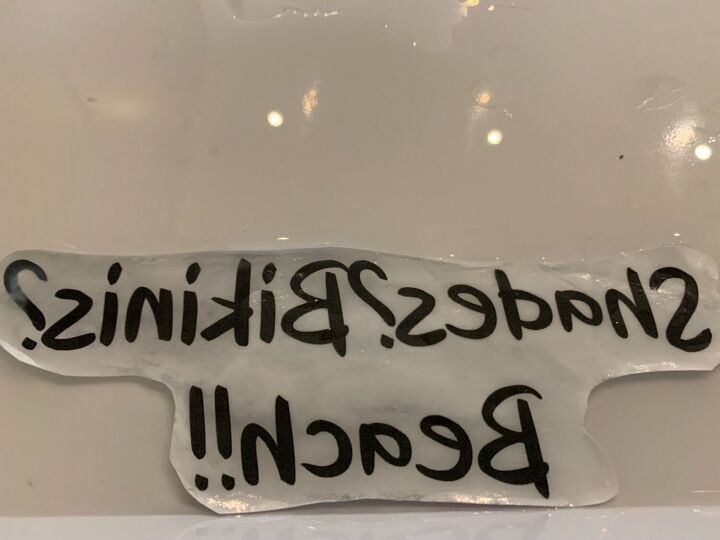
Once the glaze was dry I laid it print side up in shallow water in a tray for about 20 minutes (or as per instructions).
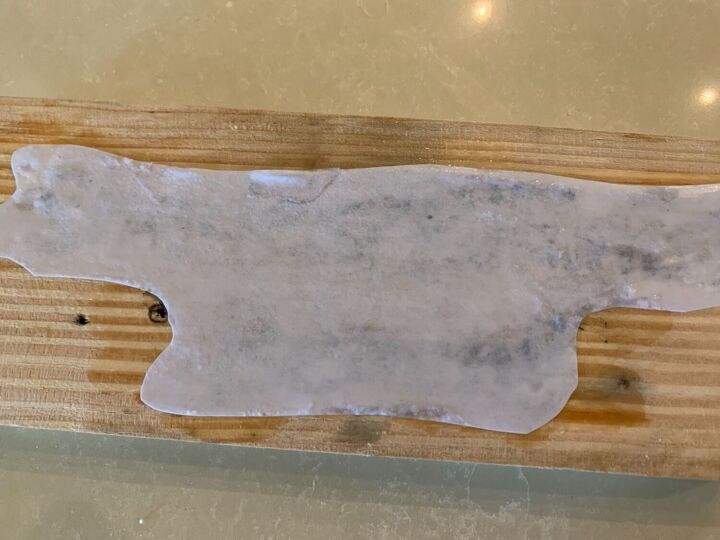
Once nice and sodden, I put the print in position, glazed side onto the wood and soggy paper side facing up. At this stage the wording should no longer be reversed.
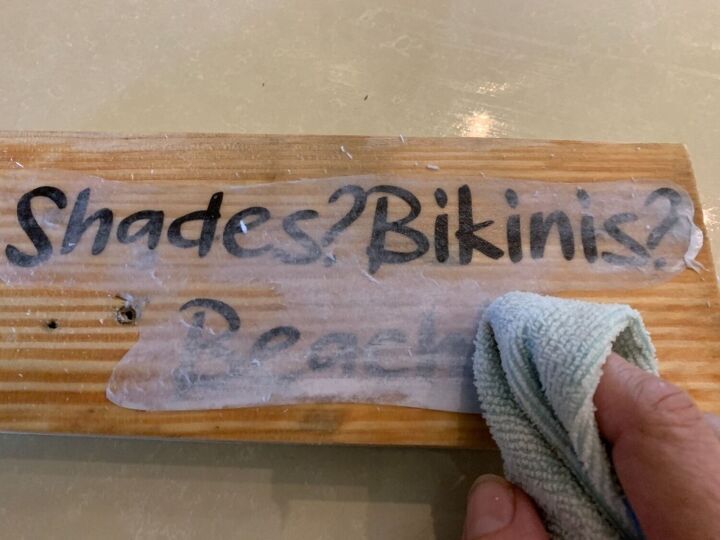
I gently rubbed the extra paper off with a cloth. I found that focusing on horizontal movements instead of pressing down onto the image ensured that it didn't tear. I took off as much of the white as I possibly could and let it dry.
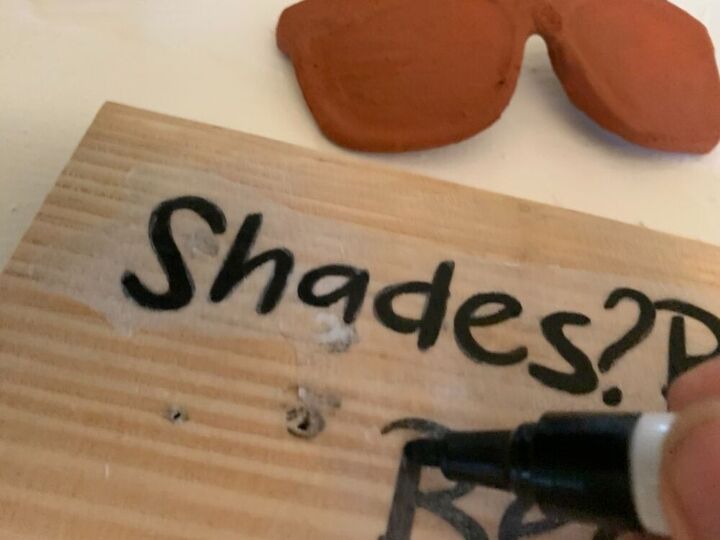
The lettering wasn't as brilliant as I wanted so I took a marker and ran over it again. The whole lot then definitely has to be sprayed with sealant.
Finalise your design by placing everything on the board. Because the back of the glasses are uneven you will have to mark where they touch the board with pencil.
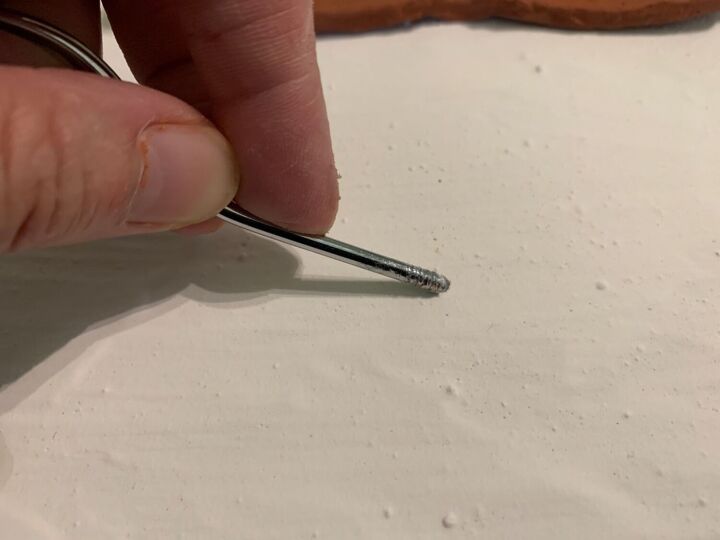
Then scratch off bits of the paint mixture where the glasses make contact with the board. In one of my previous posts someone suggested that I do this to strengthen the holding power of the glue. I suppose one should do this with the glasses as well so that the glue sticks plastic to plastic. It's still too early for me to say if this method made a difference but I thought I would try something other than a glue gun.
With at least two holes (and some extra slits in some cases where the glasses tilt and lay with the frame resting on the board) I placed drops of instantly drying superglue and stuck the frames onto the board. The wooden part was stuck with a glue gun and sealed with a spray.
Everyone is going to marvel over your sculpting skills. 'Those glasses look so life like...!'
Resources for this project:
See all materials


Comments
Join the conversation
-
Very creative!
-
We have donation boxes for used glasses for our Lions Club. They send to other countries to help out.


Frequently asked questions
Have a question about this project?
Would be cute for an eye doctors office too....you could write something like Who's looking after you ?.....or Eye Care .....etc....Very clever !
Your instructions are not very clear my dear. It seems to me that you missed a step. when and how do you put the shades on? Dusty