


How to Protect Luxury Vinyl Flooring in 3 Simple Steps

Sharing our 3 simple steps to protect your new luxury vinyl flooring. It’s so easy you’ll wish you had done it sooner. And the best part…it’s FREE!
For more simple and budget-friendly DIY project ideas, be sure to follow us on HomeTalk and visit our blog!
I’ve been working on our laundry room makeover for the past few weeks.
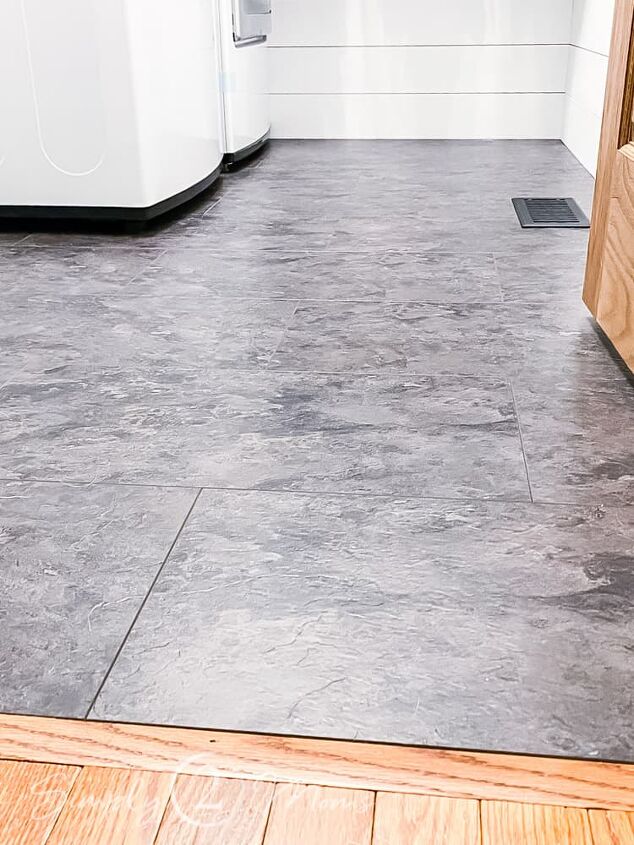
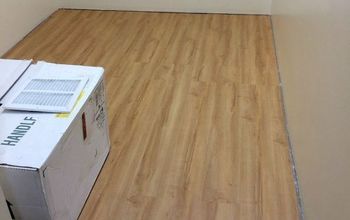
One of the updates to the space was to install new luxury vinyl floating flooring.
It was super easy to do and there was no prep work! Just click the new interlocking flooring together right over your old floors.
That’s a win in my book!
I’m almost done with the laundry room makeover and just started with the storage solutions and decorating.
I bought a set of lockers for storage and they look perfect in my modern farmhouse style laundry room.
They kind of give the room a bit of an industrial vibe.
And the lockers store LOTS of stuff!
But they are pretty heavy especially after I fill them up with all that stuff and I didn’t want them to dent or damage our brand new floors.
How to Protect Luxury Vinyl Flooring
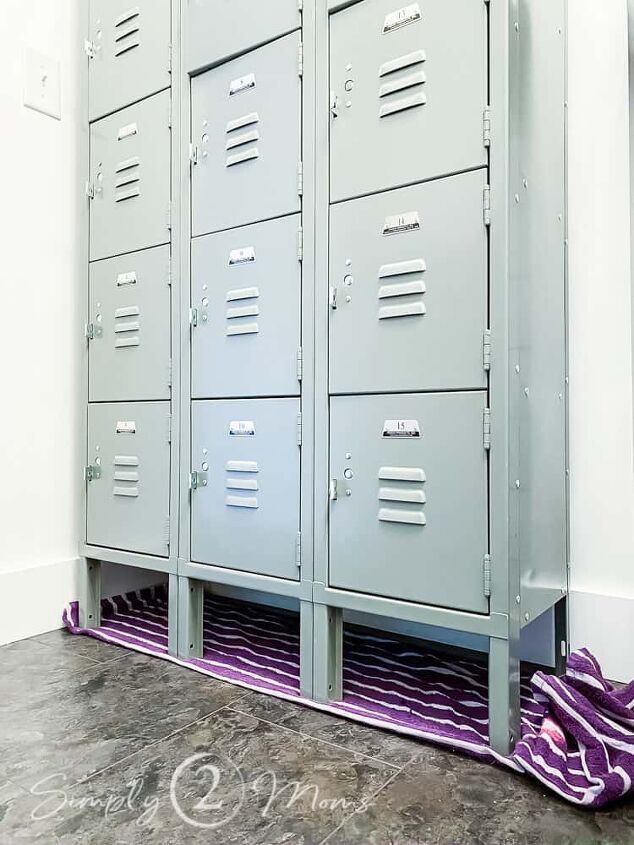
I put a towel under the lockers to prevent any scratches as soon as we moved them into the laundry room.
As you can see this locker unit is on metal legs.
Many lockers I saw when searching didn’t have legs and would just sit flush against the floor.
If I had found a set without legs I could have used felt pads to protect my new floors.
I kind of like the legs on my lockers though.
First of all they give the unit some more height which is great.
And the legs also make it a little easier to get into that bottom row of lockers.
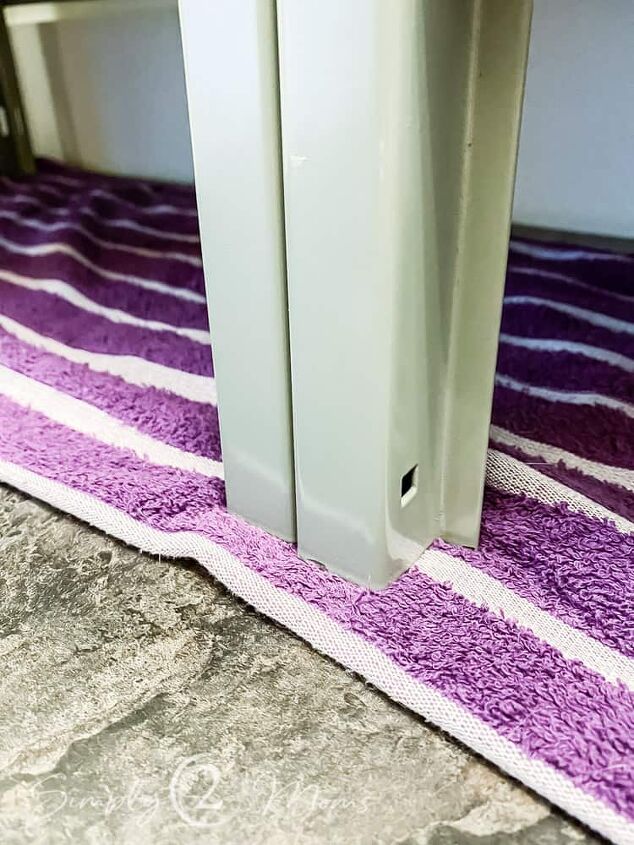
But as you can see in this close-up photo the bottom of those legs are a bit rough and sharp.
They definitley would have scratched the floor for sure!
And they probably would dent the floors after filling the lockers up with heavy bottles of laundry detergent and other supplies.
What Can You Use to Protect Vinyl Floors
Remember those felt pads I mentioned before if my lockers didn’t have legs?
Well since I do have legs I think small furniture pads would protect the floors but they’d look awful.
I mean you’d be able to clearly see them because of the shape of the locker legs.
Nope that woudn’t work.
Another option is a floor mat that would lay under the entire locker unit with all the legs resting on the mat.
But I’d be covering my pretty new floors with a big mat and I didn’t want to do that either.
Then I had an incredibly awesome amazing idea if I do say so myself!
Why not make floor pads out of a leftover floor tile?
YES!
That was it!!
It was perfect!!!
I could make them any size, they would match the flooring and the best thing….they would be FREE!
3 Simple Steps to Protect Floors
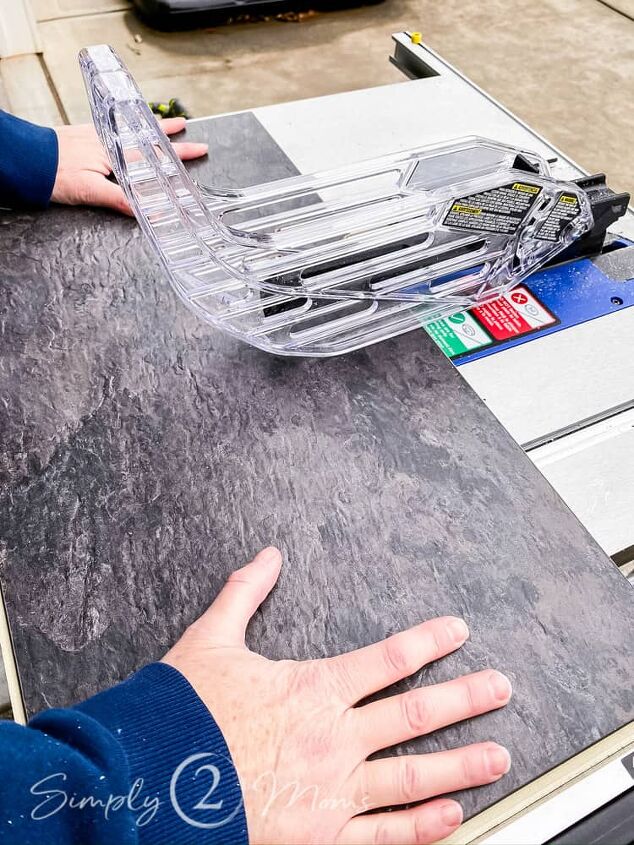
1. Cut Floor Tile
Since the vinyl tiles were floating interlocking tiles they were fairly thick which was good to use for protection.
And the tiles have a soft grip material on the bottom.
I grabbed a leftover floor tile and got to work.
Cutting the tile in 3×3 squares for the larger locker legs and 2×2 squares for the smaller ones.
Using my table saw made this job so easy and fast.
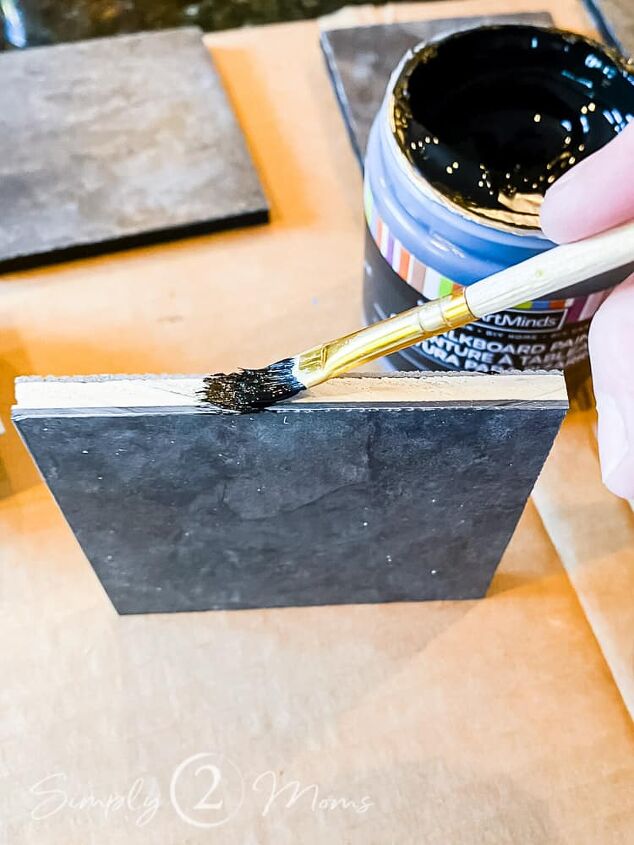
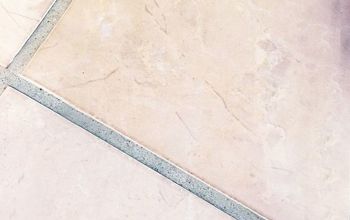
2. Paint Edges of Cut Floor Tile Pieces
Since the material in the middle of the tile was light in color I decided to paint it so that it would blend in better with the floors.
I just used chalkboard paint that I had here at home but any craft paint would do the job.
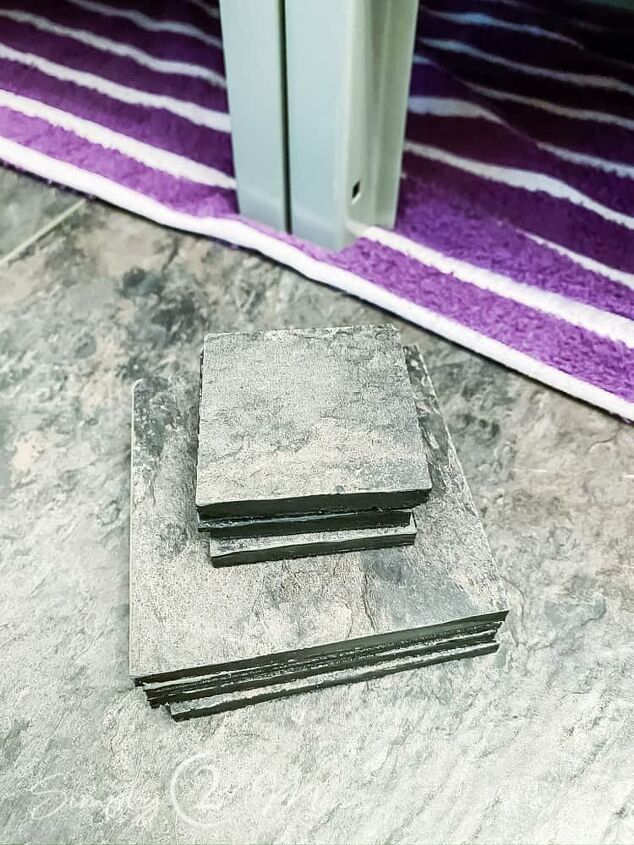
3. Place Floor Coasters Under Locker
Once the paint was dry I was ready to put my DIY floor protector coasters in place.
Isn’t that a fun name…floor coasters?!
I like it!
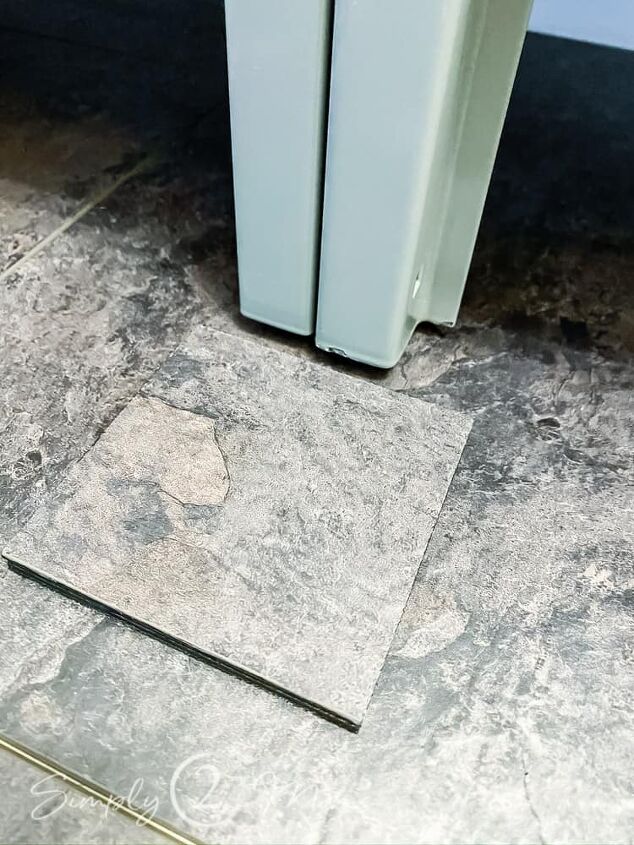
After removing the towel my husband Chris lifted up the lockers and I just slid a coaster under each leg.
This was the hardest part of the project…lifting up the heavy lockers to place the floor protectors underneath.
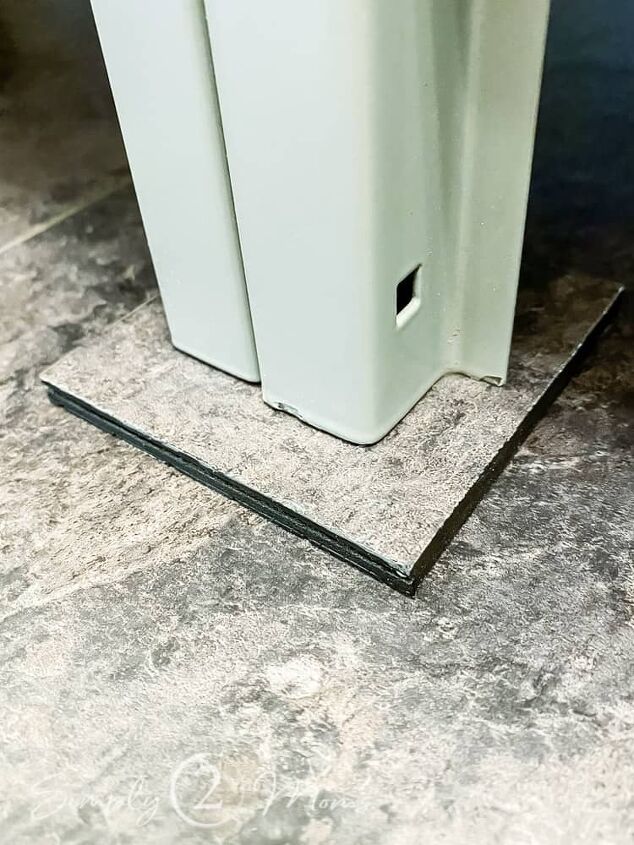
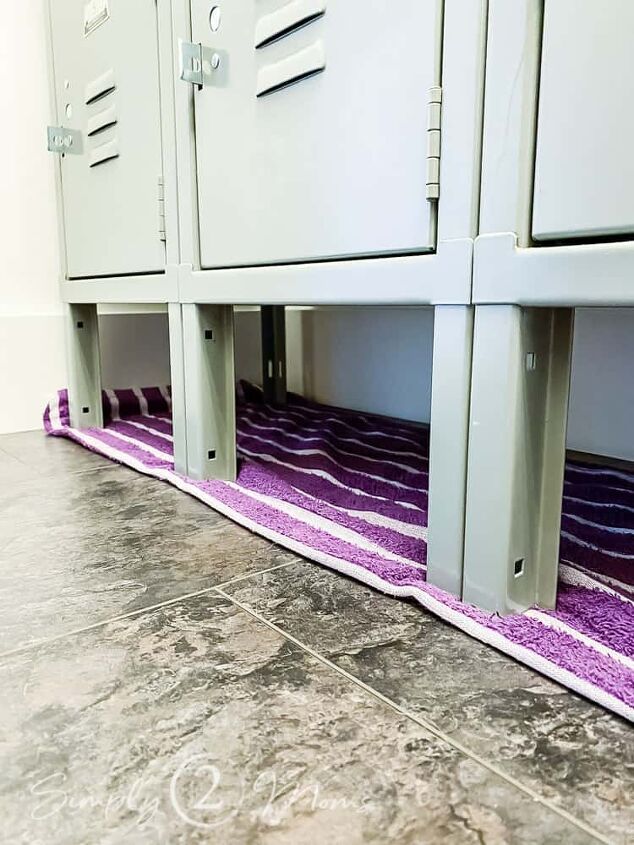
But just look how it blends so nicely with the floor even though it’s bigger than the actual locker leg.
A felt furniture pad no matter what size would’ve been an eyesore.

I’m glad I took the extra 10 minutes to paint the edges of the cut tiles.
The black edges also helps the floor protectors blend with the luxury vinyl flooring.
And here they are all in place under each locker leg…
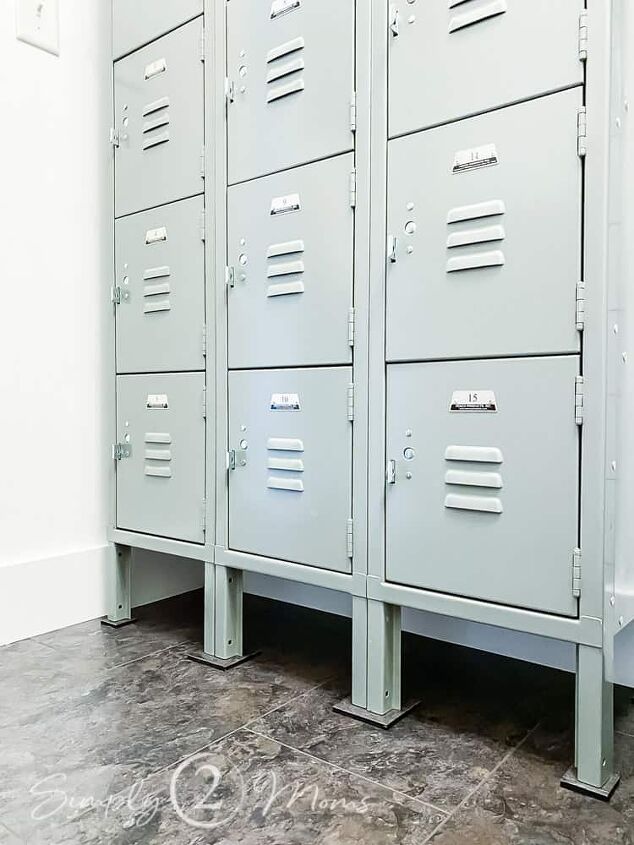
Now I don’t have to worry about scratches or dents on my new floor.
These DIY floor coasters would be useful for anything heavy to protect your new vinyl floors. Furniture, appliances, or whatever else may cause damage to your flooring.
I just love easy and free DIY ideas, don’t you?
If you have any questions or suggestions, contact me or leave a comment!


Comments
Join the conversation
-
Good idea. I think I would have painted the edges to match the floor instead of black.
-
We have a set of lockers almost exactly like your set and I have pondered how to deal with the legs so they don't damage the floors. I have considered several options--including cutting the legs off and putting the lockers on a plank of wood with coasters but your idea is a lot simpler and would accomplish the same thing without having to cut metal--something I try to avoid! Thank you so much for sharing!


Frequently asked questions
Have a question about this project?
I wonder if this would work with laminate flooring?
Did you attach the lockers to the wall for stability?