


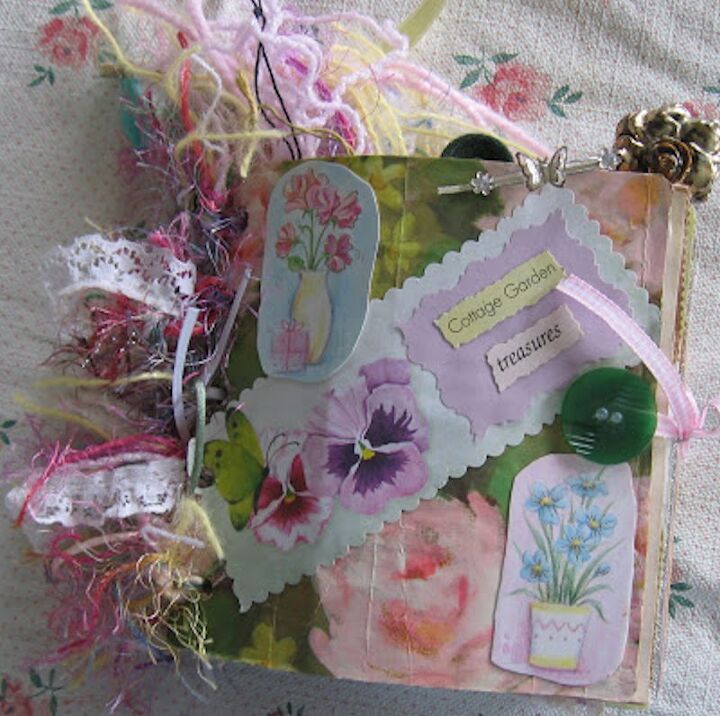
Making Paper Bag Albums
4 Materials
$5
4 Hours
Easy
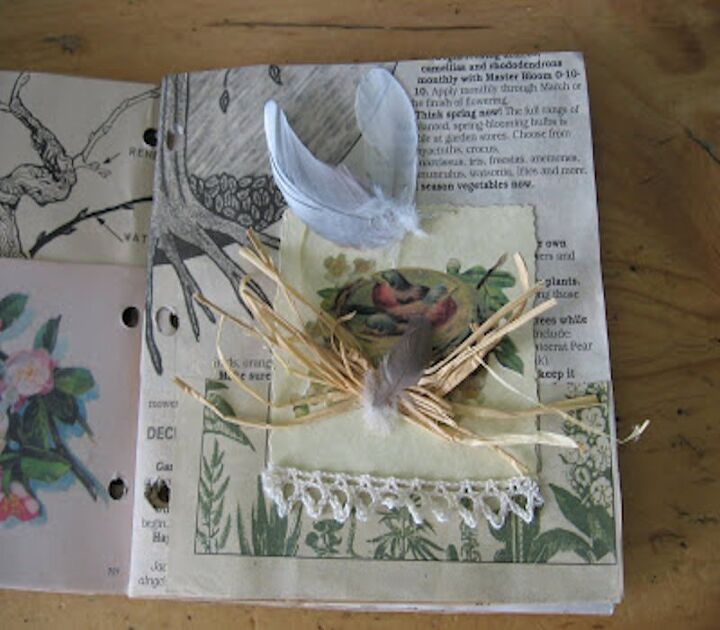
An oldie but a goodie! Easy to make, inexpensive and tons of fun! I like to use whatever I can find in my stash - a great way to use up your odds and ends. They can be themed, made for gifts, to remember a special occasion, journal your yearly garden happenings, just about anything you can think of. With all their pockets it's a great way to save mementos, tuck in notes, etc.
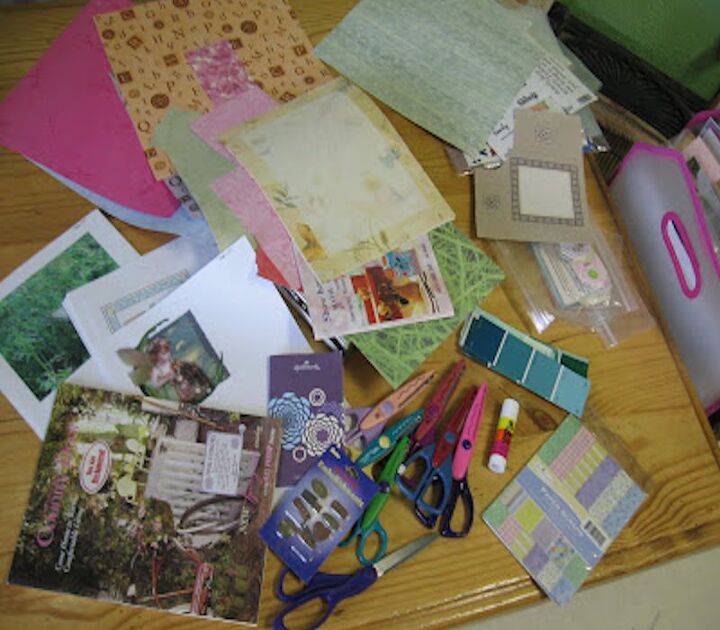
You'll need: 4 lunch size brown paper bags, or more depending on the size you'd like. All you embellishing goodies for the theme of your book - this includes anything and everything
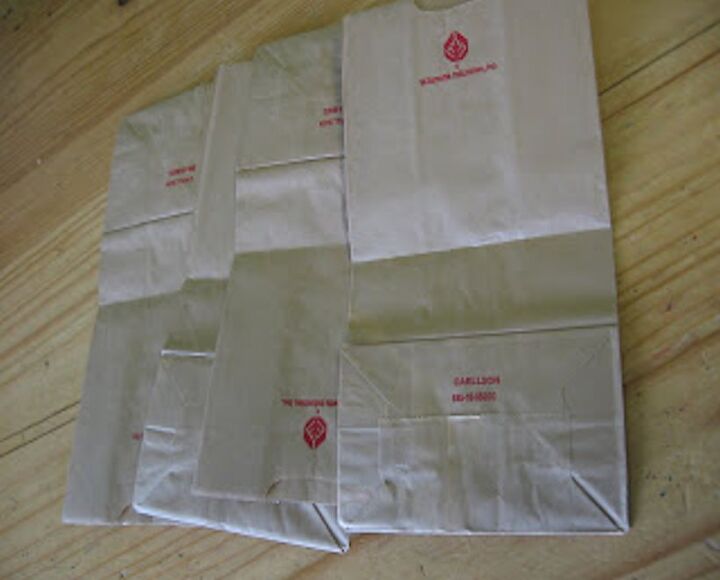
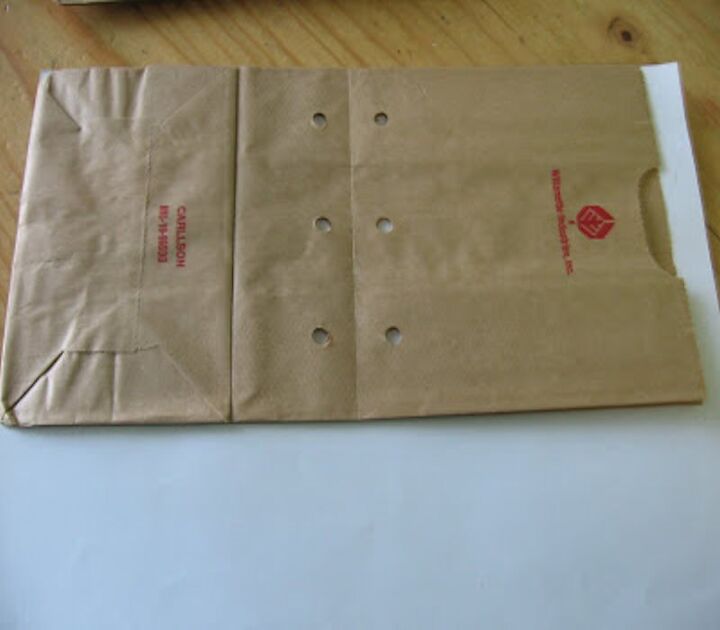
Lay the paper bags on top of each other reversing each one opposite of the other and fold in half.
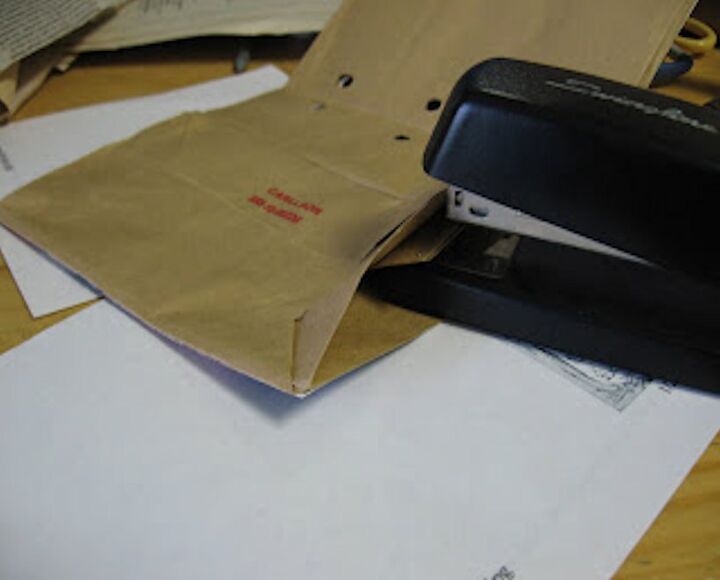
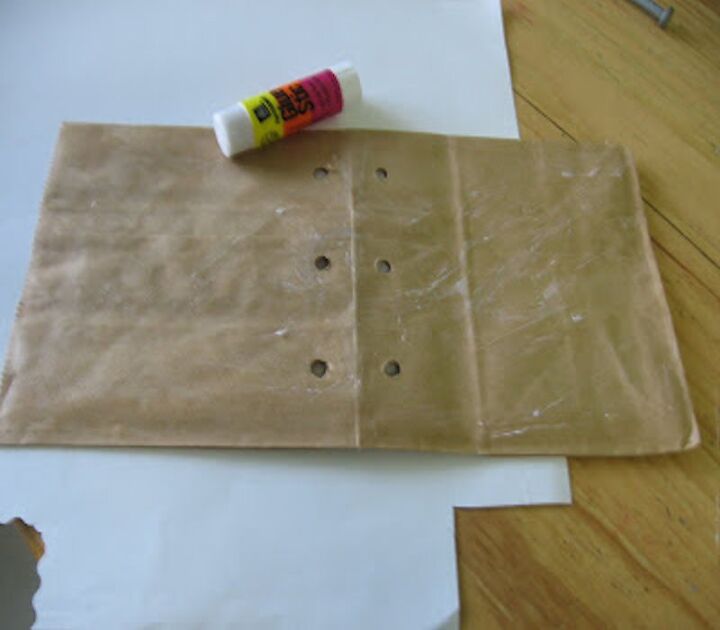
Next punch 3-5 holes for your binding area. I like to staple the sides of the folded bottom. It gives it a little more stability, cuts down on the amount of give of the folds. But it's not necessary. Try to remember to do this before covering the page with your background paper. If you don't, no worries just embellish over the staples.
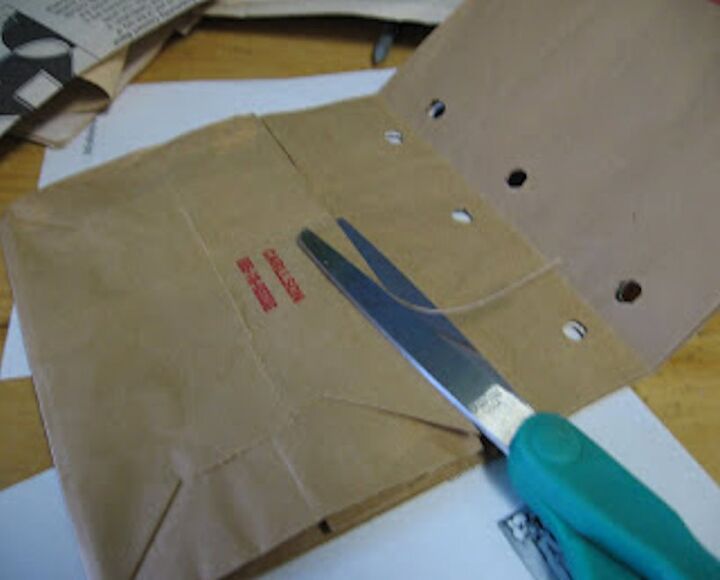
If you want a deeper pocket (let's face it, who doesn't?) just trim a tiny strip off where the bottom folds up.

You'll be left with two pockets, one shallow and one deep. The open ends of the bags make a great place for keepsakes, notes, tags, etc.
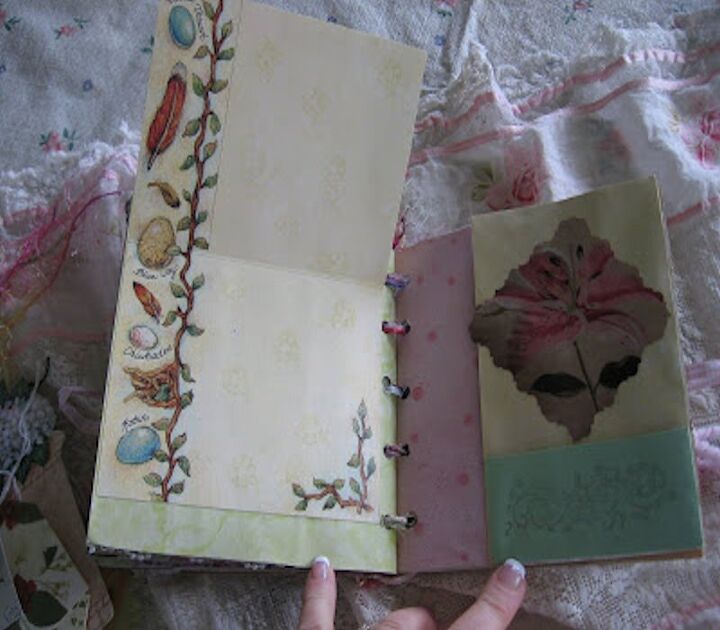
Now the fun begins..... You can cover the brown paper. Use papers, fabric or whatever. There are NO RULES. Do what ever your heart desires. Cover the area that you want to cover with glue, mod podge, etc.
Flip one bag at a time over onto the wrong side of your covering and press down all over. You can also measure and cut to fit or do it this way, cutting off the extra around the bag - whichever is most easiest for you.
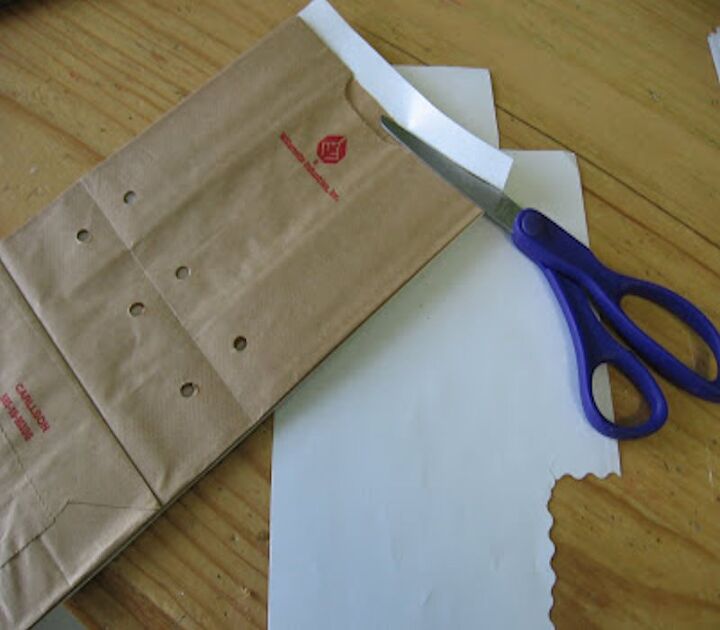
Turn it over and trim any extra. Do this to each bag, on each side. You can cover two pages at once or each page individually. I've done it both ways and each is just as easy. Or if you want some of the brown paper showing just cover part or even none!
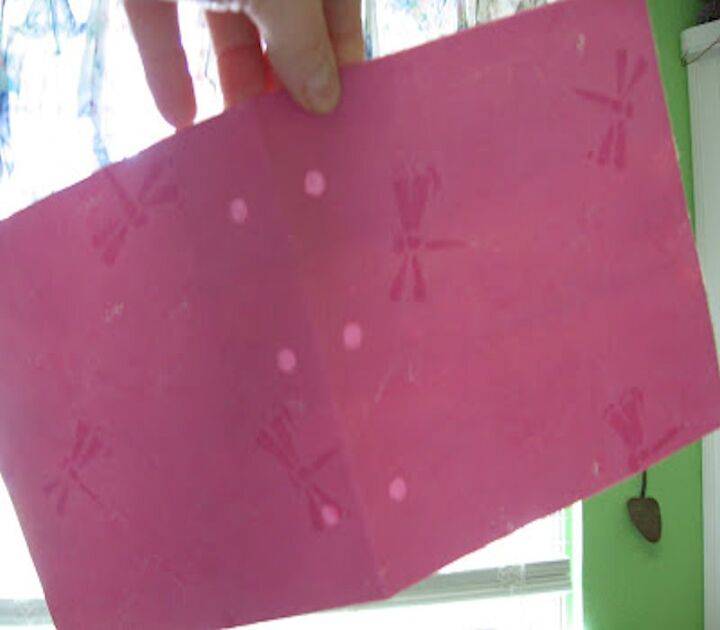
Hold the pages up to the light and you can see where you need to punch/cut your holes through the "covering" papers/material.
You can add images, trims, found objects, beads, buttons...
make journaling spots....
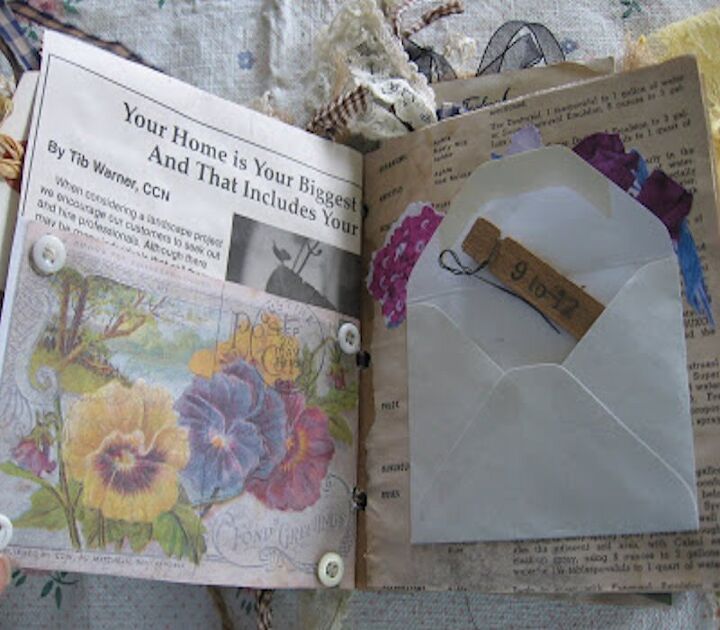
make more pockets....
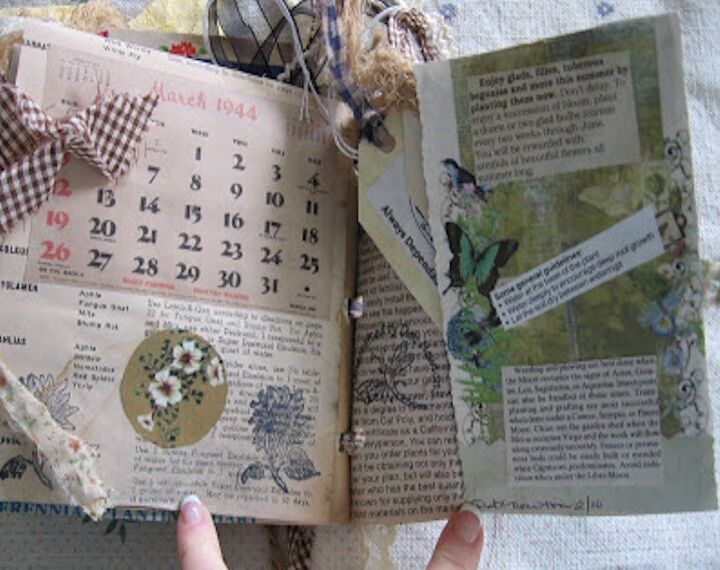
layer papers....whatever.
In order to bind the pages together, you can use yarn, string, raffia,binder rings, strips of fabrics, anything that will be able to keep the book together. Just string/poke your preference through the holes and tie off or clip. I stuff these with lots of goodies, tags, tucks, etc., but there is always room for more. I add a button to the front and back edge along with a good length of ribbon. The end of the ribbon on the back is permanently fixed to the back button. Then bringing the ribbon around the open end of the book it can be tied or wound around the button. You can adjust it to the volume of the book as you add more, keeping the contents secure.
Resources for this project:
See all materials


Any price and availability information displayed on [relevant Amazon Site(s), as applicable] at the time of purchase will apply to the purchase of this product.
Hometalk may collect a small share of sales from the links on this page.More info

Want more details about this and other DIY projects? Check out my blog post!
Comments
Join the conversation
4 of 18 comments
-
What a cute idea! Great to gather for a garden.
-
Looks like a junk journal to me - Love It!


Frequently asked questions
Have a question about this project?
Where did you find a hole punch that could get across the width of the bag?