


How to Update Your Old Artwork

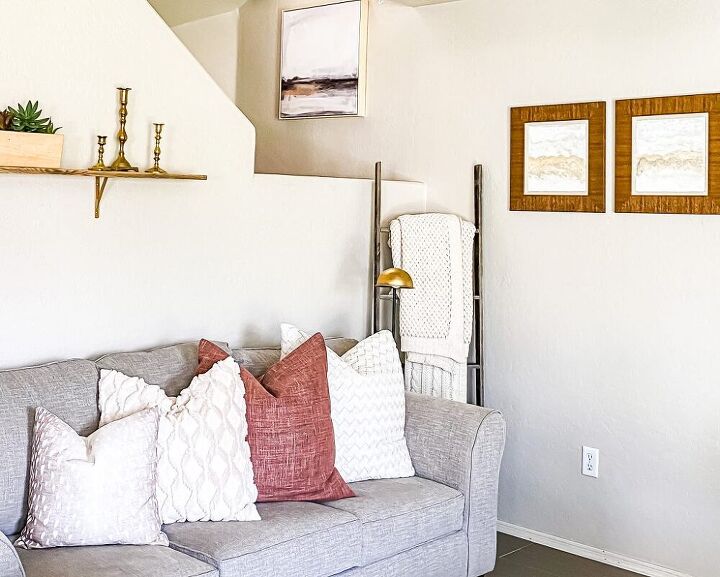
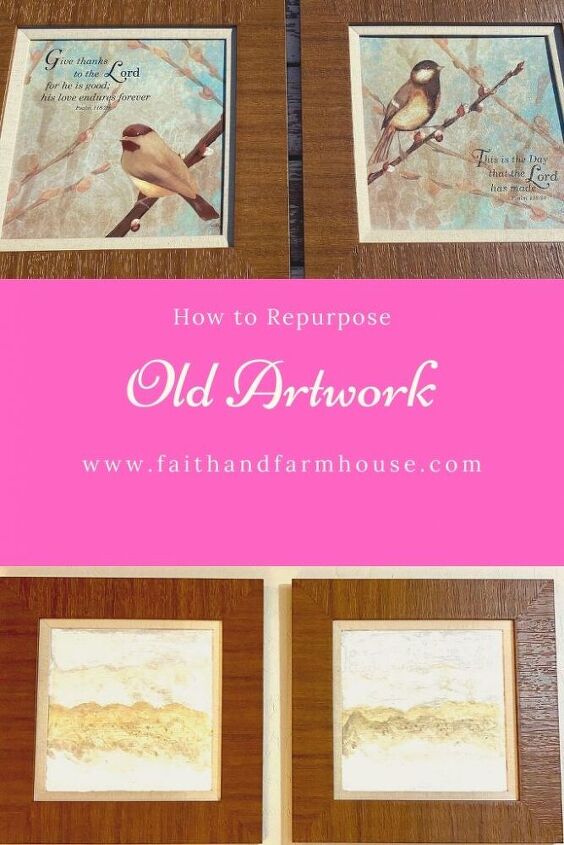
Do you have old artwork laying around that doesn’t really work with your decor anymore, but you haven’t gotten rid of it? I do too! I had these two framed prints that no longer match my decor. I kept meaning to paint over them, and finally just did it! It didn’t take me very long, or cost me anything! Just follow these easy steps in how to update your old artwork.
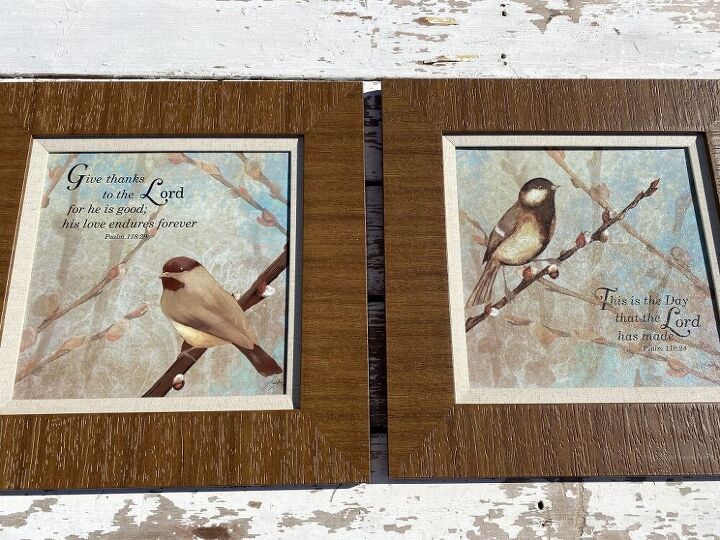
You want to be sure that the artwork does not have glass, or the frame can easily be taken apart to get to the actual canvas itself.
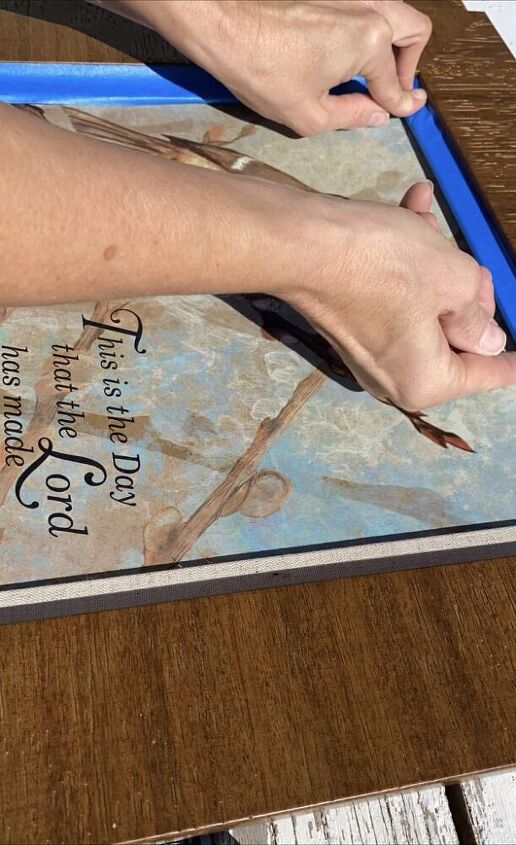
1) Prepare the artwork
Remove the canvas from the frame, if possible, or just tape around any mattes and around the frame. Tape anywhere you don’t want to get paint. If you want to add some texture, smear the canvas with spackle and let dry thoroughly.
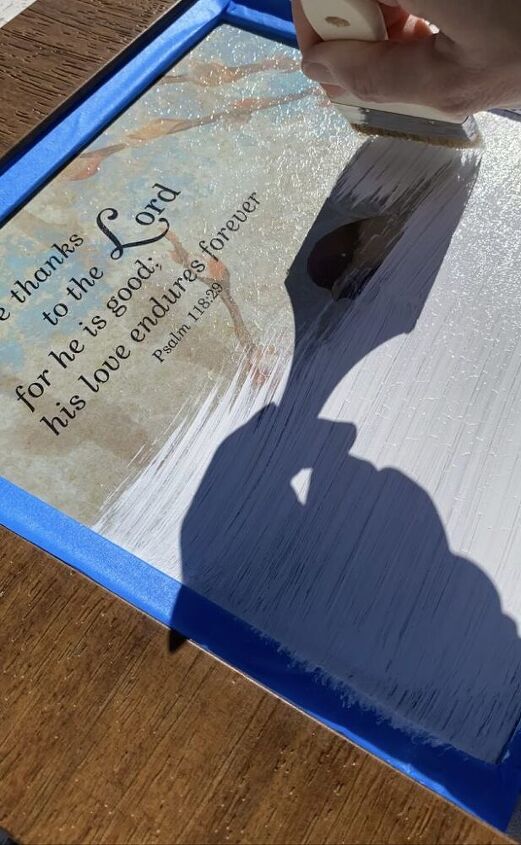
2) Paint over the old design
Paint over the old design with primer, or white acrylic craft paint. I used a chipbrush to paint over mine, but you can use a wide foam brush, or whatever you have!
3) Gather inspiration
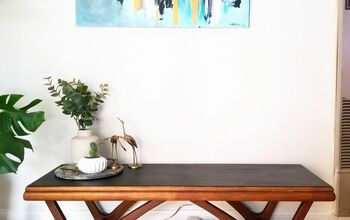
Have an idea in mind of how you want your piece to look. Search Pinterest or Google for artwork that you like. I knew I wanted mine to be more modern and abstract, so I had a few pictures pulled up for inspiration.
4) Gather paint colors
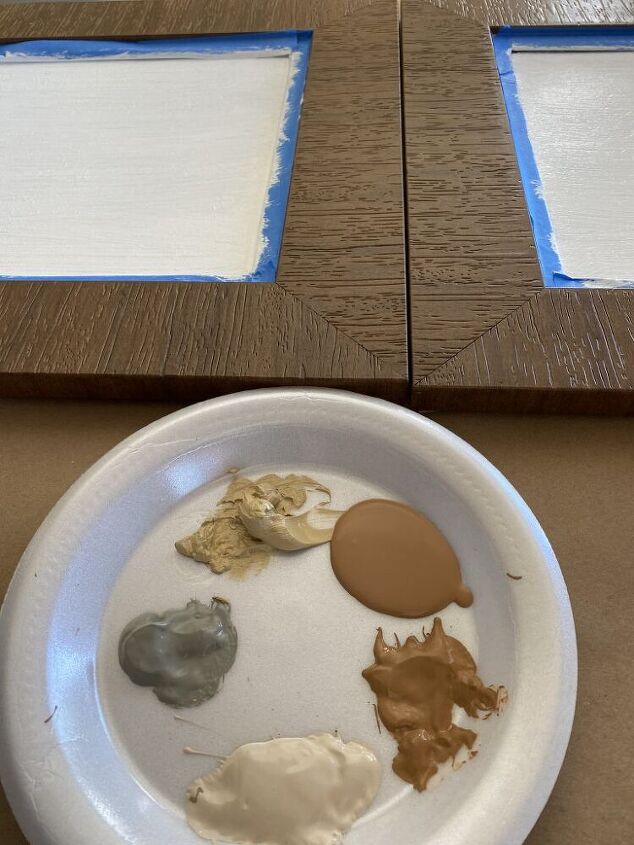
I just used acrylic craft paint, and used the colors that I already had. There’s no need to buy expensive paints, the 99 cent paint from the craft store is all you need! Well, and a brush! I used one of my kid’s old ratty paintbrushes, but it worked just fine.
5) Begin Painting
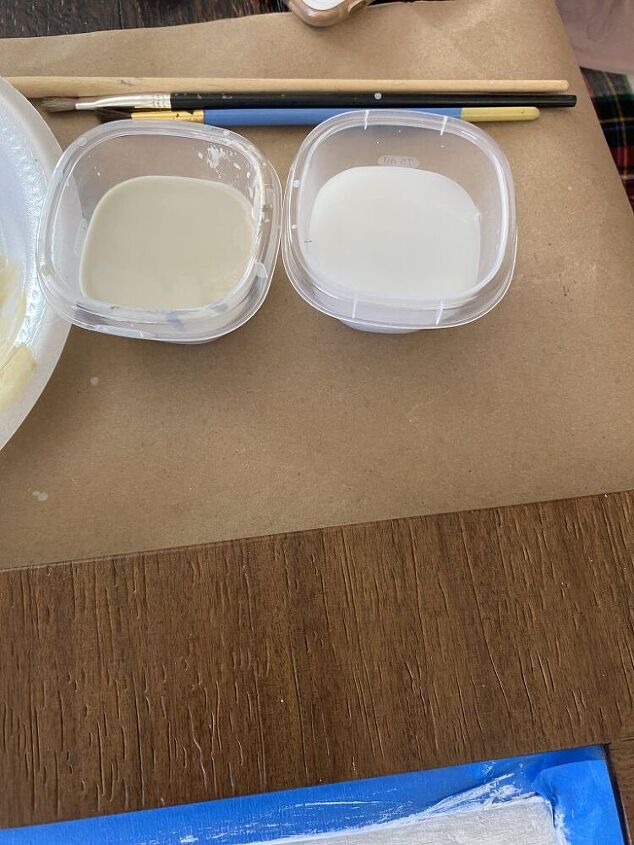
This step can be really scary, but it’s just paint! You can always paint over it or wipe it off if it’s not going how you want it. I had a second styrofoam plate that I used for dabbing off the excess paint from my brush, and I also used it to mix colors. I wanted a water-color look, so I kept my brush very wet, and with just a little tiny bit of paint. I used two containers of water, but purposefully let them get yucky and did not rinse them out. This lends to more muted paint tones.
To make the horizon look more subtle, I took a wadded up paper towel and dabbed off the paint. This works well for spots that you mess up on also.
6) Let dry and hang
Let dry thoroughly and hang your beautiful new creation! That’s all it takes to update your old artwork!
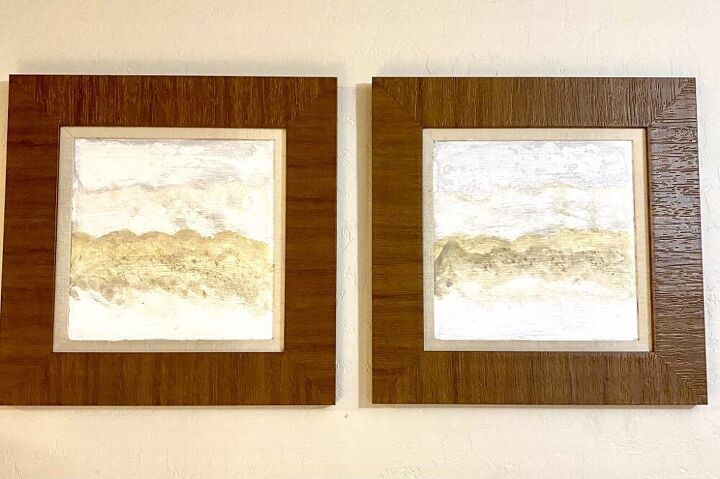
This technique works great for a piece of art that you find, but just doesn’t quite match your colors. Just change the colors like I did here! Or maybe you don’t want to paint it yourself, there are great sources for downloadable art!
Please follow and like us:


Comments
Join the conversation
-
Point noted. I'll pass.
-
My hubby works for an apartment complex and I’ve painted over ugly canvas art work with wall paint to cover the original image many times. It’s a fun way to have seasonal art too. On a small canvas I painted a green triangle, added a trunk = Xmas tree. Then I poked holes along the edges of my tree, and starting from the back I pulled a colored set of lights on green wire through to the front (later I taped the battery pack to back of canvas). Then I went zig zag fashion up the tree, only tucking in a bit of wire into my holes, and taping on the back with gorilla tape. I glued a plastic gold star on the top. Done. I may bejewel it next year. Lol. Repurpose and keep things out of landfills.
thank you!


Frequently asked questions
Have a question about this project?
This is cool but I don’t see a video anywhere. Did you post it? Thanks!