


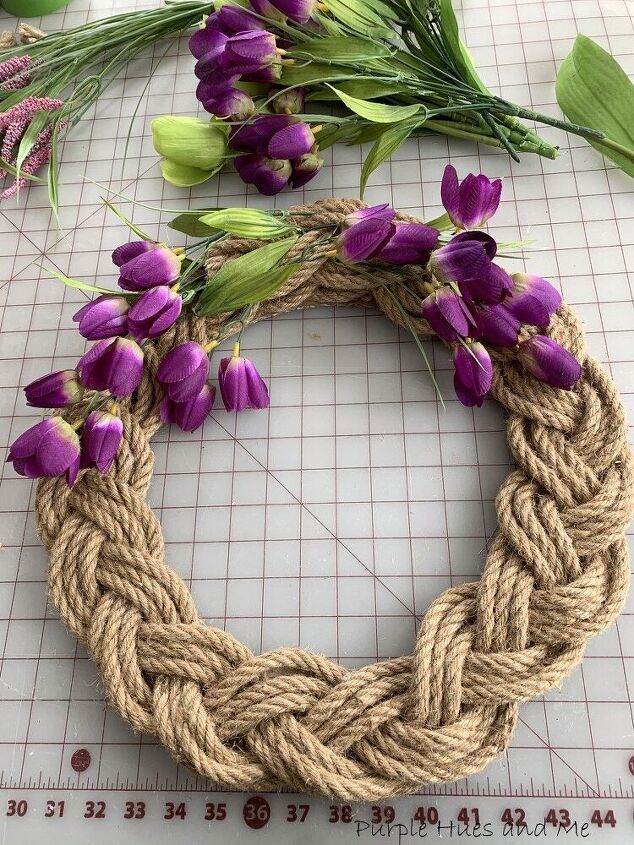
Braided Rope Spring Wreath
6 Materials
$10
1 Hour
Easy
I love the look of anything braided! It's such a simple way to create interesting patterns. Imagine making a wreath out of braided rope! So I created a braided rope wreath anyone would have fun making! And the best part, it can be made in less than an hour, including adding embellishments to suit the season or occasion! It's the perfect way to impress anyone who sees it, too!

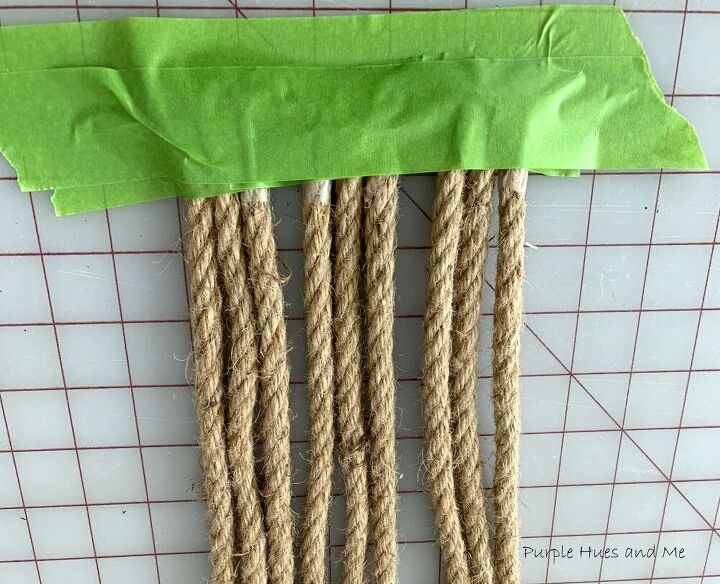
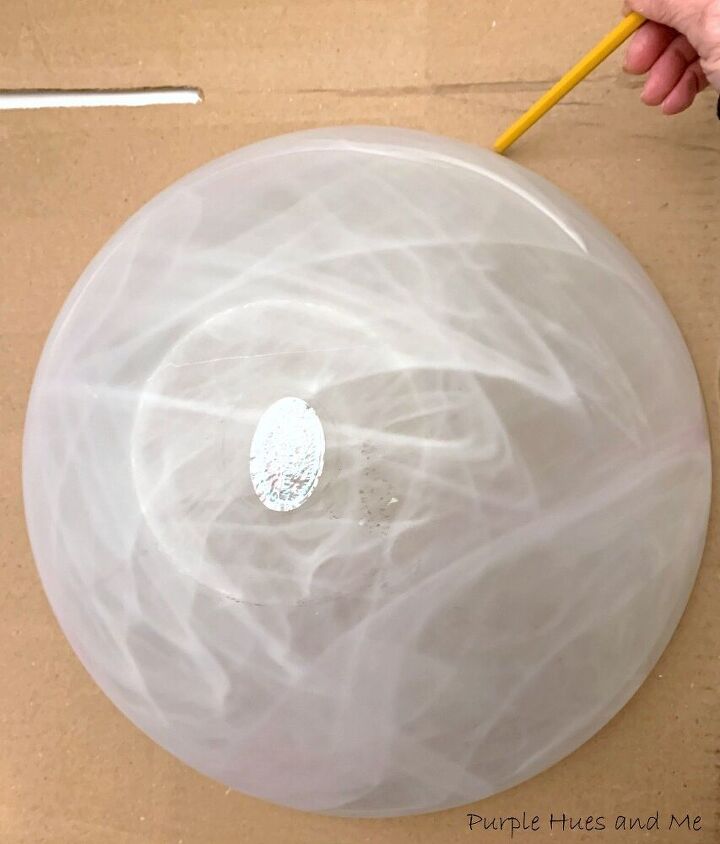
Instructions:First, decide how large you want the wreath to be. I decided on 15 inches wide - which happen to be the diameter of the bowl I was using to make the circle. I couldn't find my compass to actually draw on a circle. Then, begin by grouping the rope into three sections of three rope strands. To do this, start with a 50 feet length of rope and divide the 50' by 9 (strands) getting 5.5ft or 66 inches. More than enough to braid and cover the cardboard backing. Next, cut the rope into nine, 66 inch lengths. And tape the ends with clear tape to prevent fraying or unraveling. After taping, grouped the strands into three sections and secure the sections onto the work surface using painter's tape.
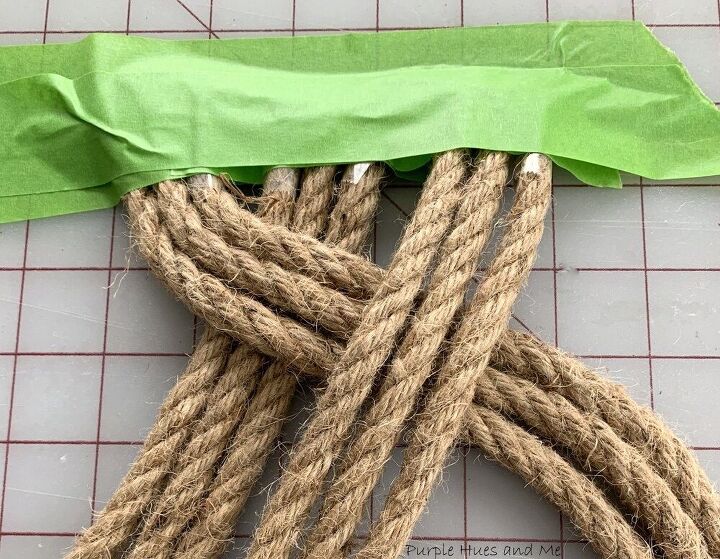
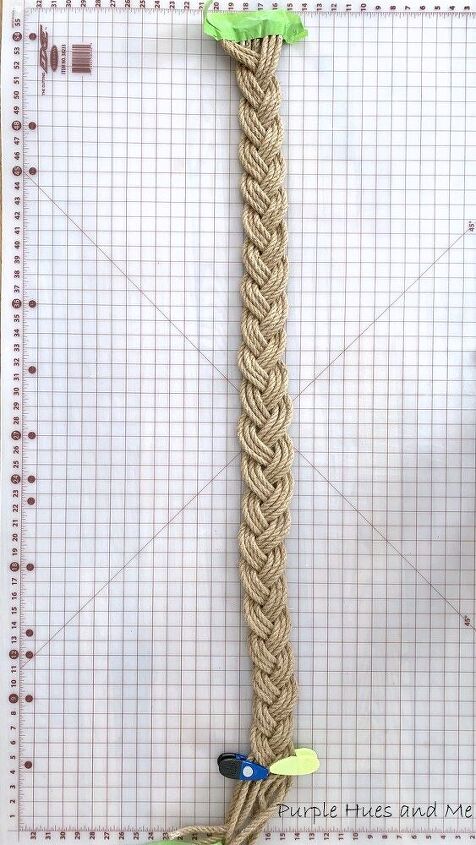
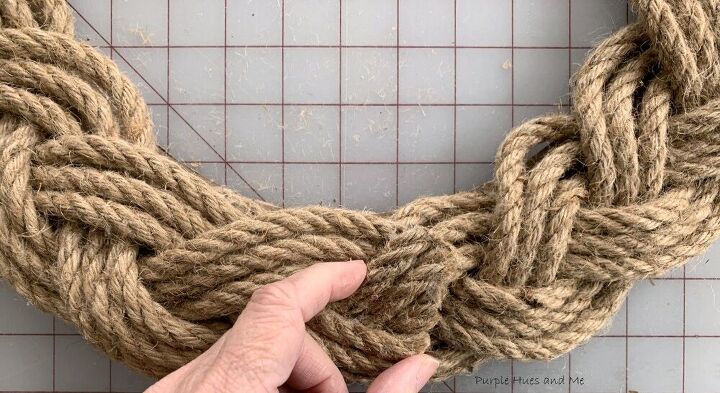
To begin braiding, take the left rope section over the middle rope section and then take the right section over the middle section. Almost like braiding or plaiting hair. Except you have to keep the rope strands flat as you braid.
Continue the same steps, crossing the left section over the middle section and crossing the right section over the middle section creating the braid.
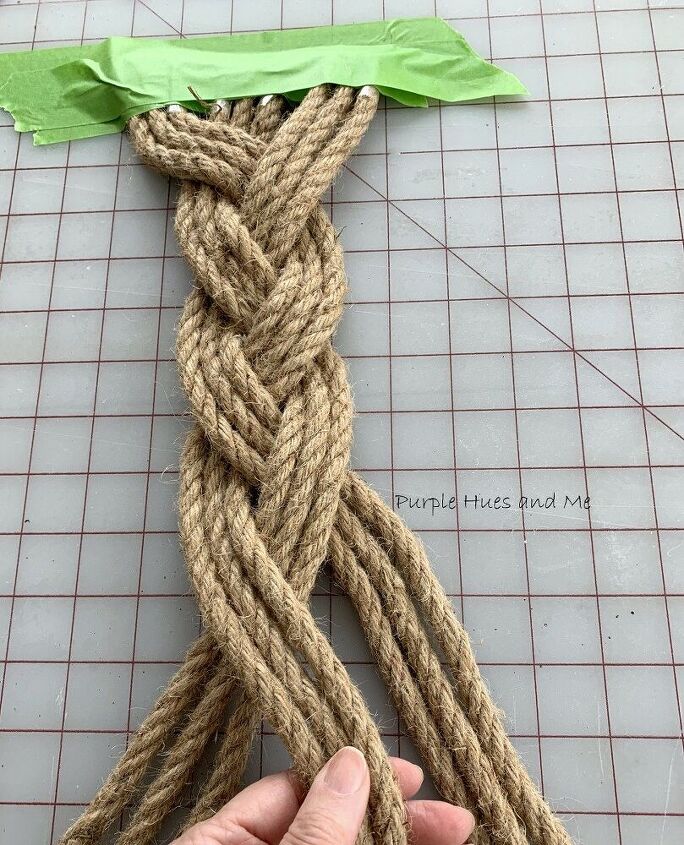
Make sure to keep all the rope strands flat, and together, as you braid the same way, consistently.
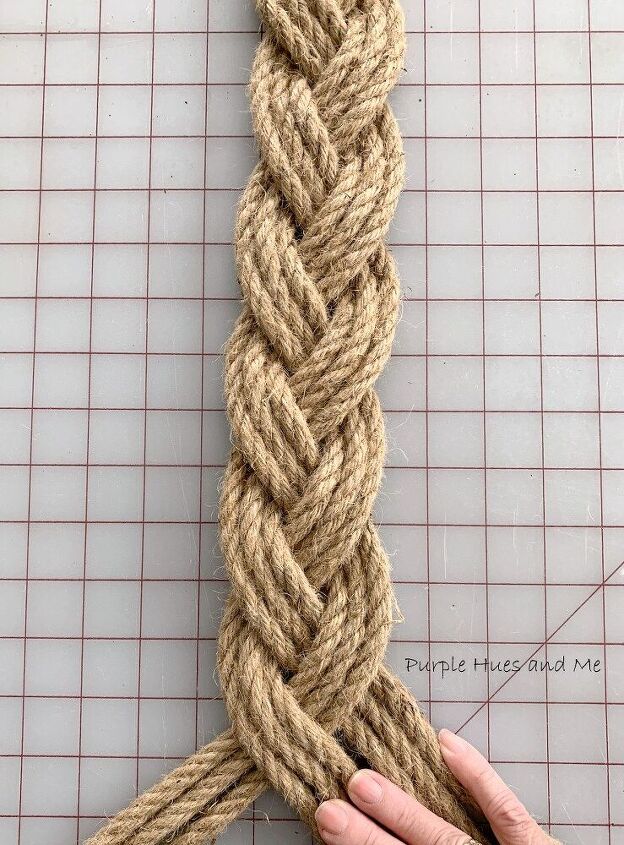
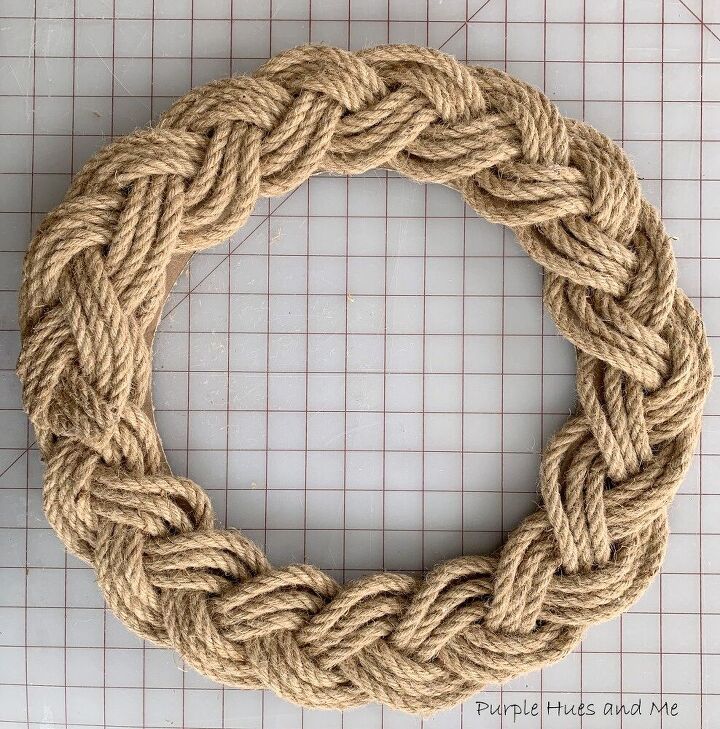
Continue the braiding pattern until reaching the end of the ropes, making sure the end ropes are laying flat. Add fabric glue to the rope ends and areas around the ends to seal together and let dry.
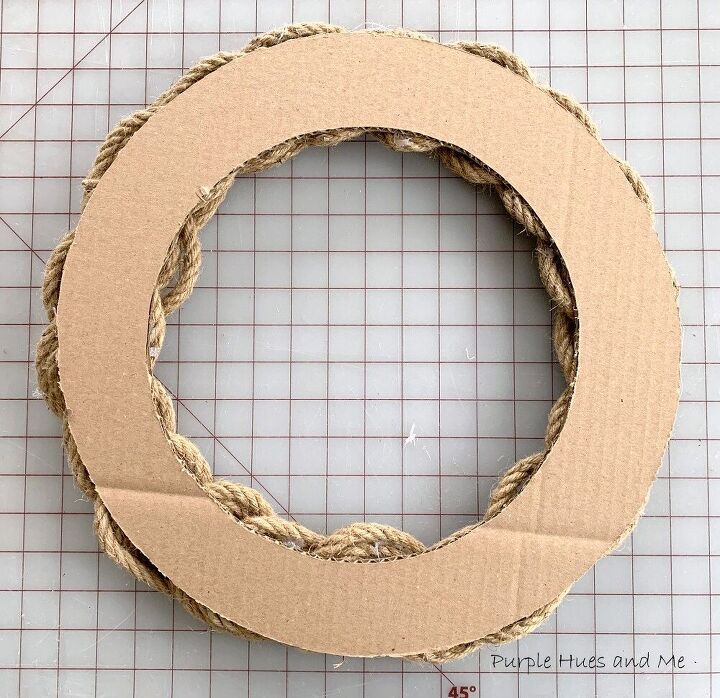
While the rope ends are drying, make the cardboard wreath backing by using a large bowl or compass to draw a 15" circle on the cardboard.
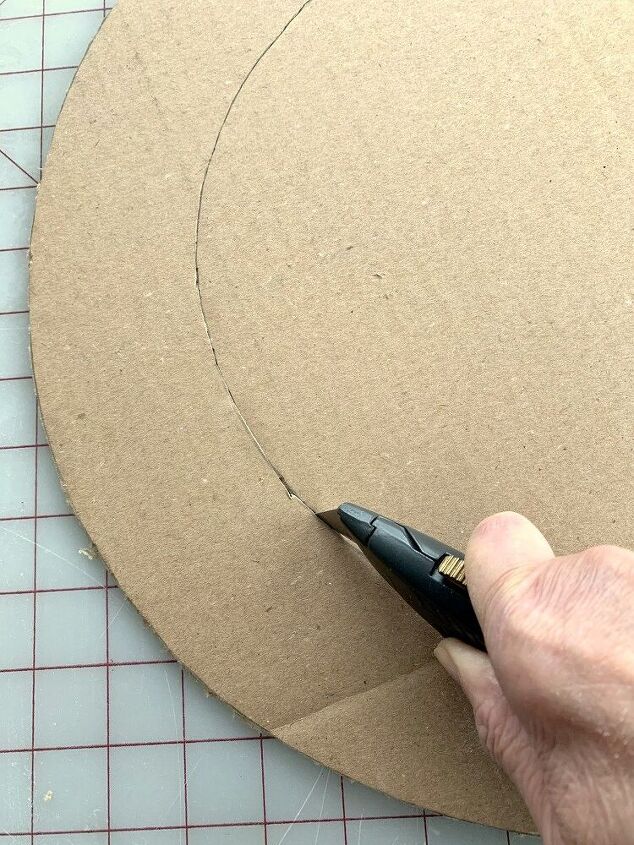
Then measure 2 inches in, and draw another circle and cut out using a craft knife.
Once the glue on the rope has dried, place the braided rope on the cardboard, adjusting to fit flat. Cut off excess rope and . . .
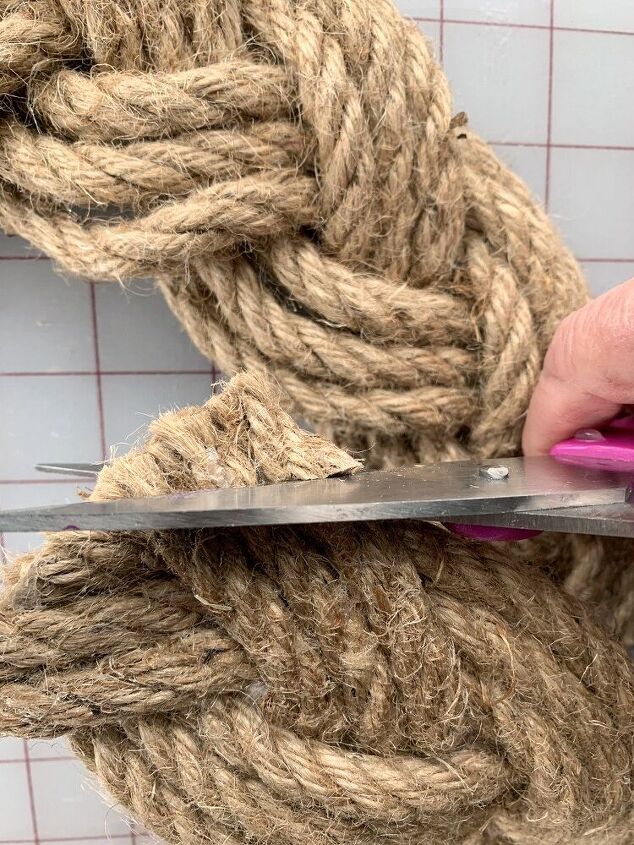
adjust braided rope to fit onto cardboard, gluing the rope ends together and let dry.
Once satisfied with braided rope wreath placement, begin adding hot glue to cardboard in increments and press wreath onto cardboard, holding in place until glue dries.
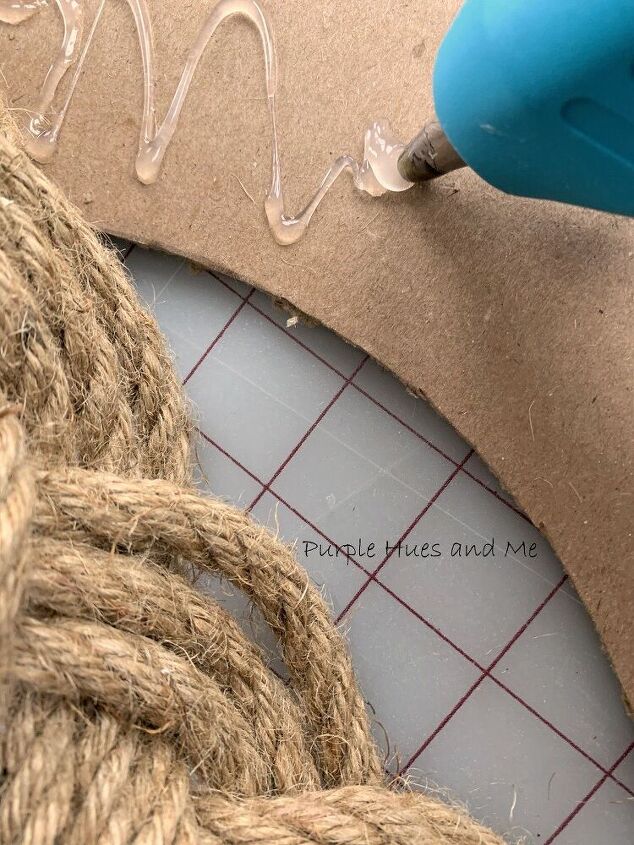
Continue adding hot glue around the cardboard in increments and placing wreath on top to seal together until glue is dry until the braided rope wreath is completely secured to the cardboard.
Then begin adding floral embellishments for a decorative spring look!
Add a command strip hook to the back for hanging.

Resources for this project:
See all materials


Any price and availability information displayed on [relevant Amazon Site(s), as applicable] at the time of purchase will apply to the purchase of this product.
Hometalk may collect a small share of sales from the links on this page.More info

Want more details about this and other DIY projects? Check out my blog post!
Comments
Join the conversation
4 of 249 comments
-
Beautiful!
-
This is beautiful and I'm definitely going to try it 🥰


Frequently asked questions
Have a question about this project?
What is fabric glue, that is used to glue the rope ends? Does it need to be bought at a fabric/craft store? Does Walmart or most stores have fabric glue?
Love the look of this wreath! I bought the rope on Amazon to make 3 wreaths with family. How do you get the petroleum smell out of the rope? I’ve aired it out for a few days in the sun, then washed it in baking soda and hot water, then added detergent. Now it’s on the deck airing out again. Any suggestions would be appreciated. I may have to use clothes line. Thank you.
What thickness is the rope you used?