


Corrugated Metal Backsplash

We've had a painted backsplash forever and on my honey to-do list was paint the kitchen, make new kitchen cabinet doors and install a new backsplash. The better half decided on a metal backsplash and I would call the style rustic or country I guess. Anyways, here is what we did to install a corrugated metal backsplash.
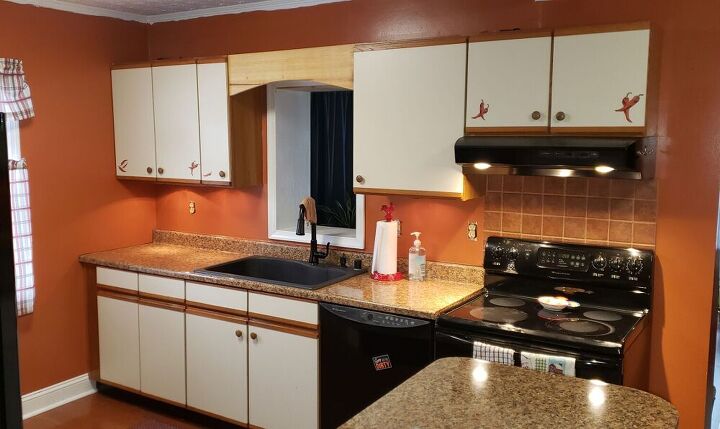
This is what I started out with, the old paint color and no backsplash except for behind the stove. I also add the arched piece of wood above the sink. It was just an empty space that my wife wanted filled in.
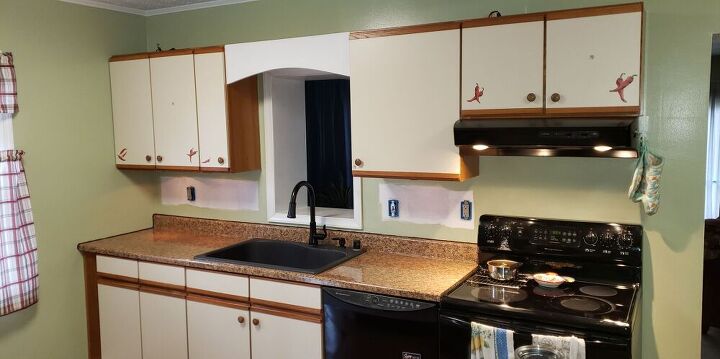
After some painting I was able to get started on this. The first thing I did was to add extension boxes on the existing receptacles so the plug would stick out the wall to be flush with the metal. Those are the blue boxes on the receptacles. You don't need to do this but if you don't you will need to build some kind of frame around the metal where you cut it out so it looks better. I bought those off Amazon and they were 1/2" deep. If using these, you will also need longer receptacle screws that are about 1-1/2" long, also from Amazon. Be careful when working with electric.
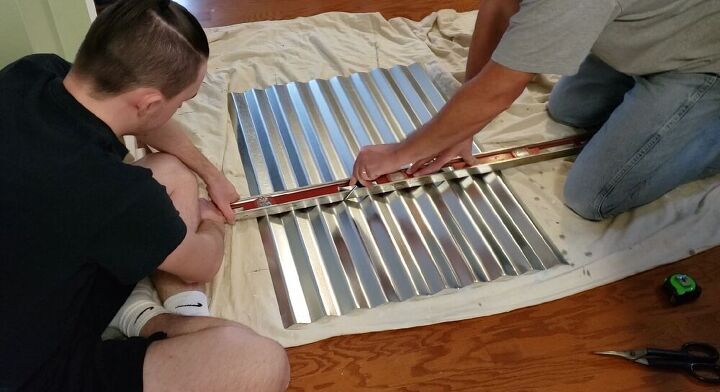
We got the Corrugated Metal from Home Depot. The sheets were 8' long by 2' wide and cost about $16 per sheet. These could be cut with Tin Snips or an Angle Grinder with cut-off wheel. You may even be able to use a Dremel Tool w/ cut off disk but that may take a while. After measuring twice, we laid out lines using straight edge and used a Scratch Awl to mark a line in the metal.
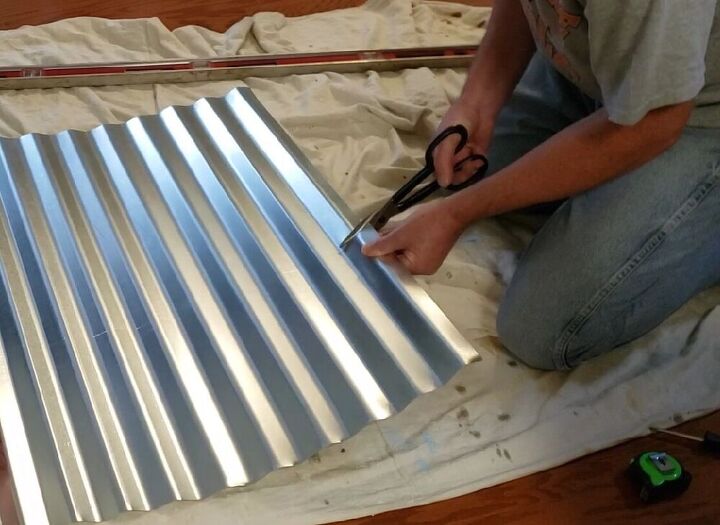
Here I am using Tin Snips to cut across the ribs. This not too hard to do, but when cutting the other way it is very difficult because you can't move the metal out of the way during the cutting process. An Angle Grinder is much better in those cases.
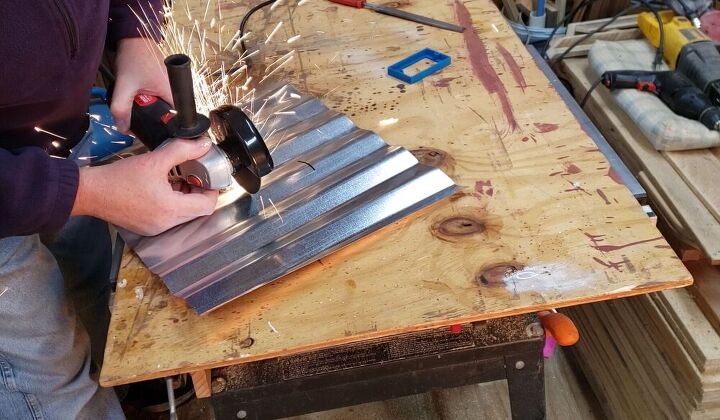
Here I am using the Angle Grinder with a Cut-Off Wheel to cut the metal where the receptacle will be. There's one of those blue extension boxes on the table.
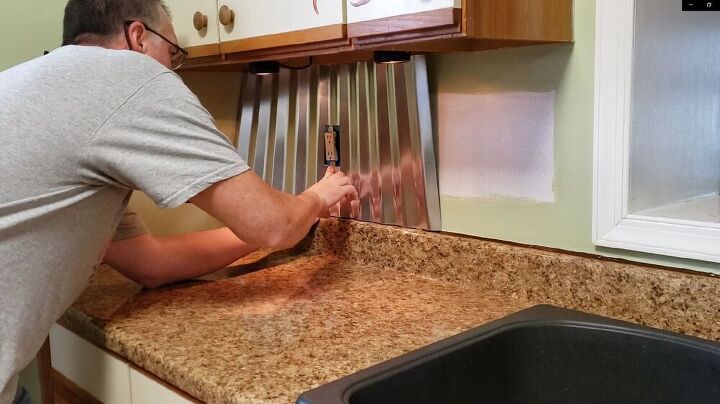
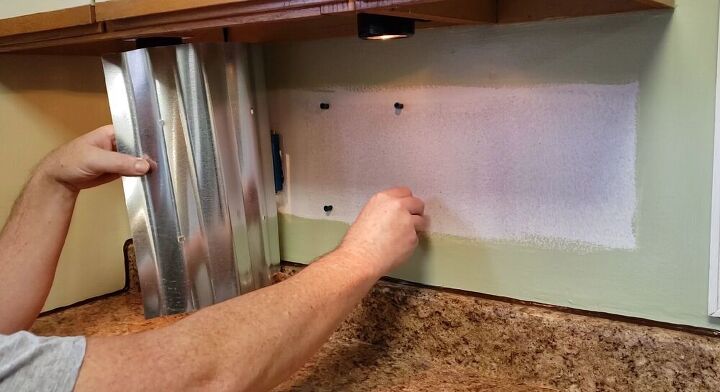
Now we set the piece in place to make sure it fits.
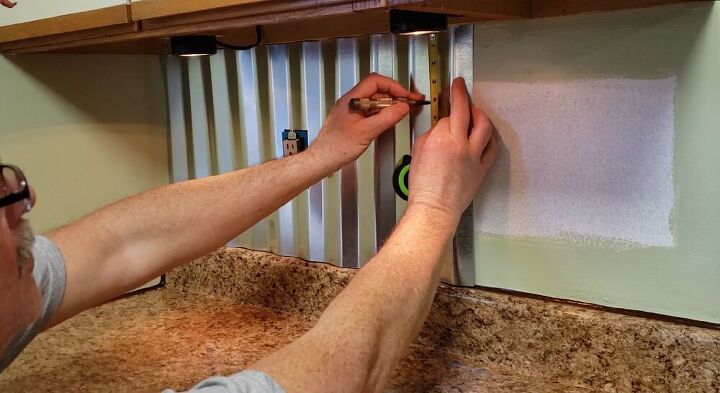
I wanted this screwed to the wall in case we hang something on it so I measured and marked hole locations. I used a Spring Loaded Center Punch to make dimples in the metal so the drill bit wouldn't wonder around.
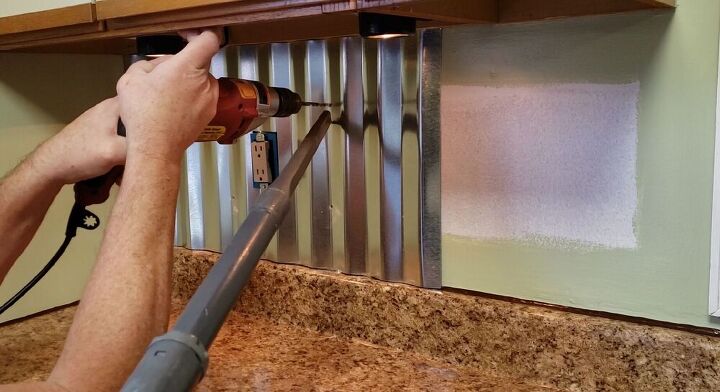
We then held the sheet in place and drilled 1/4" holes in the metal and through the wall. Be very careful to make sure you don't hit any electric wires. As you can see, we used a Vacuum to suck up the debris while drilling to make clean up easier.
Then we put Plastic Wall Anchors in the holes we just drilled and hammered them all the way in.
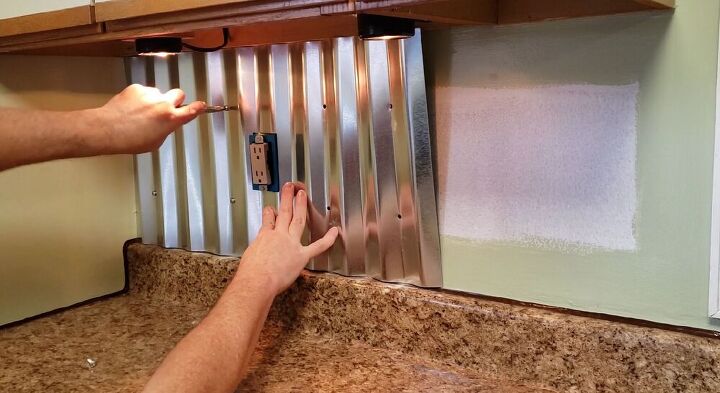
Now we could screw the metal to the wall using the screws that came with the Plastic Wall Anchors.

We kept doing the same process until both of our walls were done. The metal behind the stove goes all the way to the floor because the one side of our stove doesn't have a cabinet so it looks better this way.
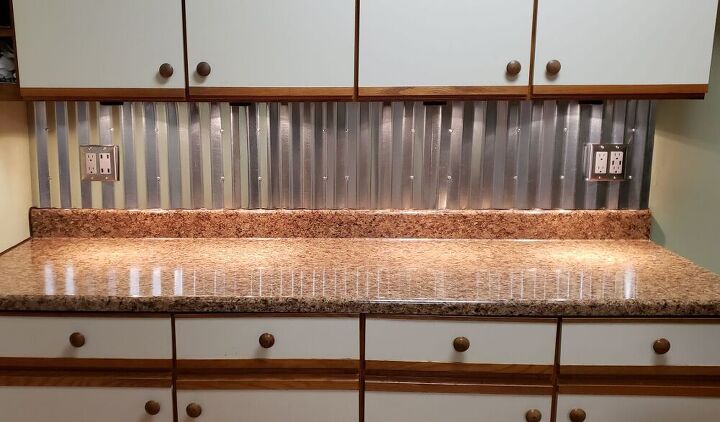
This is another wall in the Kitchen with the new backsplash. We love the way it turned out.
One tip would be if the Backsplash is starting or ending in the middle of a wall, you should start there with your fist piece so you start out with a nice factory cut edge.
Hopefully this will give you some insight to do the same thing yourself. Below is a link to a video if your interested. Thank you, Steve.
There is a video of this project on YouTube, check it out!
Resources for this project:
See all materials


Comments
Join the conversation
-
It's a great upgrade, your hubs did you proud!
-
I’m so jealous. What a nice focal point in your kitchen. Great job!!


Frequently asked questions
Have a question about this project?
Do you have plans to change the cabinetry, counters, or appliances as well? The corrugated steel will work as a backsplash; but, it doesn't seem to fit with the esthetics.
Looks great but my concern would be "How difficult is it to clean?" It seems to me it might be a bit of a "pain."
Were the edges seal. From spider nesting?