


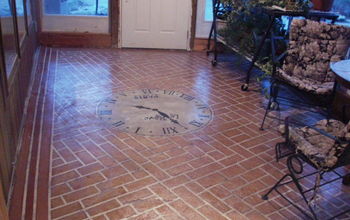
Chalk Paint Stenciled Concrete Floor

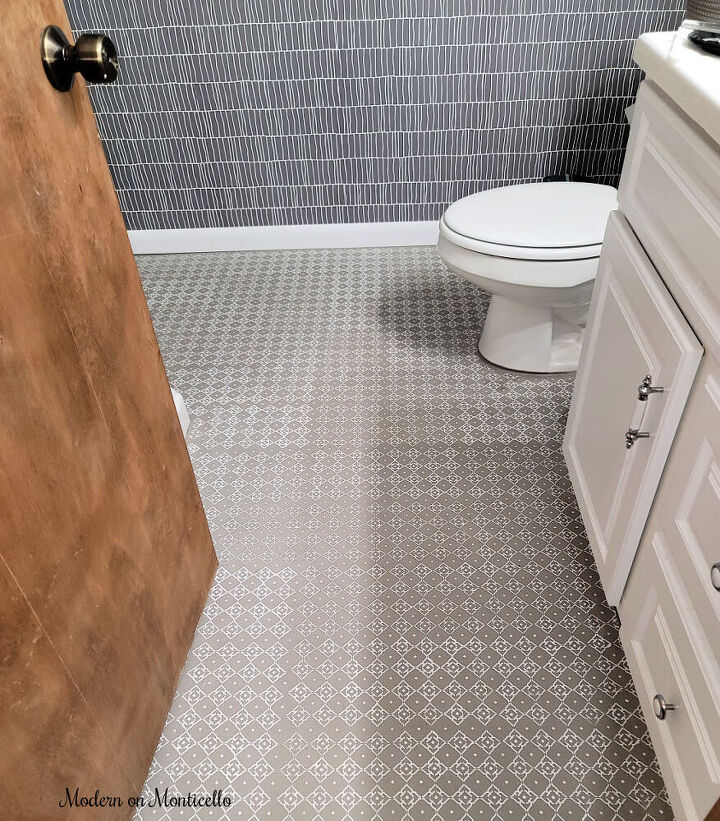
Our ugly basement bathroom makeover is finished with a chalk paint stenciled concrete floor and new wallpaper.

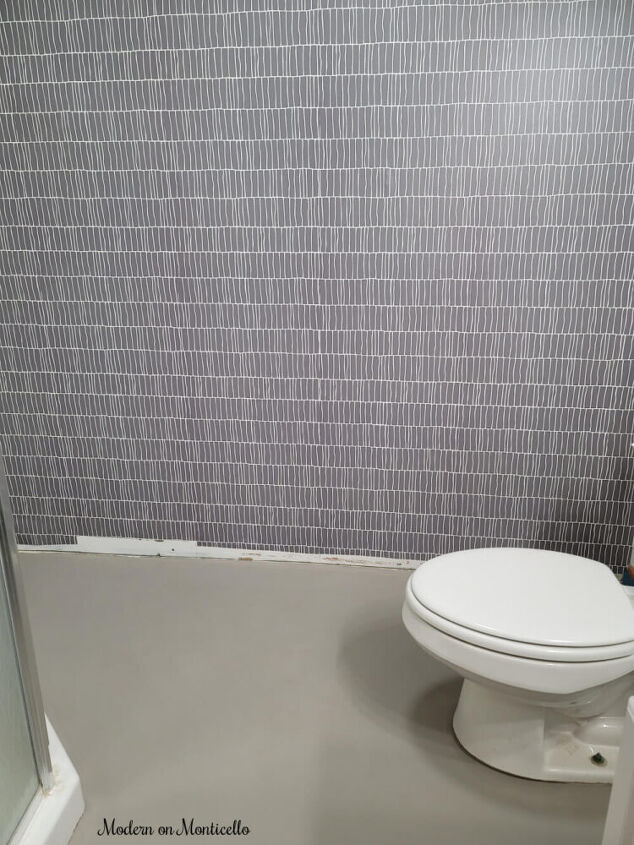
The original paint on the basement concrete floor was a dingy brown from the 1970’s.
Not really a pretty color. It had worn away in several places, especially in front of the vanity. The first thing that the bathroom floor needed was a good base coat of paint – after a thorough cleaning of course.
I used Annie Sloan Chalk Paint in French Linen for the base coat of paint. It took two layers of this paint to completely cover the bathroom floor. I waited 24 hours between each layer of paint before proceeding with the stenciled design.
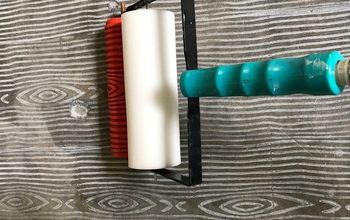
I applied the chalk paint with a small foam roller.
My biggest challenge when deciding to paint the concrete floor was choosing a vinyl stencil design that would fit the size of the room.
The basement bathroom is not a large room. It also has several angles to work around with the location of the shower and the vanity. The large scale patterns of some vinyl stencils just wouldn’t work well in the space.
I finally found a small vinyl stencil at Michael’s craft store that I liked and would be easy to work with on my first attempt at painting a concrete floor.
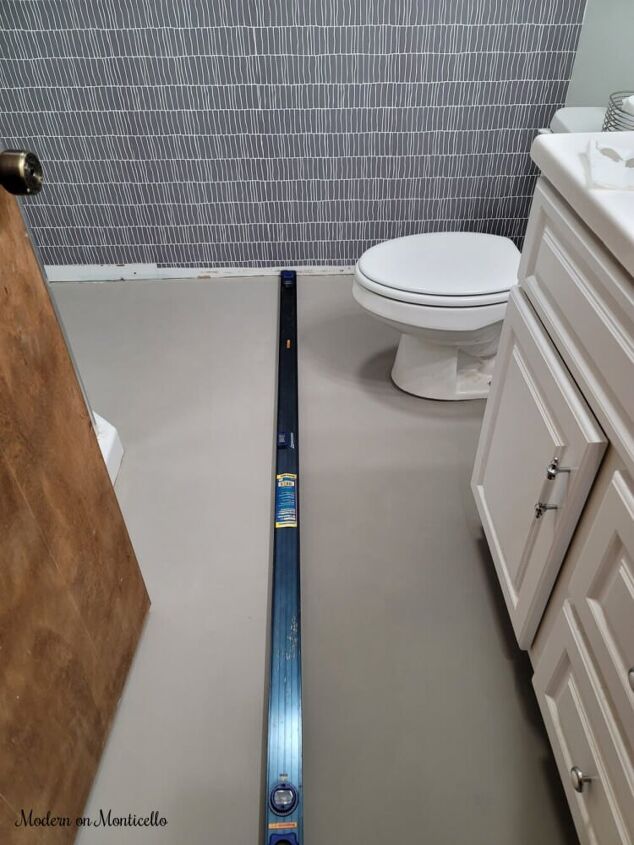
The stenciled design needed a starting point.
I wanted the floor design to be centered on the door as you walked in to the room.
So, I found the center measurement on the back wall of the room and aligned it with the center measurement of the door to the room.
Thankfully my husband has a six foot level that made this part of the project easy to do.
I made small pencil marks along the center line from the door way to the back wall to align the first few stencils on the center of the room.
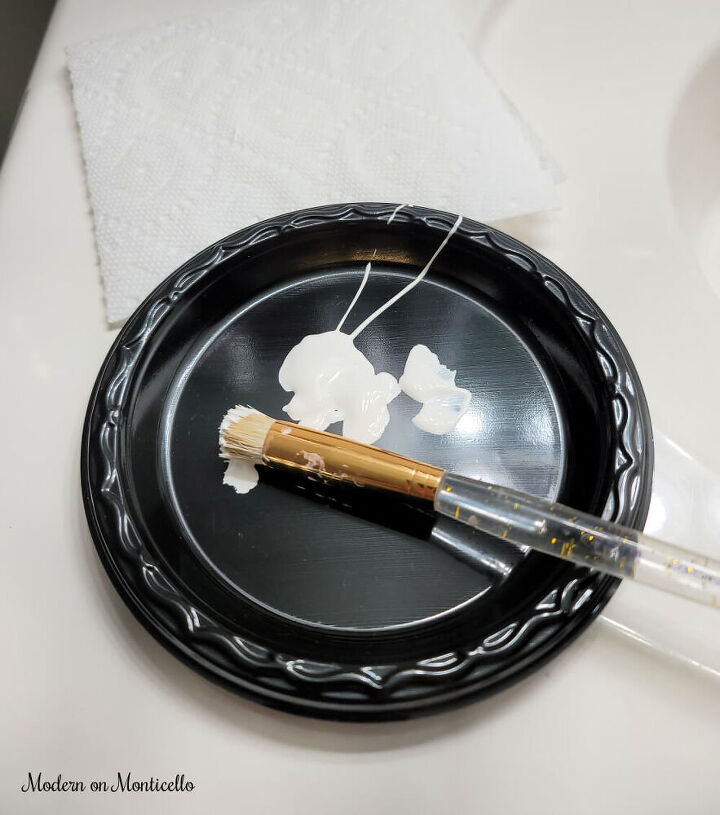
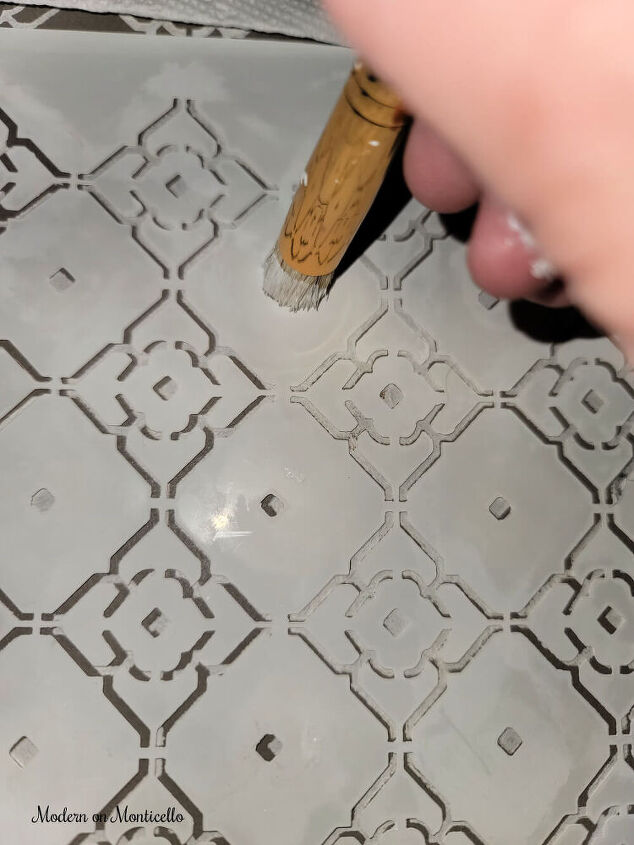
To paint on the stencil design, I used Annie Sloan Pure White Chalk Paint, a small stencil brush and paper towels.
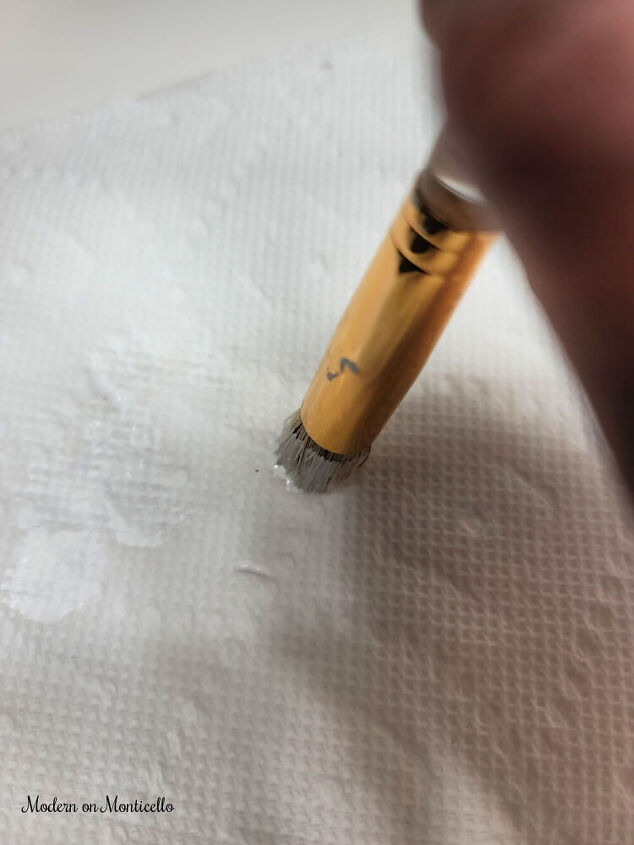
The secret to keeping the paint from bleeding underneath the stencil design is to wipe off any excess paint on a paper towel before applying the paint to the stencil design.
This technique made this project so much easier to do with cleaner lines in the design.
Once I had the center measurements marked off on the floor from the door to the back wall, I aligned the vinyl stencil with the first measurement mark, taped it down with painter’s tape and painted on the first stenciled design.
Apply the paint to the stencil design using a circular motion with the brush. This help to completely fill in the design.
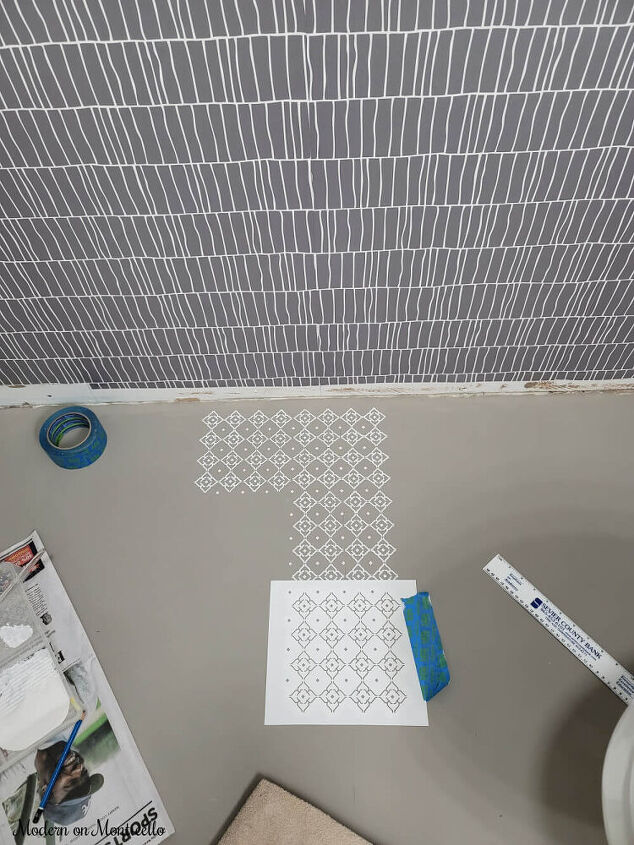
After finishing the first stencil, I removed it from the floor, aligned it up with small details on the edge of the first painted design, taped it down, and painted in the next stencil pattern.
I repeated this pattern many more times to fill in all the sections of the floor.
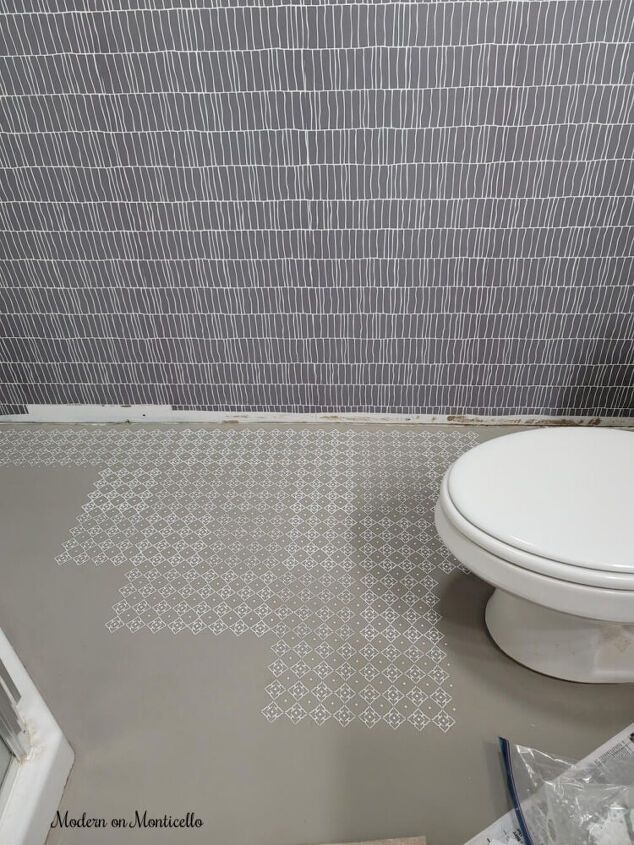
After about 9 or 10 painted stencil patterns, I would have to take the stencil to the sink and wash off the excess paint that would build up on the stencil. Cleaning off the paint build up just required warm water and a washcloth. This kept the stencil design clean and crisp throughout.
Another tip is to take breaks so that the chalk paint can dry and you can move along the room without smearing the painted designs.
Even with a small room, this project still took me several days to complete.
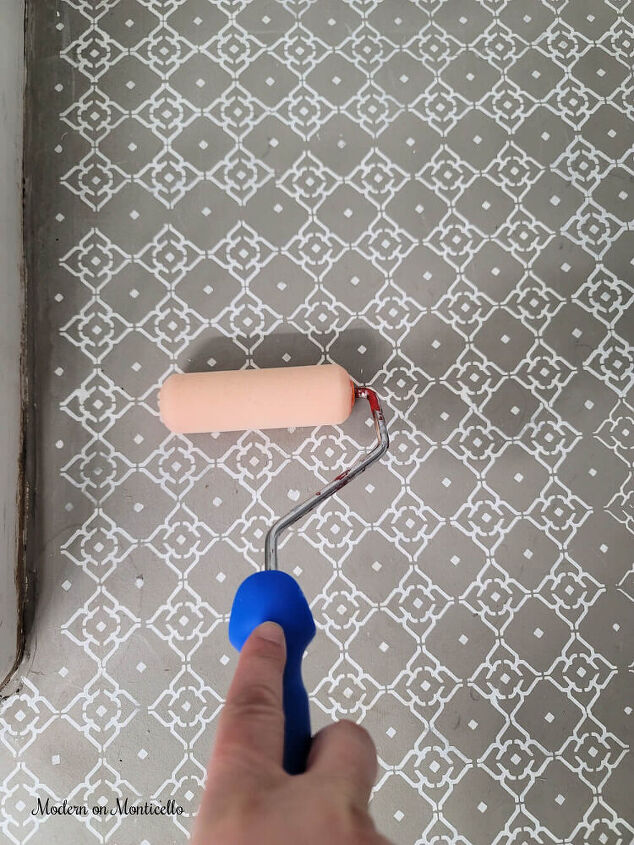
Once I was finally finished painting the entire concrete floor with the stenciled design I allowed it to dry for about 48 hours. The final step was to apply two coats of Annie Sloan Lacquer in Matte Finish.
The lacquer was easy to apply with a sponge roller over the entire floor. After the first coat, I waited 4 hours before applying the second coat. I then allowed the entire floor to dry out for 24 hours before walking on it again, installing the new white molding, or adding the small rug.
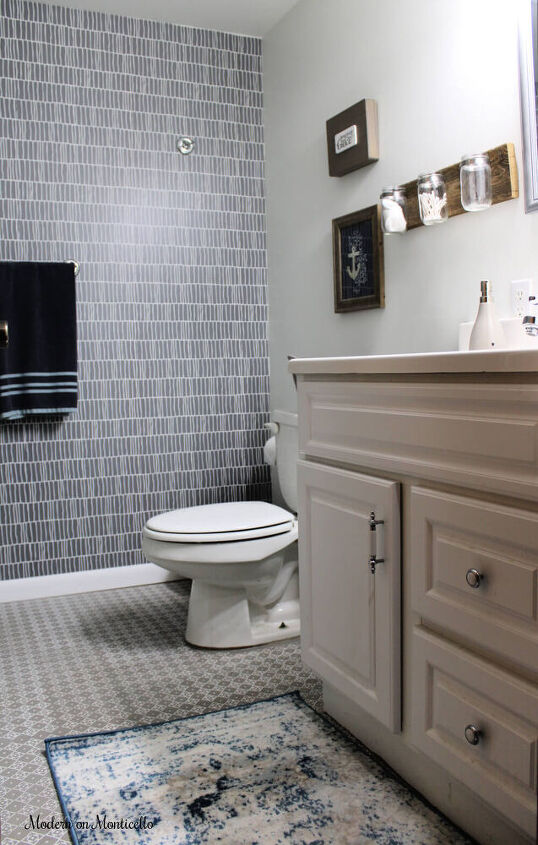
I learned a lot working on my very first painted stencil floor design. In the end I love the transformation it gave this small basement bathroom on a budget.
If you have ever attempted a much larger stenciled floor project I would love for you to share any tips you have before I try this again.
Resources for this project:
See all materials


Comments
Join the conversation
-
My first through was oh, gonna be very busy, but what a surprise with the finished project. Came out so nice. 😉
-
Very striking look! I am in awe at your patience.


Frequently asked questions
Have a question about this project?
Was that wallpaper that you used? It looks great but it looks like it can be replicated by stenciling as well. You've inspired me.
Beautifully done! How will this floor paint hold up???
Is the chalk paint supposed to hold up well on the floor??