


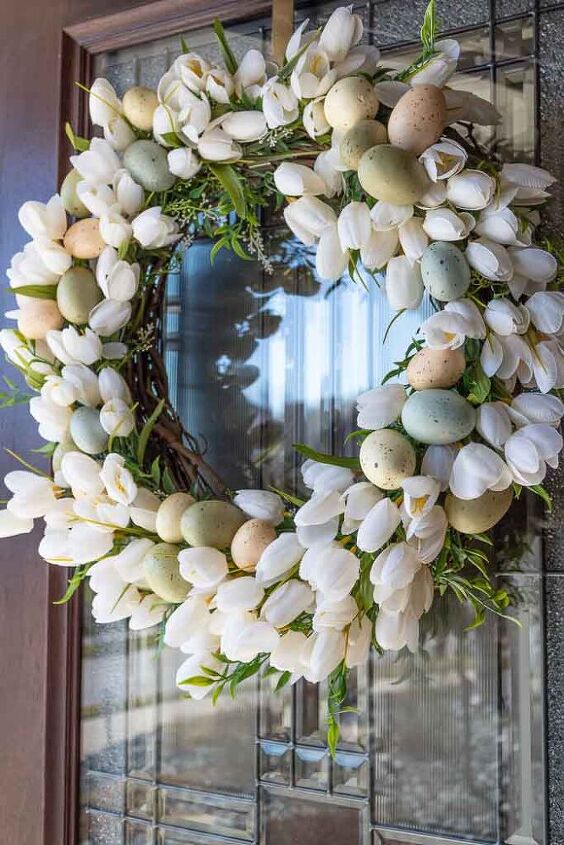
How to Make a Tulip Wreath for Easter
Learn how to make a gorgeous tulip wreath for Easter with just a few simple materials, and less than an hour of your time.
This post contains affiliate links. Please see my full disclosure policy for more details.
Is there any flower out there that represents Easter more than tulips?!
As soon as those gorgeous bulbs bloom, you know it signifies spring, sunshine and warmer weather ahead. Which makes them the perfect option for any DIY Easter wreath.
I love Easter tulips, and have a habit of collecting some gorgeous faux bunches every spring just to have throughout my home.
PSA! Did you know that they now have faux tulips so realistic that they actually look, and smell like the real thing?
Yep, you heard me right! Scented faux tulips! And I found them on one of my recent Homegoods trips. I was amazed! And threw them in my cart, obviously.
This also gave me the idea to make a gorgeous wreath with these flowers.
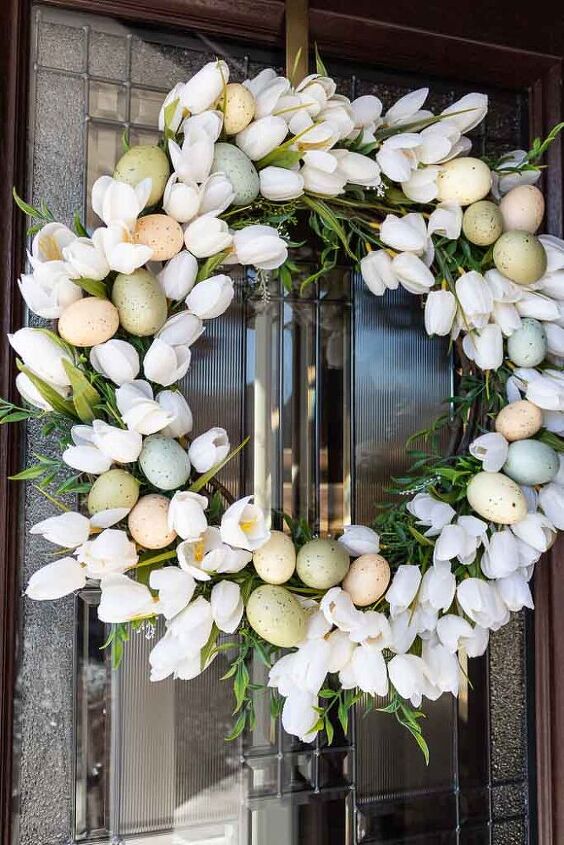
I’ve seen beautiful tulip wreaths online, but they always seemed so expensive, and I do love a little crafting for my home every now and then. So let me show you how I cam up with this pretty little number for our front door!
diy tulip wreath supplies & materials
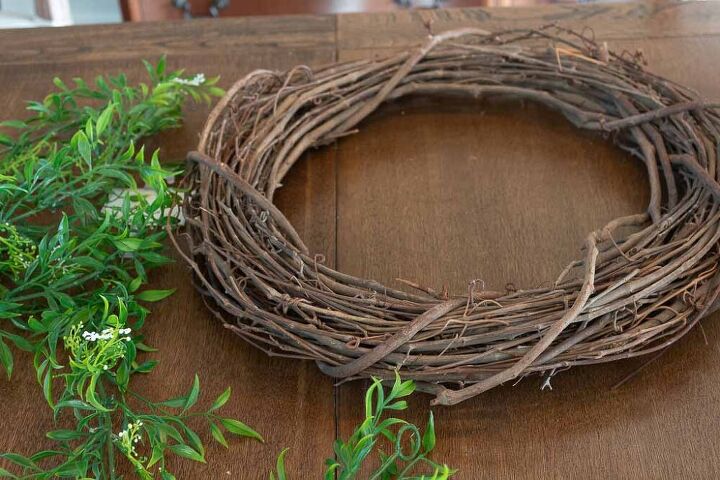
- 24 inch grapevine wreath
- 6 feet spring garland
- 6 bushes of faux mini tulips
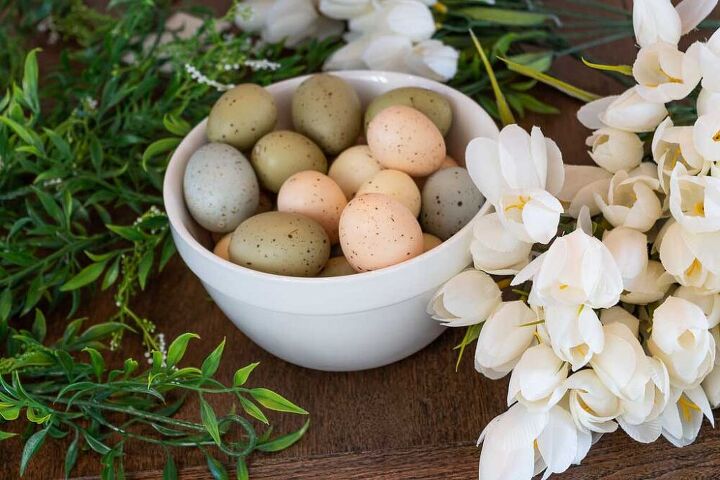
- 2 bags of decorative faux Easter eggs
- floral wire and wire cutters
- hot glue gun
Steps to Make a Tulip Wreath for Easter
step 1: attach your garland
I always like to add a filler type of foliage as the background to any wreath that I make. This does 2 things. It covers any bare spots that you might miss when you’re attaching your flowers. And it also adds a bit of dimension to your wreath to make it just a little more interesting.
I used the same method for this DIY tulip wreath as I did for my simple fall leaf wreath a few months ago.
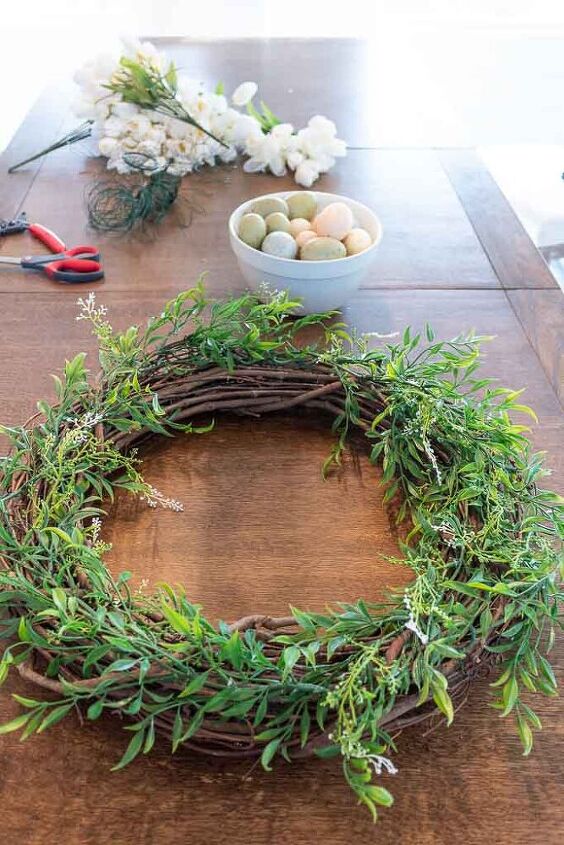
Laying the garland around the center of my wreath, I secured it to the grapevine branches with floral wire. I would recommend securing the garland to the wreath about every 3 inches to help keep it in place.
step 2: SepRATE YOUR STEMS
It would be great if I could just tuck these tulip bunches right into the wreath and call it a day. But it would take way more flowers since they’re so tightly bunched together, and it probably wouldn’t look as good as it actually turned out.
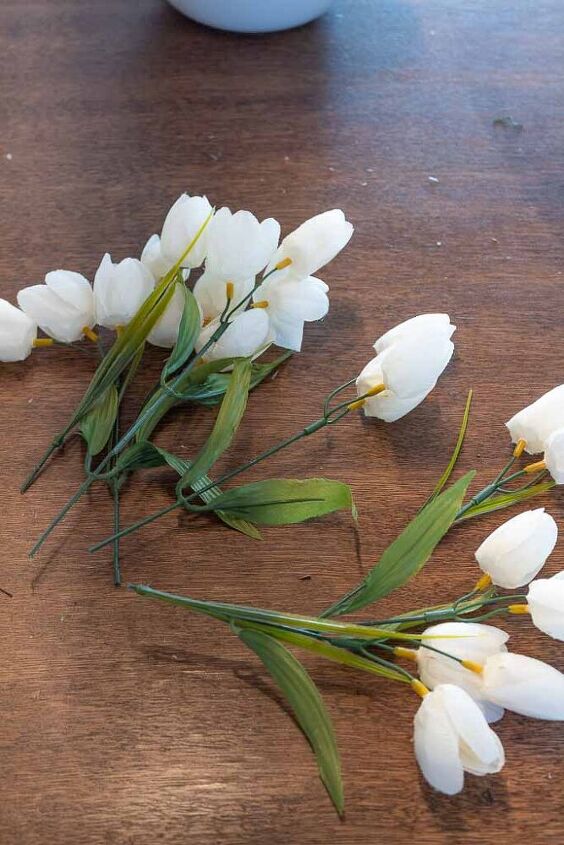
I used wire cutters to cut each tulip stem directly at the base and set them all aside for the next step.
step 3: attach your mini silk tulips
I’m so glad that I opted for these artificial mini tulips at Michaels over the standard size. They’re perfect for layering these together and make more of an impact than the larger size because there’s simply more of them covering the wreath.
I wish I could tell you there’s a perfect way for how to attach flowers to a wreath, but there isn’t. It’s all trial and error. And with so many types of wreaths and wreath forms out there, you really just have to play around with what works best for you.

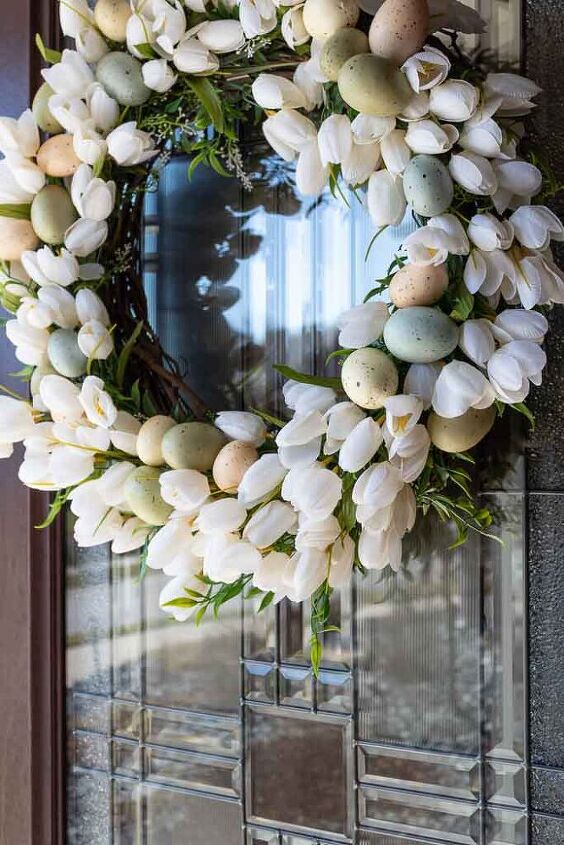
The thing I love about grapevine wreaths, is that they’re woven so tightly it makes it the perfect setting for any loose stems to just grab a hold and fit snugly.

I simply tucked the individual tulip stems into the wreath in short horizontal rows. I was careful not to bunch them too closely together but also not to leave any large glaring gaps.

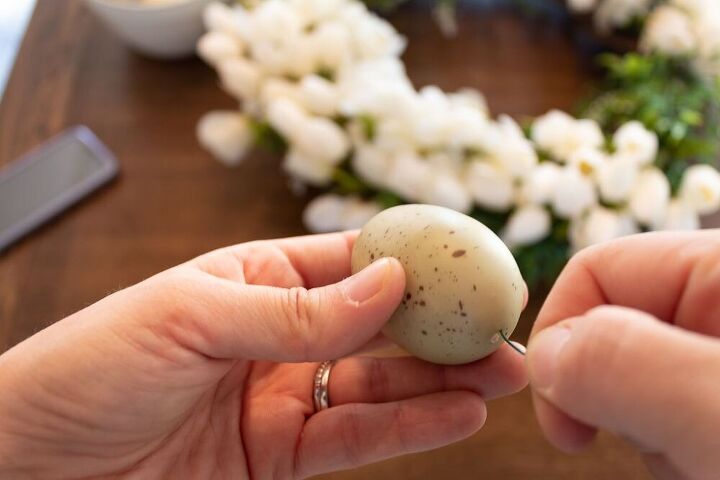
step 4: Attach your eggs
This part was total trial an error for me. I thought that I could simply use my floral wire as a pick and insert it into my styrofaom eggs, but it kept coming out.
This is where a glue gun really comes in handy.
First, I poked a hole in each egg using my floral wire, and then covered the hole with a small drop of hot glue. Finally I inserted the floral wire back into the hole where it took hold and attached.
I know this may seem so simple, but it was a total aha moment for me. I was literally losing my mind trying to attach these eggs at first.
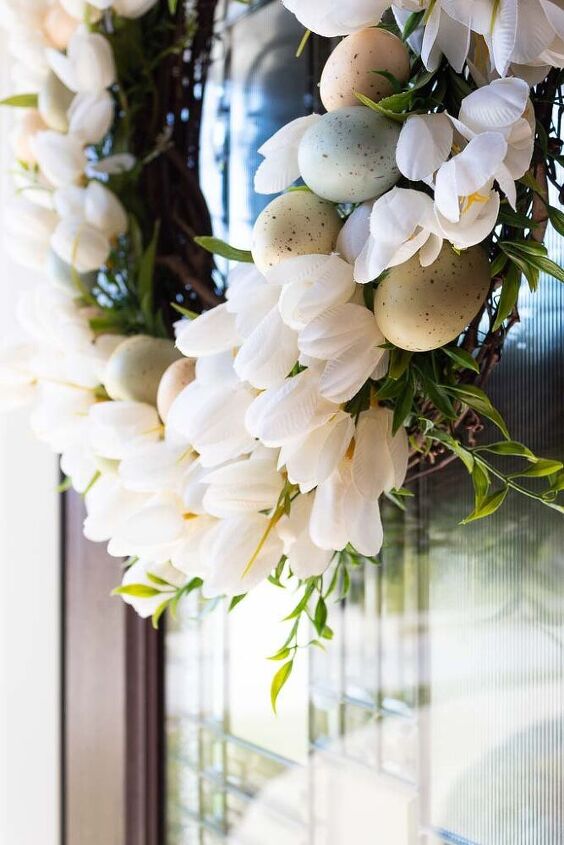
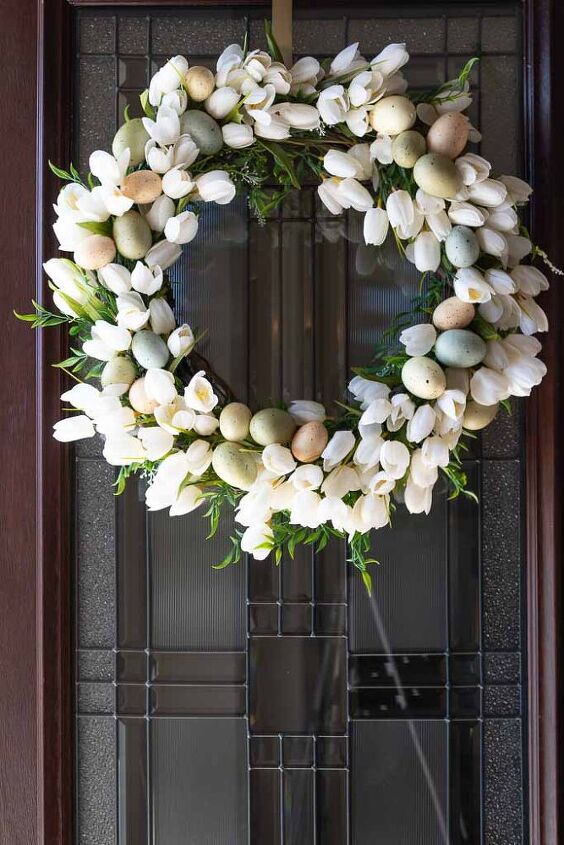
Speaking of these eggs, can we just take a minute to appreciate how adorable they are in all of their earth-toned speckled gorgeousness?!!
I was planning to just reuse these pastel eggs from last year’s Easter DIY centerpiece, but they were a bit too bright for the look I was going for.
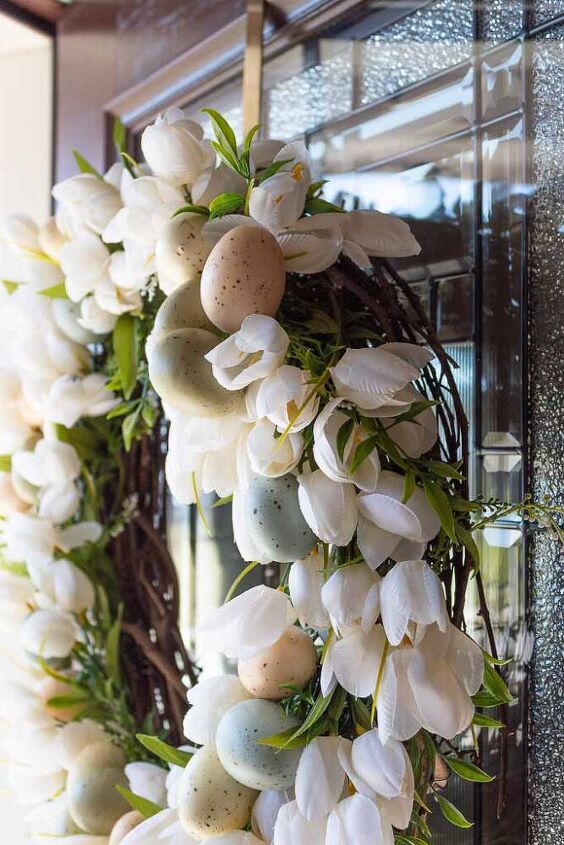
Anyway, back on track with this wreath. I attached my egg picks to the wreath doing my best to cover the barest spots. To secure them, simply weave the wire through the grapevine wreath and twist it tightly.
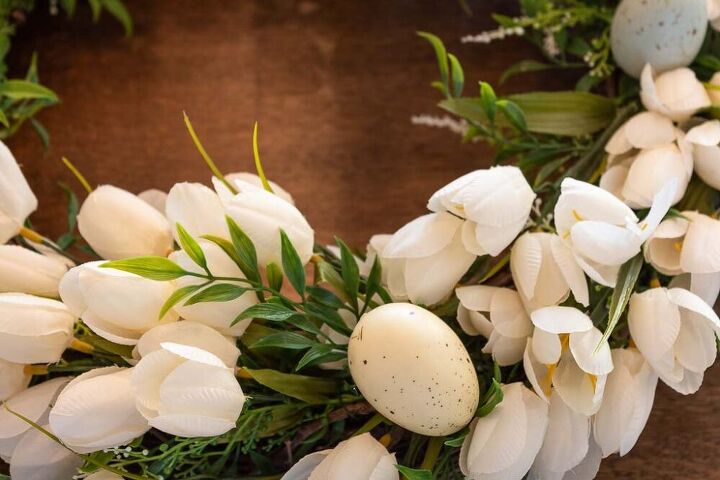
I attached the faux Easter eggs in bunches of 3. I like to keep it symmetrical, but a bit uneven if that makes sense.
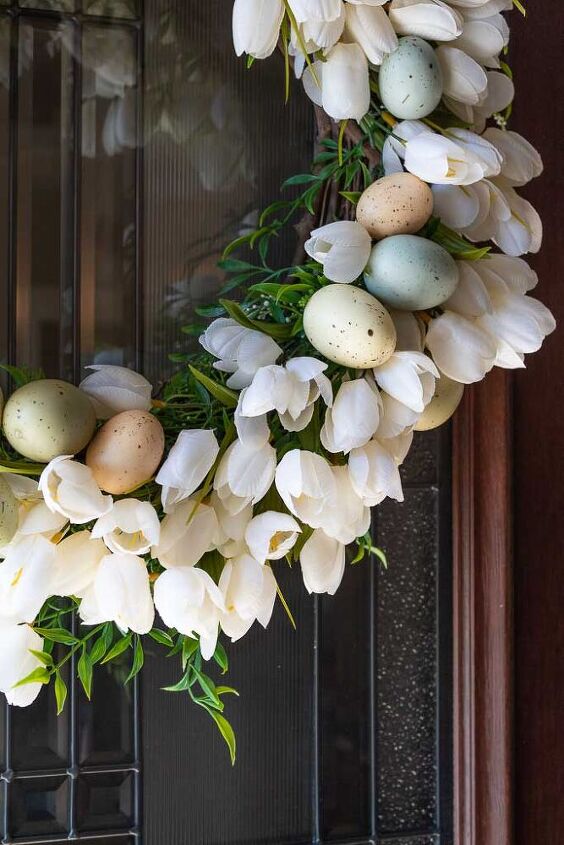
And that’s it! Have fun with placement and switch it up until you have the look you’re going for.
wreath making tips
One of the best things you can do when preparing to make your own wreath is to layout your design ahead of time. Planning your floral and greenery placements helps to ensure you have enough material, and that your design will work according to your plan.
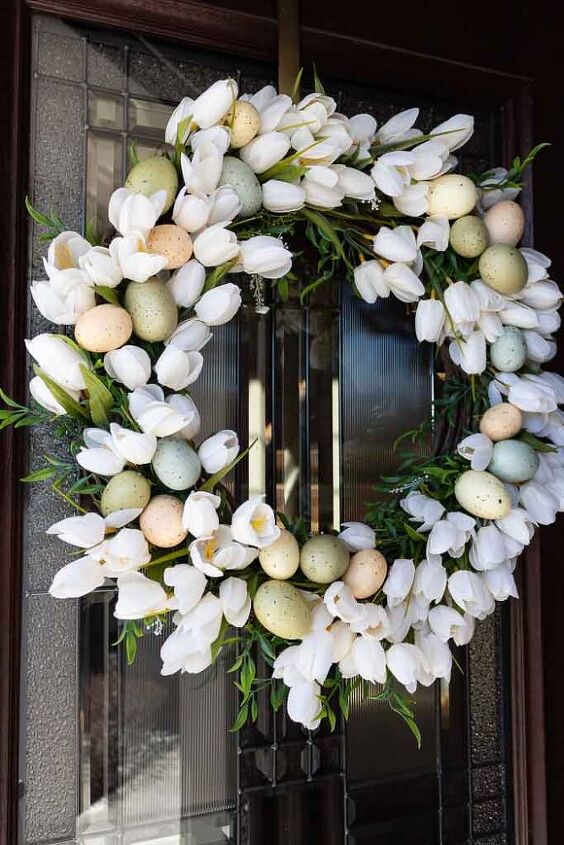
Isn’t this faux tulip wreath gorgeous though?!
I can’t wait to show you what I have planned for next week, you’re not going to want to miss it! Make sure to subscribe below to stay in the know on all things DIY.

Resources for this project:
See all materials


Comments
Join the conversation
-
I totally LOVE this wreath and I am definitely going to make one! Thank you so much for the tutorial. 🥰🥰🥰
-
Such a splendid wreath ❤️


Frequently asked questions
Have a question about this project?
How many tulips?
Can you use styrofoam instead?