


Bathroom Vanity Updated

Our master bathroom was in pretty desperate need of updating when we first moved into our house. And in all honesty, it still kind of is. But since we couldn’t do a full remodel at the time, I decided to prioritize and focus on a bathroom vanity update. It is amazing what a difference it made!
Disclaimer: In the name of full transparency, please be aware that this blog post contains affiliate links and any purchases made through such links will result in a small commission for me (at no extra cost for you). As an Amazon Associate I earn from qualifying purchases.
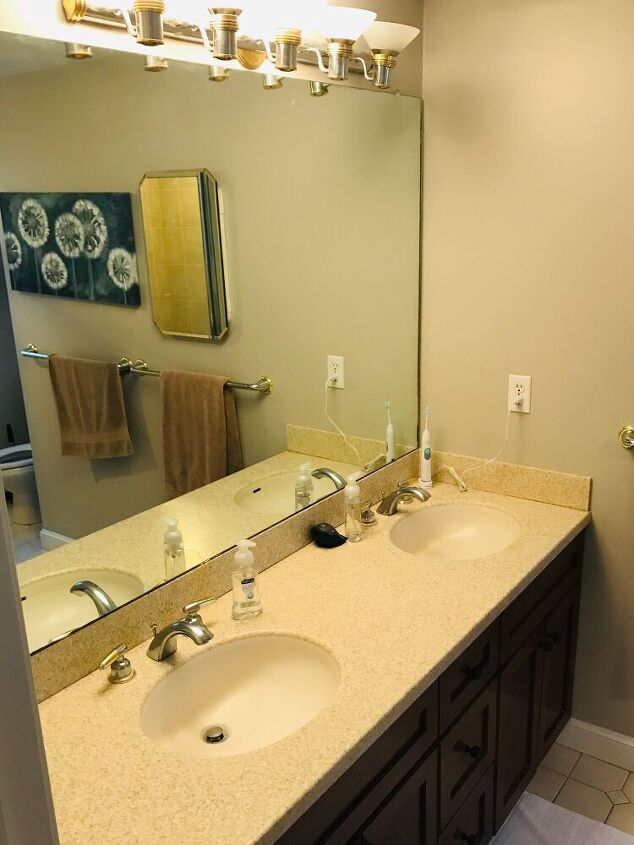
First things first, take a look at the before photos. There is a super awkward space off to the left and the sinks weren’t centered in the vanity. It felt unbalanced and like wasted space. Aside from that everything was really dated and just not my taste. I mean check out that old light fixture and the builder grade mirror! Yuck.
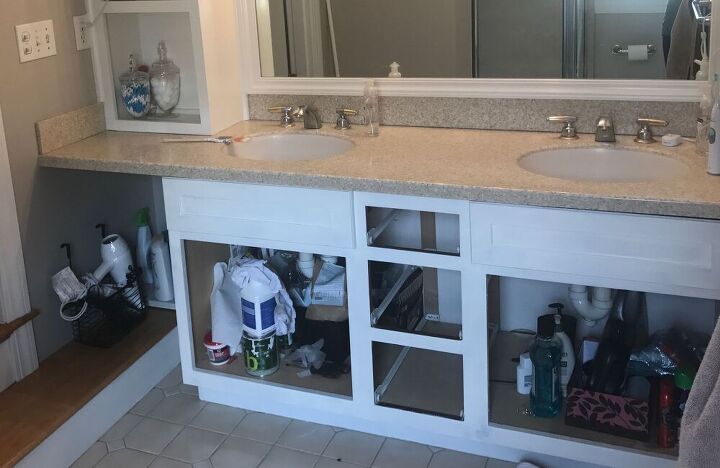
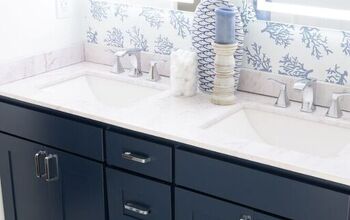
To start, the bottom half of the vanity was updated with paint and new hardware. The surface was prepped with a little cleaning first and a light sanding of each surface using a sanding block. Then the drawers, door fronts, and vanity base were all painted with 2-3 coats of paint and finished with a coat of polyurethane to seal it and make it more durable. You can find more info about painting cabinetry here in my DIY Kitchen Cabinet Refacing post! These satin nickel cup pulls were used to complete the look.
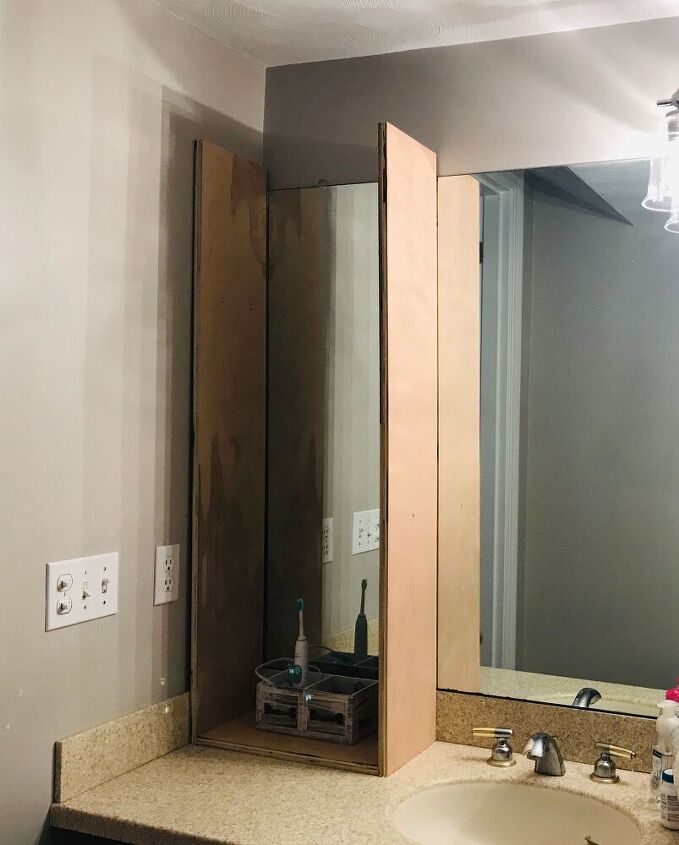
In order to fill the void on my vanity, I thought a nice built-in shelf would do the trick. The shelf was built from 3/4″ plywood and consisted of two long, equal length sides, a top and a bottom (also equal length and sitting on top of the side edges), and two shelves cut to fit in between the side pieced. All boards were joined using pocket holes and wood glue.
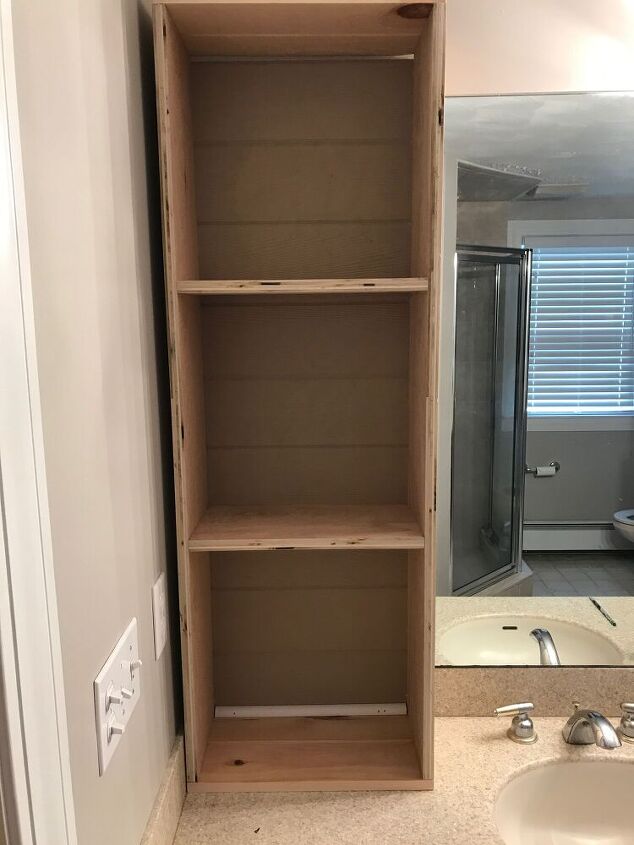
For the backing, I had some patterned siding board on hand which added a really nice detail in the background. A 1×3 trim board was used for the top trim piece (a little wider to attach the crown molding), and 1×2 boards created the rest of the face frame. I personally like to cut these to fit as I go. If you want more detail about building shelving, you can see more specifics in this post about Office built ins.
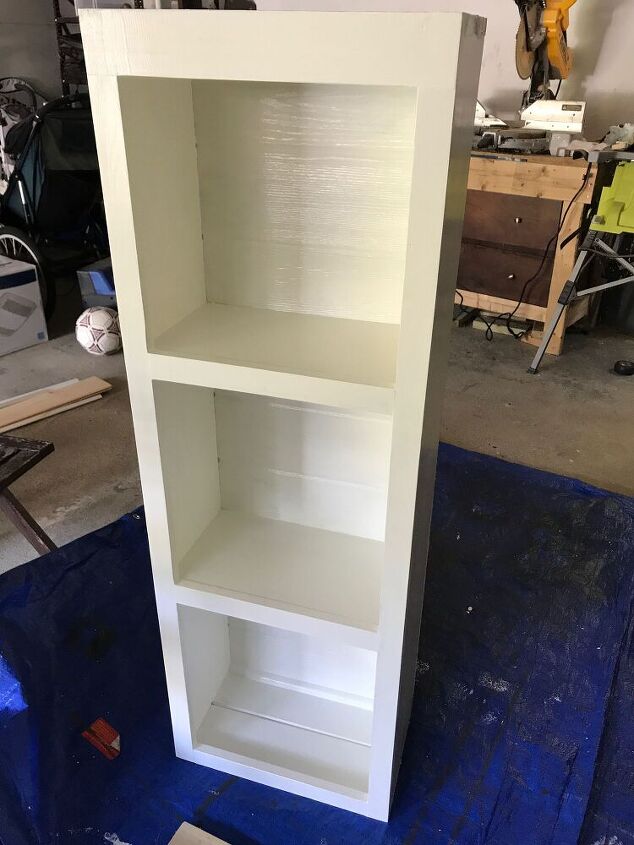
With the shelving now built, I secured it in the space by screwing it into the studs in the walls. Trim and caulk was then added to fill any gaps and crown molding added to the top to finish it off. Then it was painted using the same paint as my bottom base cabinets.
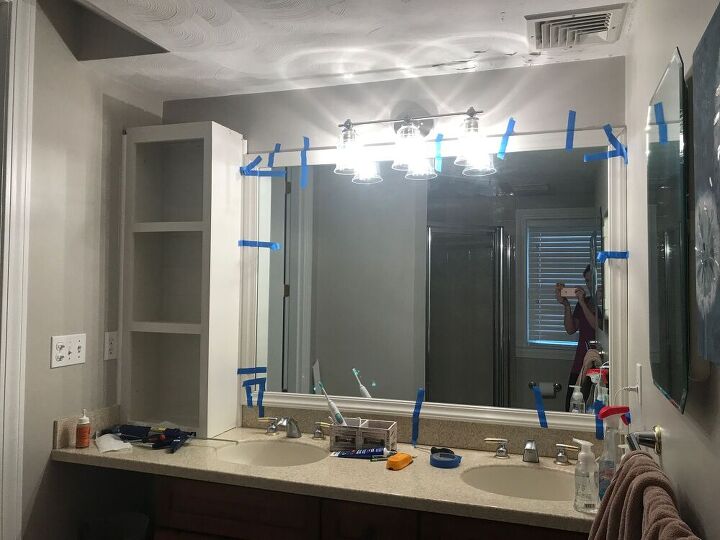
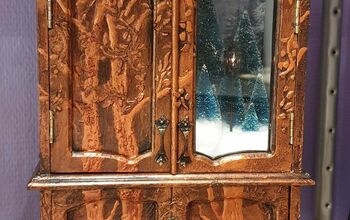
Lastly, framing was added to the builder grade mirror using primed molding trim boards from Home Depot. I didn’t want to remove the mirror clips so I did my best to work around them. The top and bottom long strips were cut first. The corners were cut using my miter saw at a 45° angle. The boards were then attached using gorilla glue (just a little because it expands!) and tape to secure them until they dried. Then the side pieces were cut to fit and attached using the same method.
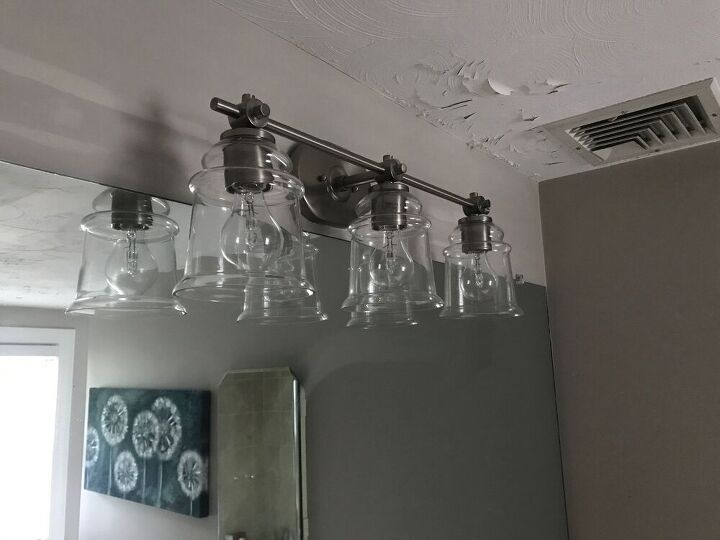
I also swapped out the light fixture for a final update! Makes such a huge difference. You can find many videos showing you how to change out light fixtures if you are interested in learning more. I’m definitely not an electrician so I’d rather not go there…
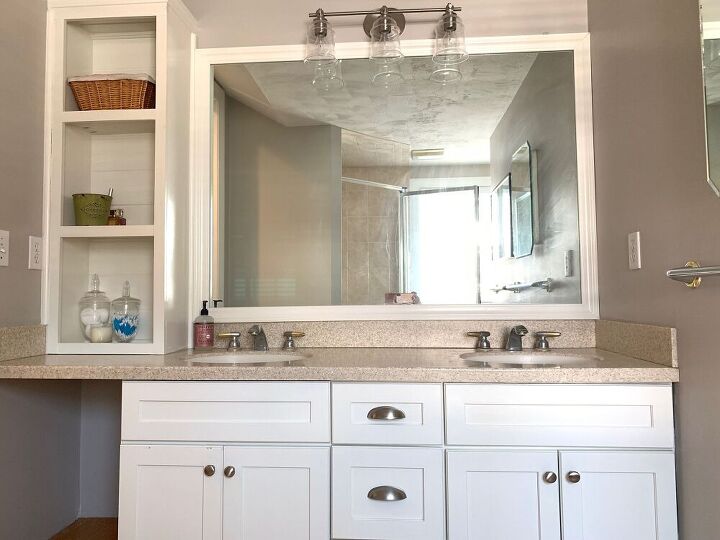
And that is it! The bathroom looks newer and fresher with not a lot of time or money spent. Of course I still want to do other updates in the space (faucets, flooring, etc.), but it looks so much better now with a little paint and shelving to update this bathroom vanity!
Resources for this project:
See all materials


Comments
Join the conversation
-
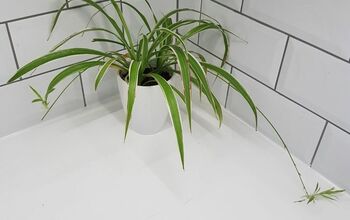
Well done! I would add an indoor plant in the space at the left, just to add o touch of greenery...
-
I love it, it turned out great! I'm especially interested/happy to learn about framing the mirror. Thanks for the inspiration Sarah!


Frequently asked questions
Have a question about this project?
How did you manage to work around the mirror clips?? I have the same mirror...
What else did you use besides the trim boards you listed for the mirror frame?
The pictures show a decorative frame and the boards are just plain. I want to do my mirror but don't know what to use that won't be to heavy.
Not sure why you’d add a storage type cabinet & not use it for storage instead of just adding a few knick knacks?? Don’t quite get that!!