


Typesetter’s Drawer Upcycle – Essential Oils Decorative Rack
We found this typesetter's drawer for just a few dollars about 6 years ago and just never did anything with it...until last week.
I have a challenge in my Blueprint member's group that consists of 3 things:
- Clean up/organize your workshop.
- Make your workshop pretty.
- Do something special for yourself.
I'm joining my members in the challenge and I'm:
- Cleaning up my office (workshop already done)
- Making my office pretty
- Cleaned up the typesetter's drawer, stained and mounted it on the wall of my master bedroom hallway.
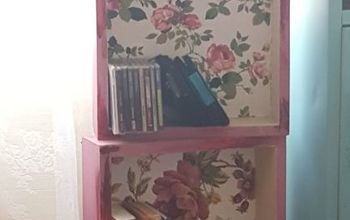
Here is the "BEFORE" of the typesetter drawer:
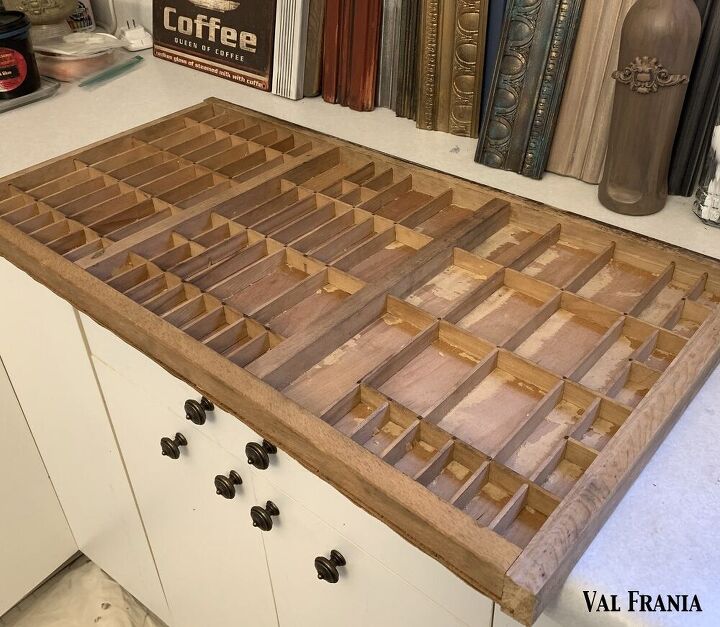
We decided to take it to the car wash and spray it down - normally you have to be very careful when getting water on old wood because it could warp. But I decided it was worth the risk since it looked like the back had already been exposed to moisture (rippled). Besides, I wasn't going to spend an hour cleaning all the dirt and dust out of those little cubbies.
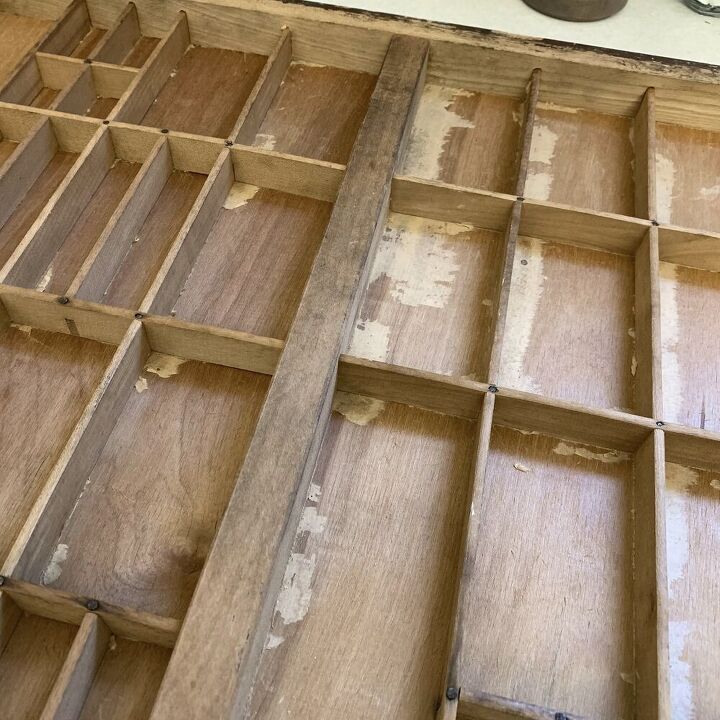
So it did ripple the back a bit more, but I wasn't concerned. The problem that developed had to do with an unforeseen layer of paper on the backing. I had no idea and the paper was destroyed by the water. Thus the reason it took me a few weeks to get started on the project. All the paper had to be taken off and it was in pieces and stuck under each slat.
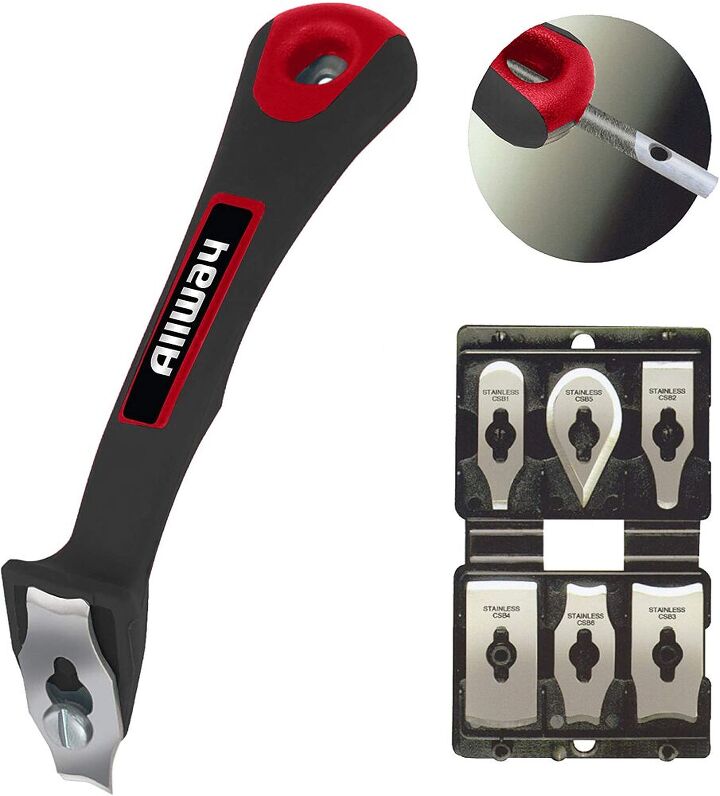
I asked my grandson, Myles to take as much off as he could and then I took my handy dandy Allway Contour Scraper to the rest, planning to leave just a little for an old-world rustic look.
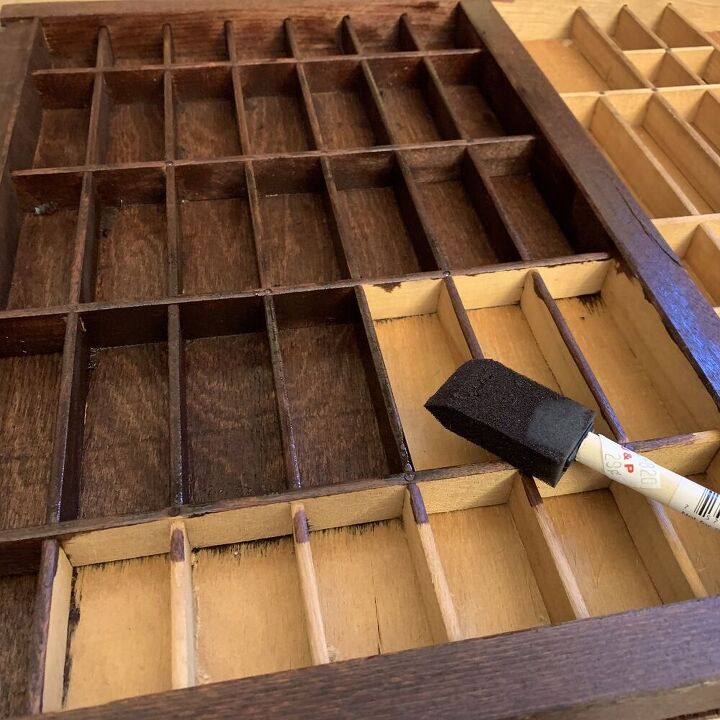
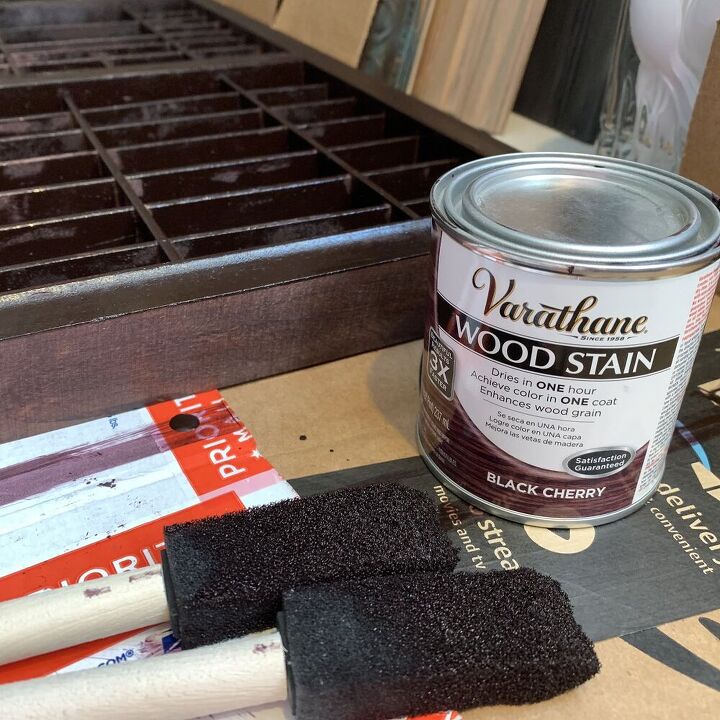
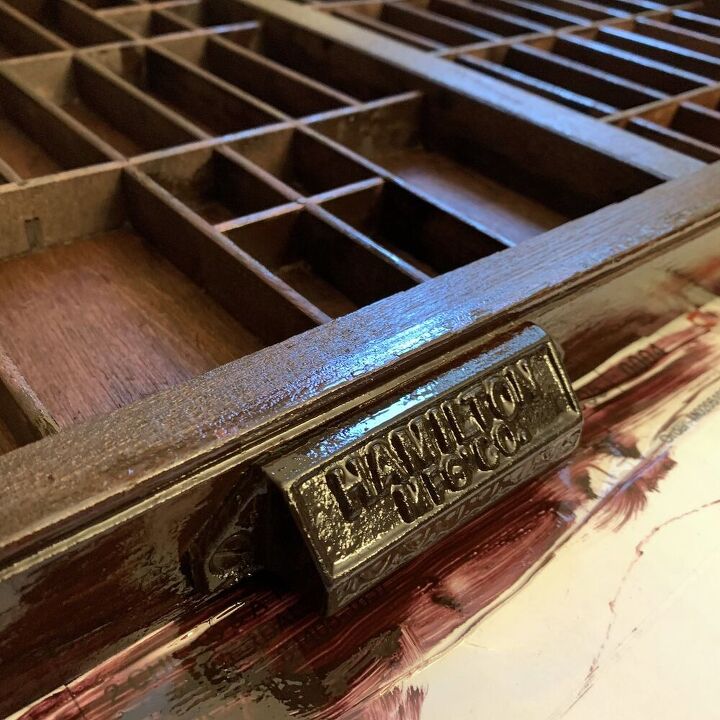
I used Varathane Wood Stain in Black Cherry and sponge brushes to stain it. The wood was a little rough and the nooks and crannies were a little challenging, so I ended up having to use three foam brushes to do the job. I just painted the stain on, twice, to get the dark look that I wanted.
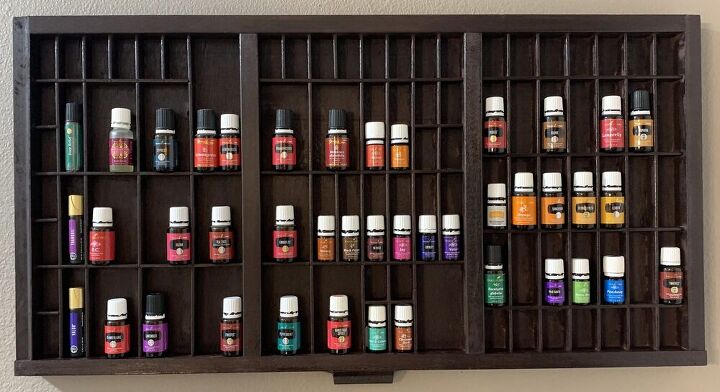
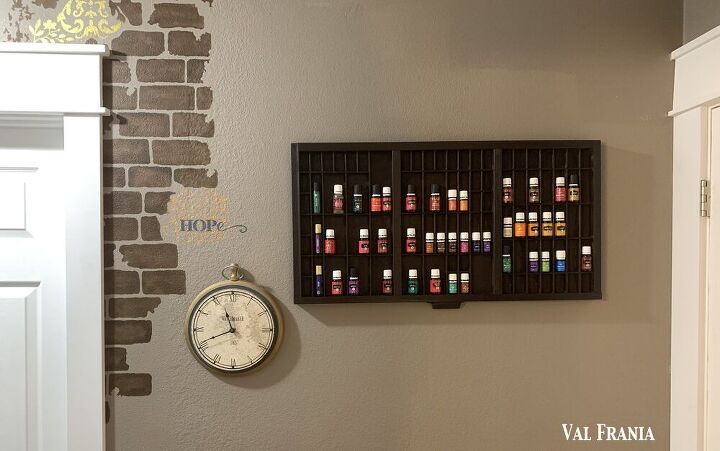
My plan all along had been to use this for a piece of wall decor. It sits on our master bedroom hallway wall, right across from our bathroom.
You also get a peek at my stenciled hallway. I had fun with that one! DH did all the trim work. He's so handy...
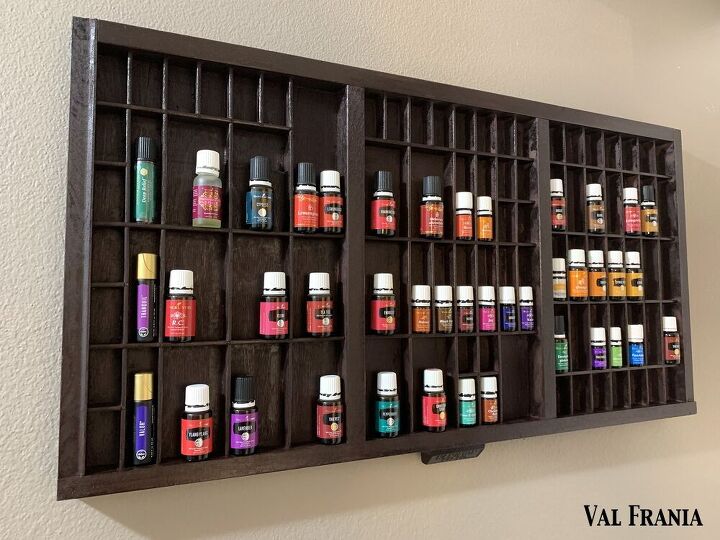
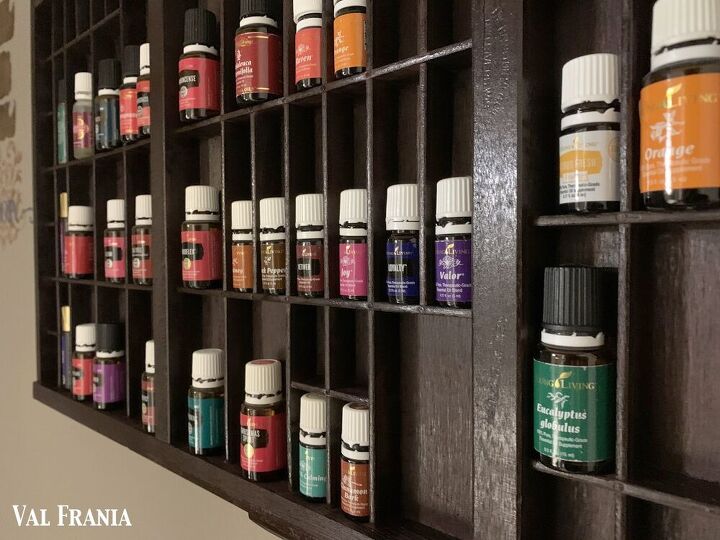
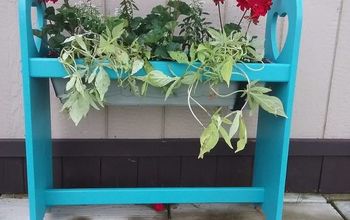
I keep a lot of my oils in my master bedroom in my mom's jewelry armoire that I painted a while ago, but this makes it much more convenient to see what I have on hand. I'm all about easy and accessible to make life easier. Here's the armoire. I call her Nancy after my favorite aunt: Jewelry Armoire Update

Little by little I'm making this house into my own private sanctuary. One of these days, when I feel it's up to par and worthy of a tour, I'll do a video tour for you. My goal is to be sufficiently there by the end of 2021. Of course, it will never be "done, done."
Let me know what you think!

Blessings,
Val Frania
ValFrania.com
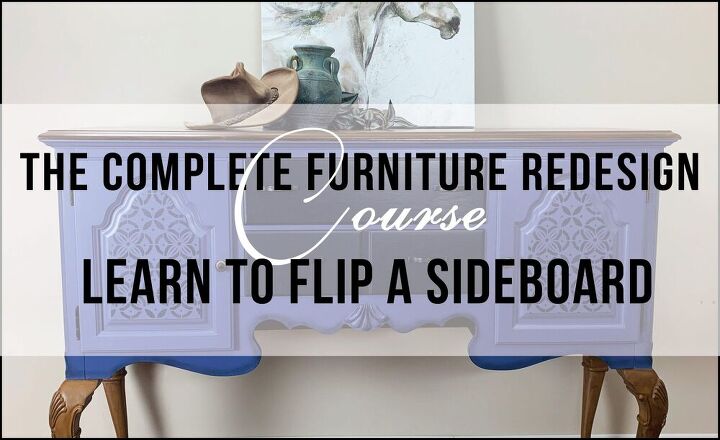
The Complete Furniture Redesign Course
Do you have an old piece of furniture that is outdated and boring? Think about redesigning it. This a complete course that takes you all the way through from start to finish using short videos to show you the exact process>>> https://valfrania.com/the-complete-redesign-course-info/
* Disclosure: This post contains Amazon affiliate links. If you buy anything after clicking on one of the affiliate links, I receive a small commission of the sale. The cost to you is the same, and I only link to items that I think would benefit my readers. Your support of this website is greatly appreciated!

Comments
Join the conversation
-
We have a couple and my grandson used one to display his matchbox cars, the other displays pins and tiny collectibles from various trips, baby bows etc. Found 3 at a barn sale for $5, a real steal.
-
Great ideas!


Frequently asked questions
Have a question about this project?
Did you also have a ‘printer’s tray’ craze in the early 80’s? They were BIG! We collected tiny things to display. Nice to see a repurpose.