


Made With Love & Sudafed: DIY Note Pad Holder
This little project was born out of germs and decongestants. I came down with a miserable cold and somehow in the midst of my cloudy and Sudafed intoxicated thoughts I had a light bulb moment. Why not make a note pad holder from a tissue box? And so I did..
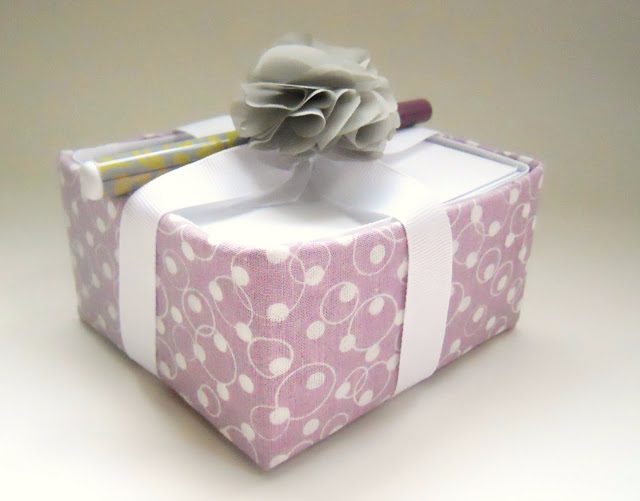
This project is so simple but makes for a wonderful hostess or teacher gift.
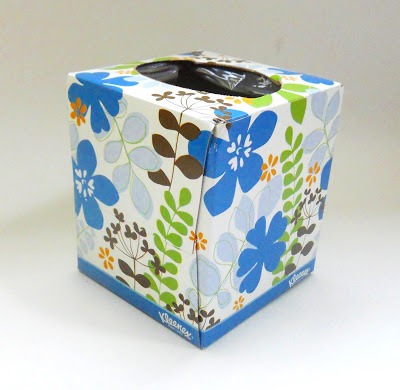
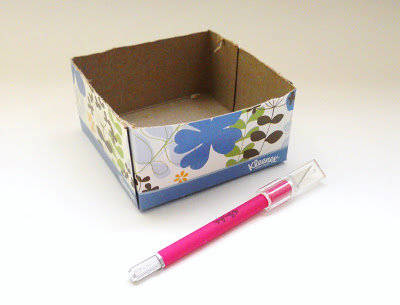
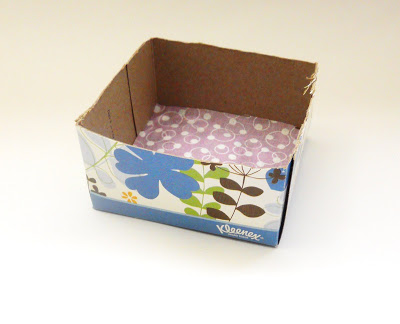
To get started you will want to take your X-acto knife and cut your tissue box in half horizontally. Warning: Be careful with sharp objects while under the influence of pseudoephedrines. Okay, now that we got that covered let's move onto the next step.
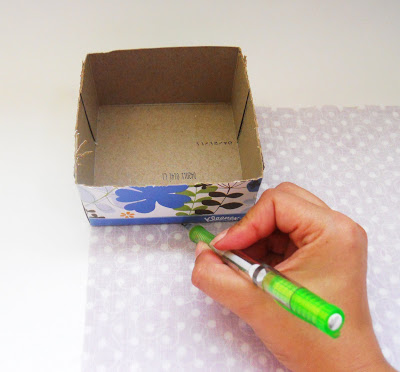
Once your box is cut, take your fabric and place it pattern side down. Grab your sliced tissue box and set it on top of the fabric at one of the corners. Trace around the bottom of the box with your pencil. Cut out the traced shape with your scissors.
Adhere your fabric square with some fabric or hot glue to the bottom of your tissue box.
In this next step you will want to cover your whole box with the rest of your fabric. I can't say that there was any ryhme or reason on how I did this. I played around with a few ways to cover the box and I would say the best solution was to cut strips the width of the inside and outside of your box and then wrap the strips around adhering with glue. You may find a different system that works better for you.
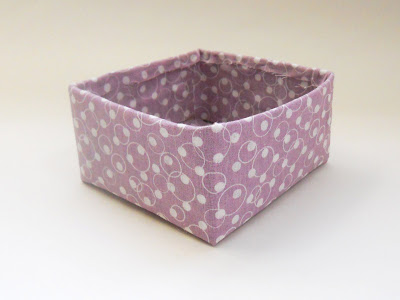
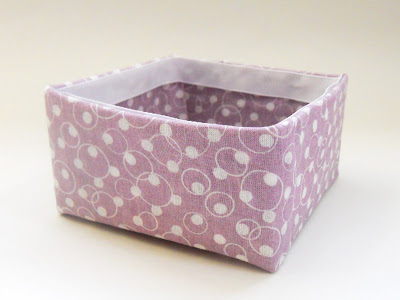
In order to hide the ugly and frayed edges of the fabric inside my box I glued a strip of ribbon over them.
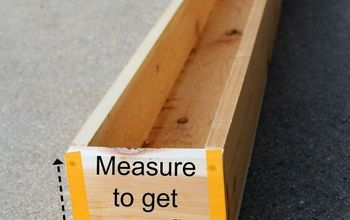
Now that your box is all covered and ready to be filled take you ruler and measure the width and length of the tissue box. These measurements are what you will want go by when cutting your paper. My box measured 4.5 x 4.5 but in order for them to fit inside I cut the paper slightly smaller {4.25 x 4.25}.
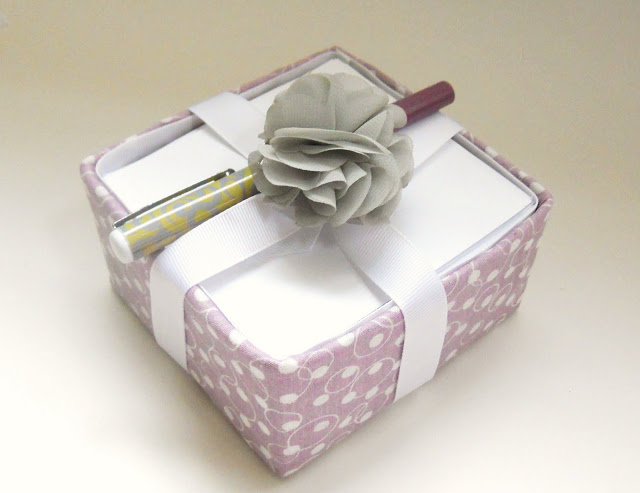
A little creation thanks to my miserable cold!

Want more details about this and other DIY projects? Check out my blog post!
Comments
Join the conversation
2 of 63 comments
-
Love this crafty idea. What a nice gift for a youngster to give to grandparents or to a teacher. Will have to try and make some of these. I can also see these being sold at craft fairs with note paper and a pen attached with a pretty ribbon.
-
Very cute idea


Frequently asked questions
Have a question about this project?
Where did you get the paper? Did you buy new paper?