


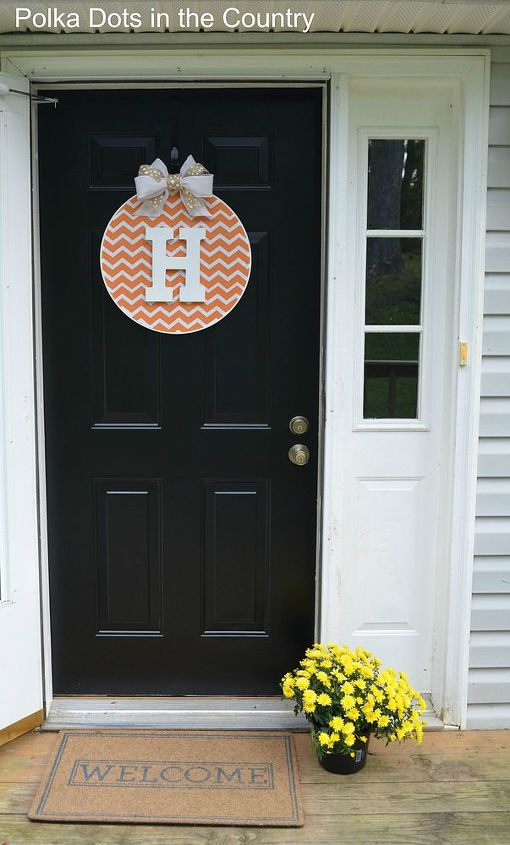
DIY Fall Embroidery Hoop Wreath

by
Maggie Lois
Hey Y'all!
Today I'm guest posting for Paige from Reasons to Come Home while she's on her mission trip to Rwanda.
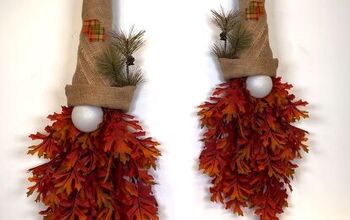
In honor of Paige’s love of Clemson I thought I’d share my Fall embroidery hoop wreath with y’all today.
Because it’s orange.
Today I'm guest posting for Paige from Reasons to Come Home while she's on her mission trip to Rwanda.
In honor of Paige’s love of Clemson I thought I’d share my Fall embroidery hoop wreath with y’all today.
Because it’s orange.

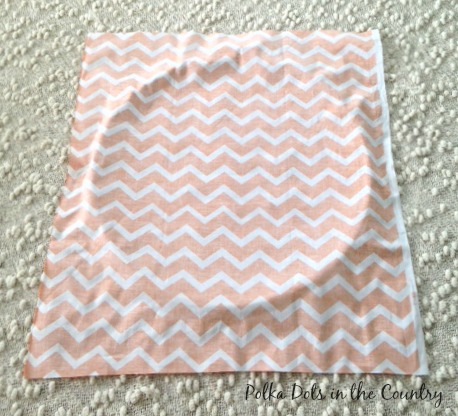
Let’s get started!
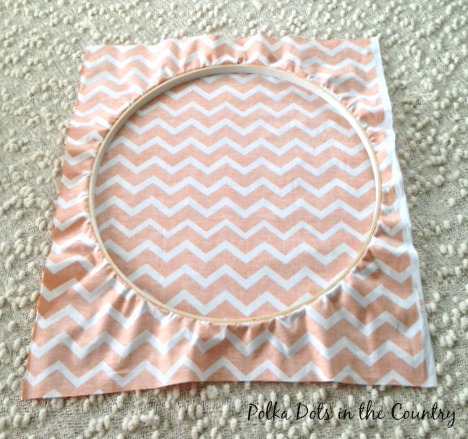
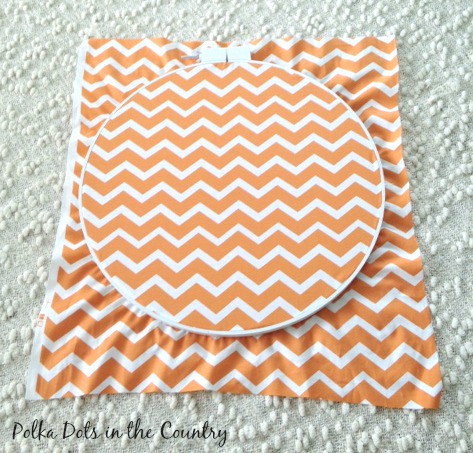
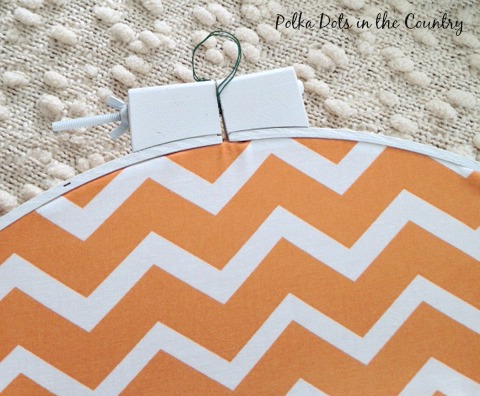
Then put the smaller hoop inside the out hoop and tighten the screw.
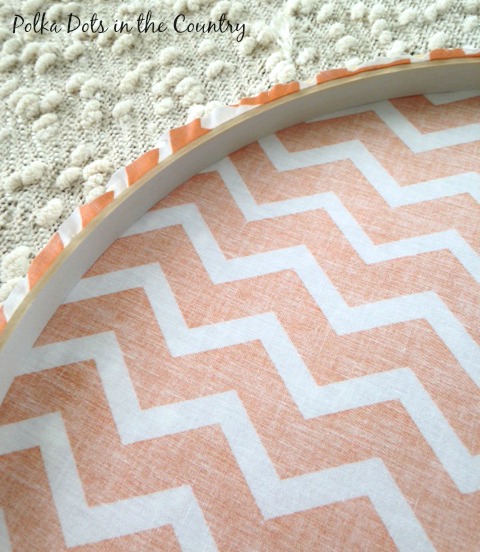
Flip it over and before tightening completely make sure to pull the fabric taut so there are no wrinkles in your wreath.
Cut the excess fabric.
I used two pieces of floral wire to make a hoop to hang the wreath.
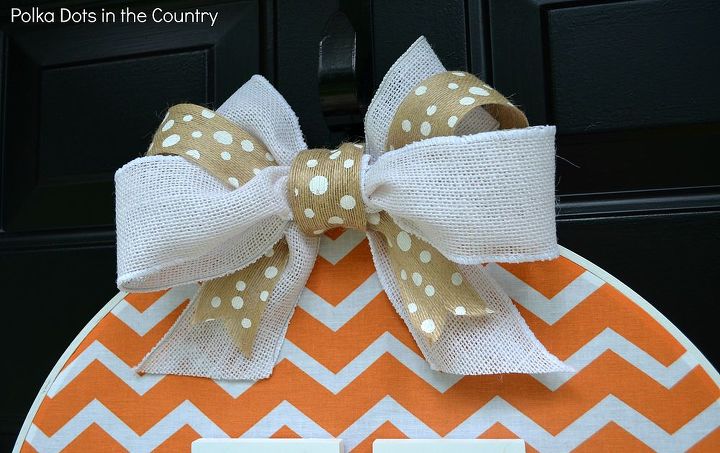
For the bow I used whatever I had on hand, so that included this white wired burlap ribbon and some leftover polka dot burlap.
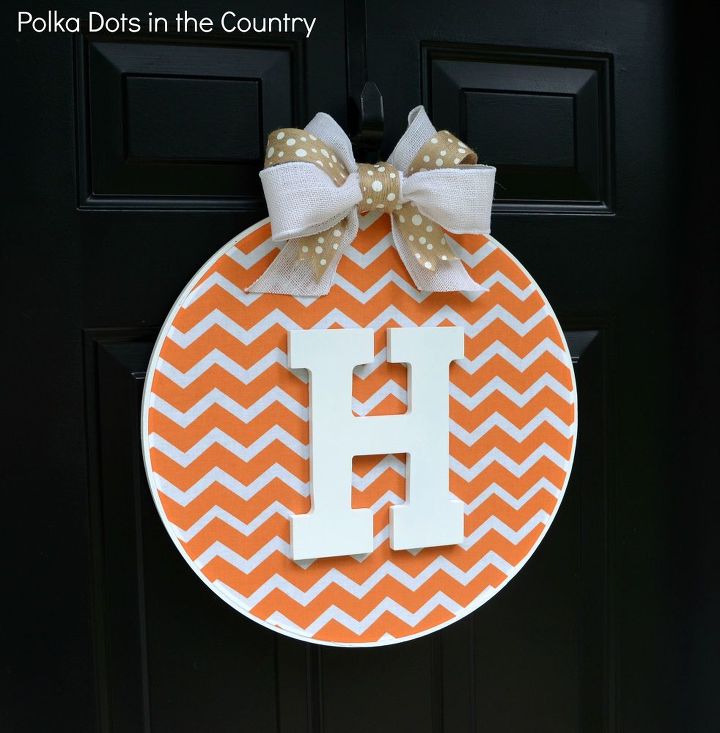
Overall this project cost me about $10 because all I needed to buy was the fabric and embroidery hoop and I still have a good amount of fabric leftover.
Want more details about this and other DIY projects? Check out my blog post!
Comments
Join the conversation
2 of 92 comments
-
Can't wait to make some for fall and Halloween
-
Love this!


Frequently asked questions
Have a question about this project?