


Whitewashed French Vintage IKEA Planters
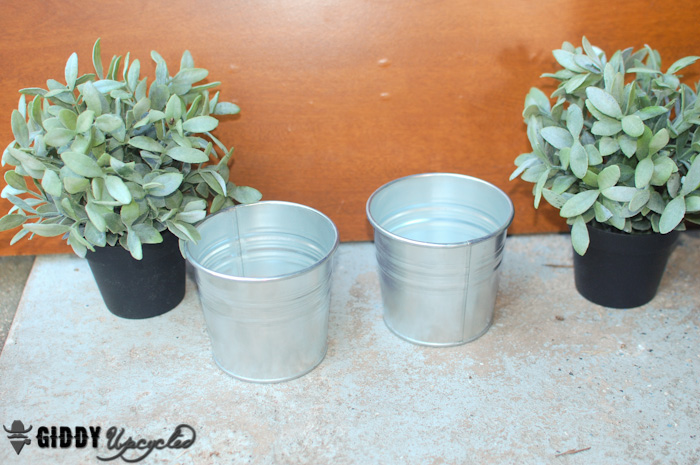
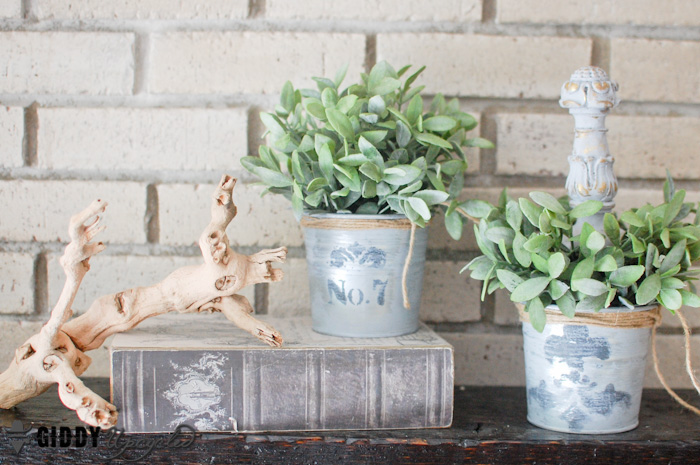
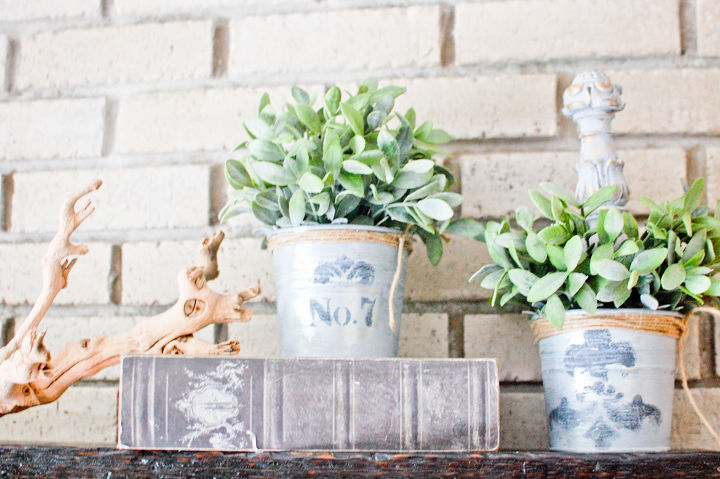
Recently I took a trip to IKEA and was looking in their planting area. I wish I could say I had a green thumb, but I really just don’t. So finding realistic looking (and pretty!) fake plants is always something I’m looking out for. I came across these cool looking plants, and loved the look and color of the greenery, so I picked them up ($4.99 each) and a couple of their metal tin planters which are a steal for only $.70 each.
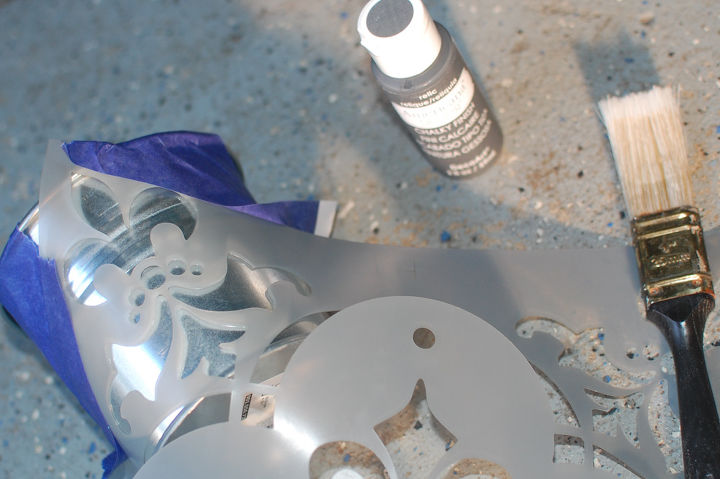
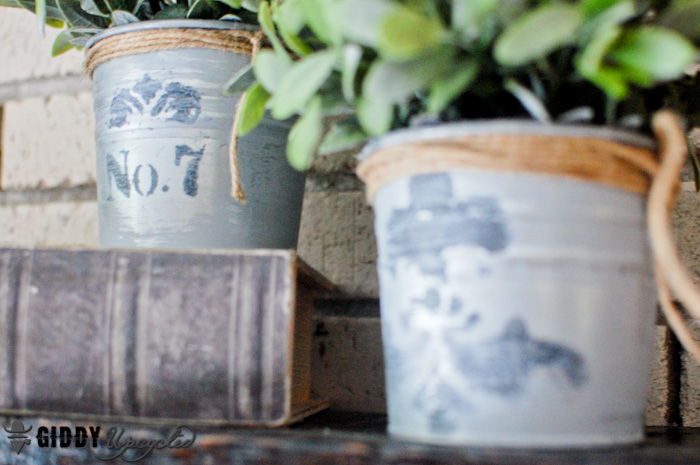
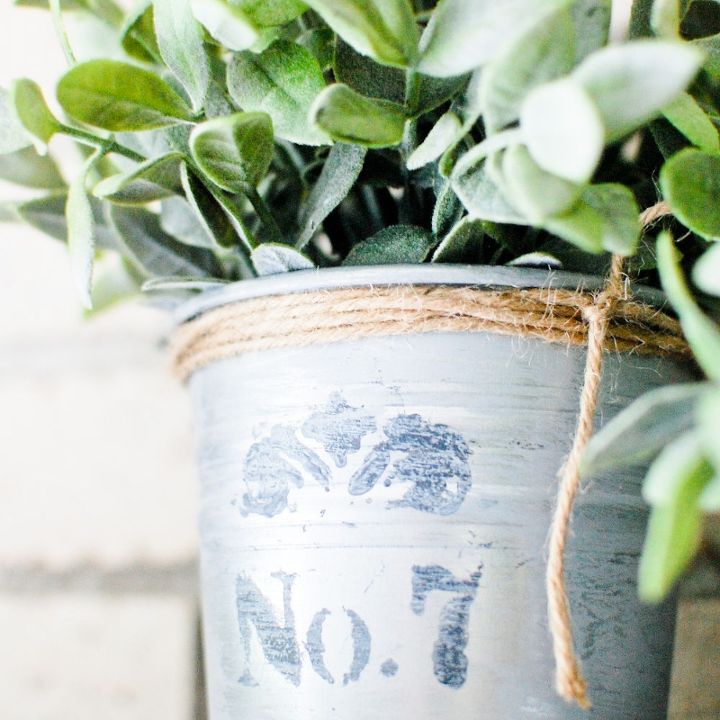
Step 1 - Stencil a design onto the tins using dark paint
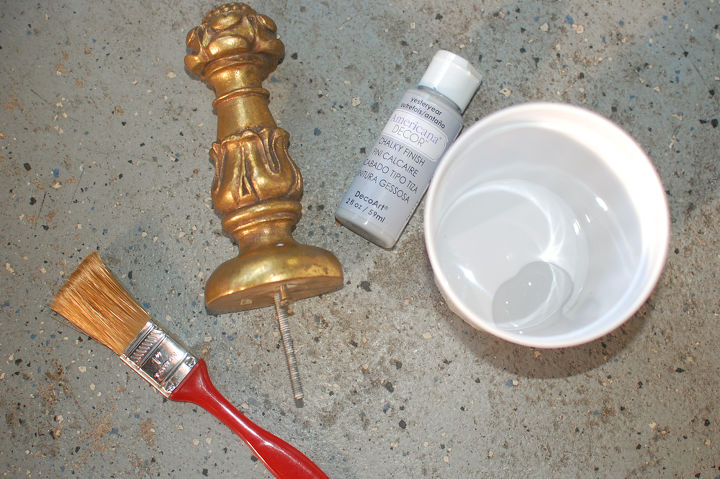
I had also picked up this random piece of gilded carved wood – I’m not sure if it was from a poster bed, or something else, but I bought it at Goodwill for a buck, and figured sometime down the road, I’d have a use for it. When I saw these pots and the plants, it reminded me almost of a messy looking topiary, and I thought it might look cool to put this wood topper into one of the planters, as sort of a accent piece coming up out of the middle.

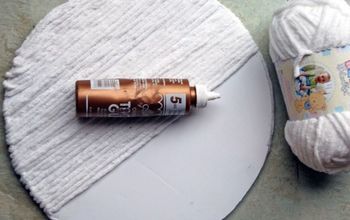
Step 2 – Whitewashing the pails
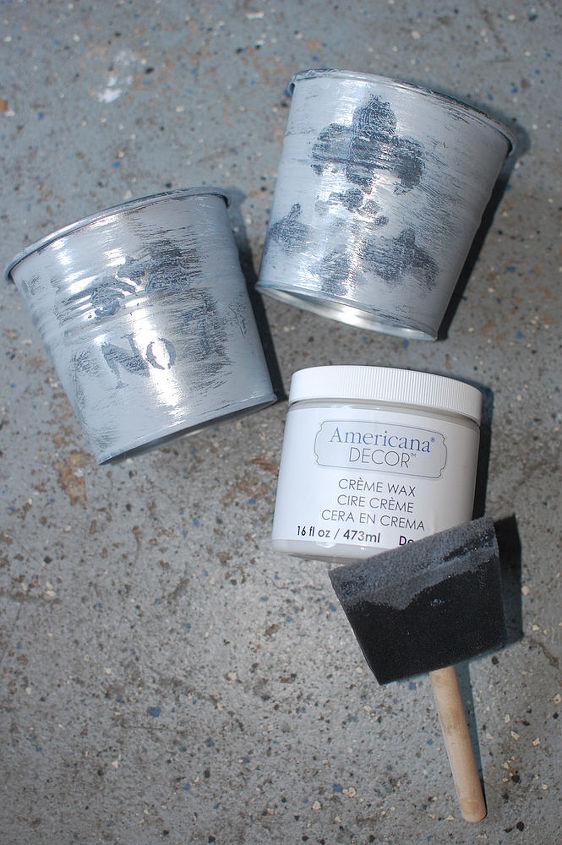
Let that dry, and then I wrapped some twine around the top of the pails, put the plants into them, and they were all done!! I think they turned out BEAUTIFULLY!!!

Want more details about this and other DIY projects? Check out my blog post!
Comments
Join the conversation
2 comments
-
You did an amazing job!
-
Awesome project! I keep a big pile of these pots stocked all the time, this is a great idea :)


Frequently asked questions
Have a question about this project?