


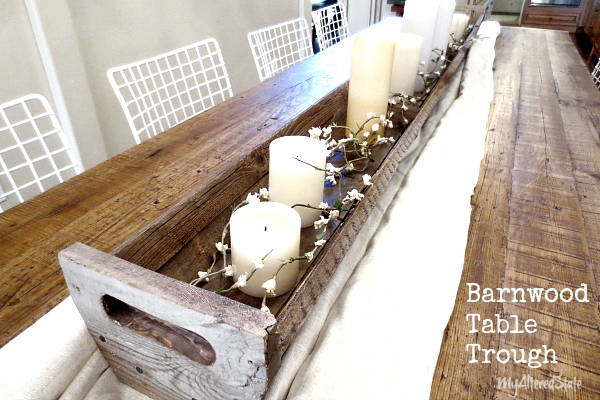
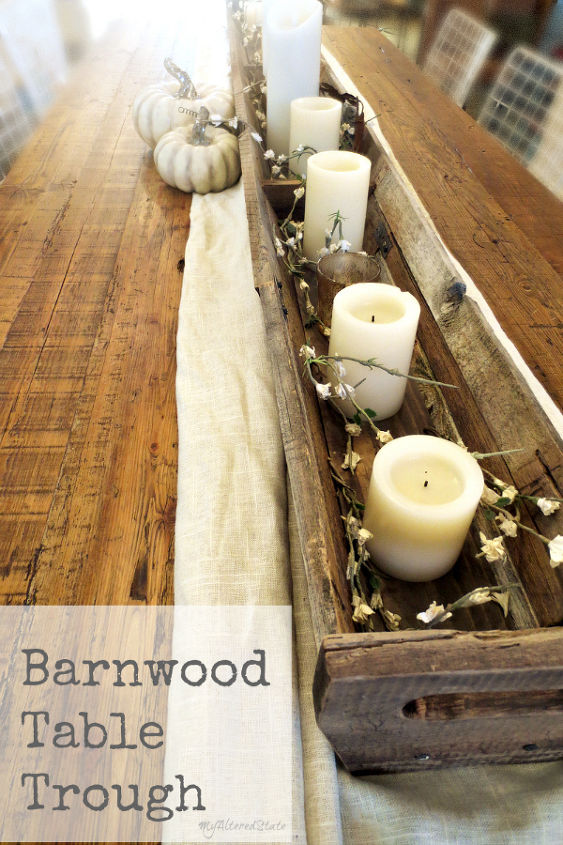
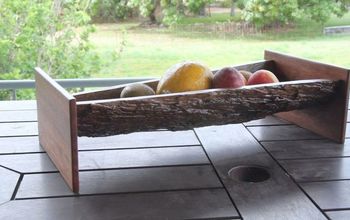
DIY Barnwood Table Trough
That’s how long this table trough needed to be.
Sure, I could have decided to build this as separate pieces to be placed end to end on the table, creating an illusion of a 7 foot long table trough… but that would have been easier.
Projects like this call for barnwood, and that means my wood collecting efforts are not in vain. (Giant woodpile in back yard- justified.)
But wait, back it up. I actually used one new board.
I wanted the bottom (base) to be solid and flat, and in one continuous 7 foot long piece
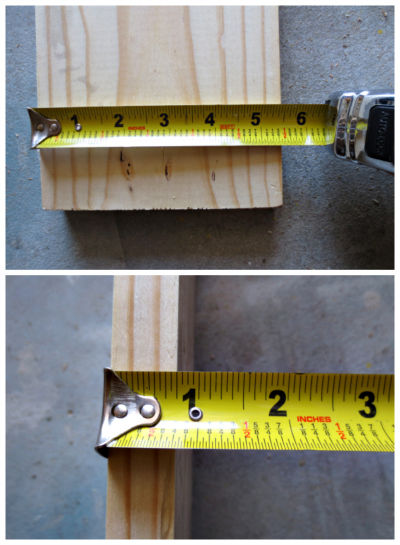
Here’s a shot of what the board measures:
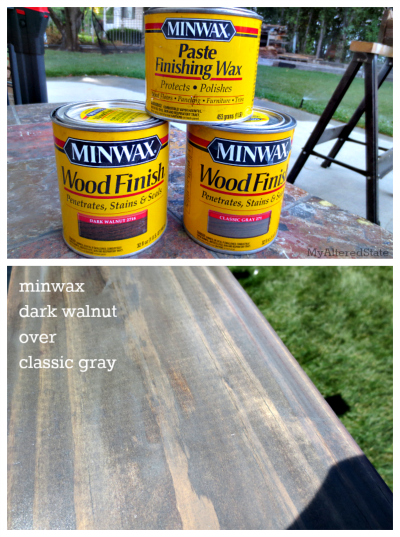
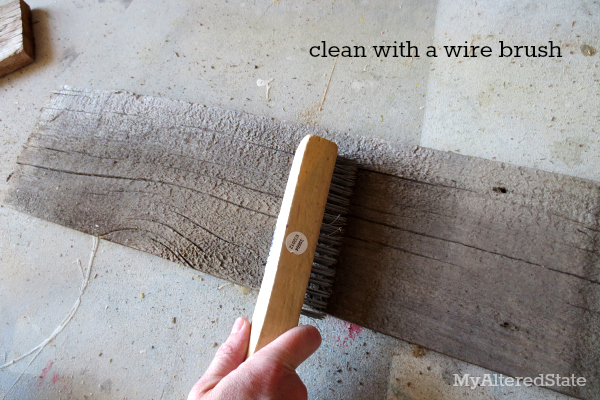
After picking up a brand new board, I tried to forgive myself for not going 100% reclaimed on this one, and I got to work.
Then, because I like to do things backwards, I beveled the edges on my table saw after I stained it.
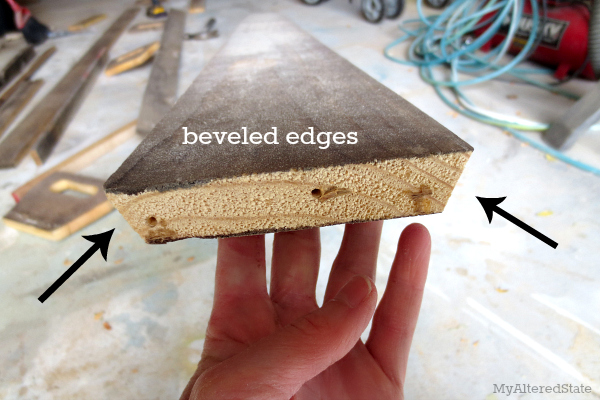
(I actually had to take it apart to show you this cut.)
More often than not, old boards like this will have some splitting going on. In that case, I always glue and clamp along the split and cut only after the glue is dry.

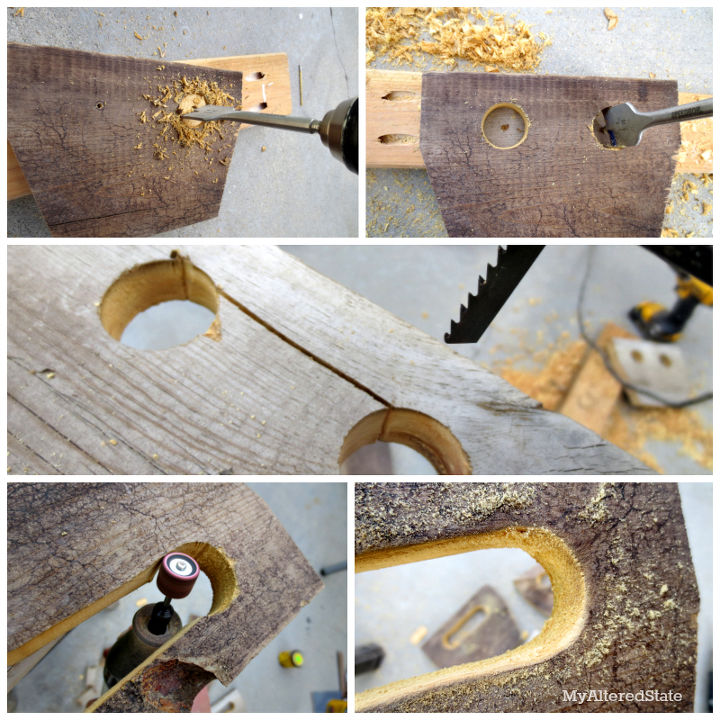
The making of the handles is best described in the following picture montage:
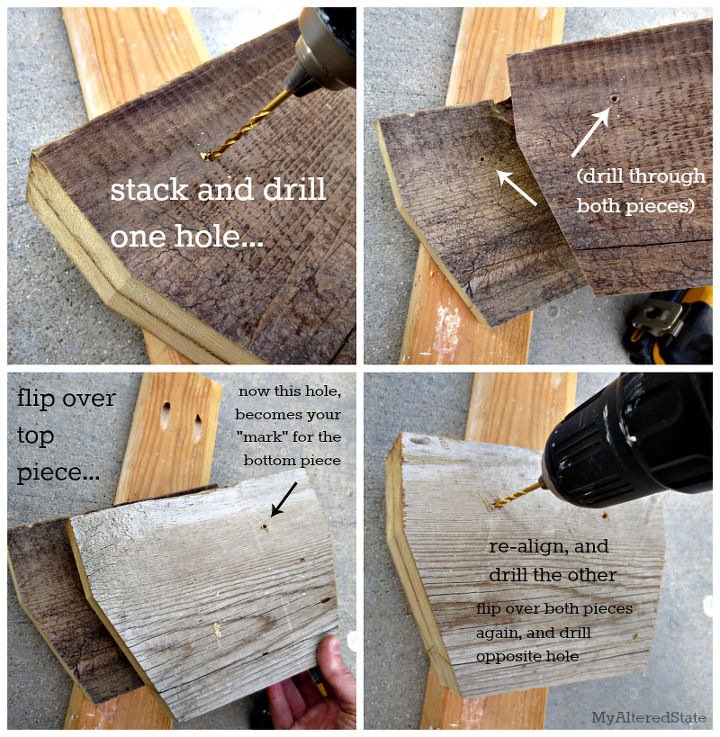
Basically, that is how I avoid measuring things with numbers. Make the first two holes on top of each other, then flip them using the first hole as a maker for all subsequent holes.

Want more details about this and other DIY projects? Check out my blog post!
Comments
Join the conversation
4 of 6 comments
-
LOVE, love, love!
-
So beautiful. Just love it


Frequently asked questions
Have a question about this project?