


Stencil How To: A Rustic Cabinet Makeover With Modello(R) Stencils

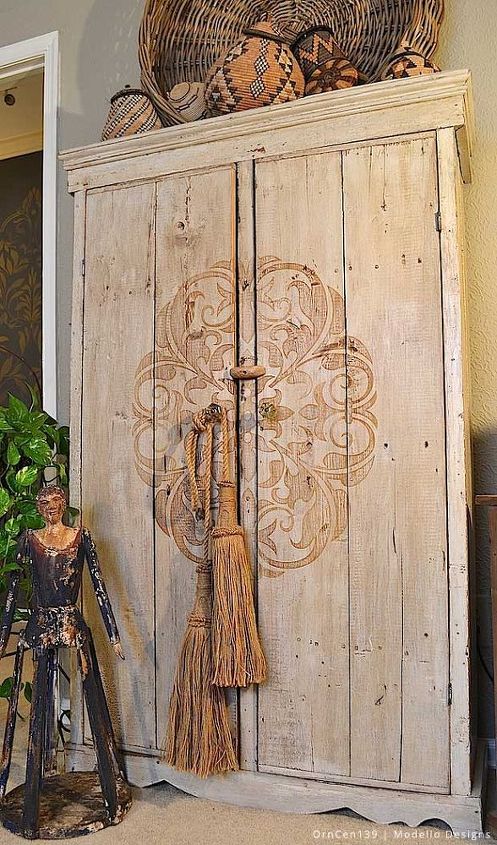
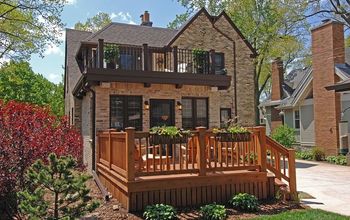
This old, rustic cabinet came from the gigantic Hillsville, Virginia Labor Day antiques show, probably 15 years ago. I loved it, but my neighbor bought it out from under me. I ended up trading her for my old kitchen cabinets later that year and ended up with it myself after all. It is a prize piece in my home office because it is narrow, yet holds all of my boring, cluttery office supplies. It - also - was - boring.
Do you have a similar piece that you will never part with, but it needs just a tiny something to add some pizzazz? Having spent many years in the faux finishing business, I loved to use Royal Design Studio's Modello one-time masking patterns in my clients' homes. They are like a stencil, but you can choose the pattern and size you want. Ages ago, I imagined using an over-scale design on this cabinet, with just a simple touch of stain.
What do you think? Want to try something new and quite simple? You'll be amazed at how fast this goes
DESIGN TIP FOR PURCHASING YOUR MODELLO PATTERN
When you look at the wide array of patterns offered online, you may be overwhelmed. So think about your piece, its scale, style, and what you want to achieve. For this project, my cabinet is large, plain, rustic and old. I chose an open design without a lot of tiny details. Due to the two old glass pulls and the rustic closure, I also chose a pattern that would complement those elements and the original neutral finish, which I love. The rich brown stain I used is fairly neutral and blends well with the other brown items in my office.
ing
SUPPLIES
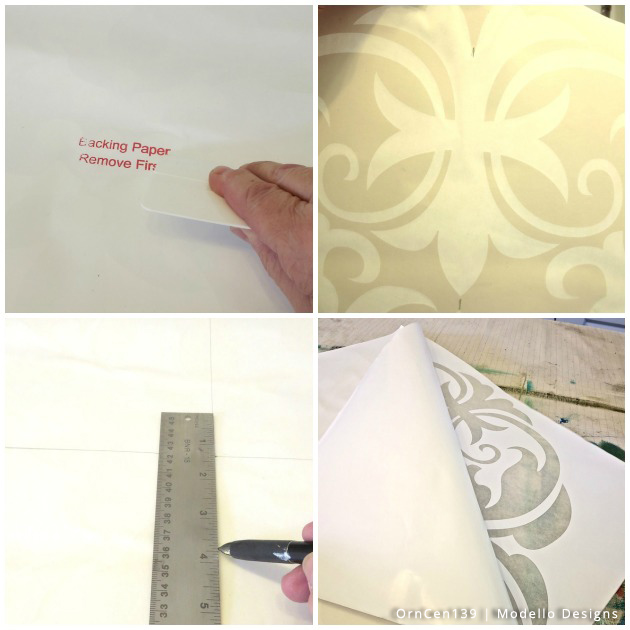
STEP ONE
STEP TWO
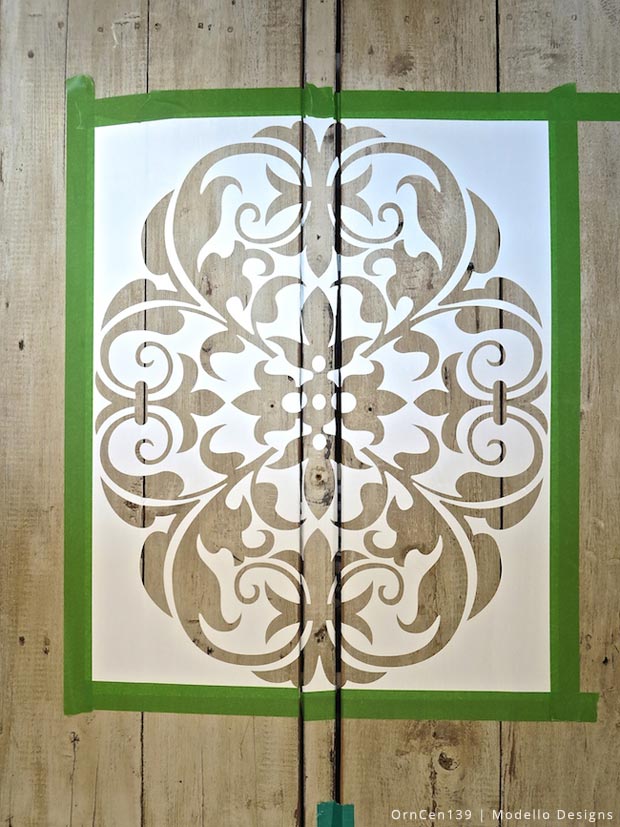
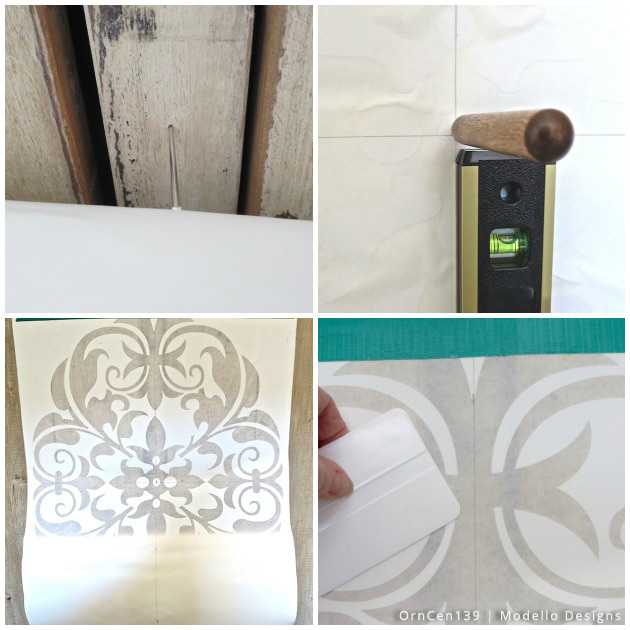
Use the weeding tool to poke a small hole in the center of the Modello. Mark the center point on the furniture piece with a pencil dot. Push the pick tool through the Modello and then line the Modello center up with the furniture center. Tape it in place and use the level to check the position. Reach behind the top of the Modello under the tape and gently, slowly, peel the heavy paper down, stopping every few inches to burnish the design in place. Then grab a corner of the remaining sticky paper and slowly peel back, making sure none of the design comes off with the paper. Just burnish as needed.
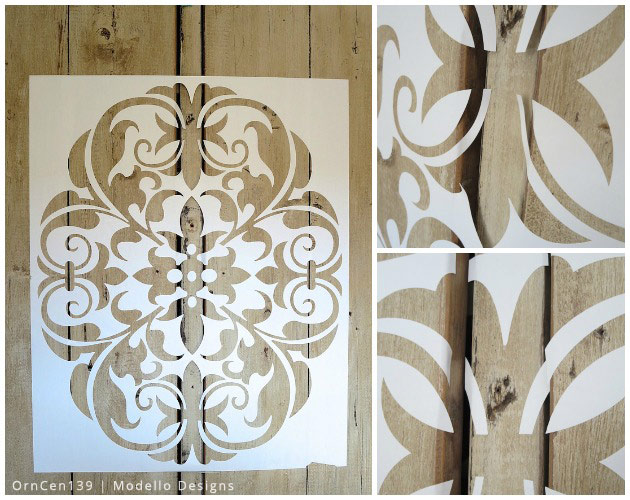
PRO TIP: This old cabinet's doors were not flush with the center support piece, so the Modello not only had to bridge gaps, it did not touch the center support. Never fear, this is an easy fix. Simply use scissors to cut each piece and stick it on the support and burnish.
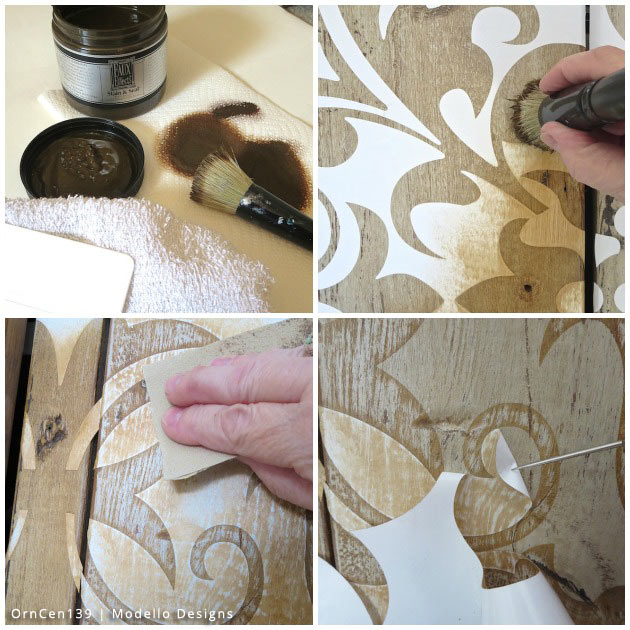
STEP THREE
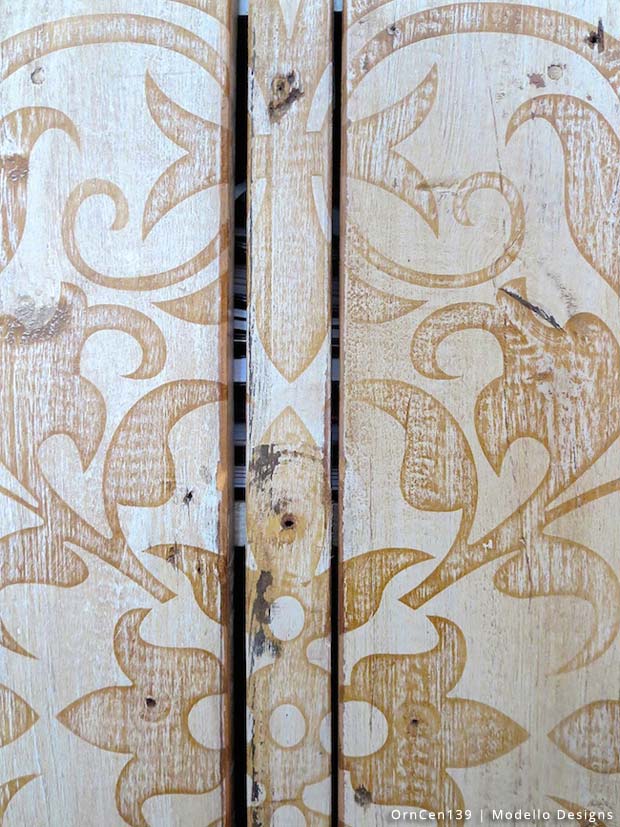
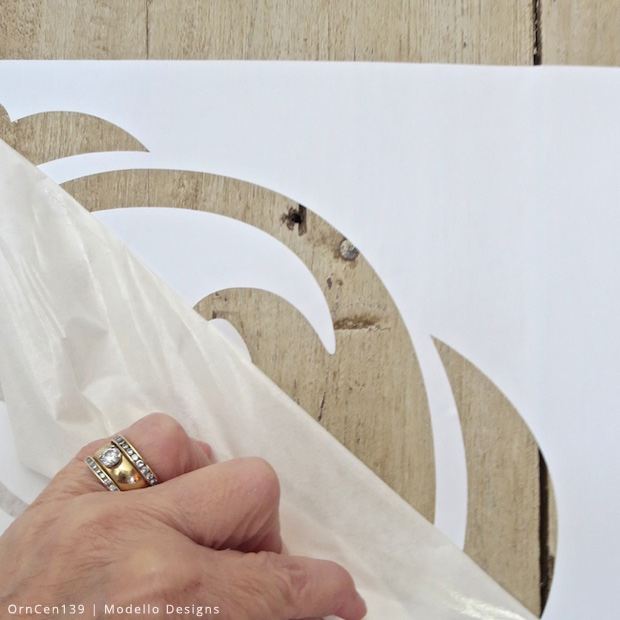
Dip the tips of the stencil brush in the Stain & Seal, offload all of the excess stain, and stencil the entire design, using a vertical motion, going with the grain. The stain dries almost on contact. Very lightly sand the stain - with the Modello still in place. This creates a pretty edge around the pattern. Remove the Modello with the weeding tool. There is no need to seal the stain, since it actually seals itself!
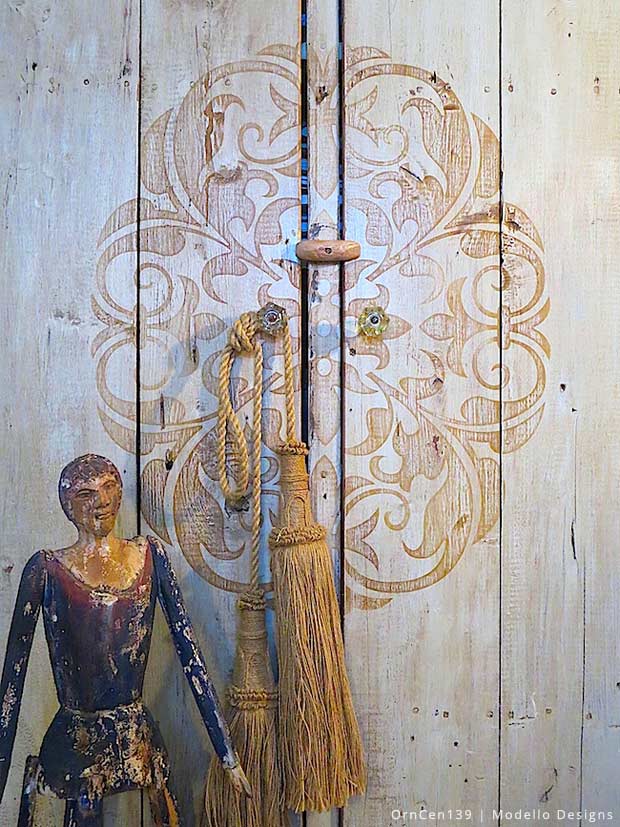
It's obvious to you by now that I love a touch of primitive, and this design works beautifully with my painted wooden figure.
Comments
Join the conversation
3 of 41 comments
-
Thank so much.Have a nice day.
-
Beautiful!


Frequently asked questions
Have a question about this project?