


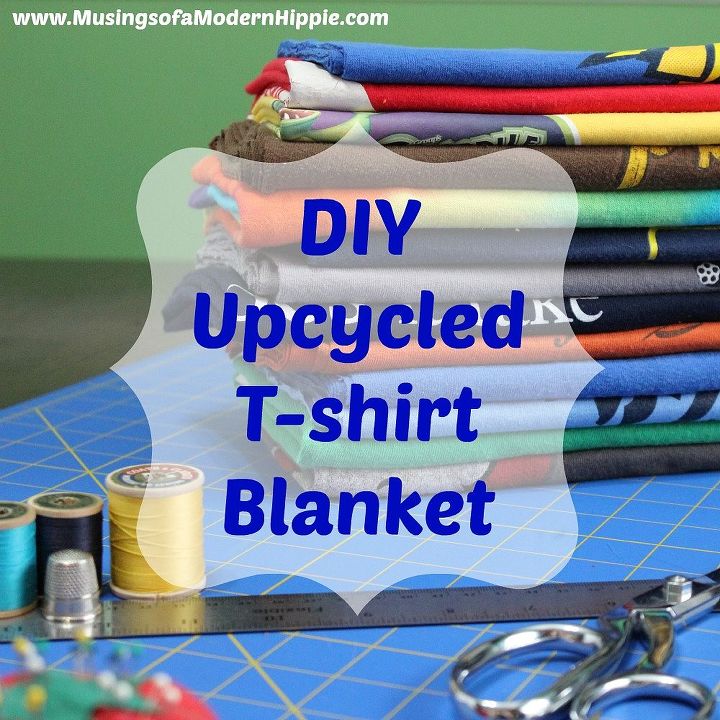
DIY Upcycled T-shirt Blanket

Comments
Join the conversation
-
I have made T shirt quilts by first sewing a horizontal line of squares cut from shirt fronts. As I'm sewing them I'm attaching them to the backing one by one. Square 1 if face up, Square 2 is face down one it, sew the vertical seam through three thicknesses. Open it out, finger press it down and put square 3 face down on square 2, sew, open out, sew and continue filling your backing which is roughly the size you want it to come out to.
When handling stretchy fabrics, make sure you have a ball point needle and your stitch length set a little longer than usual. Sew quarter inch seams. Don't pull the fabric, just keep it flat. For beginners, you can pin the squares to each other and the backing as you go. Not as hard as you think.
Second row is each square sewn to the one next to it in order, then the whole line is place right side down and upside down on line 1. pin the seams together so they follow from line to line. When you're done with however many lines you want, trim the backing to match the front and add a border. Doesn't have to be bias because it stretches. Look up any quilt program for doing borders. It's better explained with pictures.
Mostly, have fun!
-
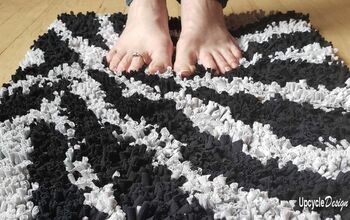
Torn into strips clothes can be made into rugs by eaeving them on a loom or crocheting them into a rug. Sweatshirts make a great cushy rug for the bathroom, so do old socks, cut into rings, chained together and woven I like the quilts. Probably something I will have to do.


Frequently asked questions
Have a question about this project?
I’m kind of new at sewing. But my question is, you talk about the front and the back. I don’t understand how to sew them with having the back on the front. Please help I really want to do this.