


How to Install Easy Exterior Home Lighting

by
Colette
$300
2 Hours
Easy
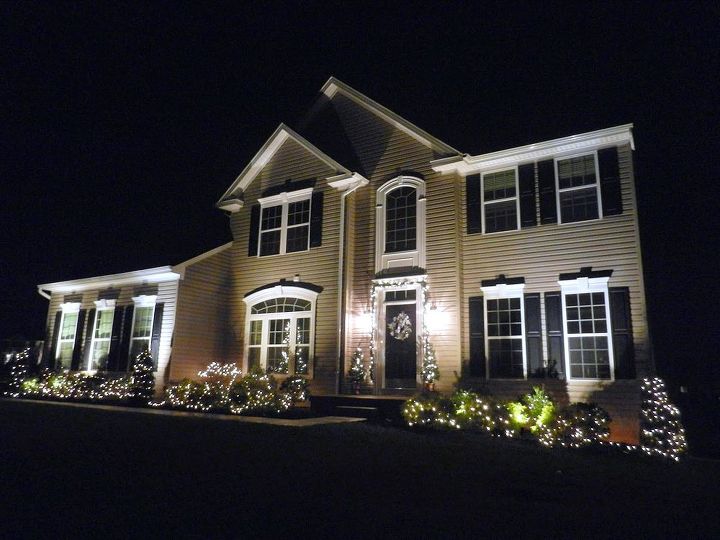
After two years in our home we finally got around to installing some exterior lighting and I am so thrilled with how it turned out. This job was SO easy to do. It only took about 2 hours and required no special skills or equipment. The price will vary depending on how many lights you want, but we wound up spending about $300. $300 and 2 hours of time for a BIG IMPACT… not too shabby!
If you have never done electrical work before, don’t be intimidated. This was really simple and required no special wiring skills.
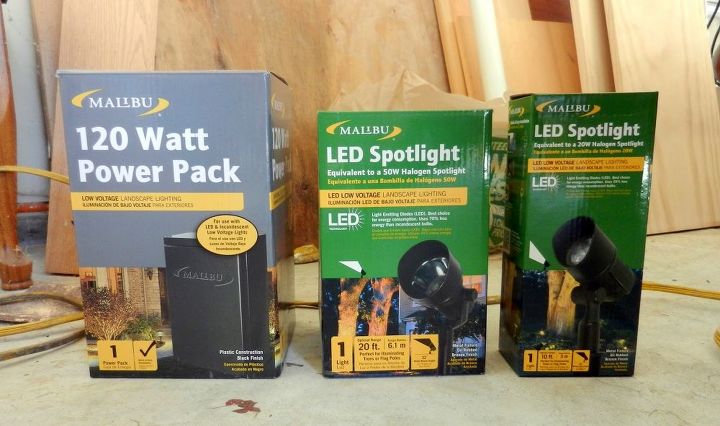
Here is what you need for this project:
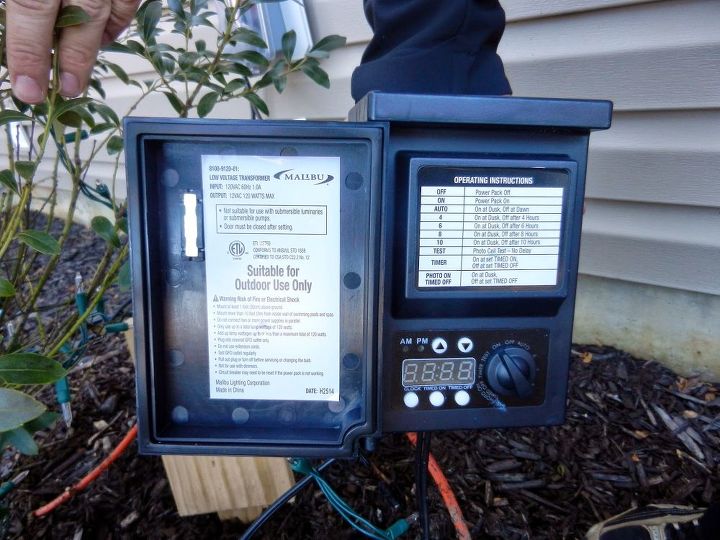
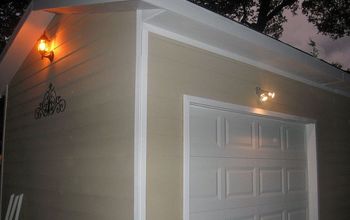
This is what the inside of the power box looks like. There are lots of different timing options you can choose from and it is super easy to set. Right now we are doing “dawn + 6 hours” so it is on from about 5 pm until about 11 pm. The power box just plugs into a regular outlet, so you need to attach it to something near your outlet. You could attach it to the house or put a stake in the ground and attach it to that. It just shouldn’t be laying on the ground.
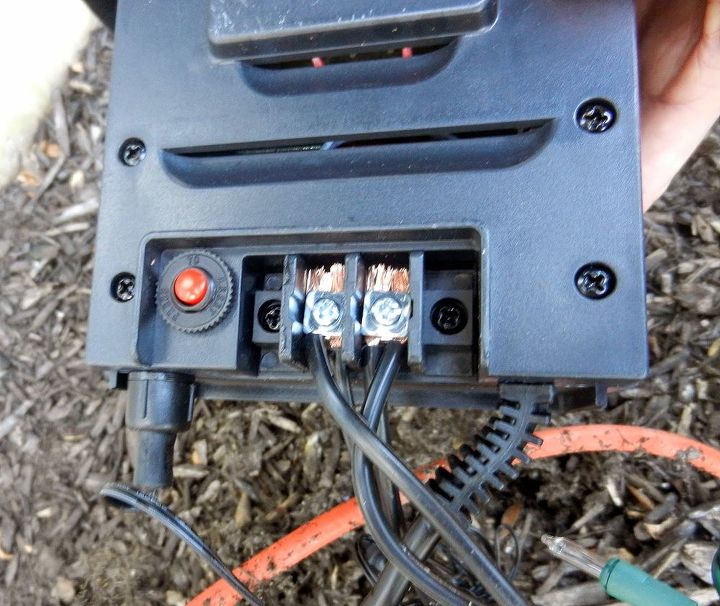
First lay out your cable along the front of the house, making sure to leave a good amount of slack throughout and extra cable at both ends in case you ever want to add more lights on later. If you have a walkway you need to cross, dig small trenches on either side of the walkway, then place your rebar or pvc pipe under the concrete and bang it through the soil with a hammer or sledge hammer to the other side then fish the cable through the hole. Once your cable is laid out, attach it to the power box as shown.
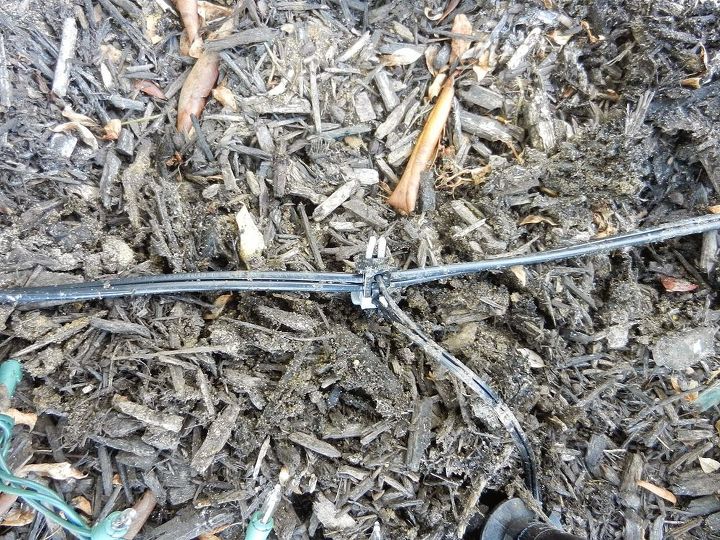
Set up your spot lights where ever you think you want them. We did this in the daytime so we just guestimated, then fine-tuned them at nightfall. Then you simply snap the connector at the end of each light onto your cable and you are done! The connectors have these prong things that automatically cut through the wire coating to the cable, so there is no electrical wiring involved. So cool!
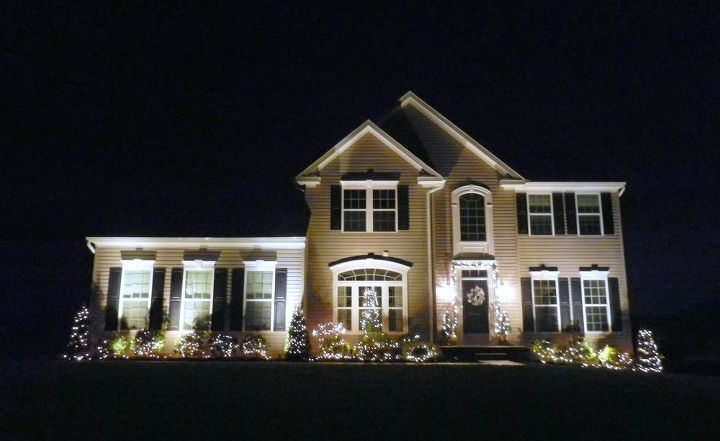
And there you have it! Two hours to a sparkly new exterior! Check out my full blog post for additional tips and details!
Want more details about this and other DIY projects? Check out my blog post!
Comments
Join the conversation
4 of 14 comments
-
I must say your house is beautiful. I love it
-
Lighting really helps the beauty of your house great job


Frequently asked questions
Have a question about this project?