


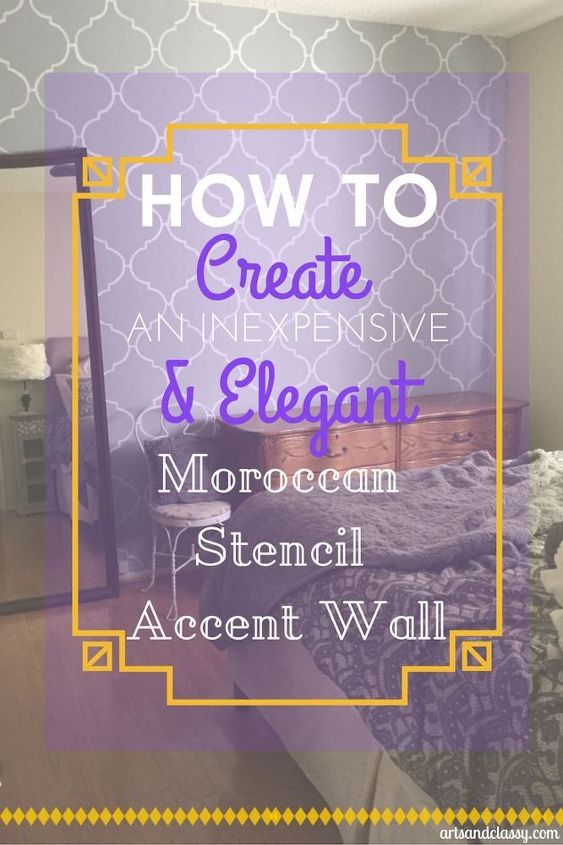
How to Paint a Moroccan Stencil Accent Wall
$0.00
12 Hours
Easy
I can not even begin to express how happy I am to tell you about creating and executing this project. I have been admiring many how to diy stencil tutorials, but was semi intimidated by them as I am sure you are feeling too.
It is part of my January challenge to makeover my entire bedroom on a small budget to prove that decorating does not have to cost a ton of dough. With a little creativity and time I can create a space unique to me without breaking the bank.
YOU can do it too!
Here is a little back story on the lead up to this project.
It feels like every home I move into I always put the living room as top priority of decorating.
Then any extra space like my bedroom, dining room, or office tends to fall by the wayside if I suddenly pick up a tv show or commercial. The hours in the film industry can be rough. Very early mornings and 12+ hours and sometimes 6 day work weeks. I am sure you can appreciate where I am coming from. Not complaining… just not enough hours in a day.
I chose my bedroom to be my next project because since I moved to my current apartment my bedroom seemed small. With all the furniture I had and the configuration of the room, it seemed like the best design choice. But, I quickly realized this was a bad one. Thus, my lack of care for the need to decorate the space…then I move and the cycle repeats.
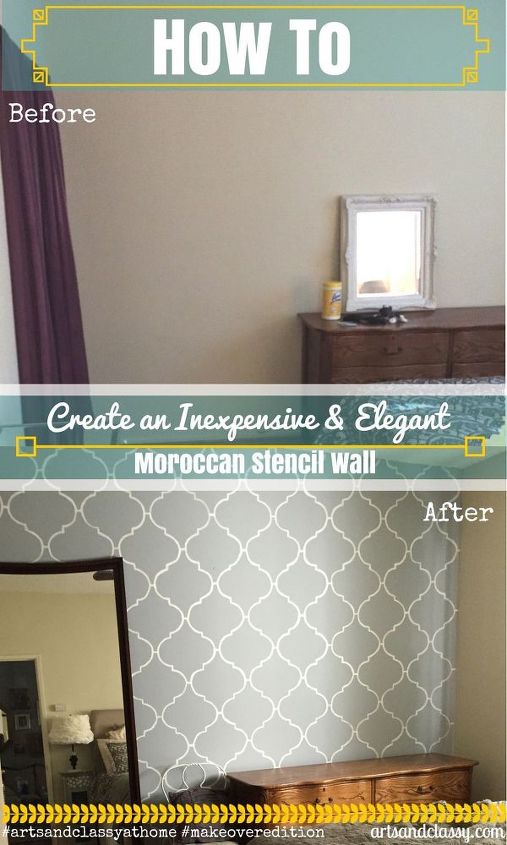
The original “before photos” that I took at the beginning of this January challenge conveyed a Plain Jane bedroom.
It is part of my January challenge to makeover my entire bedroom on a small budget to prove that decorating does not have to cost a ton of dough. With a little creativity and time I can create a space unique to me without breaking the bank.
YOU can do it too!
Here is a little back story on the lead up to this project.
It feels like every home I move into I always put the living room as top priority of decorating.
Then any extra space like my bedroom, dining room, or office tends to fall by the wayside if I suddenly pick up a tv show or commercial. The hours in the film industry can be rough. Very early mornings and 12+ hours and sometimes 6 day work weeks. I am sure you can appreciate where I am coming from. Not complaining… just not enough hours in a day.
I chose my bedroom to be my next project because since I moved to my current apartment my bedroom seemed small. With all the furniture I had and the configuration of the room, it seemed like the best design choice. But, I quickly realized this was a bad one. Thus, my lack of care for the need to decorate the space…then I move and the cycle repeats.
The original “before photos” that I took at the beginning of this January challenge conveyed a Plain Jane bedroom.
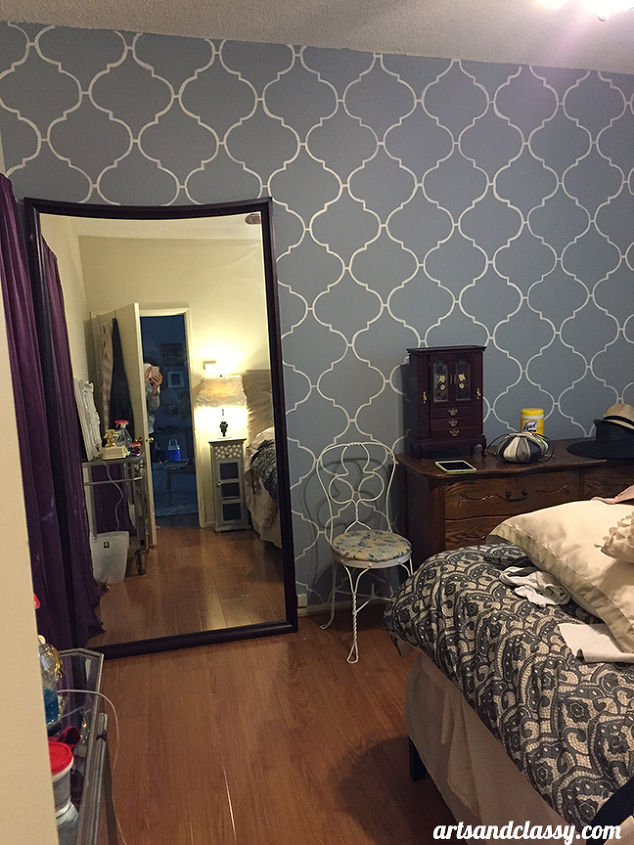
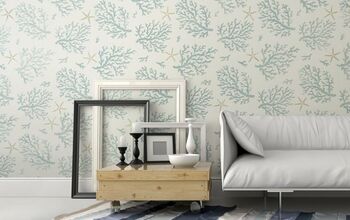
I need to finish the whole apartment. Here is the next step in achieving my overall Vintage Glam feel to my room.
Supplies you will need:
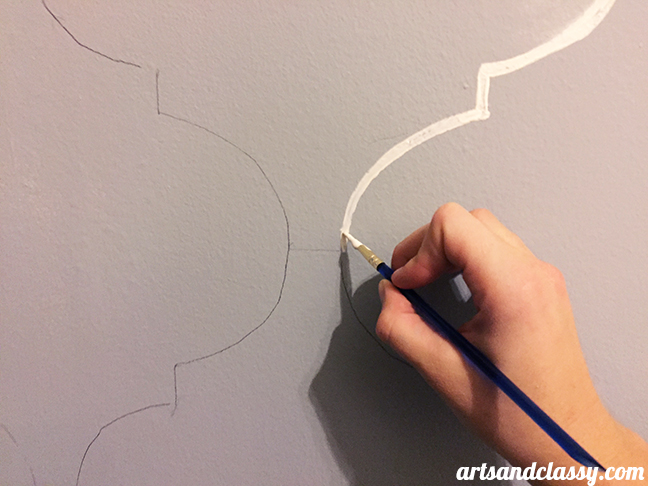
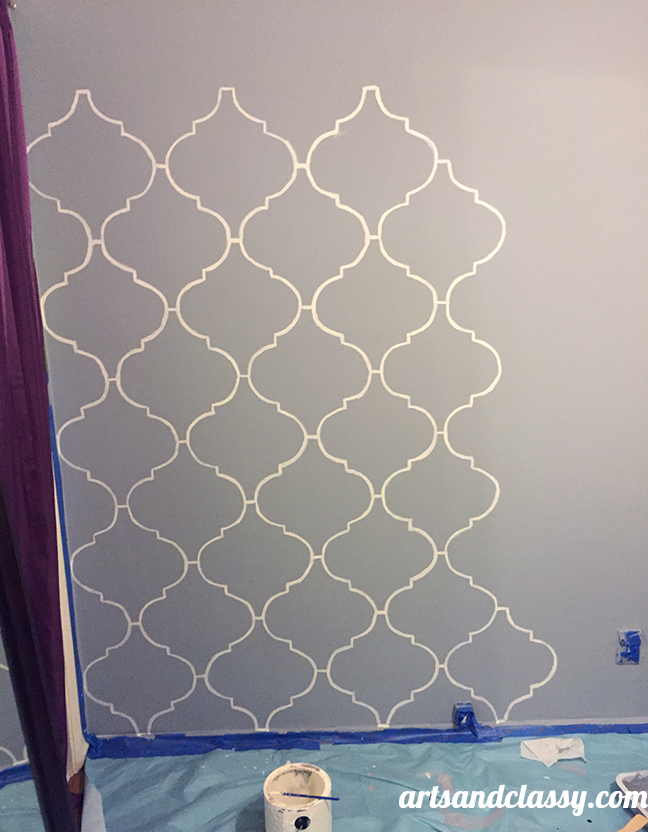
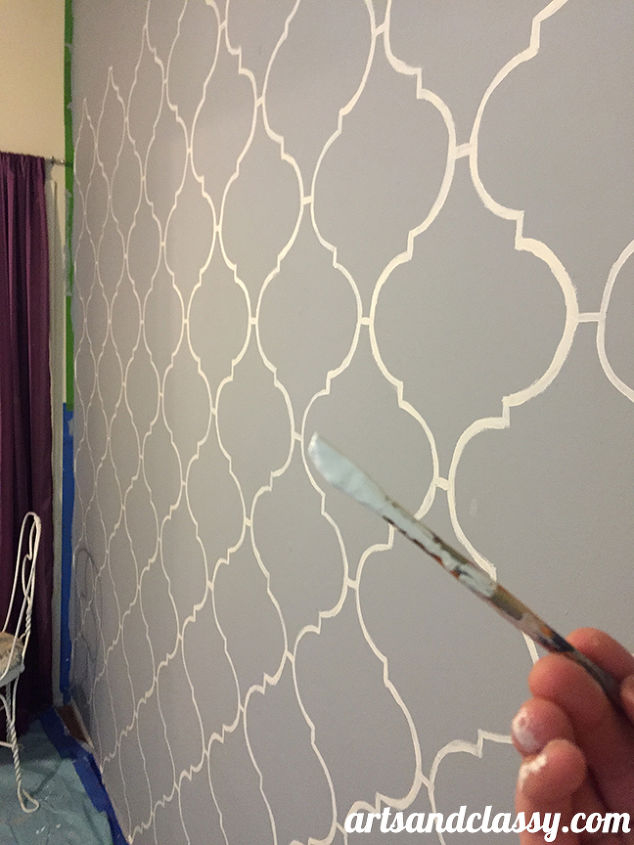
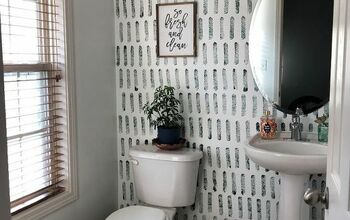
After the shapes have been drawn, you will take one of your small detailed artist paint brushes and begin hand painting in the shape. I really didn’t need to use the stencil as a guide once the shape was drawn, but you may want to use it to help with straight lines and curves.
See the complete tutorial on my blog. Link is below.

Want more details about this and other DIY projects? Check out my blog post!
Comments
Join the conversation
2 comments
-
This is gorgeous! <3
-
Sounds easy enough. Thanks for the info.


Frequently asked questions
Have a question about this project?