


Whitewashed Plywood Plank Wall

by
Gretchen
$100
1 Day
Medium
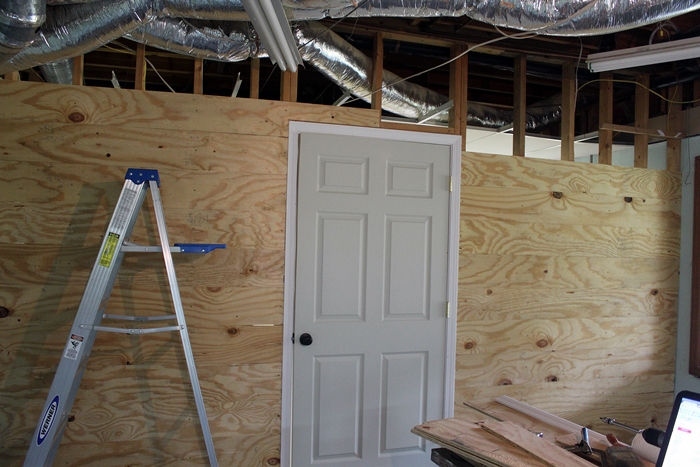
We're working on finishing a game and movie room in our (formerly completely unfinished) basement right now. We're doing everything ourselves and on a very tight budget; this isn't a full scale basement finishing project, but we do want a fun space for our kids (and us!) to hang out in. Three sides of the room already had walls, but the fourth was framed out but not finished, so we needed to come up with an inexpensive solution. And we really didn't want it to involve us having to hang drywall!
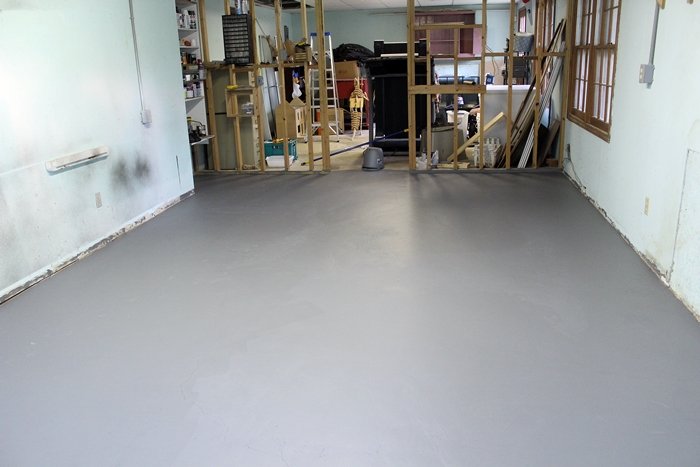
Here's what we started with. At this point we'd already painted the floor, and after this (and before we built the wall), we hung a door in the opening (in retrospect, it probably would have been better to wait to hang the door until AFTER we did the wall, but it worked out okay).
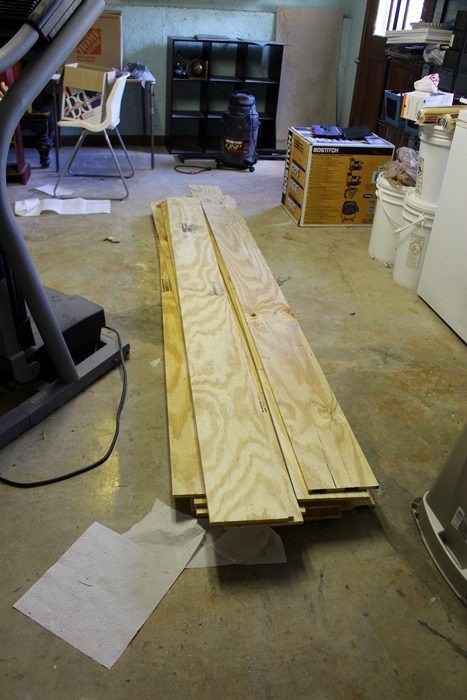
We were originally planning to buy pine boards for the wall, but when we priced things out we realized it would be MUCH cheaper to have planks ripped from plywood instead. They did that for us at the store, and the total after we paid for the wood and the cuts was under $100.
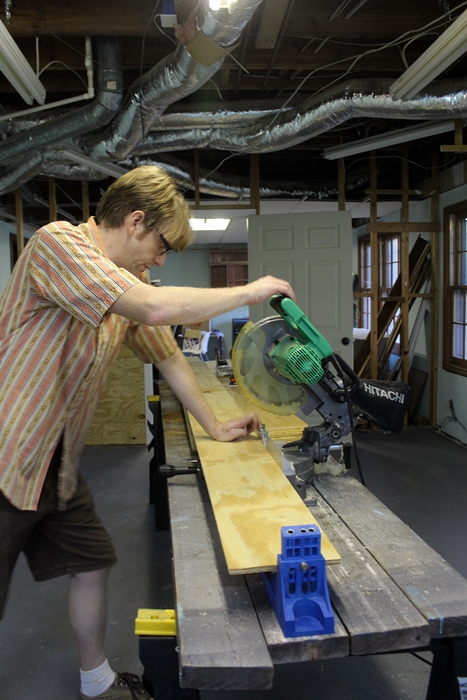
For the most part, we just had to cut the boards to the right length with a miter saw and screw them to the studs. The only part that was tricky was going around the door. We don't have a table saw, so we used our Kreg Rip Cut for this.
Here's the wall almost all the way done.
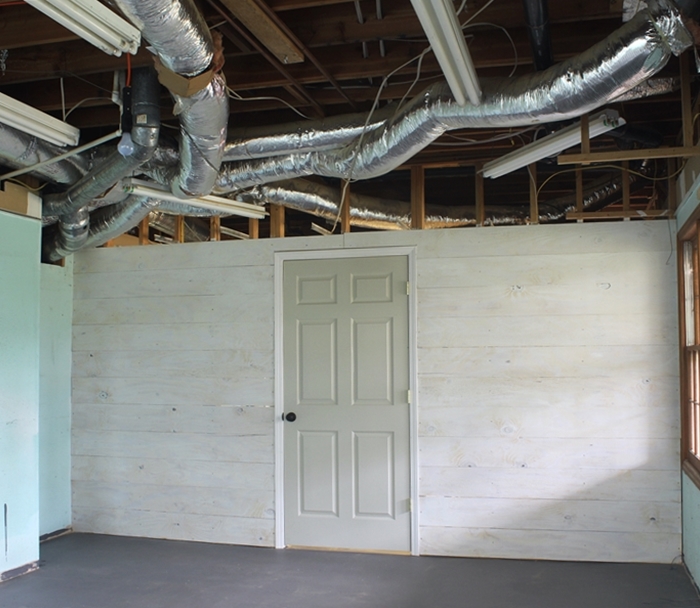
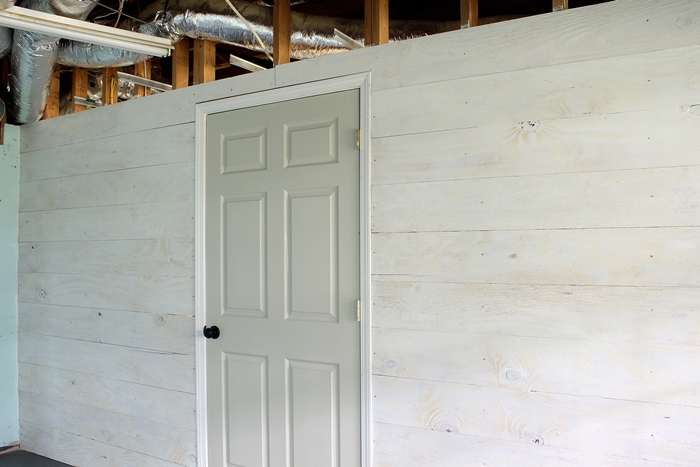
And here it is all finished and after whitewashing. I wanted some of the grain from the wood to show through, so I mixed water and white paint together and brushed it on. Obviously we still need to deal with the ceiling situation up there at some point, but for now we're enjoying the room with a "don't look up!" policy ;). Lots more about our basement game room project on the blog!
Want more details about this and other DIY projects? Check out my blog post!
Comments
Join the conversation
2 comments
-
Very nice! I love this look.
-
Beautiful!


Frequently asked questions
Have a question about this project?