


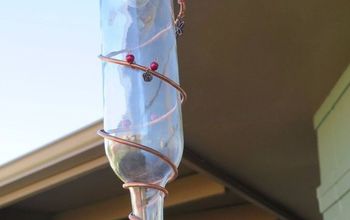
Start Your Garden in a Water Bottle Greenhouse
30 Minutes
Easy
Those tiny seed starter trays and I do not get along. First of all, a seedling can't grow very much in those little squares without having to be transplanted to another intermediate container. Second, the soil tends to dry out really fast in them which means I have to cover the tray with a bothersome sheet of plastic wrap. Then, once the seedling grows tall enough, the plastic wrap gets in the way. Nope! There is a better way to start your garden veggie plants this season.
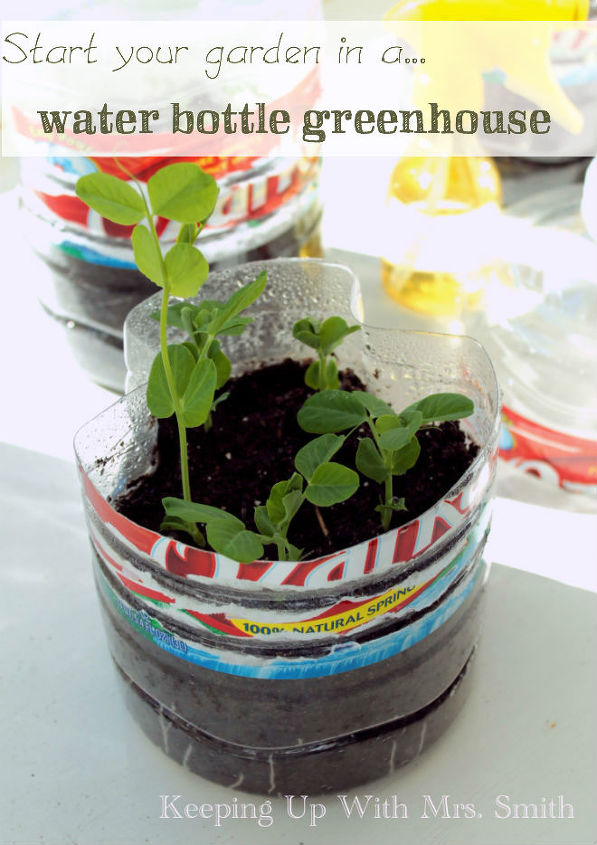
A 3-Qt Ozarka water bottle acts like a little green house with plenty of room for my seedlings to grow. Above are my snowpea seedlings after 10 days in their greenhouse.
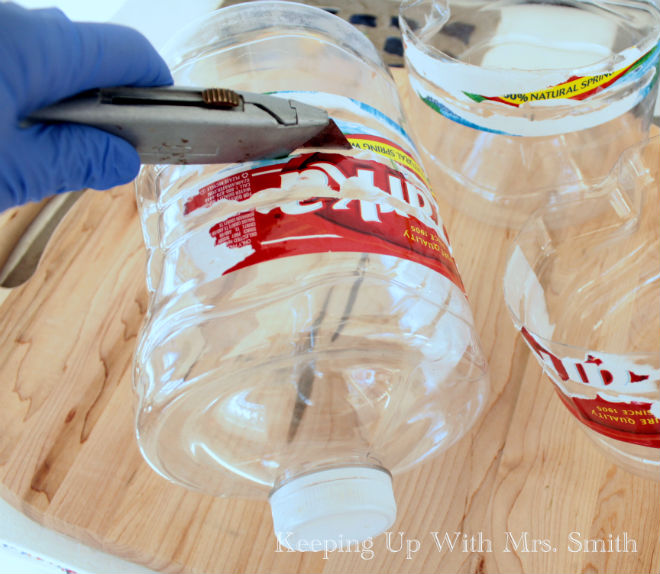
To make, cut the bottle in half with a box cutter. Fill bottom half with a mixture of peat moss and garden soil. Spritz with water to moisten soil.
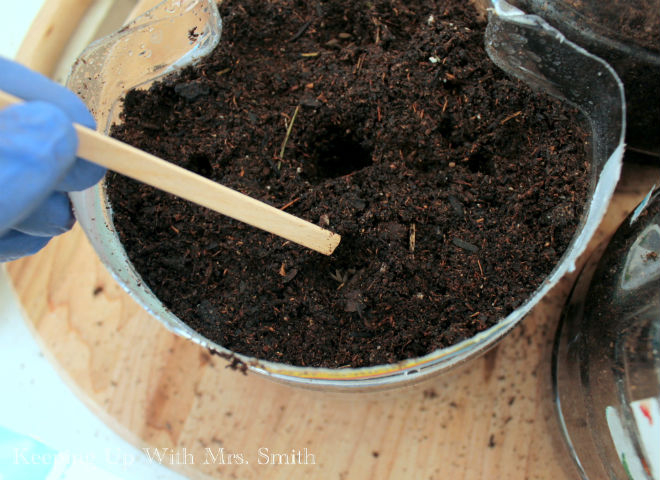
Sow seeds, spritz with water again and fit the top of the bottle over the bottom until the pieces overlap. This will keep the top from falling off. Lightly loosen the bottle cap.
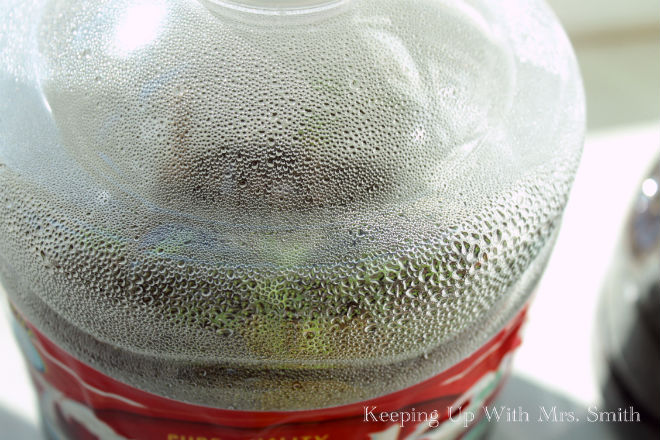
Place greenhouses in a window that gets the most/longest exposure to the sun. Condensation will build immediately. To prevent seeds from staying too damp or if mold forms on the soil, remove top of bottle after a couple days and allow the soil to breathe for a day. Replace top at night. Continue to monitor soil conditions.

Want more details about this and other DIY projects? Check out my blog post!
Comments
Join the conversation
2 of 32 comments
-
What a great idea for recycling a plastic bottle! Thanks!
-
This was my favorite project. Thank you!


Frequently asked questions
Have a question about this project?
Do you cut the plastic bottle to get the plant out? You can't plant plastic.