


DIY Whisk Flowers
A few weeks ago, I was getting ready to donate a box of old cooking utensils when my four year old son saw a wire hand whisk we were about to part with and asked if he could keep it. I said “sure.” A few minutes later, he asked if I could turn it into a butterfly for him. As I started to pull it apart, I realized that this was an impossible task and it looked more like a flower than a butterfly. At this point he was no longer interested in the whisk, but now I was. There were endless possibilities here!
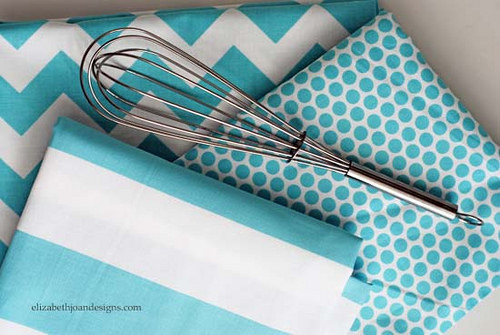
Whenever any type of creative idea hits me, I always call my sister, Erin. Her and I talked, hashing out the details for this whisk flower, deciding that wrapping it in fabric was my best bet. She recommended the magic number of three and I agreed. So, off to the store I went to buy a couple more wire whisks and make my fabric selections.
Here is how the flowers were made:
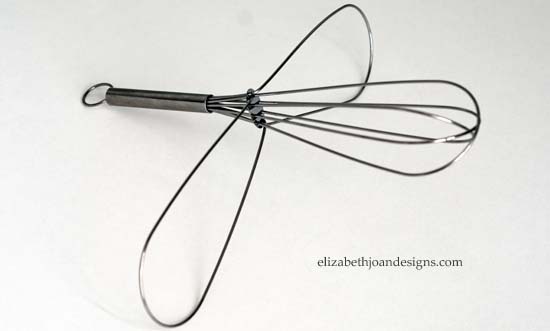
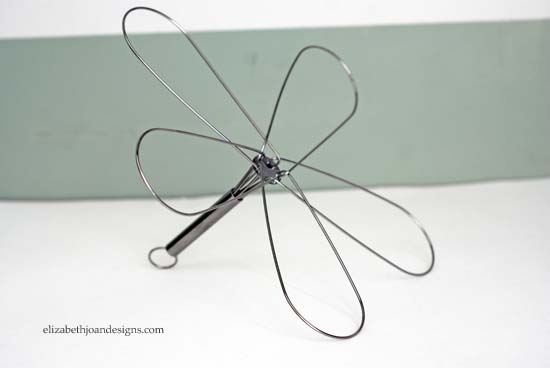
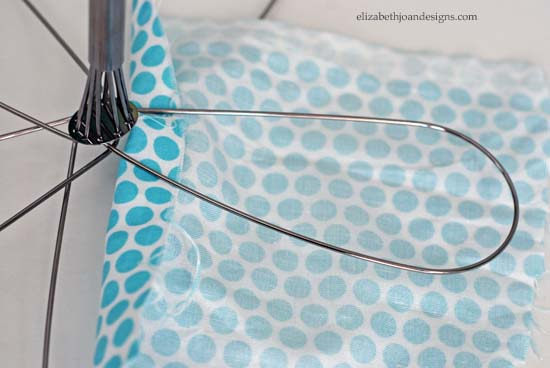
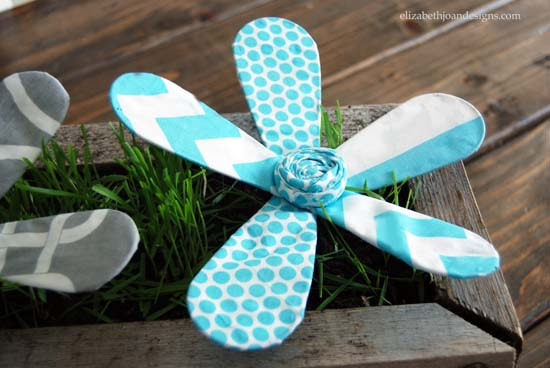
First, I started by pulling each wire loop apart from the grouping to create the petals.
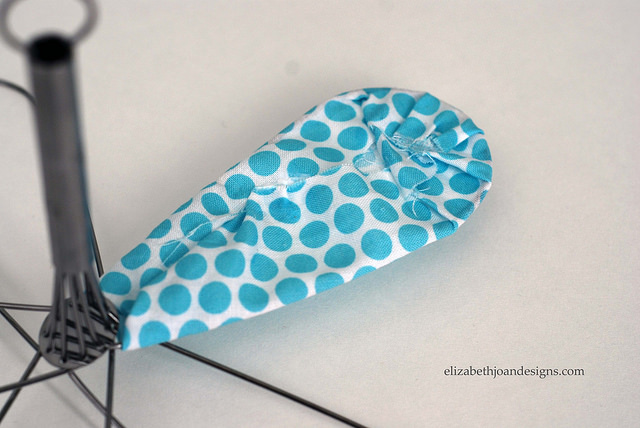
Next, I cut small strips of fabric and wrapped one around each petal, attaching it with liquid stitch glue. (I noticed when I was making my first flower, that I could see through the white parts of fabric a little bit. So for each additional flower I made, I first wrapped the petals with plain white muslin, then with the patterned fabric. Problem solved! This made them look much better.)
Once I completed the whole flower, I got back on the phone with my loving sister and we started brainstorming ideas for the center.
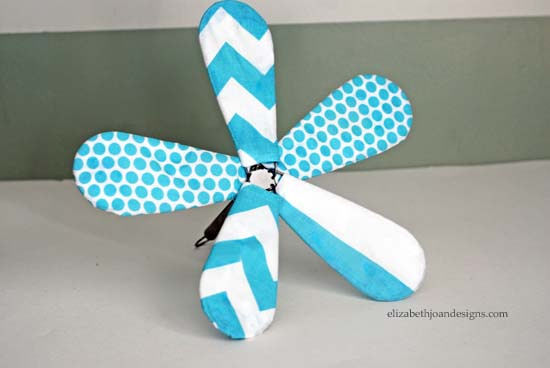
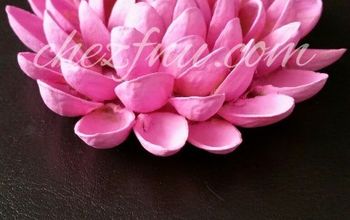
After a few text messages and several minutes of talking, Erin suggested that I make fabric flowers to be the centers, and I did just that.
Long strips of fabric were rolled up and glued to the middle of my whisk.
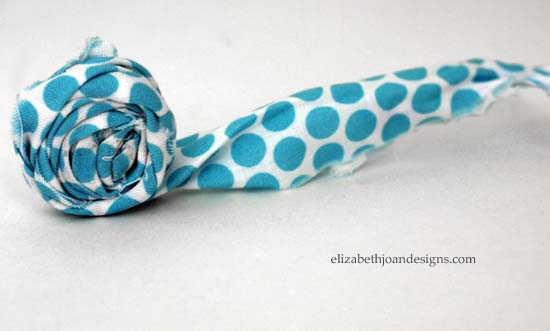
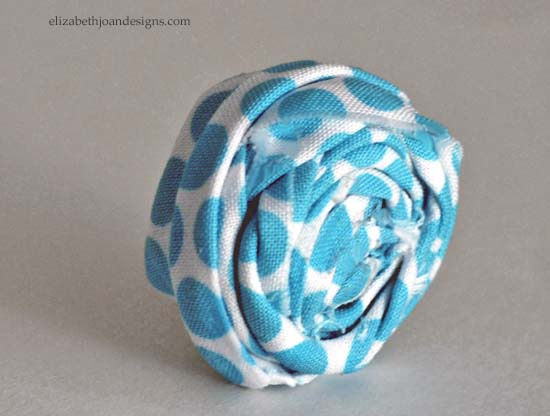
Perfect!
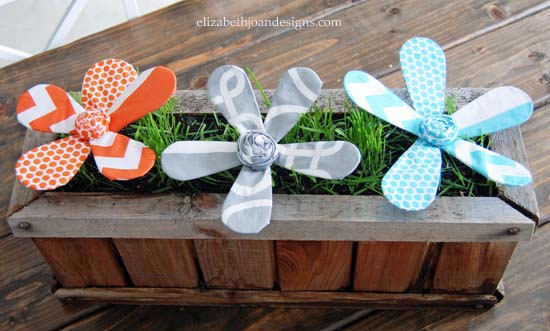
Finally, I repeated all of the above steps until I had three beautiful blossoms.
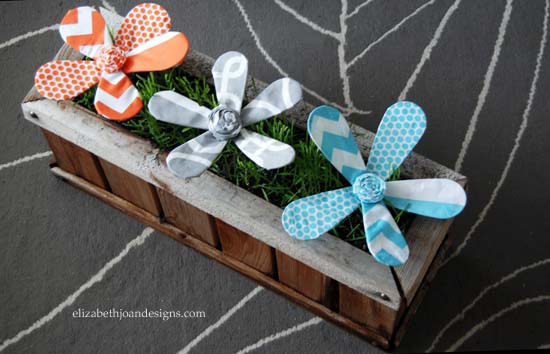
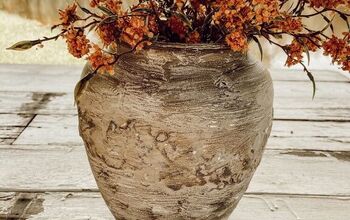
Aren’t they adorable? They make the ideal spring/summer decor. These would also be so cute for a party, or a mother’s day gift. Like I said before, the possibilities are endless.
For more about this project and to see other DIYs check out Elizabeth Joan Designs.
Resources for this project:
See all materials


Comments
Join the conversation
-
Great idea and really pretty
-
Yes


Frequently asked questions
Have a question about this project?
Can you you hot glue for the underneath instead of sewing?
I have a question on the snowman,I noticed you also wraped the circles all around...why no on put in front,wrap around and hotglue each one,this wat,you do not have to buy as much yarn..you can then put polyurathem on back to protect it and help make it still.
Cute cute cute. I can see my granddaughter and I making these when she visits 👍️ ( I don't know how UV-proof the cloth will be, but for a few $ we'll enjoy making them, right?)