


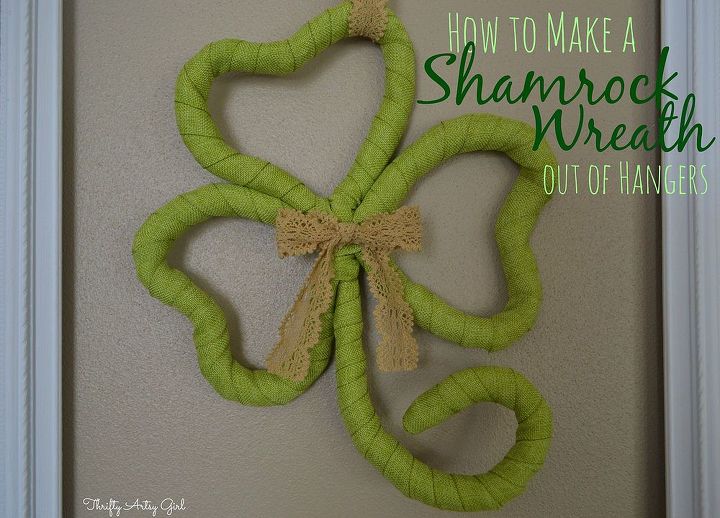
St Patrick's Day Shamrock Wreath Made From Hangers
I did not have a St Patrick's Day wreath so I decided I would try to make another wreath out of wire hangers. I was able to bend and twist two wire hangers, wrap them in quilt batting and ribbon to create an adorable wreath.
Here is my supply list:
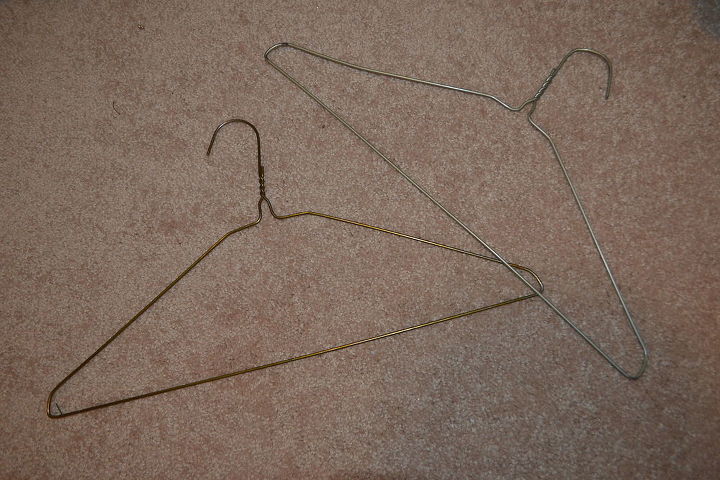
I grabbed two wire hangers and some pliers and got to work bending them into the shape of a clover.
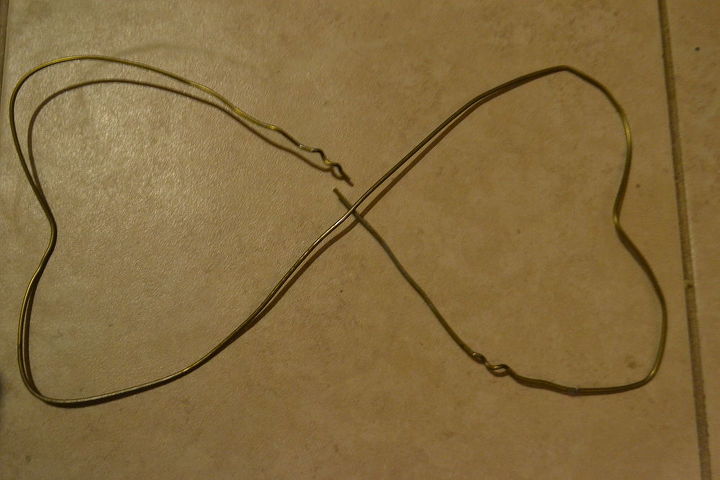
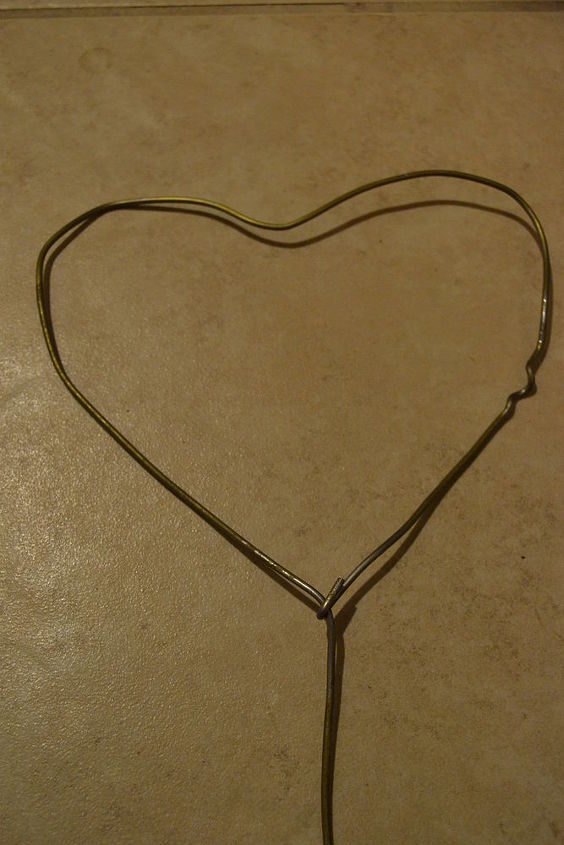
I bent my first hanger into two matching heart shaped leaves with pliers.
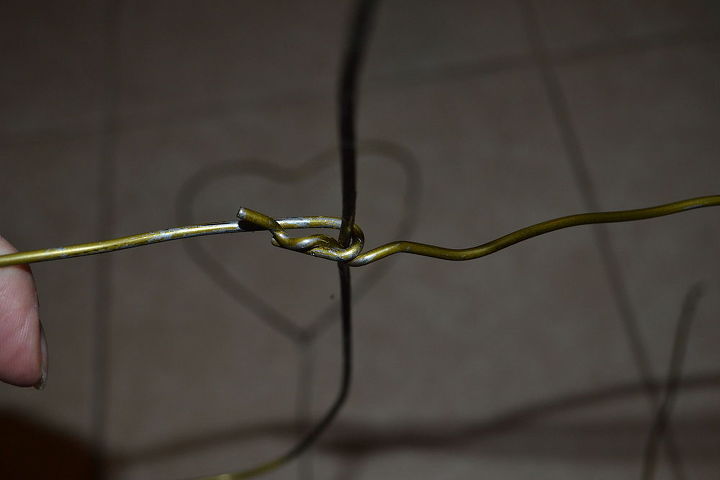
I decided I wanted a 3 leaf clover wreath with a curly stem so I bent the second hanger into one heart shaped leaf, the same size as the leaves on the first hanger, and a curly stem coming off the leaf. To hold that part of the wreath together I bent a hook near the bottom of the open part of the heart and hooked the heart shape together. I then crimped the hook together as tight as I could get it with my pliers.
The hanger that had two leaves on it was a little trickier. I bent a hook again on a small section of the bottom open part of one of the hearts with my pliers. I hooked the straight line side of the hearts in the middle and then slid the open end of the other heart into the hook and crimped the hook as tight as I could get it. It was pretty easy because the open end of the other heart was curly so it fit right in the hook and stayed in place.
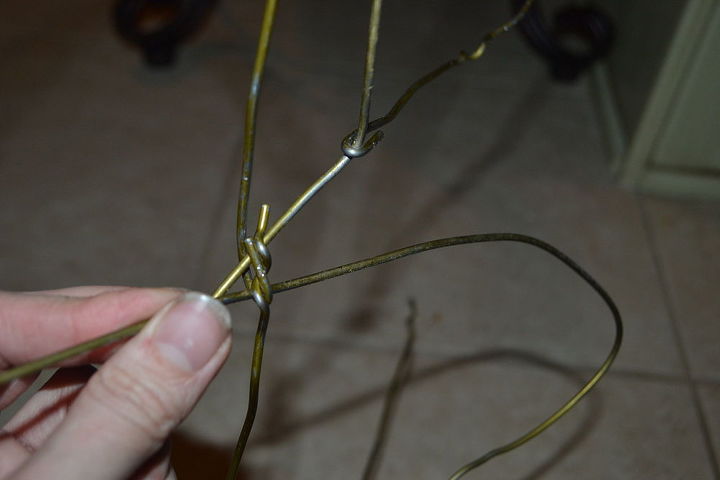
There was enough room inside the hook I just made on the hanger with two leaves to slip the stem part of the other hanger through.
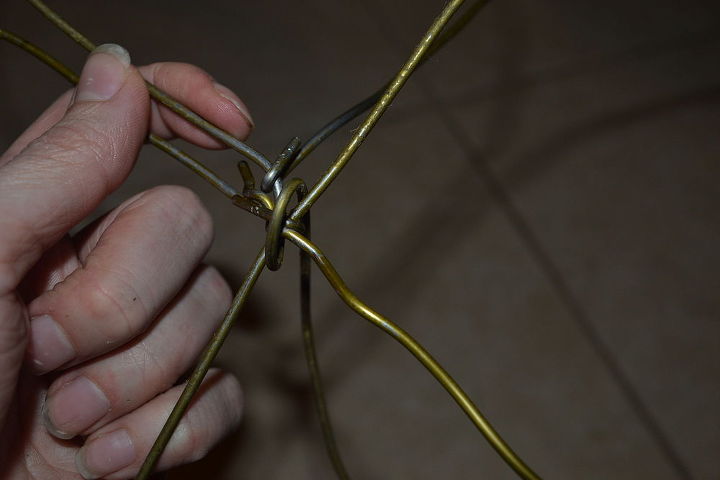
I then wrapped the top part of the stem, right below the bottom of the heart, completely around the whole hook and crimped that as tight as I could get it so the whole shamrock was held together pretty securely.
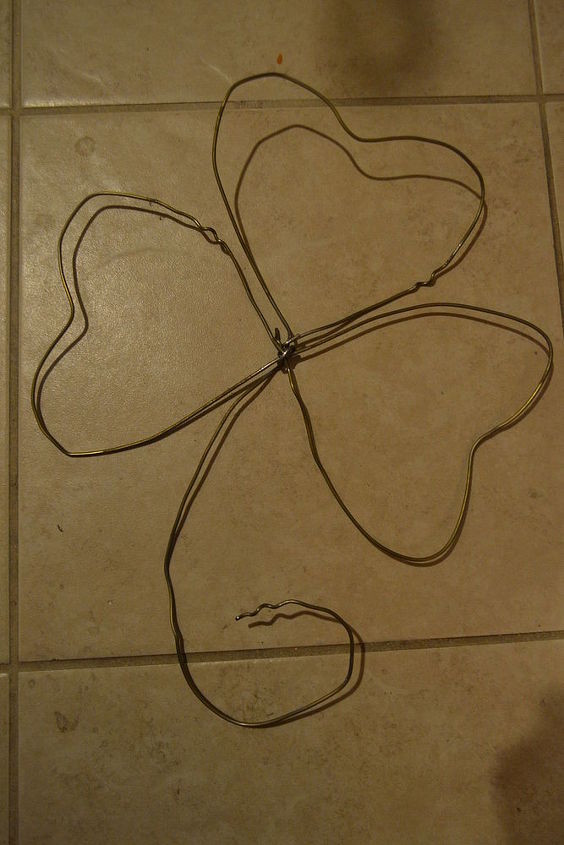
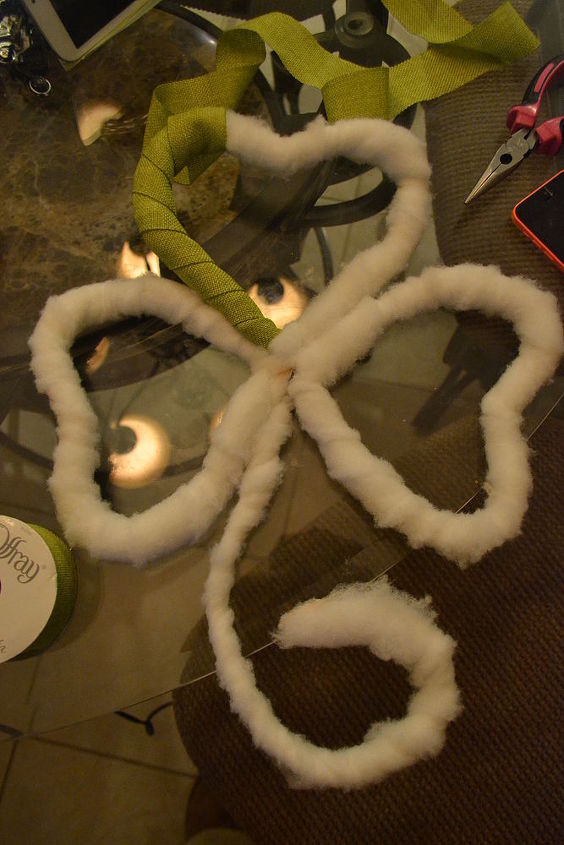
Here is how it looks hooked and held together. It's still a little flimsy and bendy. And wow is my floor filthy!
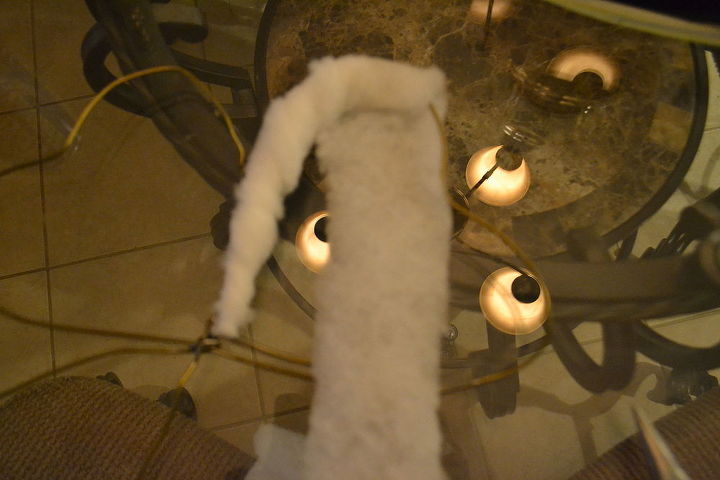
The next step is wrapping the hangers in quilt batting. I cut the batting into 2 inch long strips and wrapped the whole thing. I hot glued the ends to the batting to secure it.
I then got out my ribbon to wrap some more. I wanted green burlap ribbon but I couldn't find any. I did however, find pretty much the perfect comparable ribbon at Walmart. The quilt batting was very forgiving if you have thicker and thinner areas (like I did). You can apply more pressure at the thicker parts to make it all look even.
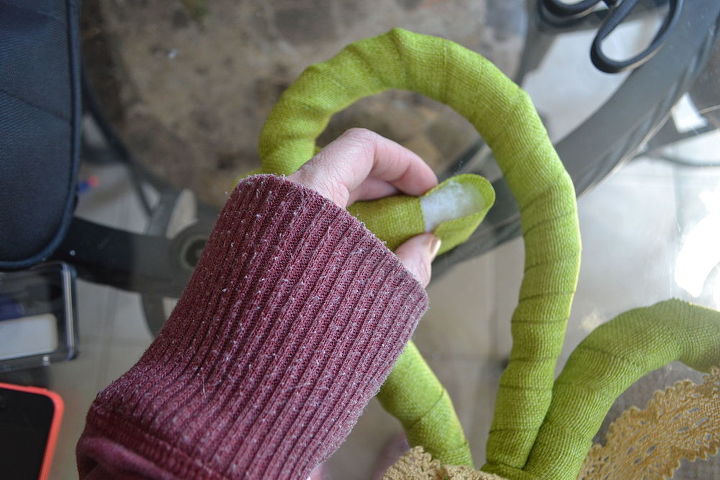
When I got to the end of the stem I cut a small piece of ribbon, placed it on the tip and hot glued the sides. I then finished wrapping around that and hot glued the end to the back.
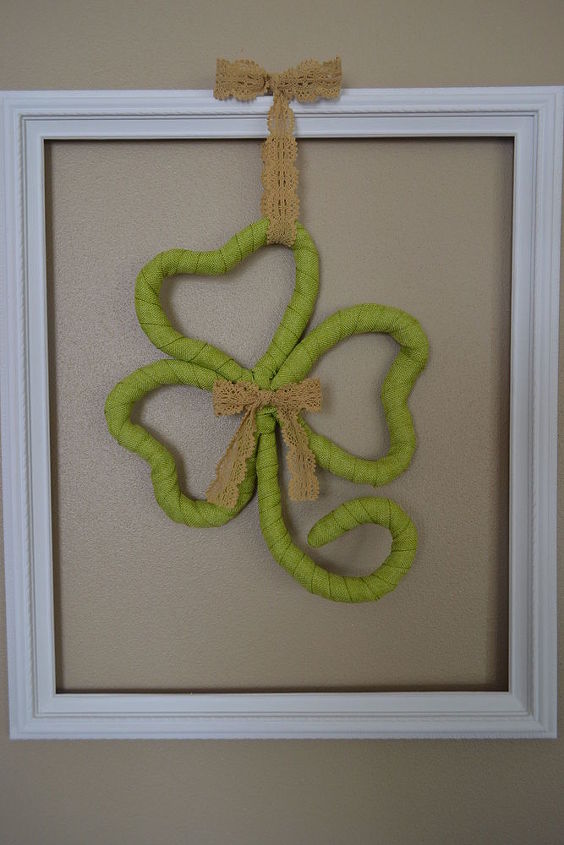
I tied a pretty ribbon around the middle, mostly to cover where the green ribbon intersected since a pretty bow looks way better than the mess of crisscrossed ribbon
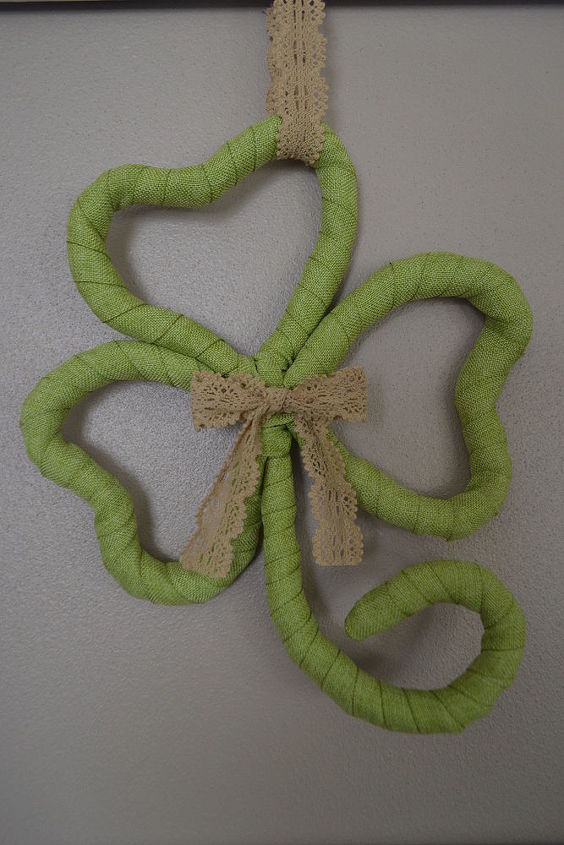
This wreath cost me about $8 to make since I bought premium ribbon. It's exactly the St Patty's Day wreath I envisioned! To see a complete tutorial visit my blog :)

Want more details about this and other DIY projects? Check out my blog post!
Comments
Join the conversation
2 of 82 comments
-
I love this. I am going to make one for my door.
-
Adorable! I love this! Thanx for sharing!


Frequently asked questions
Have a question about this project?