


Dry Brush Old Wood Technique
How to dry brush over a dark stain to create a weathered wood look

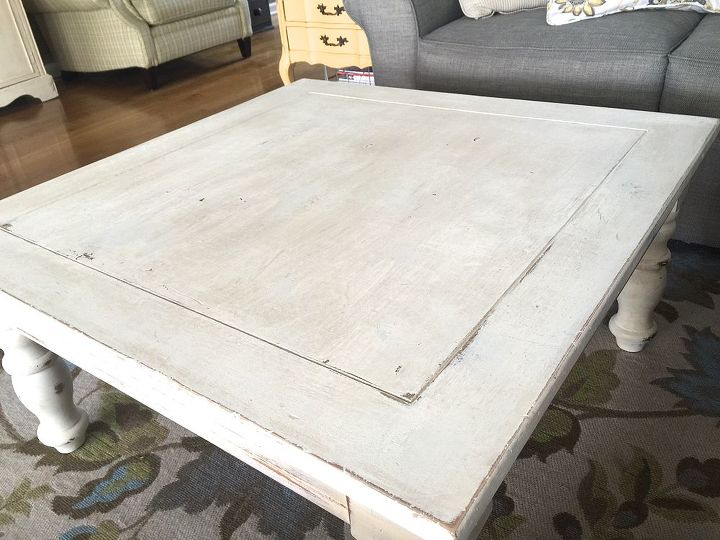
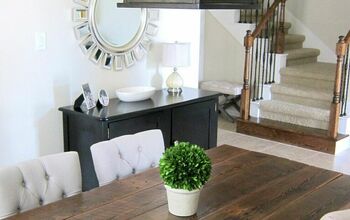
This table has quite the story. Three years ago, I bought it at a yard sale, for $15. Truthfully, it probably wasn't worth $5. It was in BAD shape but I was looking for a chunky, square table and it fit the description. I knew ASCP (Annie Sloan Chalk Paint) would fix it up and sure enough, it did the trick. I must admit that it was quite a challenge though. The table was covered in all kinds of nail polish, glue and other mystery substances. A month ago, I decided to apply a dark wax to the entire table, just for fun. Unfortunately, it accented all those places that I worked so hard to camouflage from 3 years ago. This is what I ended up with and I wasn't happy (see photo, below).
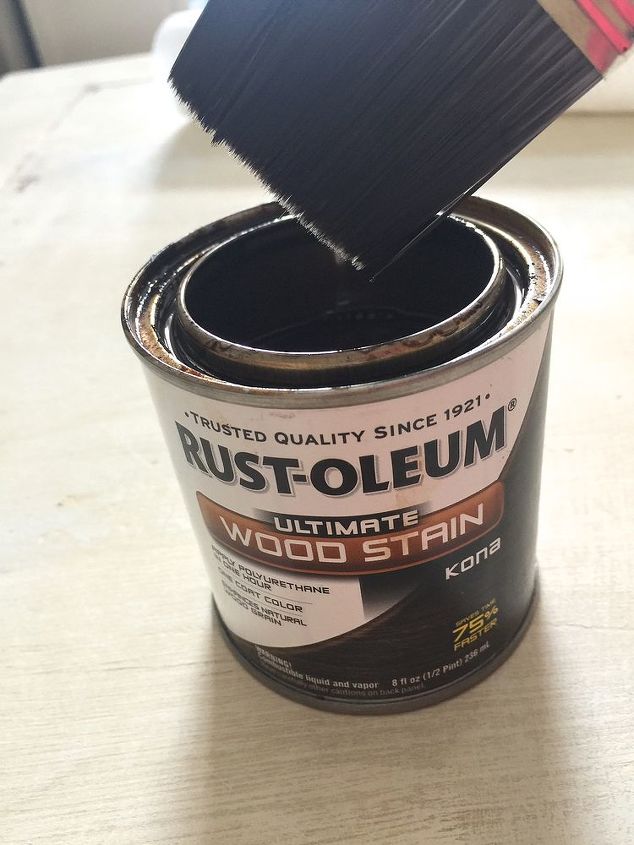
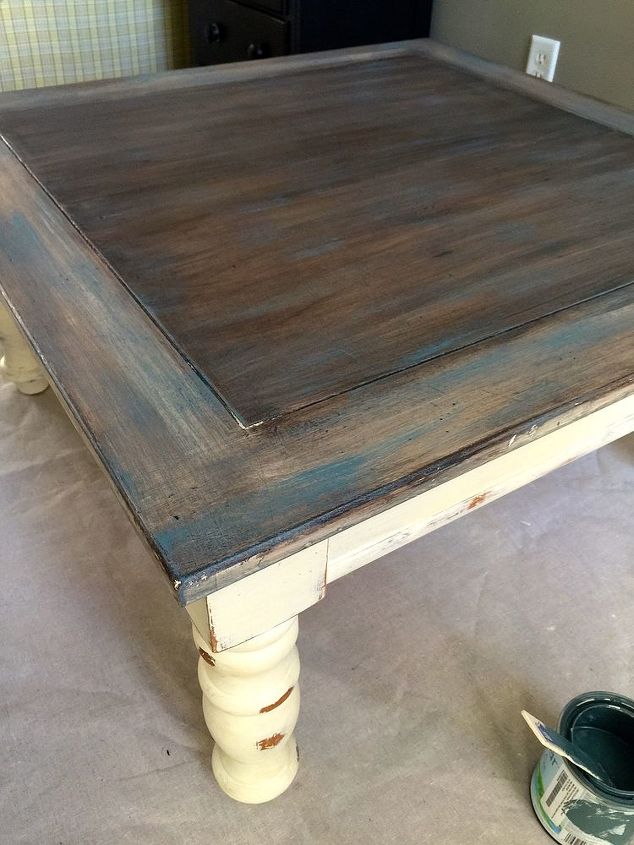
I began by using my electric sander to rough up the top of the table. I dusted off the chalk dust and wiped it down with a damp rag. Then, I brushed on the wood stain (as shown).
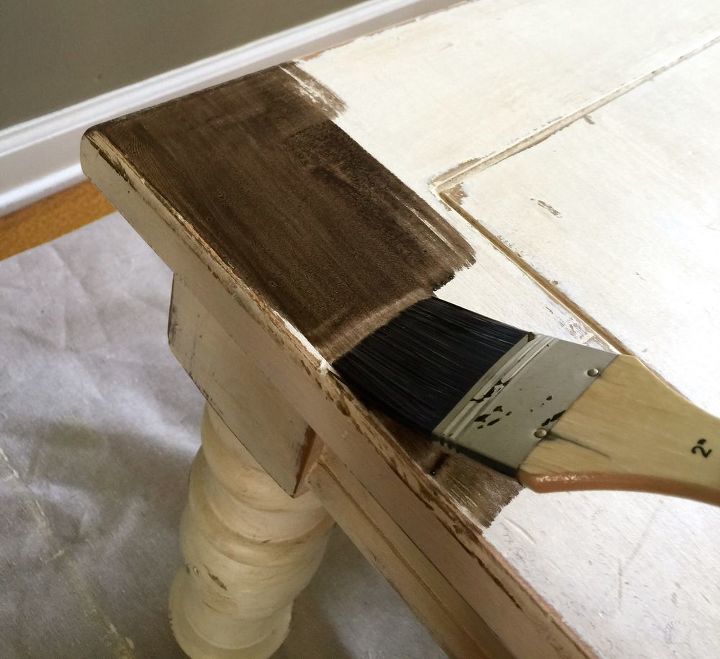
I brushed the stain with all strokes going in one direction and then wiped away the excess stain.

Forgive the filtered photo - this was a progress picture that I posted on Instagram. I applied a second coat to the center of the table, just for fun. I rubbed off a little more of the stain on the outside trim.
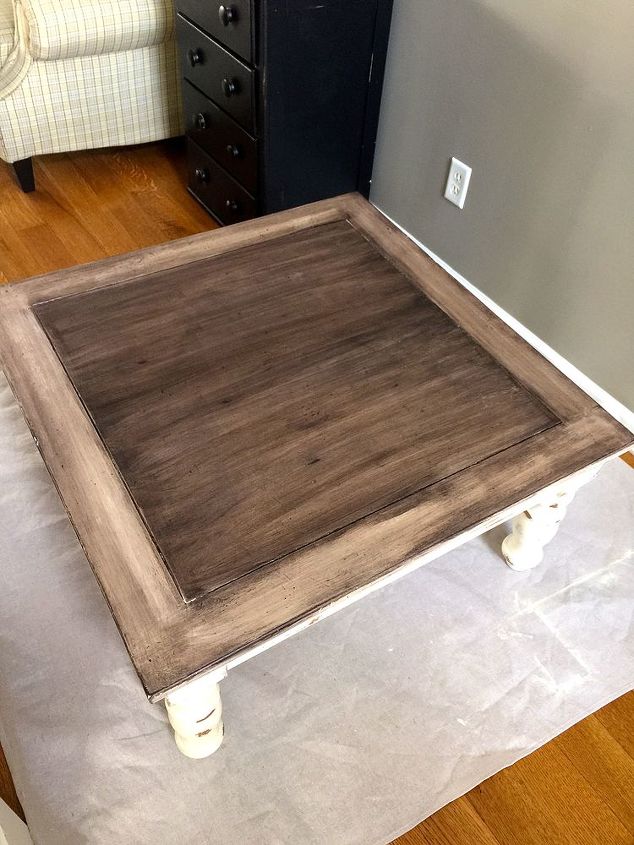
I let the stain dry thoroughly. This is quite THE EYE SORE. Honestly, I was questioning myself at this point! BUT all it needed was a little TLC and a good dry brush technique.
How to dry brush like a pro:
Supplies:
- Short bristled chip brush
- Paper towels
- Scrap piece of wood or cardboard
- Paper plate
- Polyurethane (matte or gloss)
- Paint *****I used leftover paint from my Plank Wall project. SHERWIN WILLIAMS 6222 "Riverway" in Eggshell*****

First of all, let the stain completely dry. Dab paint on the brush, only about 1/4 inch on the end of bristles. Brush the paint off - onto paper plate and/or paper towels When all of the paint seems to be out of the brush, practice a few strokes on scrap wood or cardboard. It's better for the brush to be too dry than too wet. You can always add more paint.
Use soft strokes, barely glazing the top of the wood. You can apply a polyurethane coating to protect the table top after it's completely dry. Use a matte finish for an "aged wood" look.
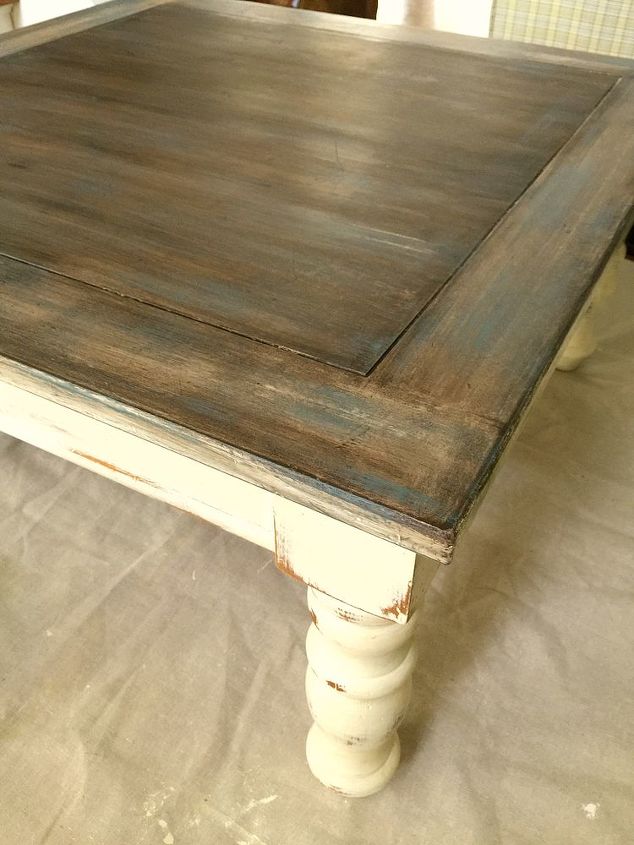
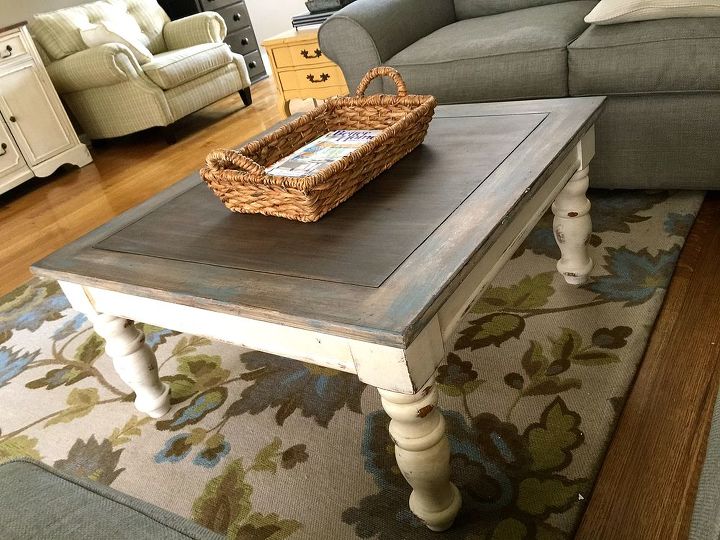
How stunning is that final look??


Comments
Join the conversation
-
I like how it pulls the blue out of your rug.
-
Great transformation, and it blends beautifully with your area rug.


Frequently asked questions
Have a question about this project?
I am wanting to do something with my bedroom furniture. It is very old with the yellowy antique paint, but original. I think this will bring it up to date. Thanks, My bed and side tables are black and walls are light gray with a couple sades lighter ceiling. What colors would anyone suggest??
What if you painted with a sponge?
Great job and so beautiful.
Did you ever think maybe the top would be lovely if sanded down and refinished?
I am always curious about what is under paint.