


The Most Used Table in My House, And Its Not in the Kitchen
Now I’ve always been in love with DIY and home improvement. I love decorating and making things with my hands. But recently, I discovered the joys of woodworking. I quickly realized that I needed to upgrade my tools to include a compound miter saw. That being said, I needed a more permanent place to store my saw and to safely cut longer pieces.
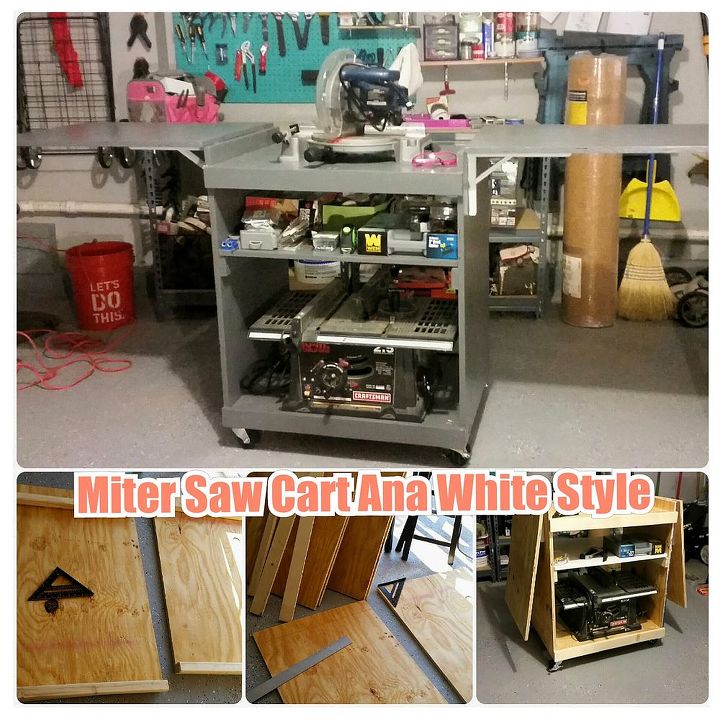
I researched online and found plans by Ana White for a mobile miter saw cart that included additional storage, perfect for a small workshop.
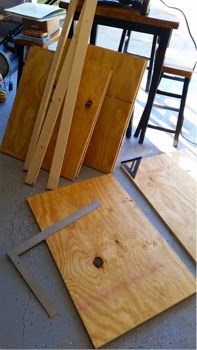
The plans provided by Ana White were really simple and easy to follow. The cart is completed using only 1 sheet of plywood. All of the big cuts (the cutting of the sheet of plywood) were done at the hardware store, which made it supper easy to transport in my car.
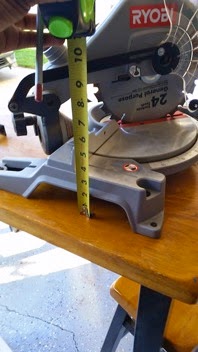
Measure the height of the saw to the base to ensure a level cutting plane.
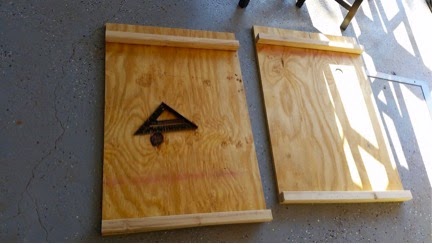
Laying out the 2x2 pieces that act as shelf support for the top and bottom of the cart.
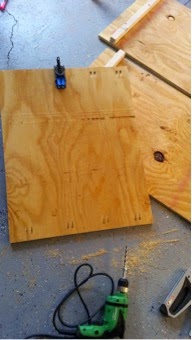
Going crazy with the pocket screw jig. (You don’t need this many pocket screws. I just got my Kreg R3 Jr. Pocket Hole Jig System and was just having a good ole’ time.
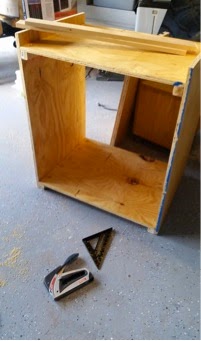
Now attaching the base and top shelf.
Finally attaching the 1x3 support boards to complete the actual cabinet.
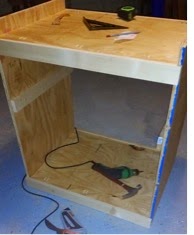
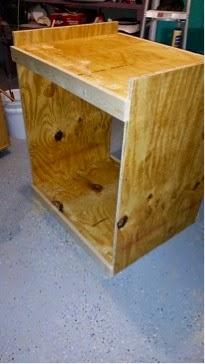
This cart has a huge opening. It’s actually designed for a much larger miter saw. So I decided to add additional shelving. A girl could never have too much storage.

It’s important to use locking wheels. The last thing you’d want happening is for the cart to move mid cut.
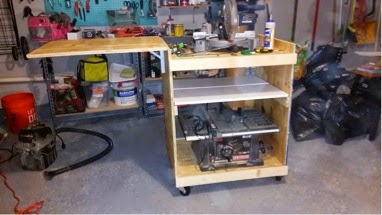
The key to installing these hinges: an additional pair of hands. Please, phone a friend. It will save you a lot of grief and awkward side poses, propping up the board with your head.
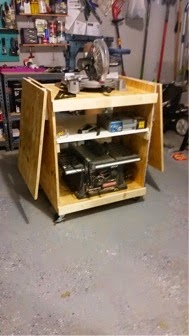
Tah- Dah!!!!
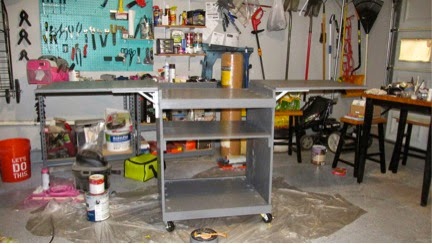
It needed color. Prime 1st. Plywood is very porous and rough (well the cheap grade of plywood I got). So to reduce the number of layers of paint required to get the desired outcome, I recommend prepping the wood with a good primer, then paint. I will admit gray was not my 1st choice, but I had left over paint from a previous project. This paint being a semi gloss should make dust removal a little easier (fingers crossed).
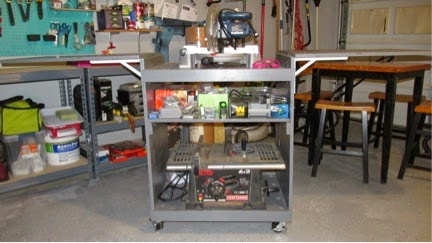
Okay now… Lets get to cutting

Want more details about this and other DIY projects? Check out my blog post!
Comments
Join the conversation
1 comment
-
Great idea! One suggestion... On the back side you could add an adjustable mount system that would allow about drop down leaf that can be used as an outfeed table for the table saw. I'll sketch something up and post a picture in a few.


Frequently asked questions
Have a question about this project?